The link party Tickled Pink Times Two with Holly at 504 Main is a treat to host. Everyone has so many amazing ideas!
It’s ALWAYS busy here on What Meegan Makes…
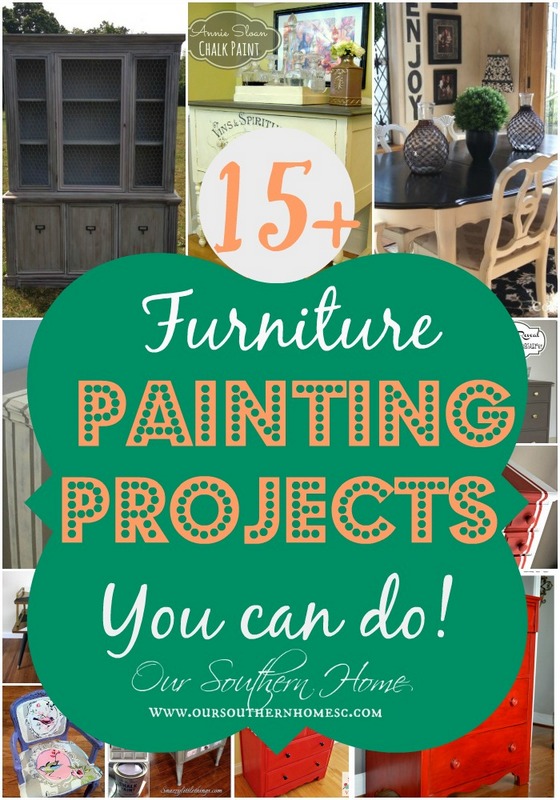 Christy from Our Southern Home shared 15+ Furniture PaintingProjects YOU Can Do
vintage style, cottage living, home cooking
The link party Tickled Pink Times Two with Holly at 504 Main is a treat to host. Everyone has so many amazing ideas!
It’s ALWAYS busy here on What Meegan Makes…
Christy from Our Southern Home shared 15+ Furniture PaintingProjects YOU Can Do
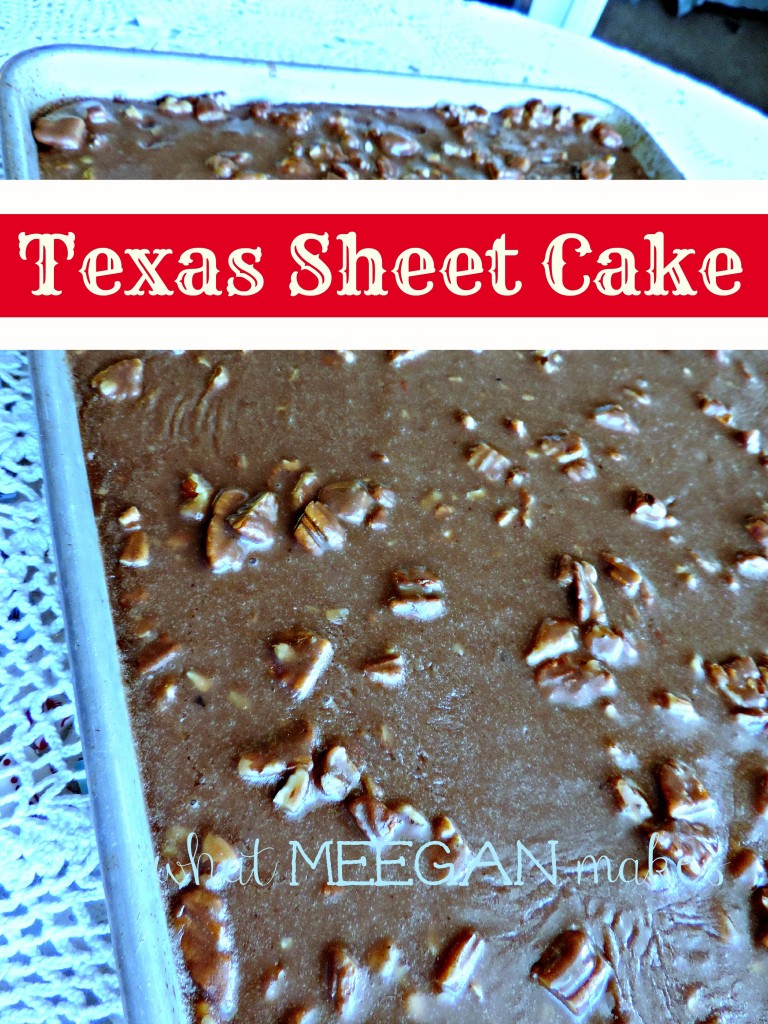
{Meegan’s Texas Sheet Cake}
Ingredients for Cake:
2 cups sugar
2 cups flour
3/4 tsp baking soda
1/2 tsp salt
2 sticks REAL butter
3 Tbs. cocoa
1 cup water
2 eggs
1/2 cup buttermilk
1 tsp. REAL Vanilla
Mix sugar and flour. Mix butter, cocoa, and water, bring to a boil. Pour over sugar, salt, baking soda and flour. Beat eggs, add buttermilk and vanilla.
Bake at 350* for 20-25 minutes in a 12×18 inch pan.
Ingredients for Icing:
2 sticks REAL butter 3 Tbls cocoa
1 box powdered sugar
6 Tbls milk
1 cup coarsely chopped nuts
1 tsp REAL vanilla
Melt butter and cocoa and milk. Bring to a boil. Pour over powdered sugar, and whisk until smooth. Add pecans Add vanilla.
Pour over hot cake.

How easy does that sound? It seriously is so chocolatey, and moist. Plus the flavor of the buttermilk in a chocolate cake can’t be beat, right?
Thanks for joining me today! I have been having so much fun reading your sweet and encouraging comments. I am a very blessed woman to have you here each day!
Make it a Texas Sheet Cake Tuesday!!

More recipes that you might enjoy…

Delicious and Gluten Free. No Bake Oat and Almond Pie Crust
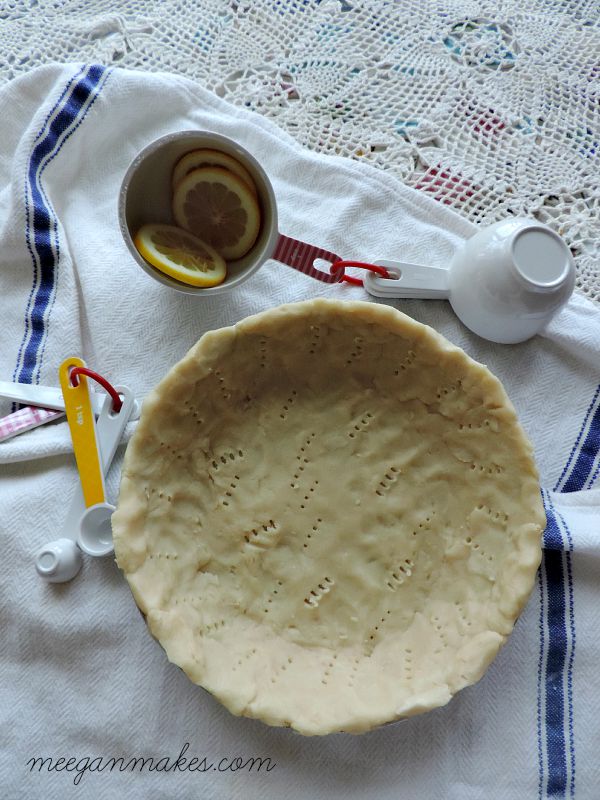
How To Make a Flaky Pie Crust from scratch.

How to make a rustic cake filled with raspberry filling from scratch.

Hawaiian Delight Cake with crushed pineapple, fresh cream, cream cheese, toasted almond and coconut.
[slideshow_deploy id=’6144′]
I hope you have been enjoying Simply The BEST of 2013!! Now it is my turn to share Simply The Best of 2013-What Meegan Makes. What Meegan Makes started on Dec 27, 2011. Yep, it has been 2 full years of posts, creativity, amazing followers, and lots of fun friendships. Thanks so much for joining me on this journey of What Meegan Makes. It was a very slow start. I was doing blogging all on my own until about a year ago. I “met” some amazing bloggers that invited me to their “groups” and “troops” to help spread the word about my blog. I am SO grateful from them. (There are too many to mention) I am a blessed woman, without a doubt.
I am looking forward to a new year full of ideas, inspiration and a new look. Hopefully, my blog will continue to be a place of inspiration, recipes, thrifting, and wonderful thoughts for you to visit each day. I also hope to make the blog more accessible for all of my readers and followers. It will be a fabulous year!!
Below is the full run down and schedule for Simply THE BEST:

Sunday December 29th:
Monday December 30th:
Tuesday December 31st:
CONFESSIONS OF A SERIAL DO-IT-YOURSELFER

With that being said let’s see Simple the BEST of 2013-What Meegan Makes…
 Hang Decorative Plates With Hot Glue and Paper Clips
 22 Ways To Use Barn Wood Boxes
 $10 Thrifted and Painted Chairs
 Quick and Easy Gift for Mother’s Day
 Epsom Salt Christmas Jars (This post had my all time high hits in one day!)
 Butter Lemon Snow Drops (This post was actually picked up by Pillsbury, and used on their site here. Woot woot!)
For some fun What Meegan Makes trivia: these last 2 posts below are clicked on EVERYDAY!! Even though they are from 2012. Cool, huh???
 Dyeing Coffee Filters with Food Coloring
There you have it!! Simply the BEST from What Meegan Makes 2013. Thanks for letting me share the highlights from my blog in 2013. May there be many, many more posts to bring light to your days!!
Make it a Happy New Year!!

[slideshow_deploy id=’5749′]
Happy Saturday!!
Remember when I told you how sick I was the week before Christmas??? Well, my sweet and most generous friend, Cindy offered to fill in for me today. Isn’t she the best?? You will love her recipe for Frozen Lemon Souffle’ and her blog!!
 Hello everyone! I’m Cindy and I blog at Little Miss Celebration, where we’re always crafting, cooking and finding ways to make everything you celebrate special. I’m so happy to be here today visiting with all of you and a big hug of thanks to Meegan for inviting me to share a “Best of” recipe. I am a huge lemon lover and we don’t have to wait until summer to enjoy a fabulous lemon dessert. We can get the great look of a soufflé without an oven with this delicious, Frozen Lemon Soufflé! Lemony, creamy, tart and rich, this frozen dessert has a texture that’s a cross between ice cream and custard. With a few simple touches, it’s easy to make a dinner-party worthy presentation – perfect for holiday entertaining and New Year’s Eve!
Ingredients:
This frozen lemon soufflé can be made in either a 2-quart soufflé dish or in individual soufflé dishes. The number of individual desserts that this recipe will yield depends on the size of your individual soufflé cups.
Prepare soufflé dish or cups by wrapping a 3-inch wide strip of aluminum foil around the top edge of the dish to form a “collar.” I like to double the foil for extra strength. Since these aren’t going in the oven, use tape to secure the foil to the dish. Since this is probably almost a 5″ collar, obviously my measuring skills need some work!

Place the gelatin in the ¼ cup of cold water to soften and set aside. In a medium saucepan, use an electric hand mixer to beat egg yolks and sugar together until the mixture is light colored and creamy. Add lemon juice and cook over low heat, stirring constantly, until thick. Add softened gelatin and lemon zest to cooked mixture, continuing to cook and stir until all gelatin is dissolved. Let mixture cool.

In a mixing bowl, whip the cream until soft peaks form. In another bowl, beat the egg whites until soft peaks form. Transfer the cooled egg yolk mixture to a large mixing bowl.

Fold the whipped cream into the egg yolk mixture, then fold in the egg whites.

Pour the mixture into the prepared soufflé dish or individual soufflé cups. To make it easy to place the finished mixture into individual cups, use a soup ladle!

Freeze soufflé at least 4 hours before serving. For a great presentation, finish with a rosette of whipped cream and a sprinkle of grated lemon zest and tie a sheer, yellow ribbon around the soufflé dish!


It has been so much fun spending time with you today and thanks so much to Meegan for inviting me to share on her wonderful blog! You are warmly welcomed to come visit me at Little Miss Celebration any time. Wishing all of you happy holidays and best wishes for a wonderful 2014!

Little Miss Celebration Facebook Twitter Pinterest
Oh, Cindy! Thank you from the bottom of my heart!! You are amazing and a wonderful blogging friend. I appreciate you SO much!
I hope all of you will be sure to visit Cindy at Little Miss Celebration as soon as possible!!
Everyone make it a Souffle’ Saturday!!
I share little bits and pieces of my blog and life on: Pinterest Facebook Hometalk Google + Stumble Upon Bloglovin’ twitter Instagram


