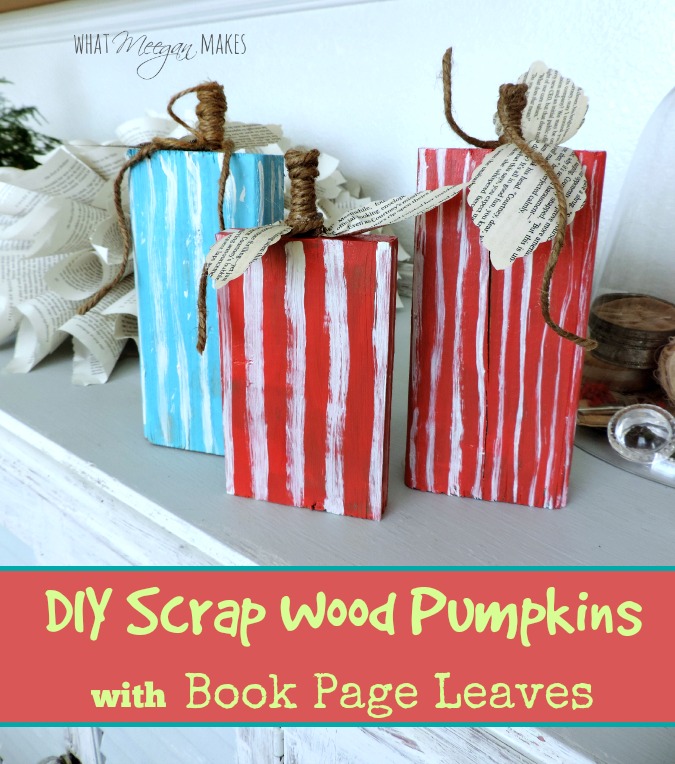
As per my promise, I am going to share my DIY Scrap Wood Pumpkins with you today.
It’s ALMOST Mid-September and the temps are telling me Fall is on it’s way. I am sad Summer is winding down. BUT the Fall craft ideas are peaking my interest.
This Summer, for our Family Reunion I made a more than life-sized Jenga game with 2x4s. I found the idea on Pinterest right here. The kids loved it. AND, I ended up with several scraps of wood. I KNEW I would end up using them around the house, somehow.
What should I do with all the wood. I do not have room for it. SO, I made DIY Scrap Wood Pumpkins.

I started out with a 2x4x7 block of wood. I nailed a nail in it for a “stem”.
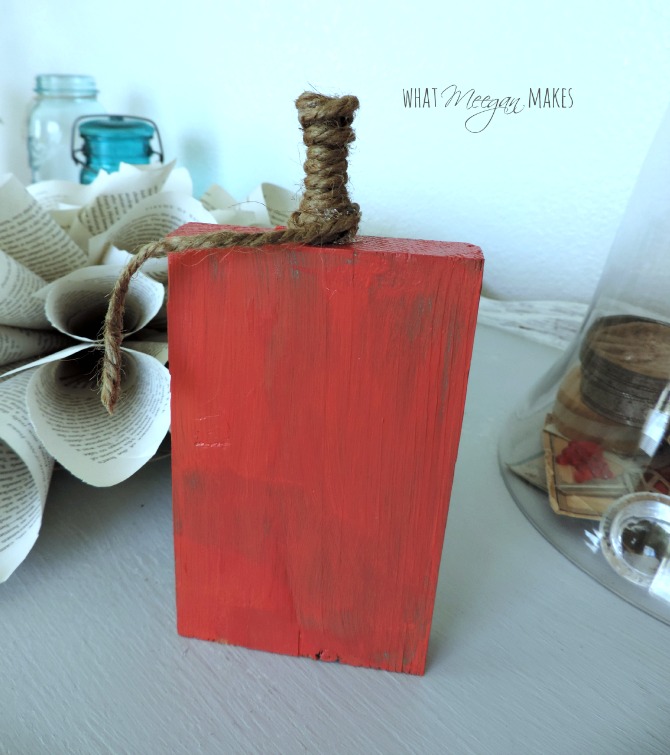
Mixing lemon yellow and Christmas red craft paint, I made orange.
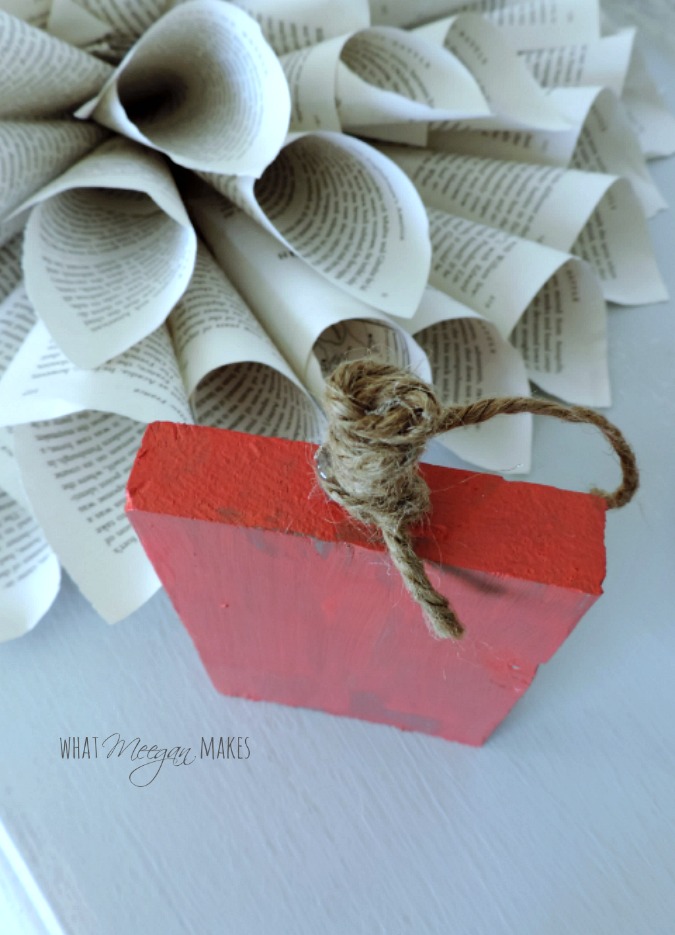
Once the paint was dry, I wrapped the nail with jute. As I covered the nail head, I hot glued the jute in place. (No, I didn’t burn my fingers this time. Yay me!) I left a “tail” as part of the “stem” to look pumpkinish. (Hey! Pumkinish is a word! Spell check didn’t correct me. Awesome.)
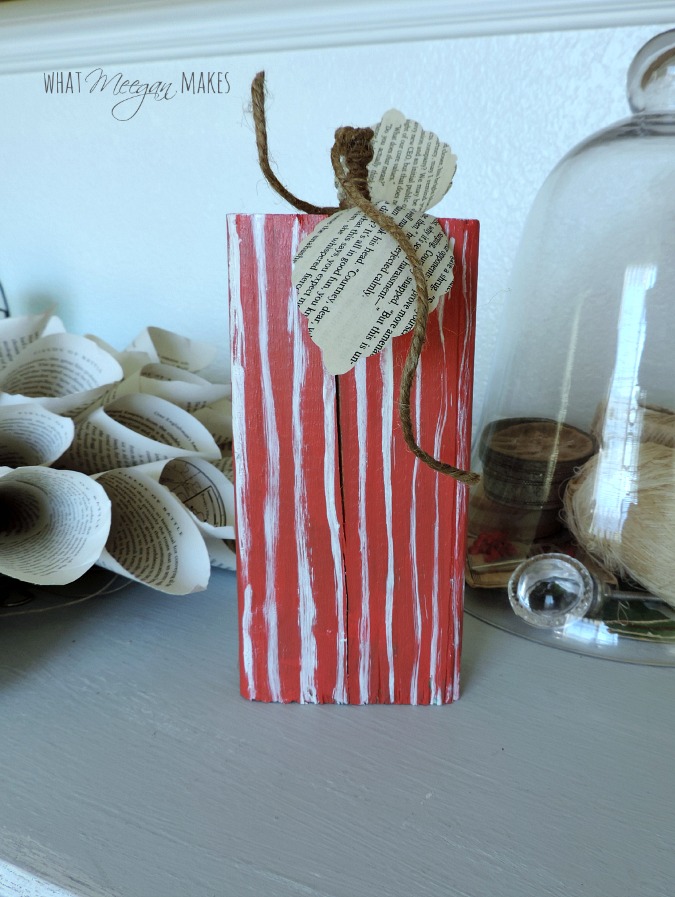
By using a thin paint brush, I painted the “rib” lines. I did that freehand. I didn’t want them to be absolutely straight. I like the imperfect look.
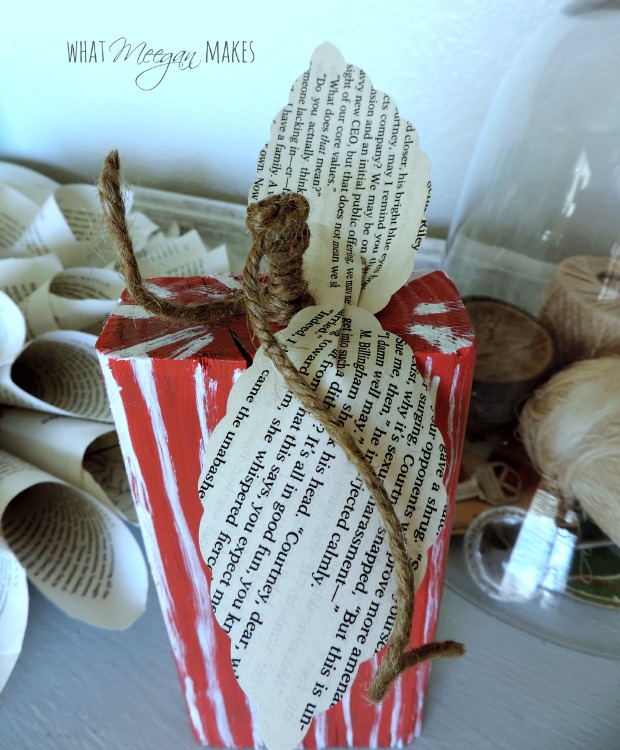
Using scalloped craft scissors, I cut out leaves from book pages. I folded the ends before I adhered them with hot glue to add a curve in the leaf.
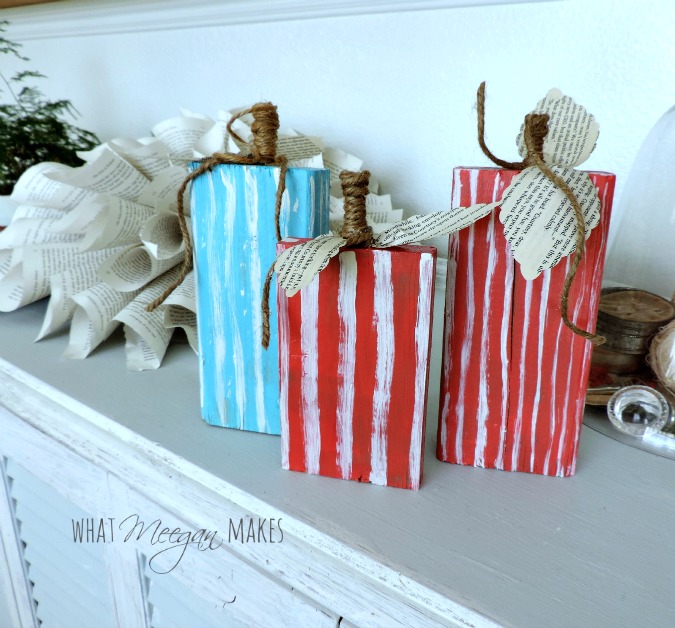
As you can see, I couldn’t just make orange pumpkins. I HAD to have a blue one, too.
By the way…the smaller DIY Scrap Wood Pumpkin is a 1x4x5 that I had leftover from another project.


How easy was that? All in all, it took me about an hour to make all three DIY Scrap Wood Pumpkins. Easy peasy and a cute addition for Fall and Halloween decor.
Thanks for stopping by. I hope you had as much fun as I did.

More ideas from my blog that you might enjoy…
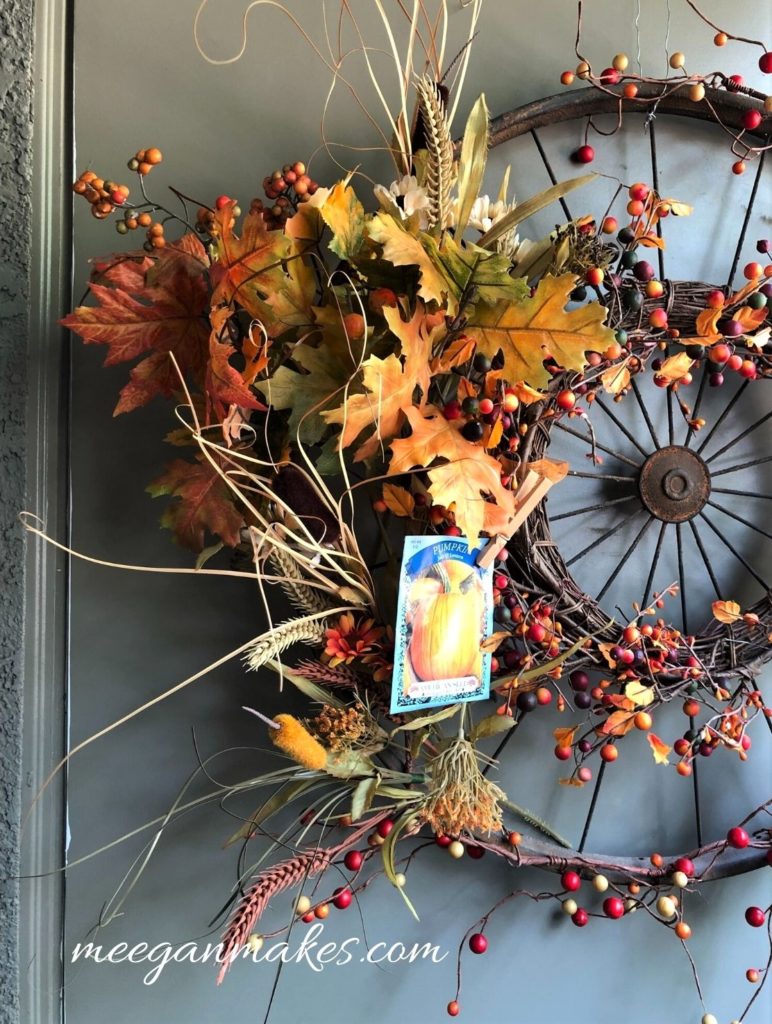
Fall Vintage Bicycle Rim Wreath
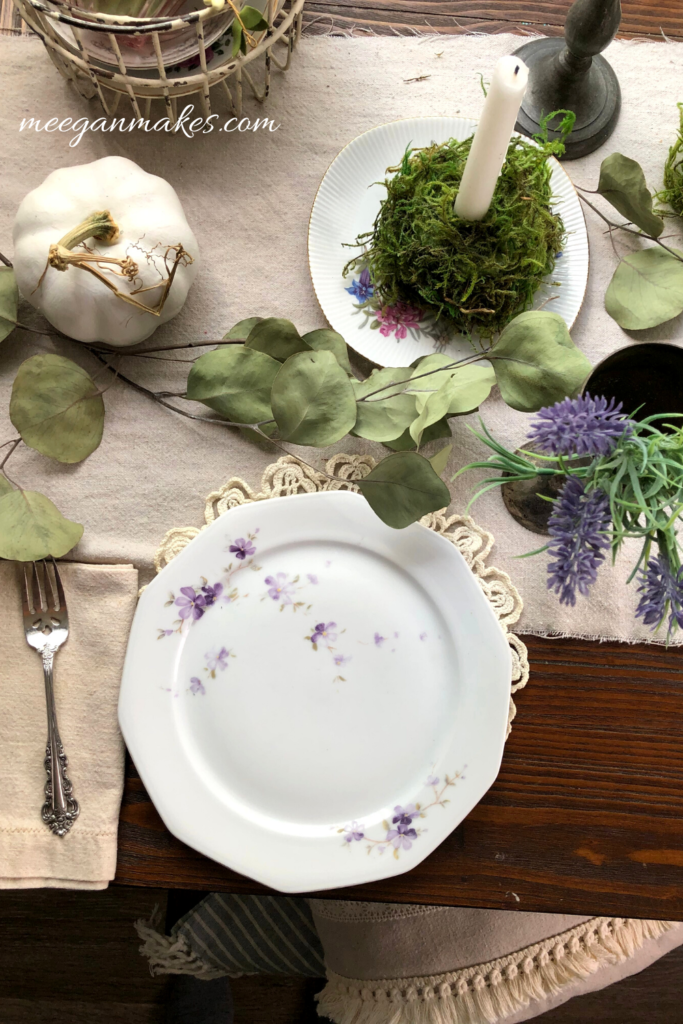
Lavender and White Fall Tablescape




[…] What Meegan Makes […]