What Meegan Makes

vintage style, cottage living, home cooking

  • Home
  • Contact for Collaborations
  • Privacy Policy and Disclosure
  • Furniture Makeovers
  • 10 DIY Seasonal Banners
  • 15 Creative Spring Crafts

Glittery Christmas Wreath from an Embroidery Hoop

November 13, 2020 By Meegan 21 Comments

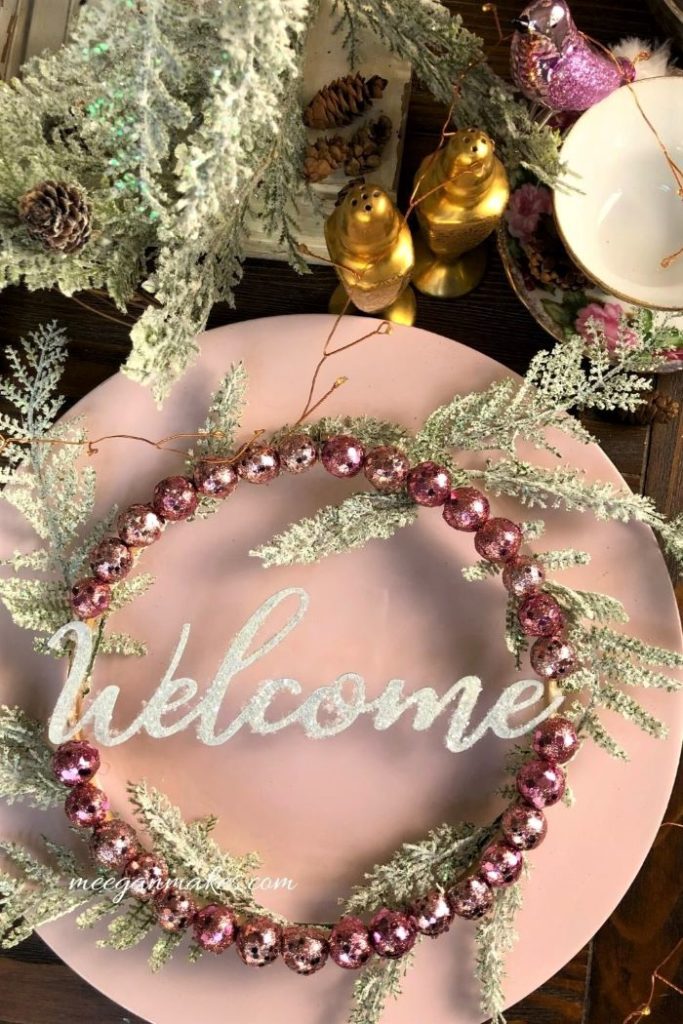
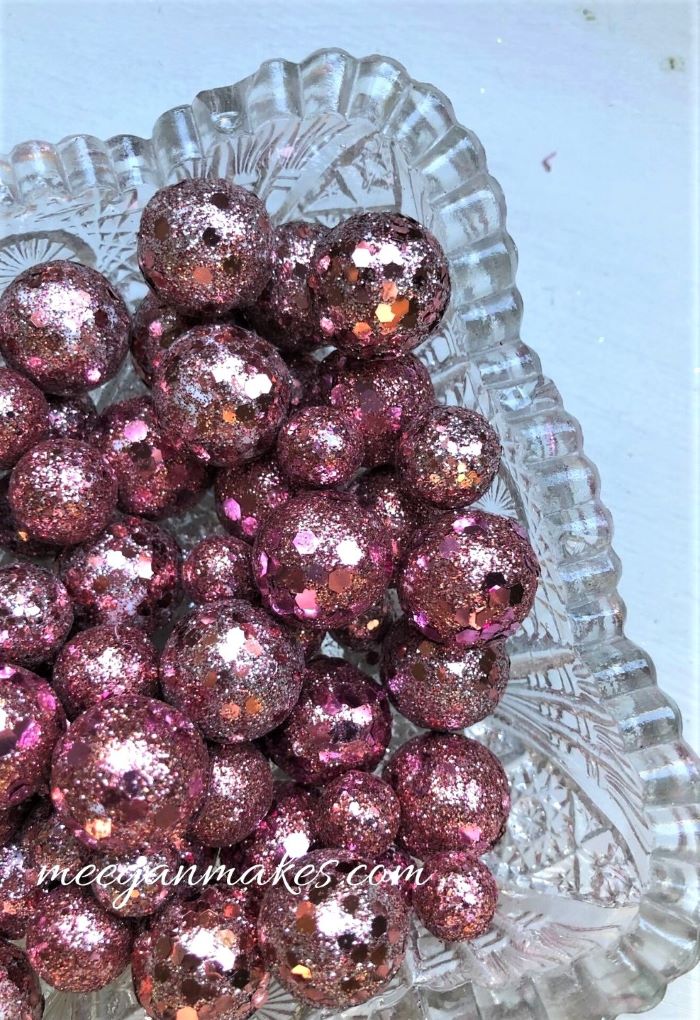
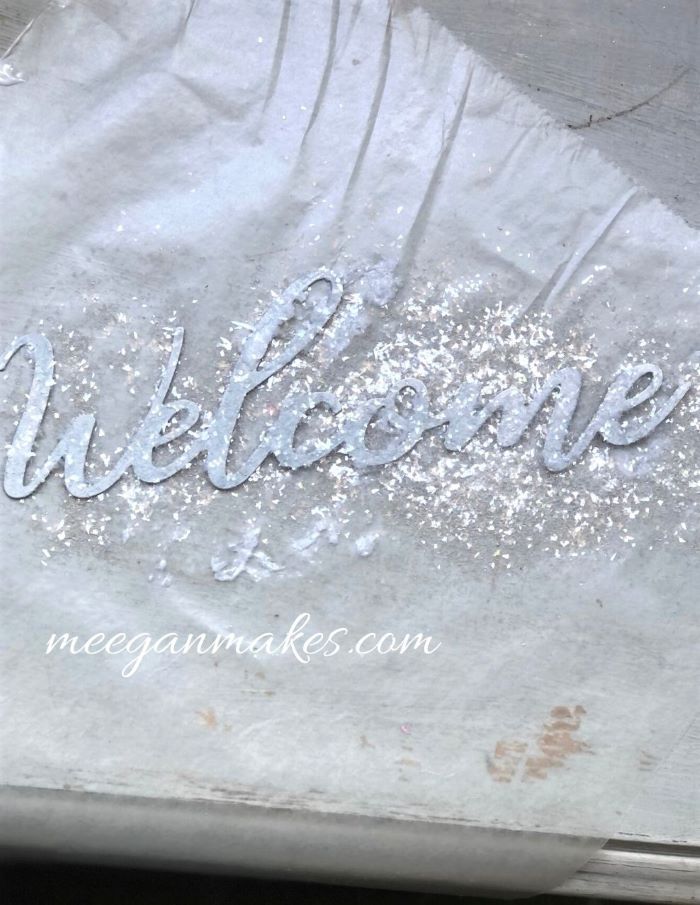
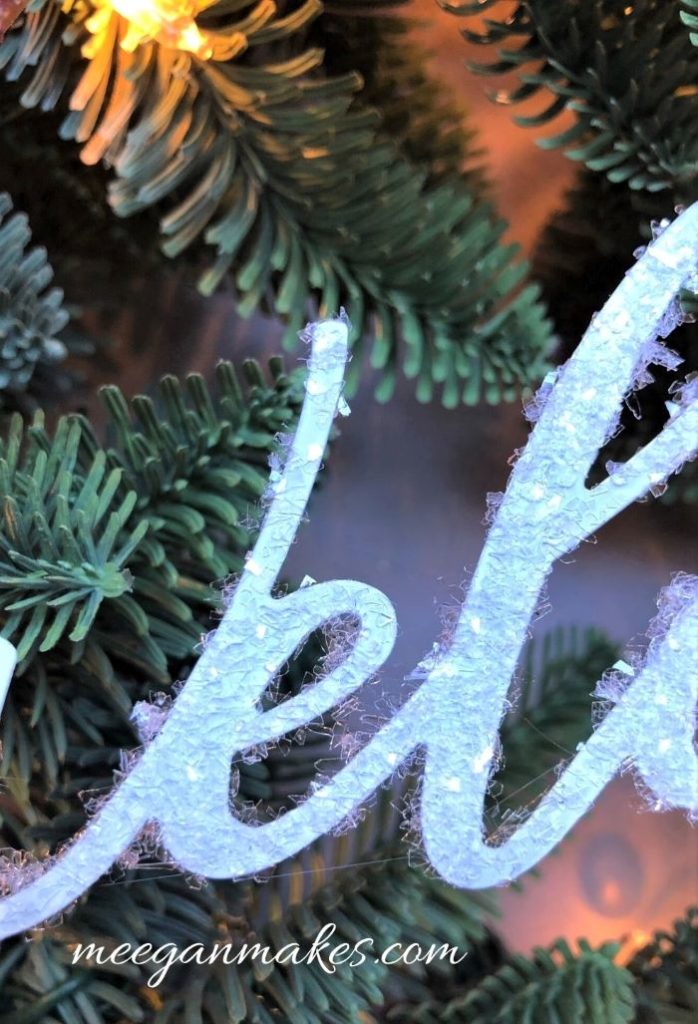
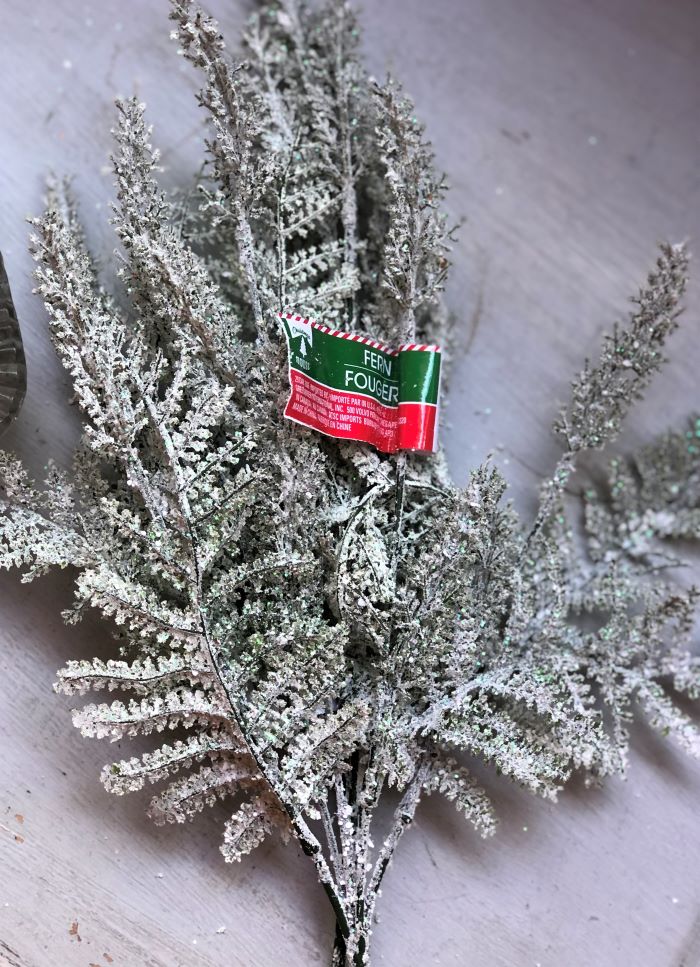
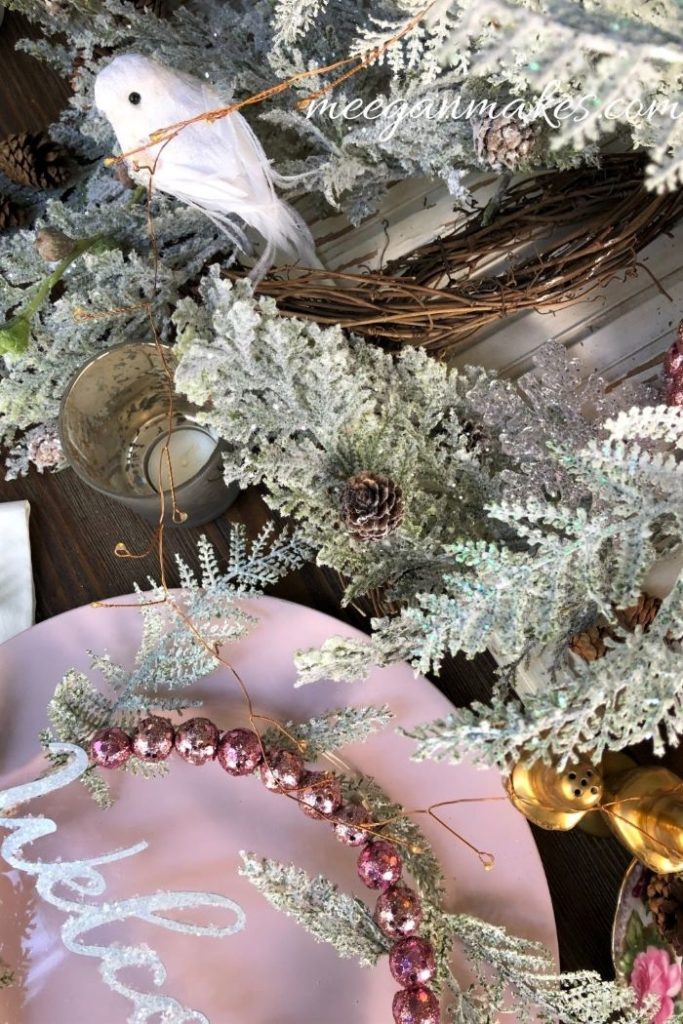
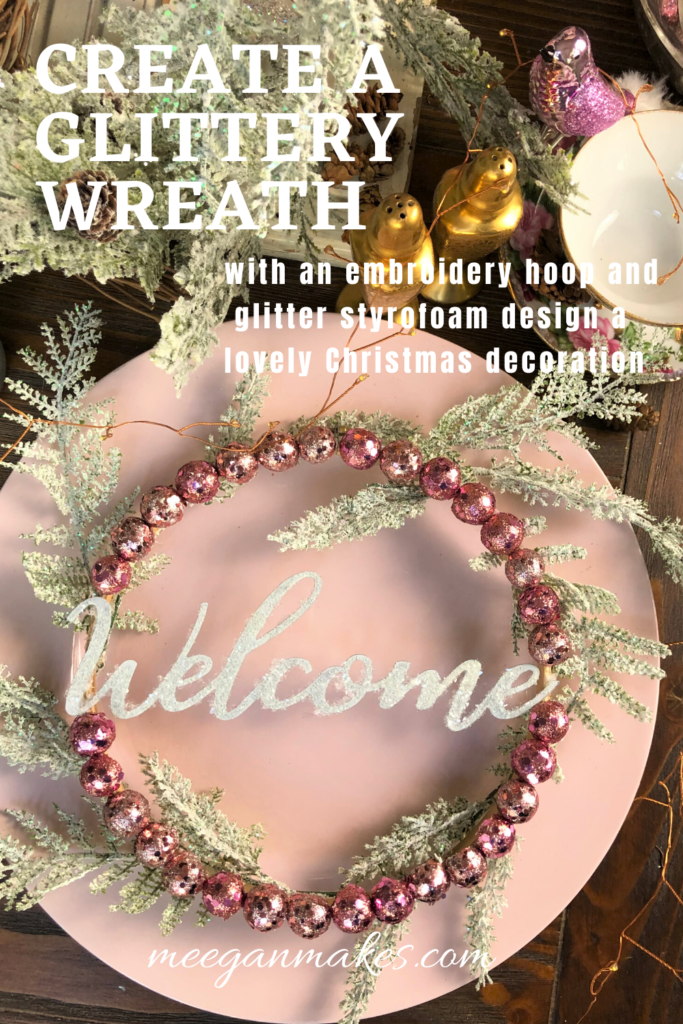
I am going to create a Glittery Christmas Wreath from an Embroidery Hoop to add to my tablescape this year. I love the glitter and the unique style. And using an embroidery hoop, it couldn’t be easier.

Before the tutorial, I wanted to let you know that every 2nd Friday of the month Julie from Redhead Can Decorate hosts and organizes The Thrifty Style Team. This month is the Christmas Edition.

With talented bloggers and so many inspiring ideas, you are sure to get your Christmas decorating started. I will list all the links at the bottom of this post for your enjoyment.


Before that-let me show you how to design a Glittery Christmas Wreath from an Embroidery Hoop. It’s so easy and comes out so pretty for any home, as a gift or on a tablescape.

This is what you will need:
1-8 inch embroidery hoop ring (I only used the latched hoop)
1-bag glitter decorative filler balls (I bought mine from Hobby Lobby)
hot glue gun
hot glue sticks
scissors or sharp knife
metal welcome sign (I bought mine at the Dollar Store)
1-stem frosted greenery
wax paper
school glue
small craft brush
diamond dust glitter from Floral Craft
spray paint
Start by gathering your supplies. The glitter filler comes with gold and pink in the bag.
I chose to just use the pink for now. In a later project I will be using both. That will come in a blog post next week. So stay tuned…
Once the pink balls were gathered, I cut each one in half with a sharp pair of scissors. This allows them to sit flush on the embroidery hoop.
With hot glue I attached each half ball to the edge of the hoop.
Be sure to leave space for the “welcome” in-between the glitter balls. I marked the area with a pencil to ensure there was a specific space for the sign.
Here is the hoop filled with the glitter balls pictured above.
If desired paint the welcome with white spray paint. Or any other color that you like.
When the spray paint is dry, set the sign on a piece of wax paper, then slather the sign with mod podge using your small craft brush.
While the mod podge is wet-sprinkle on the diamond dust (or your favorite glitter) to give it a glittery-snow effect.
See what I mean about the snowy effect? I love it.
Use dabs of school glue to attach the welcome sign to the hoop. I tried using hot glue and the sign kept falling off. With the school glue, it hasn’t budged.
Cut the stem of greenery into small twigs. You will be adding these to the back of the wreath with your hot glue for depth and dimension.
There is no rhyme or reason to how you place the greenery twigs. What YOU like is best! Your Christmas Glittery Wreath will probably look similar this when you are done.
You can hang it with a larger pine wreath, use it as a tablescape decoration or give it as a gift.
It’s nice to make a one-of-a-kind Christmas decoration, isn’t it?
I hope you make one soon and share it with me on my Facebook page or on Instagram by using the hashtag #meeganmakesfeature  It will be fun to see what you come up with and share it in my feed!
Thanks for stopping by today and letting me share what I love to do. I hope you will enjoy ALL of the Christmas goodness from The Thrifty Style Team below!

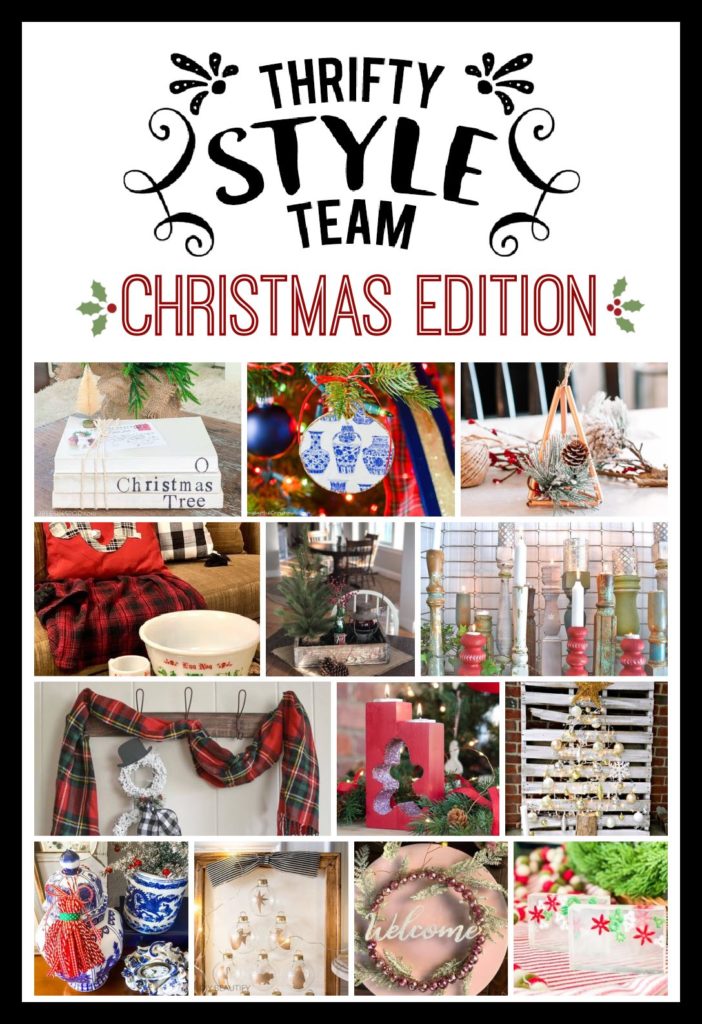
Redhead Can Decorate – 25 Affordable Thrifty DIY Christmas Decorating Ideas
The Painted Hinge – Vintage 7UP Crate Christmas Centerpiece
DIY Beautify – How to Make a Glitter Ornament Nativity
2 Bees In A Pod – Stamped Book Stacks For Christmas
Postcards From The Ridge – Easy DIY Snowman Wreath
The How To Home – Copper Geometric Christmas Ornament
The Tattered Pew – Easy Homemade Christmas Soaps For Kids
Sweet Pea – How to Make Christmas Cut Out Wooden Candleholders
What Meegan Makes – Glittery Christmas Wreath From An Embroidery Hoop
Cottage At The Crossroads – Wooden Chinoiserie Christmas Ornament
I Should Be Mopping The Floor – How To Make Christmas Tassels
Lora B Create & Ponder – DIY Repurposed Candlesticks with Sheet Metal Shades
White Arrows Home – DIY No Sew Christmas Pillow

Filed Under: Christmas, crafting, Thrifty Style Team, wreath Tagged With: Christmas, crafting, crafts, DIY, Winter, wreath

Comments

  1. Cindy LONG says

    November 14, 2020 at 5:23 AM

    Your wreath is beautiful! I love how sparkly it is! Perfect budget Christmas decor!

    Reply
  2. Angie says

    November 14, 2020 at 8:31 AM

    This is so lovely, Meegan. I love the pink and the frosted branches. So happy and warm and perfect for the holidays.

    Reply
  3. Barb says

    November 14, 2020 at 8:53 AM

    Beautiful! Great gift idea, could be personalized in sooo many ways. Wondering if diamond dust is easier than glitter to clean up? Merry Christmas!

    Reply
  4. Lora Bloomquist says

    November 14, 2020 at 9:59 AM

    This is so pretty; love the colors! Yes, that diamond dust gives the perfect sparkle! Pinned.

    Reply
  5. Mary Beth says

    November 14, 2020 at 10:40 AM

    What a pretty wreath, Meegan! So perfectly glittery and gorgeous.

    Reply
  6. Paula@SweetPea says

    November 14, 2020 at 10:46 AM

    Your wreath is absolutely lovely, Meegan! Like you, I love using Diamond Dust. It creates the most beautiful glittery and snowy look.

    Reply
  7. Michelle @ The Painted Hinge says

    November 14, 2020 at 5:54 PM

    This is so pretty Meegan! I know I used to have some embroidery hoops as a kid – I need to go to my mom’s house to see if she still has them so I can do this!

    Reply
  8. Kelly Radcliff says

    November 14, 2020 at 9:35 PM

    I love all of the sparkle and the color! SO pretty and so creative!

    Reply
  9. Jane Windham says

    November 16, 2020 at 6:10 AM

    Meegan, this is simply beautiful and I especially love it combined with the pink! I didn’t even know about diamond dust until I saw that Paula had used it so I must get some of that stuff!

    Reply
  10. Michelle Leslie says

    November 16, 2020 at 7:51 AM

    Gosh, Meegan, that’s soooooooo beautiful. It looks like something you find at those extremely expensive decor stores.

    Reply
  11. Cat Michaels says

    November 16, 2020 at 8:39 AM

    Whoa! So pretty and even do-able for craft-challenged me -:D Thanks for the tips!

    Reply
  12. Sara says

    November 16, 2020 at 8:44 AM

    So pretty Meegan; love the sparkle!

    Reply
  13. Kristi Dominguez says

    November 16, 2020 at 9:47 AM

    Meegan– This is absolutely lovely. I’m wanting to incorporate more pink into my Christmas stuff this year…this would be perfect! xoxo

    Reply
  14. Julie says

    November 16, 2020 at 9:57 AM

    I absolutely love this, Meegan!! I need one for my front door!!

    Reply
  15. Libbie@alifeunfolding says

    November 16, 2020 at 5:27 PM

    I love a little glitter at Christmas. Love the pretty colors too.

    Reply
  16. Kristin says

    November 16, 2020 at 5:55 PM

    Such a beautiful idea! I love the colors you went with and all the glitter! Pure Christmas DIY magic!

    Reply
  17. Maria Brittis says

    November 17, 2020 at 6:25 PM

    I love the glitter on the wreath so festive! Glitter is so much fun for the holidays.

    Reply

Trackbacks

  1. Copper Geometric Christmas Ornament | The How-To Home says:
    November 13, 2020 at 5:35 AM

    […] Kids Sweet Pea – How to Make Christmas Cut Out Wooden Candleholders What Meegan Makes – Glittery Christmas Wreath From An Embroidery Hoop Cottage At The Crossroads – Wooden Chinoiserie Christmas Ornament I Should Be Mopping The […]

    Reply
  2. Stamped Book Stacks for Christmas - 2 Bees in a Pod says:
    November 13, 2020 at 6:28 AM

    […] Kids Sweet Pea – How to Make Christmas Cut Out Wooden Candleholders What Meegan Makes – Glittery Christmas Wreath From An Embroidery Hoop Cottage At The Crossroads – Wooden Chinoiserie Christmas Ornament I Should Be Mopping The […]

    Reply
  3. DIY Repurposed Candlesticks with Sheet Metal Shades - Lora B. Create & Ponder says:
    November 24, 2020 at 6:52 AM

    […] Kids Sweet Pea – How to Make Christmas Cut Out Wooden Candleholders What Meegan Makes – Glittery Christmas Wreath From An Embroidery Hoop Cottage At The Crossroads – Wooden Chinoiserie Christmas Ornament I Should Be Mopping The […]

    Reply
  4. Easy DIY Snowman Wreath - Postcards from the Ridge says:
    July 26, 2022 at 2:13 PM

    […] What Meegan Makes – Glittery Christmas Wreath From An Embroidery Hoop […]

    Reply

Leave a Reply Cancel reply

Your email address will not be published. Required fields are marked *

This site uses Akismet to reduce spam. Learn how your comment data is processed.

Follow on Bloglovin

Recent Posts

  • How To Make an Orange Peel Wreath
  • Ten Things I Won’t Be Buying in 2025
  • How to Make a Felt Heart Topiary
  • How To Make a Moss Heart Topiary
  • Best of Christmas Ideas

Purchase Beautiful Home Accessories for any style

Thrifty Style Team 2nd Friday Monthly

International Blogger Club-The 3rd Monday of Each Month

Fashion Trends for Over Fifty

DIY Bicycle Rim Halloween Wreath

Create and Decorate Pumpkins With Sea Shells

Fall Tablescape in Lavender and White

Vintage Bicycle Rim Wreath for Fall

How To Make a Faux Pumpkin Centerpiece

Glittery Welcome Embroidery Hoop Wreath

70+ Crafts and Decorating Tips for Fall

Top Ten Tips and Tricks for creating a Cottage Style Home

Pineapple Pecan Coffee Cake with Caramel Glaze

Raspberry Cream Sandwich Cookies

Cream Cheese and Shrimp Cocktail Dip

PERMISSIONS

What Meegan Makes and all it’s content, pictures, ideas, etc. are original ideas and copyright protected.

Using content including but not limited to: designs, original ideas, photos, posts, etc. is prohibited.

Please ask permission before using any content from my blog for any reason and if there is any question.

Search

FEATURED ON SHABBILICIOUS FRIDAY MAGAZINE

FEATURED IN EVERYTHING HOME MAGAZINE

FEATURED ON HUFFINGTON POST

FEATURED ON HUFFINGTON POST

MY OWN RECIPE WAS FEATURED

FEATURED ON GOOD HOUSEKEEPING

Designer Insights from Terry’s Fabrics

Copyright © 2025 ·Beautiful Pro Theme · Genesis Framework by StudioPress · WordPress · Log in