What Meegan Makes

vintage style, cottage living, home cooking

  • Home
  • Contact for Collaborations
  • Privacy Policy and Disclosure
  • Furniture Makeovers
  • 10 DIY Seasonal Banners
  • 15 Creative Spring Crafts

Stenciled & Framed Book Page Quote

July 9, 2013 By Meegan 8 Comments

A few weeks ago Hubby was talking to his buddies at work.  They were commenting how they each have a “man cave”.  Then my husband popped up and said, “I don’t think I have a space in my house.”  I was already thinking about this, and feeling pretty guilty.  I have so much fun decorating our home, I really did forget to add his touch to our home.  I thought a great place to start would be our bedroom.  You know how much I love to work with book pages, so I made a Stenciled & Framed Book Page Quote for above our bed.

This quote, “I’m Glad you caught that pass”  has special meaning to us.  When we met the first time, we were playing football with a bunch of mutual friends out on a grassy area.  Hubby and I were on the same team.

Stenciled & Framed Book Page QuoteHe was the quarterback and called the plays.  To tell you the truth, I am not too athletic.  I have rhythm and can dance, but to catch or throw a football, that’s not me.
Stenciled & Framed Book Page QuoteWe were tied at 14-14.

Stenciled & Framed Book Page QuoteAnd it was the last few minutes of the last quarter.
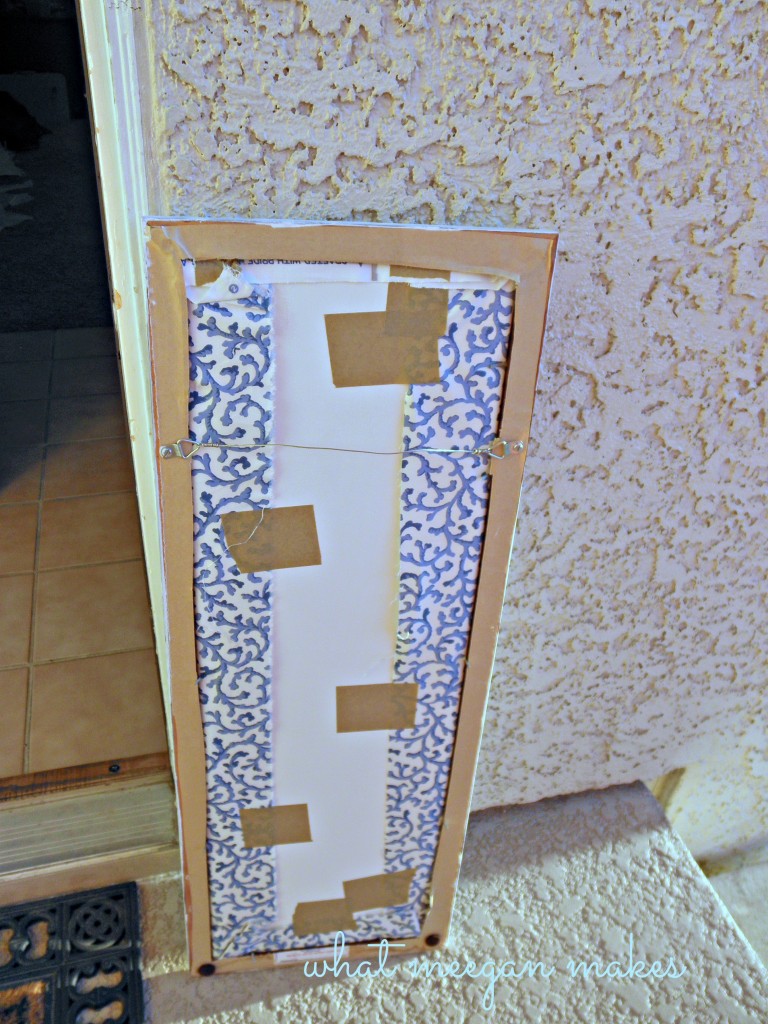
Stenciled & Framed Book Page QuoteThe play Hubby called was for me to catch the ball in the endzone.  SO much pressure!!

I remember running towards the end zone, turning…
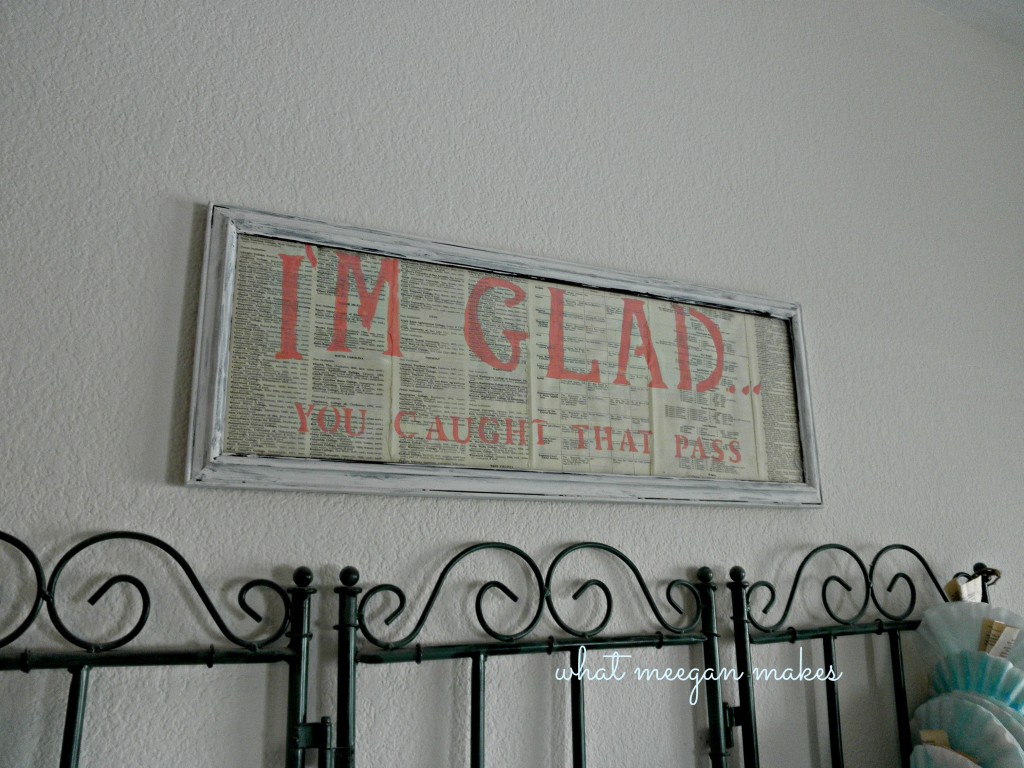
Stenciled & Framed Book Page Quotereaching both my arms straight out in front of me.  Before I knew what happened, I caught the pass!  I really caught the pass!  Hubby ran up to me, giving me a high five, saying, I can’t believe you caught that!  I threw that hard!”  He hadn’t ever noticed me until then.  But because of a football falling into my arms, he noticed me!!  Crazy, I know!

Stenciled & Framed Book Page QuoteTwo weeks later we went on our first date.  At the end of the evening he said, “I’m glad you caught that pass.”

After our 3rd date, he finally kissed me, and again, he said,”I’m glad you caught that pass.”
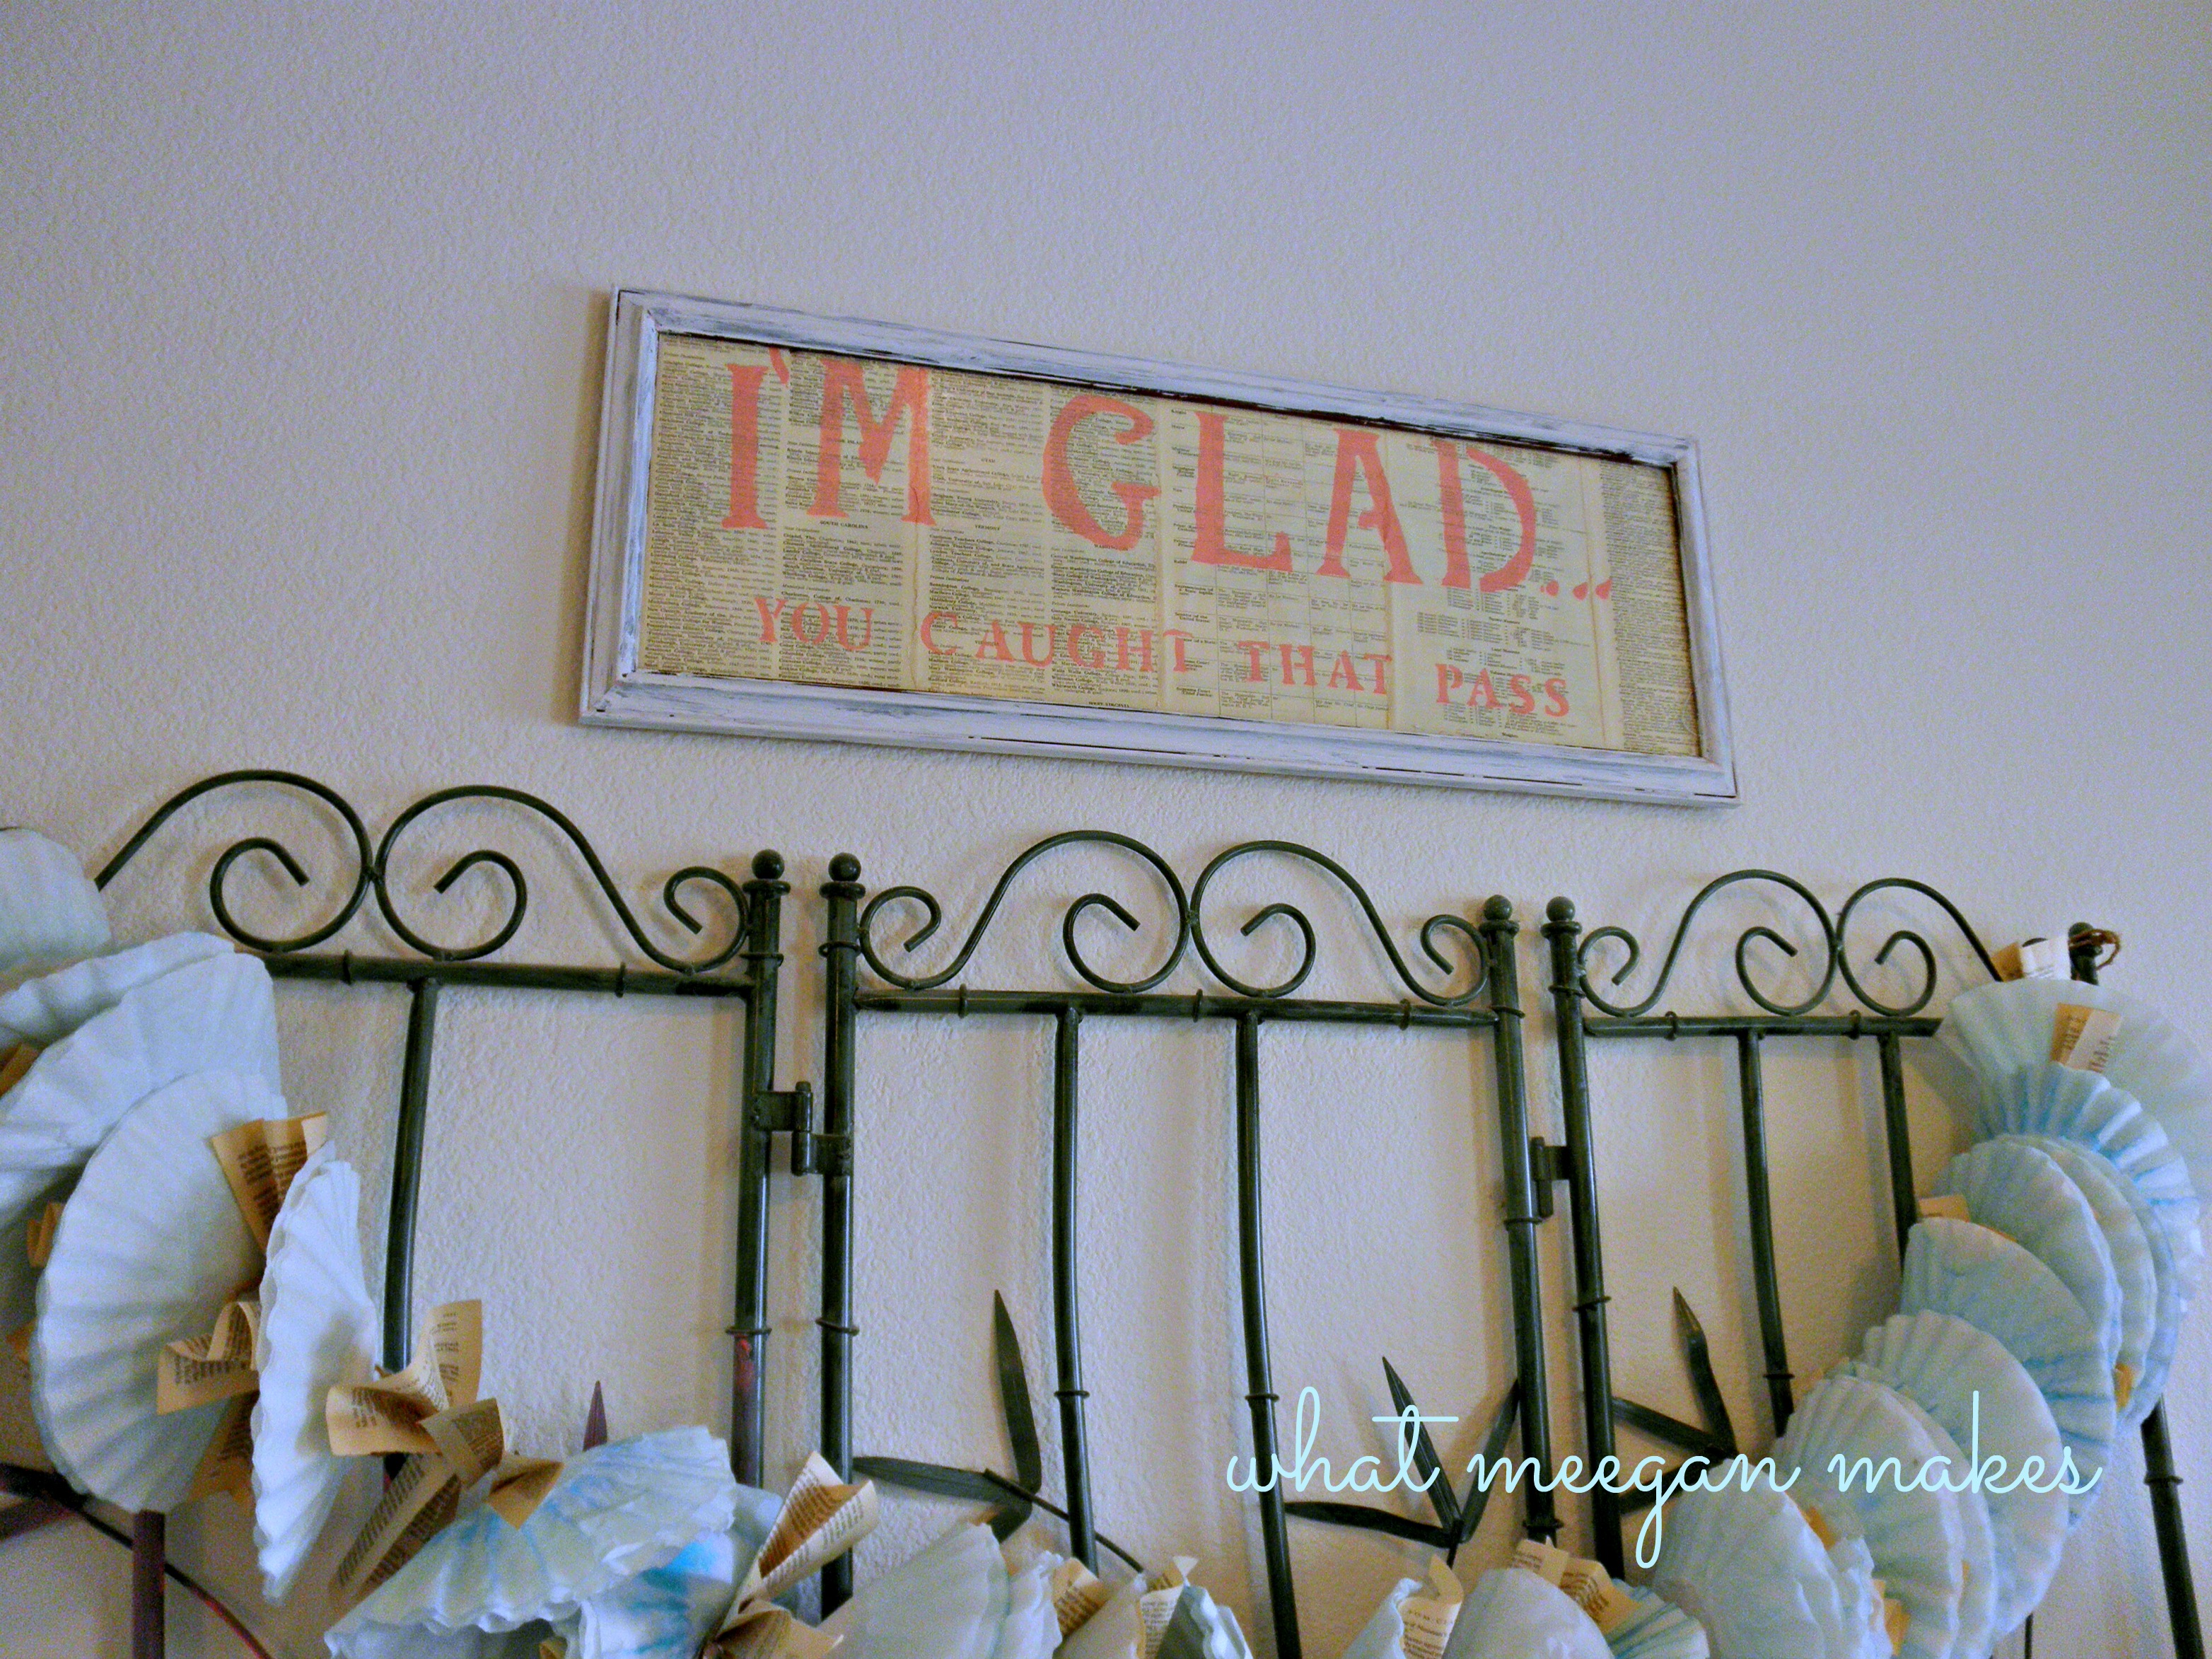
Stenciled & Framed Book Page QuoteAfter we were married driving to our reception, he said,”I sure am glad you caught that pass!”

So to add a little of Hubby to our room, I made this Stenciled & Framed Book Page Quote.  Needless to say, he was so happy to see it hanging in our room.  By no means does this make our room a “man cave”, but it IS “us”, not just me.

I am also working on a few other ideas to bring his favorite color into our space.  I will be sharing that with you, too.

What is a favorite quote or saying that you could add the make your space more personalized?  Do you have a story that needs to be told and shared in your home?   I would love for you to tell me.

Thanks for stopping by today.

Are you following me by email yet?  I would not want you to miss out on my posts.

I share little bits and pieces of my blog and life on:

Pinterest Facebook Hometalk Google + Stumble Upon Bloglovin’ twitter Instagram

Make it a terrific Tuesday.

Stenciled & Framed Book Page Quote
This post is linked to fabulous parties here.
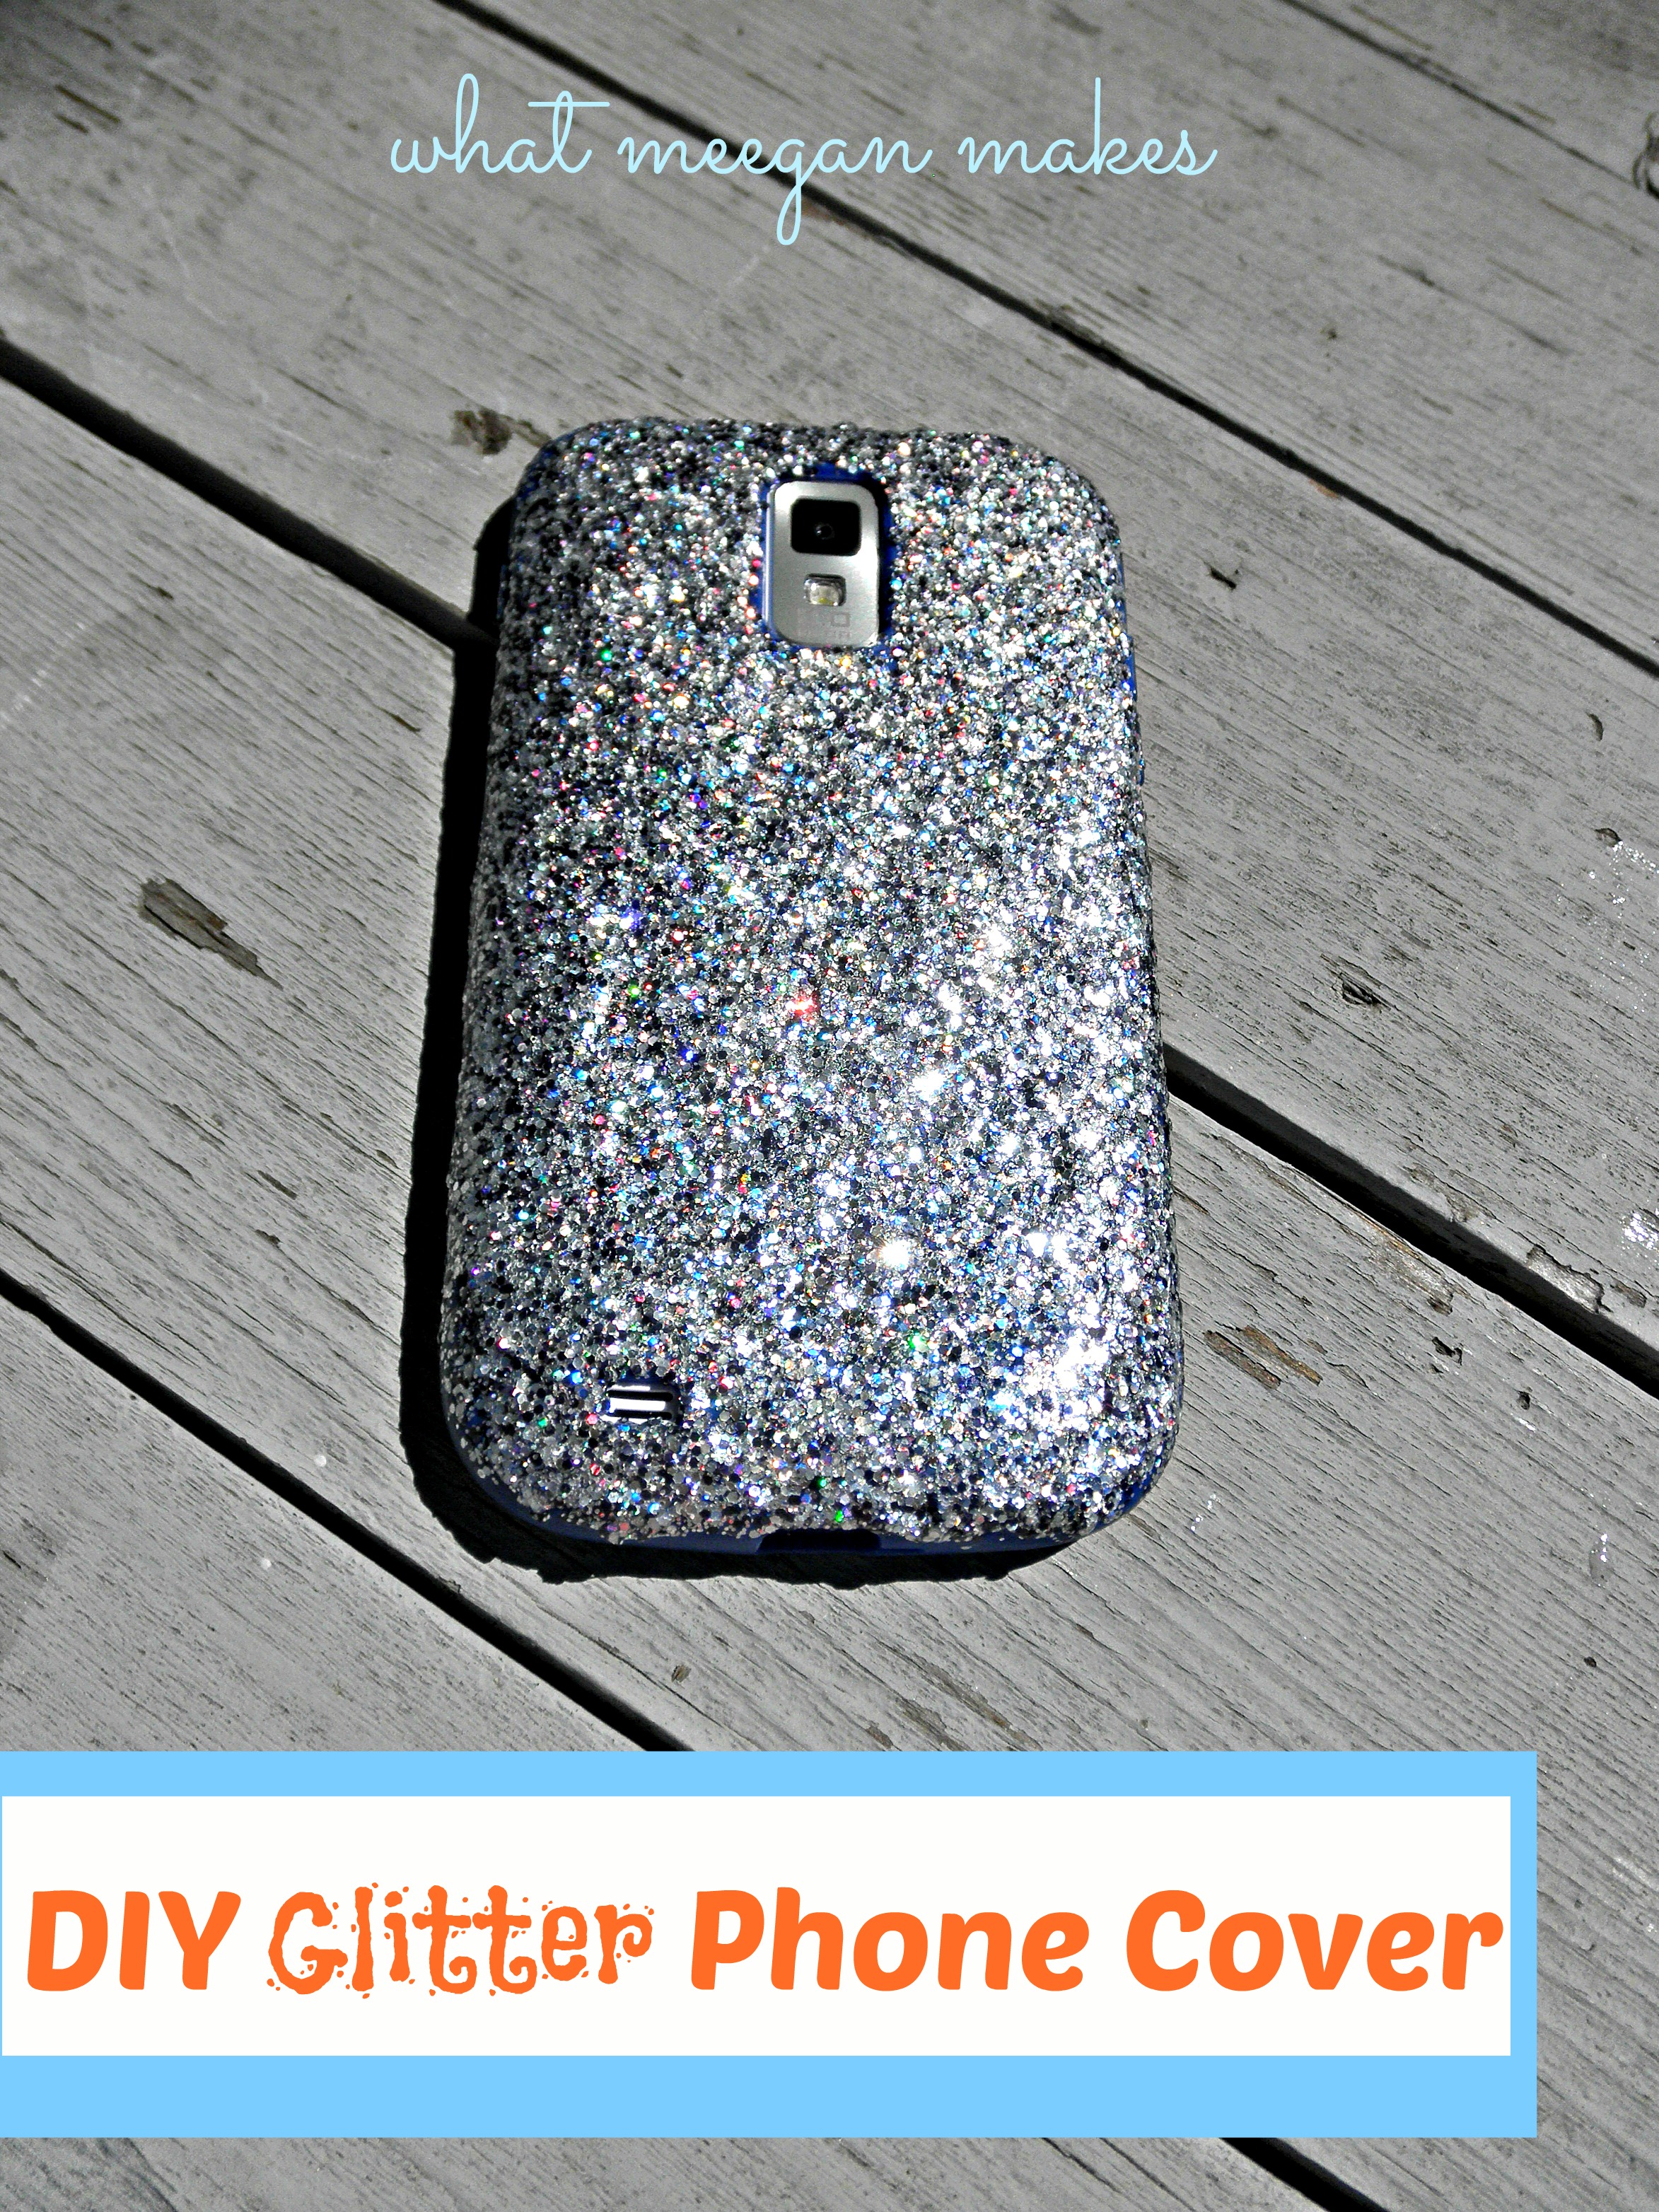
DIY Glitter Phone Cover

July 2, 2013 By Meegan 3 Comments

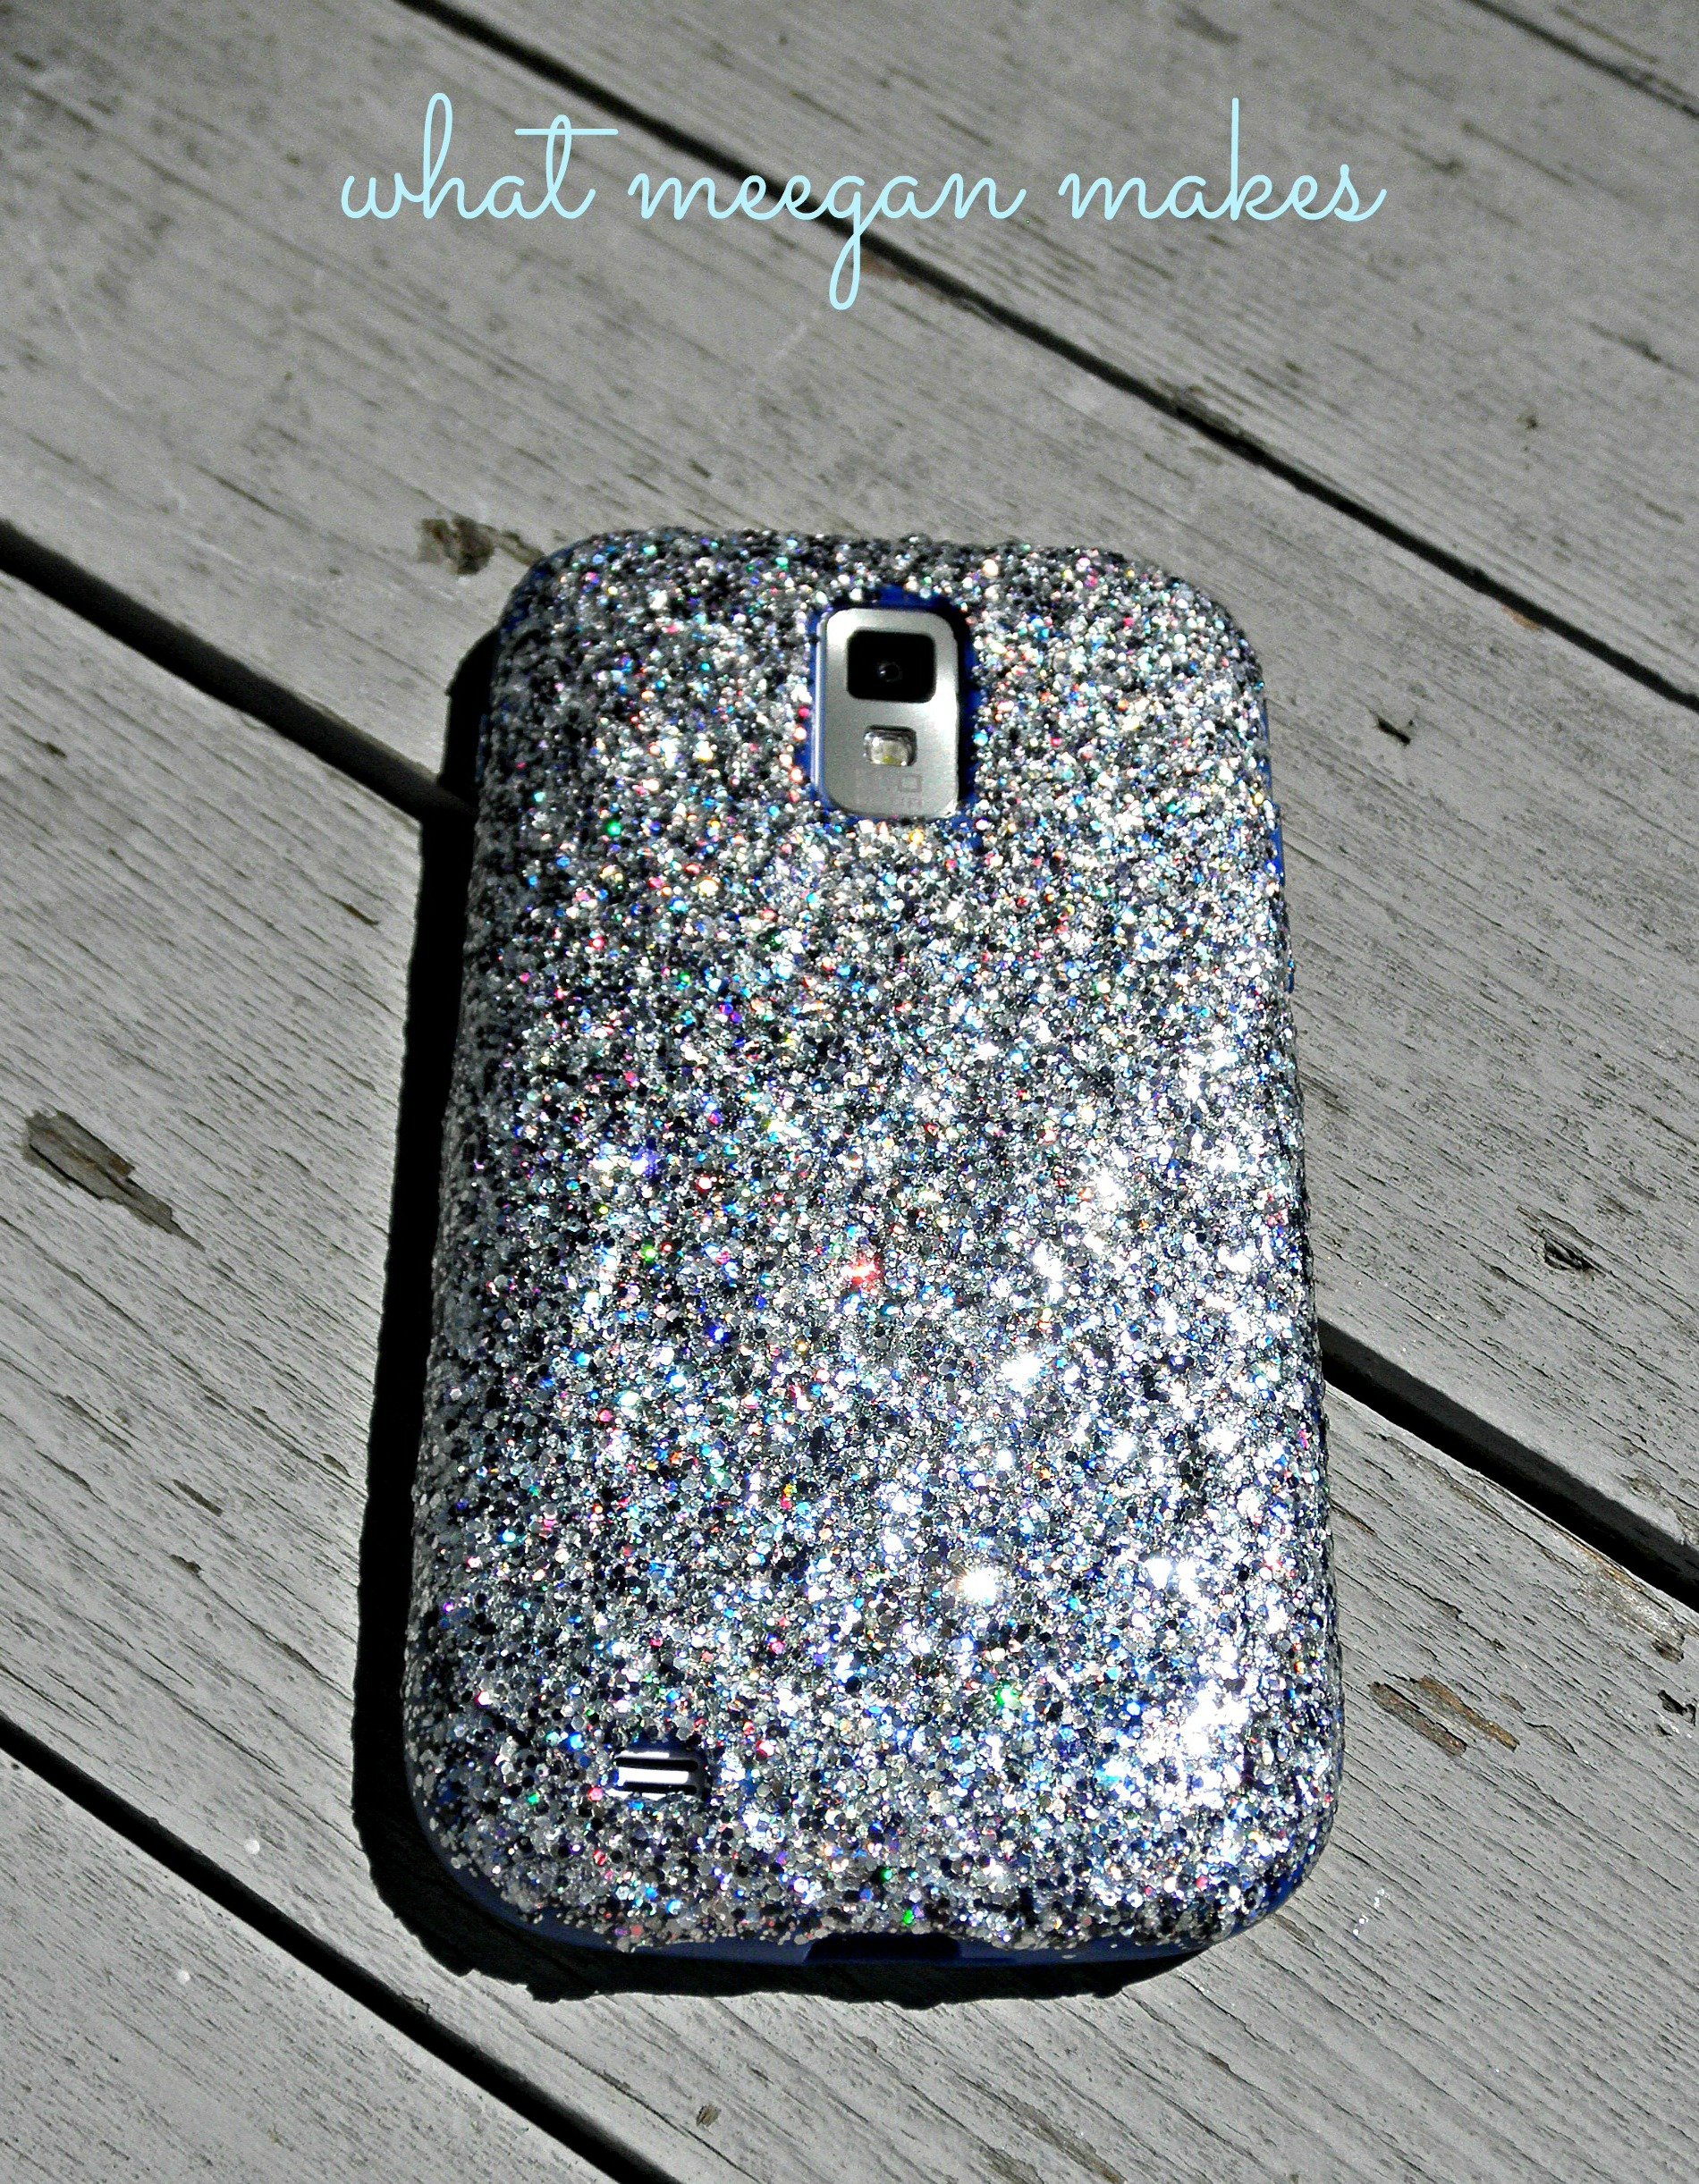
I am always looking for a fun phone case.  Something a little different than everyone else.  So, I made my own DIY glitter phone case.  And, it is SO VERY EASY!!  I mean, easy peasy!

I made mine while I was in Oregon and neglected to take pictures of the process, so I have recreated my steps here at home.  Enjoy…

DIY Glitter Phone Cover

You can use any type of phone case.  The softer cases work the best.

DIY Glitter Phone Cover

I cleaned my case off with a disinfectant wipe the get all the dirt & residue off.  This way the glitter will adhere better.

DIY Glitter Phone Cover

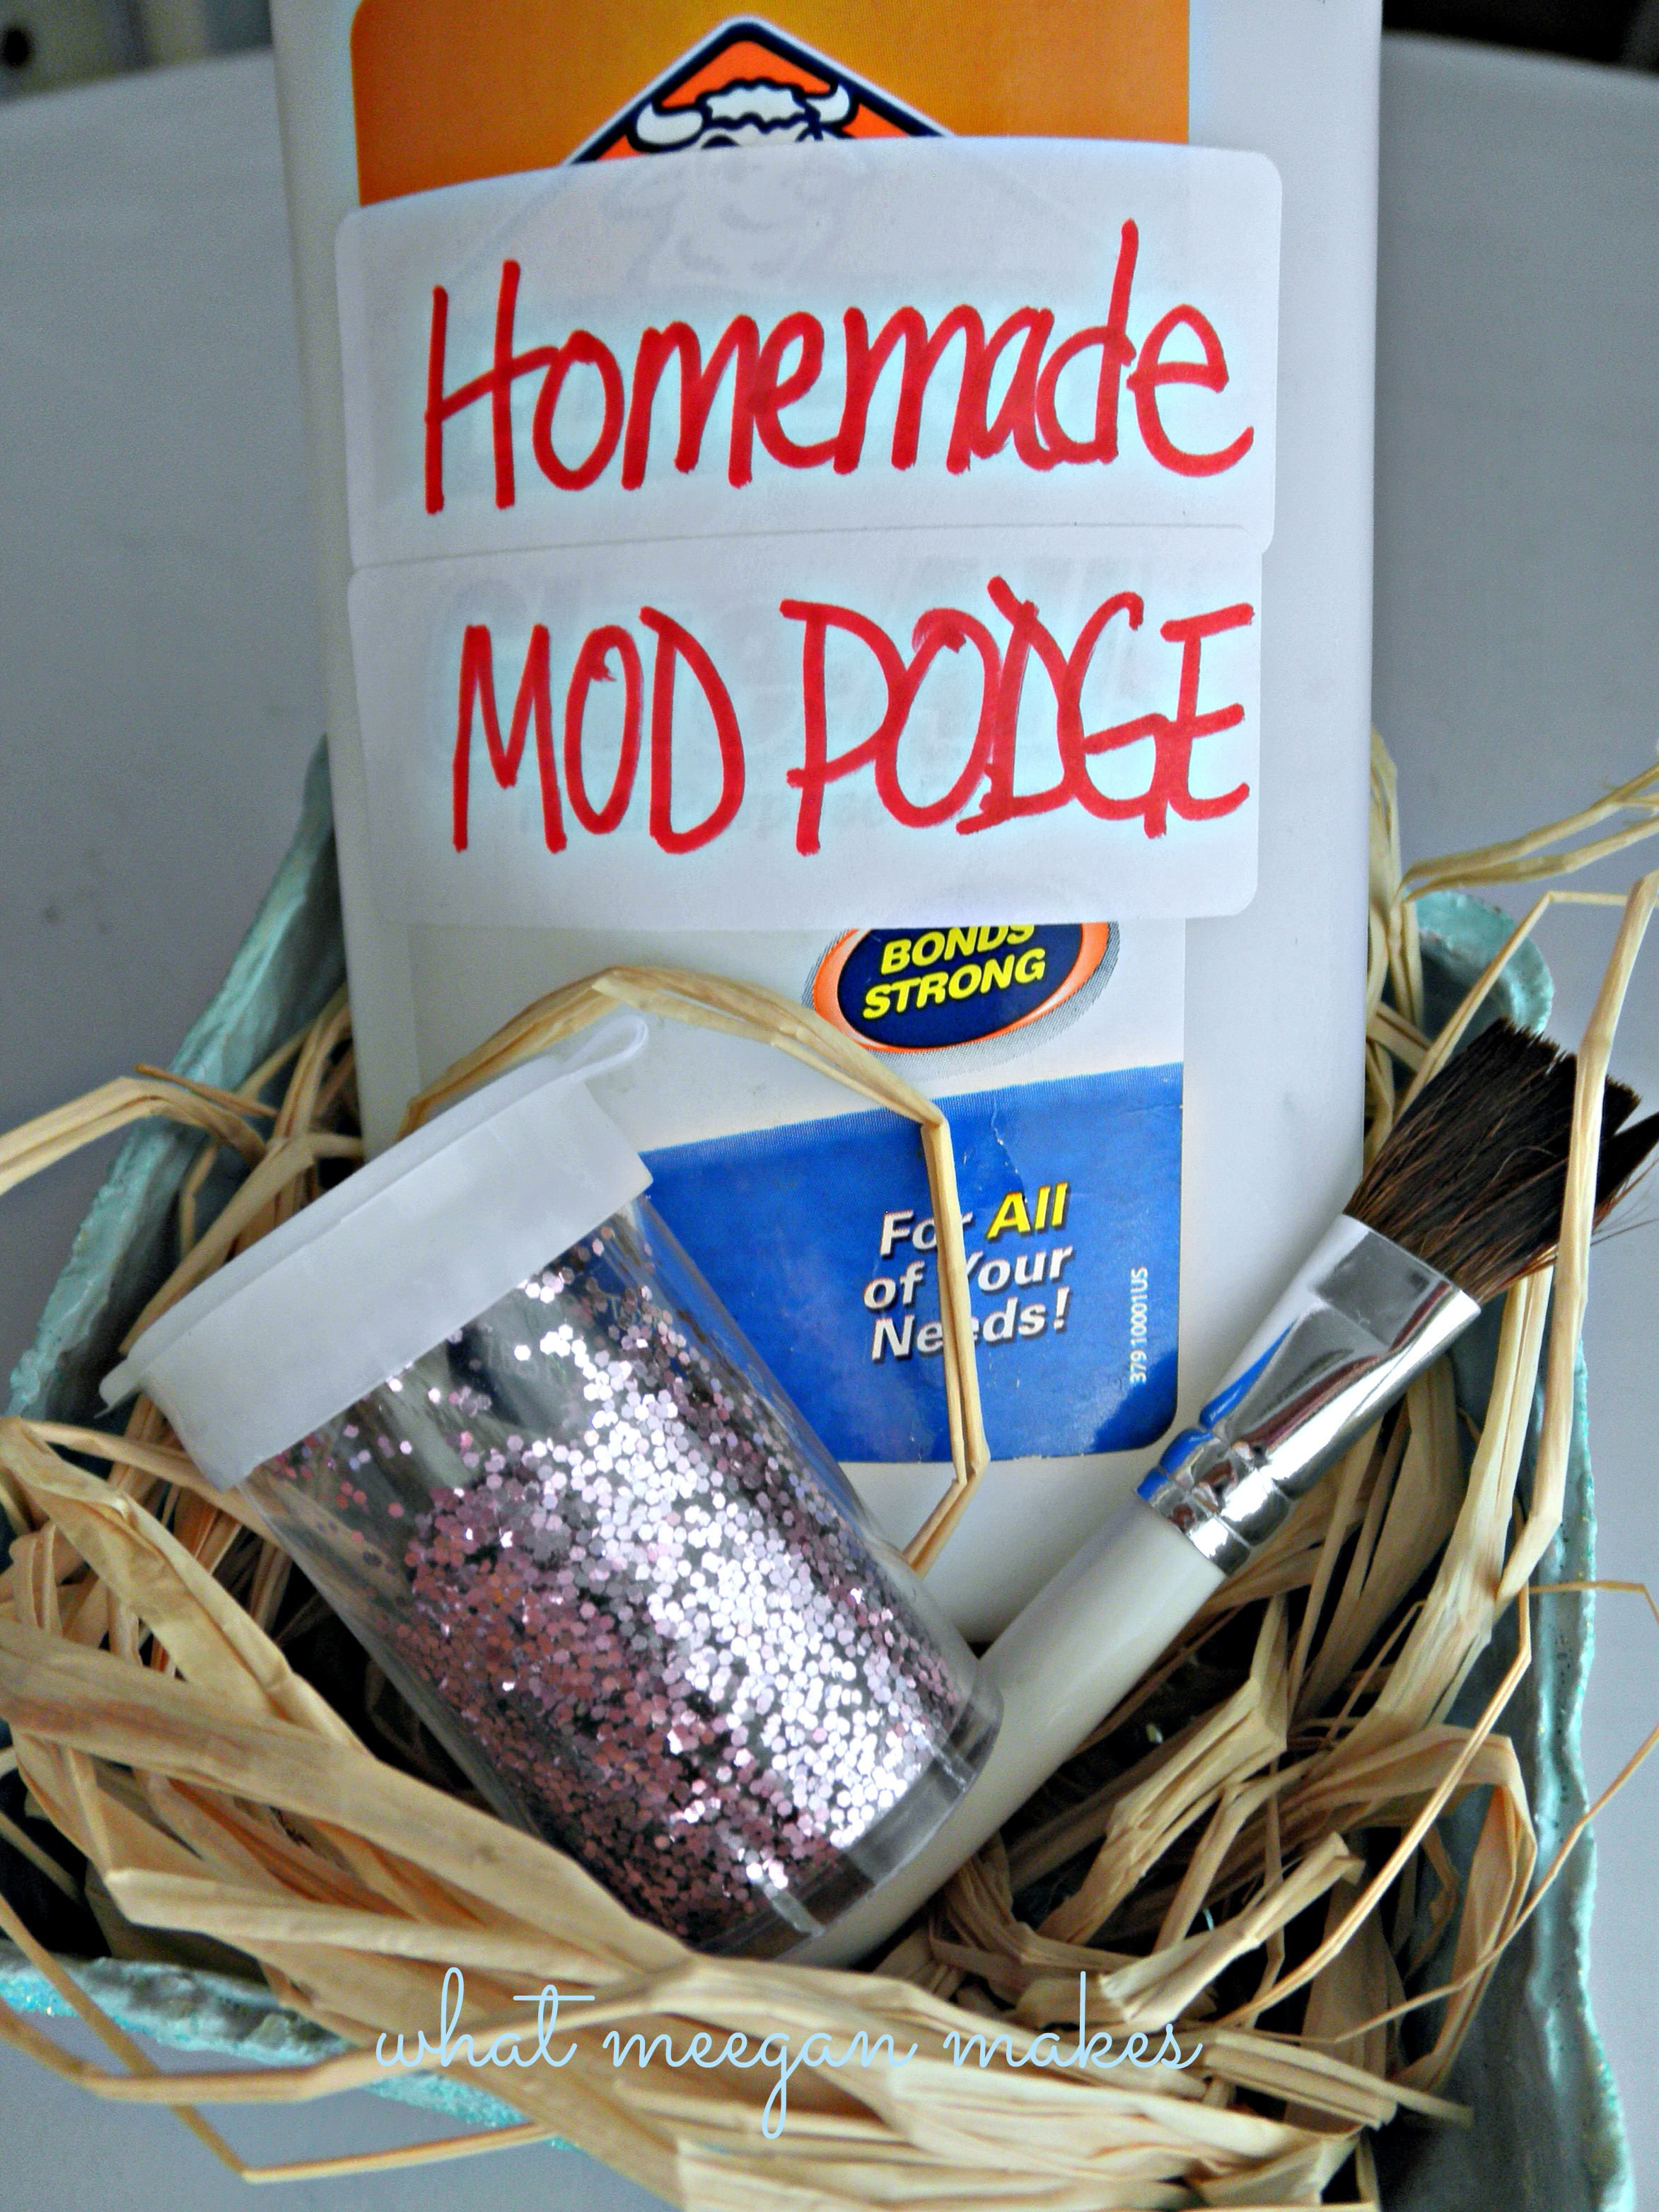
You will need mod podge, glitter, and a brush.  (I made my own mod podge-1/3 water/2/3 Elmer’s Glue)

DIY Glitter Phone Cover

Make a mixture of 1/2 mod podge and 1/2 glitter.

DIY Glitter Phone Cover

Begin with one layer of this mixture.  Let it almost dry.  Do this process 2 more times.

DIY Glitter Phone Cover

Your 3rd layer will look like this when wet. As you brush the glitter on, make sure the glitter isn’t clumped and piled.  Try to make it as smooth as possible.

DIY Glitter Phone Cover

Let it dry until it isn’t sticky to the touch.

DIY Glitter Phone Cover

When it’s completely dry you will have a beautiful, glitter phone cover in no time at all!!

Questions:

1. Is it sticky after it dries?  No, it is very smooth.

2. Does the glitter fall or peel off?  Occasionally, I will see a spec of glitter on my screen.  But, that’s all.  It will peel if you peel it off, but it is adhered solidly.

3. Can I ever take it off?  Of course.  Using a very wet paper towel moisten the glitter and mod podge.  It will gradually be loose enough to scrape and peel off.

I hope you have enjoyed this simple idea for a DIY Glitter Phone Case.  It was a fun project for me for sure!!  What color are you going to choose for your DIY Glitter Phone Case?

Thanks for stopping by today.

Are you following me by email yet?  I wouldn’t want you to miss out on my posts.

I share little bits and pieces of my blog and life on here:

Pinterest Facebook Hometalk Google + Stumble Upon Bloglovin’ twitter Instagram

Make it a terrific Tuesday!

DIY Glitter Phone Cover
This post is linked to fabulous parties here.

I’ve Got The Monday Blues-Makeovers & A Sign

July 1, 2013 By Meegan 8 Comments

Monday is here!!  It’s July 1st and I have the Monday Blues-Makeovers & a Sign to share with you today!  These are from some of my favorite bloggers in all of blogland, so I know you enjoy them.

Okay, let’s get started!!

I've Got The Monday Blues-Makeovers & A Sign


Can you believe this before and after???  It doesn’t even look like the same island, does it?  Kristi is multi-talented, and this show cases those talents for sure!

island_previewKitchen Island Transformation

I Should Be Mopping The Floor

My friend, Jen used 3 chairs to make a beautiful back porch bench.   Who would of thought to do this…Only my friend Jen.  Love it!

newbefore-after

Dumpy Chairs to Benchy Flair

Four Marrs and One Venus

Barbara found this cute wood stool while thrifting.  She had a great vision and went with it.  It looks fabulous!  Barbara has lots of tips and tutorials on her blog.  You will also discover that she is a “blue lover”, too.

stool collageWood Stool-A Thrift Store Makeover

Chase The Star

My new friend, Claire  made over these old metal patio chairs.  Don’t they look brand new, now?  You will like Claire’s taste and ideas, for sure!

B4-and-After-PM-CollageMetal Patio Furniture Makeover

A Little Claireification

My sweet friend, Sharon is SO talented in the painting department.  She had this dresser, did her “painting magic” and voila!!  Gorgeous!

IMG_0984Cottage Blue Dresser

Elizabeth & Co

This dresser makes my heart sing-really, it’s singing!!I love the ombre and the glass drawer pulls, don’t you?

DSC_0043Ombre Dresser Makeover

The Feminist Housewife

My cute friend, Chelsea used chalk paint on this vintage high chair.  LOVE this look and color.  Chelsea is another multi-talented blogger.  Love her work and so will you.

vintage-high-chair-with-annie-sloan-chalk-paintVintage High Chair

Making Home Base

Seriously??  Molly is so talented!  The blue table is a great fit for the rest of this room.  You will love seeing Molly’s travels and ideas.

table 1Duck Egg Blue Kitchen Table

The Poor Sophisticate

For a coastal, beachy look, use stripes for your furniture makeover.  Then be sure to age it with some sanding.  It will work every time!!

Picture11957The Striped Phase

In the Fun Lane

Tanya  has so much fun using her talents and ideas…She made this sign for some Summer fun.  You could make this beauty for a party, baby or bridal shower, maybe even your bedroom!!

to the moon and back sign final

To The Moon And Back Painted Sign

twelve 0 eight

Don’t I have amazingly talented blogging friends?  I have learned how to be a better blogger, decorator, painter and makeover “doer”(Is that a word??) from all of them.

I’d love for you to pin the features, but please click through and pin from the original source.

I hope you have enjoyed I’ve Got The Monday Blues-Makeovers & A Sign!!

Thanks for joining me today for:

I've Got The Monday Blues-Makeovers & A Sign

Make it a Blue Monday!

149x74xaname1.jpg.pagespeed.ic.OoDiQACbKI

I share little bits and pieces of my blog and life on here:

Pinterest Facebook Hometalk Google + Stumble Upon Bloglovin’ twitter Instagram
This post is linked to fabulous parties here.
DIY Refrigerator Magnets Using Vintage Broaches and Pins

June 13, 2013 By Meegan 36 Comments

While I was in Oregon, my daughter and I did lots of traveling, crafting, shopping, thrifting, antiquing, eating, and laughing. We had so much fun!  She has a lot of DIY projects in her home. They are all very impressive.

I fell in love with these DIY refrigerator magnets using vintage brooches and pins.

DIY Refrigerator Magnets Using Vintage Brooches and Pins

Don’t you just love these magnets?  They would beautify any refrigerator or magnet board.

Continue Reading

« Previous Page
Next Page »

Recent Posts

  • Make Ahead Christmas Cookies
  • How to Make Bread and Butter Pickled Onions
  • Best Rattan Bedroom Choices
  • Ten Summer Beach Essentials
  • Thrifted Basket for Entertaining

Purchase Beautiful Home Accessories for any style

Thrifty Style Team 2nd Friday Monthly

International Blogger Club-The 3rd Monday of Each Month

Fashion Trends for Over Fifty

DIY Bicycle Rim Halloween Wreath

Create and Decorate Pumpkins With Sea Shells

Fall Tablescape in Lavender and White

Vintage Bicycle Rim Wreath for Fall

How To Make a Faux Pumpkin Centerpiece

Glittery Welcome Embroidery Hoop Wreath

70+ Crafts and Decorating Tips for Fall

Top Ten Tips and Tricks for creating a Cottage Style Home

Pineapple Pecan Coffee Cake with Caramel Glaze

Raspberry Cream Sandwich Cookies

Cream Cheese and Shrimp Cocktail Dip

PERMISSIONS

What Meegan Makes and all it’s content, pictures, ideas, etc. are original ideas and copyright protected.

Using content including but not limited to: designs, original ideas, photos, posts, etc. is prohibited.

Please ask permission before using any content from my blog for any reason and if there is any question.

Search

FEATURED ON SHABBILICIOUS FRIDAY MAGAZINE

FEATURED IN EVERYTHING HOME MAGAZINE

FEATURED ON HUFFINGTON POST

FEATURED ON HUFFINGTON POST

MY OWN RECIPE WAS FEATURED

FEATURED ON GOOD HOUSEKEEPING

Designer Insights from Terry’s Fabrics

Copyright © 2026 ·Beautiful Pro Theme · Genesis Framework by StudioPress · WordPress · Log in