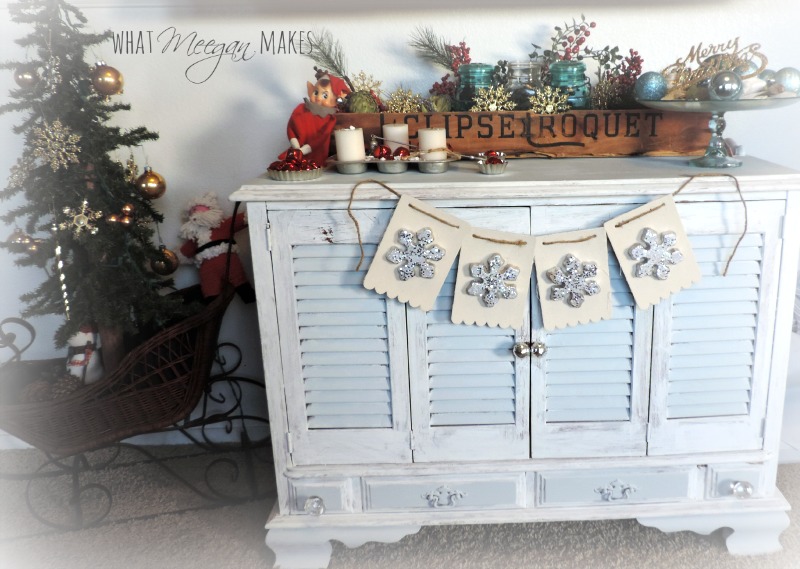
Welcome to another week of Christmas fun here on What Meegan Makes! Today I am excited to share a personal favorite craft of mine. My DIY Snowflake Banner. It’s super easy and looks great in any home or with any theme.
I know you have already seen most of our Christmas home through my Christmas Tour 2014. But I can’t help but show you MORE of my Christmas goodies and ideas.
Let me show you how I made my DIY Snowflake Banner:
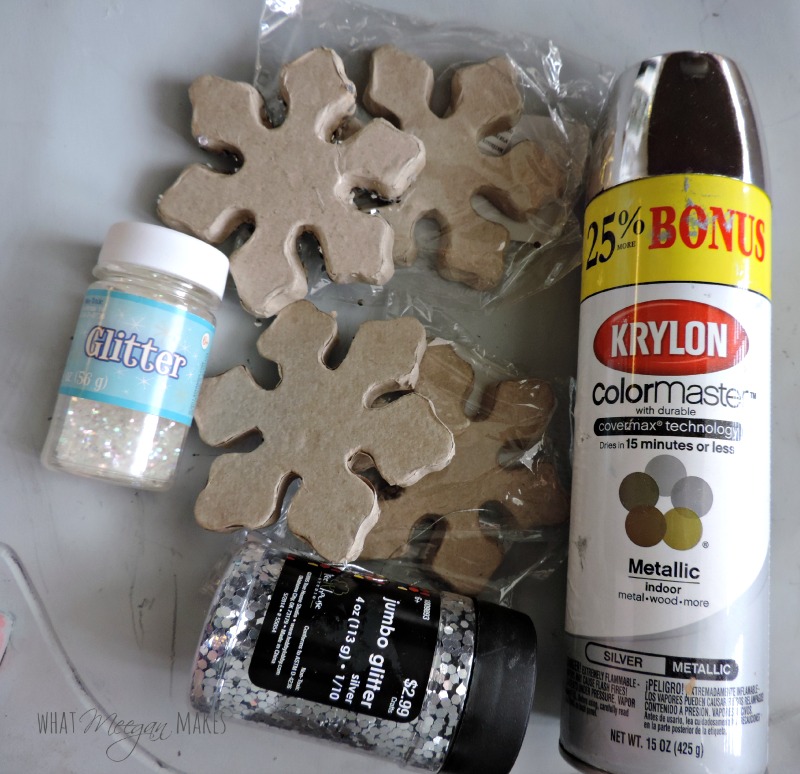
I bought snowflake cardstock ornaments, silver spray paint, large silver glitter, and white iridescent glitter.
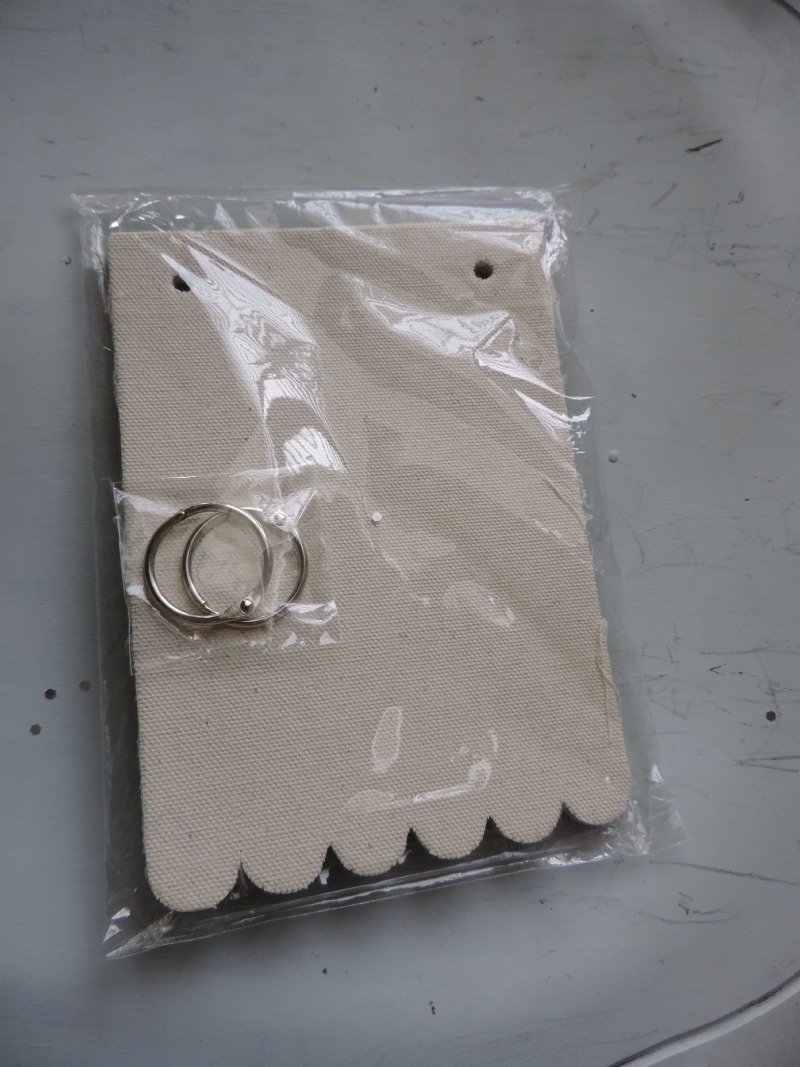
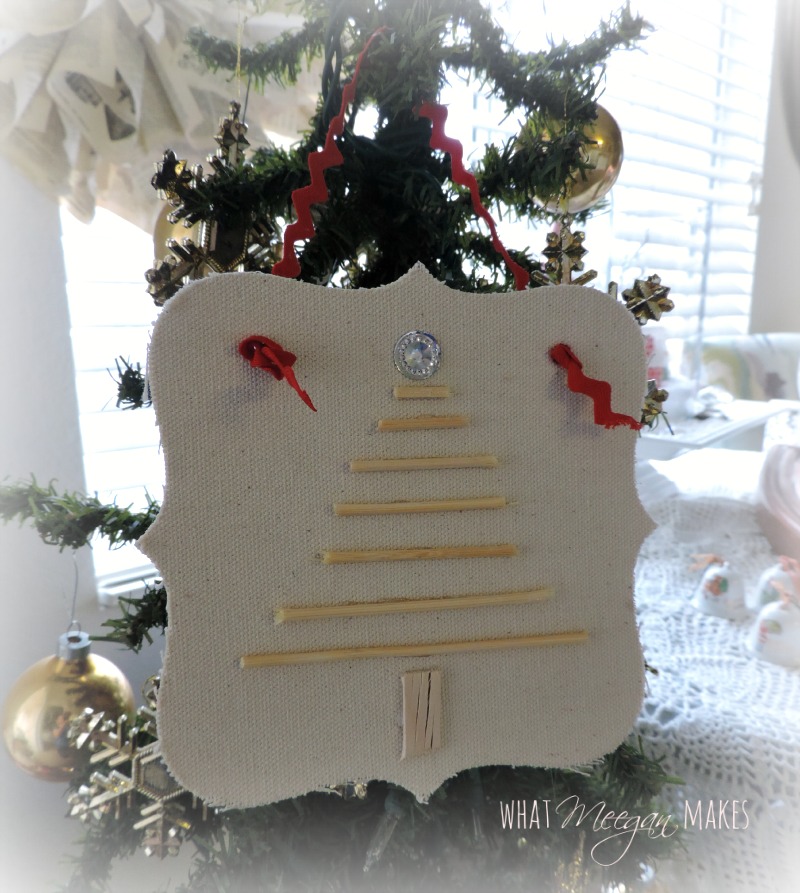
If you remember, I also used fabric covered chipboard cutouts to make my Christmas Tree Door Hanger.
These are ideal for my DIY Snowflake Banner, too.
(Okay, back to my DIY Snowflake Banner)
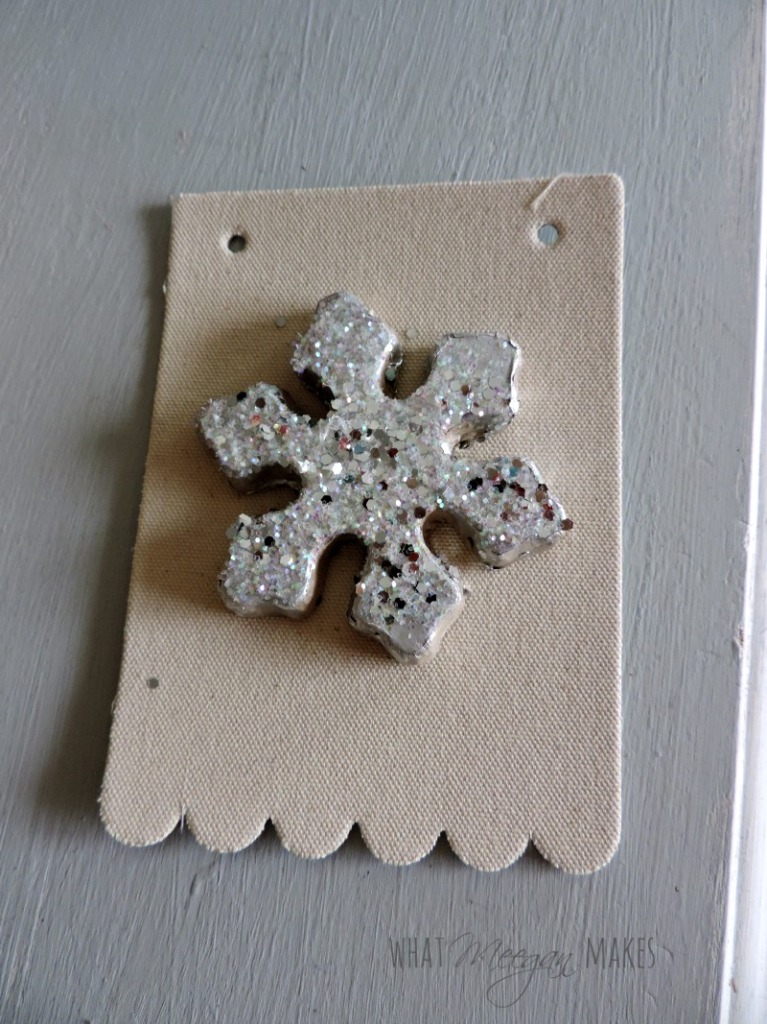
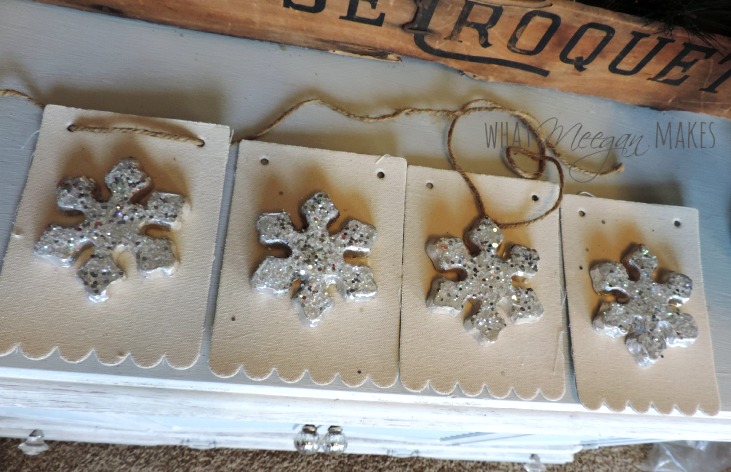
I spray painted my snowflakes with silver metallic paint. I did this so every inch of my snowflakes were covered.
Using a thin coat of Elmers glue, I added both the iridescent and large silver glitter. Easy so far, right?
To adhere the snowflakes to the fabric covered chipboard, I used hot glue. SUPER easy!
To connect the banner, I used jute with a little extra on each side for hanging.
I really like how each snowflake is different. Just like they are in REAL life.
I hope you will take time to make your own DIY Snowflake Banner.
The snowflake banner would also make a great gift for a neighbor or friend, don’t you think?
It can easily stay up through January, with Winter white decorations.
Post updated October 2025



Pine Cones for Winter Decorating









Leave a Reply