What Meegan Makes

vintage style, cottage living, home cooking

  • Home
  • Contact for Collaborations
  • Privacy Policy and Disclosure
  • Furniture Makeovers
  • 10 DIY Seasonal Banners
  • 15 Creative Spring Crafts

DIY Glitter Phone Cover

July 2, 2013 By Meegan 3 Comments

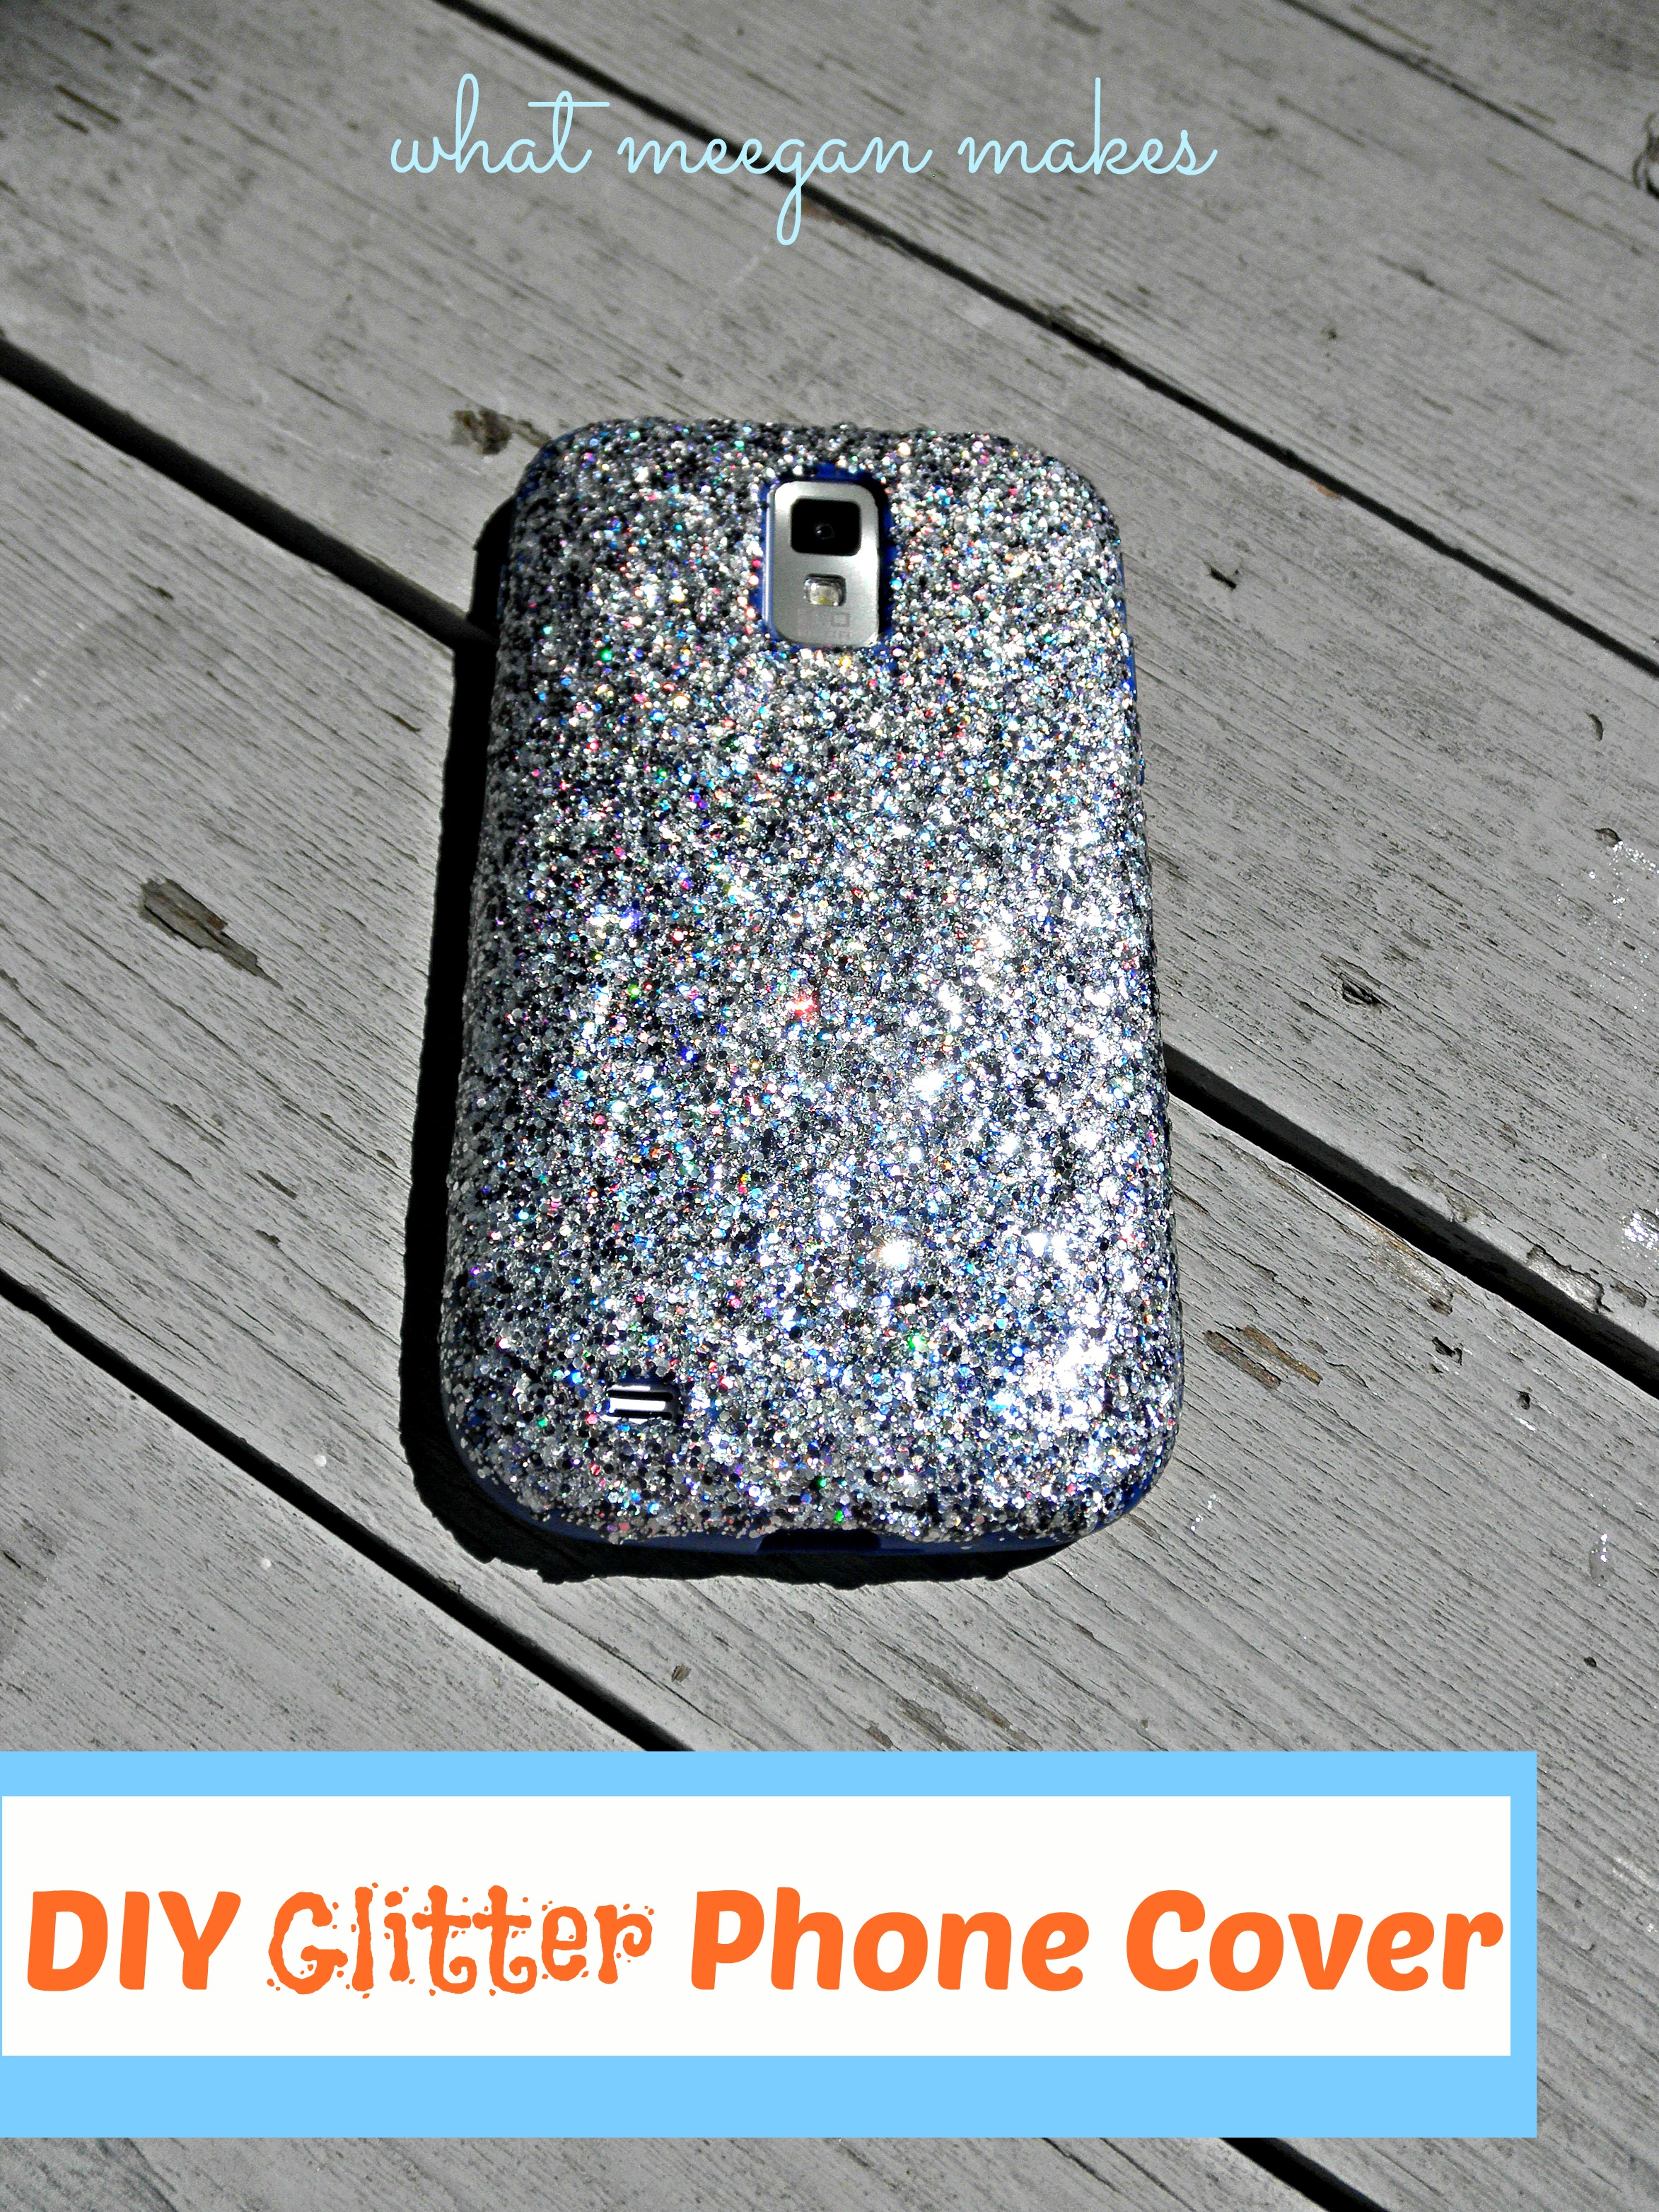
I am always looking for a fun phone case.  Something a little different than everyone else.  So, I made my own DIY glitter phone case.  And, it is SO VERY EASY!!  I mean, easy peasy!

I made mine while I was in Oregon and neglected to take pictures of the process, so I have recreated my steps here at home.  Enjoy…

DIY Glitter Phone Cover

You can use any type of phone case.  The softer cases work the best.

DIY Glitter Phone Cover

I cleaned my case off with a disinfectant wipe the get all the dirt & residue off.  This way the glitter will adhere better.

DIY Glitter Phone Cover

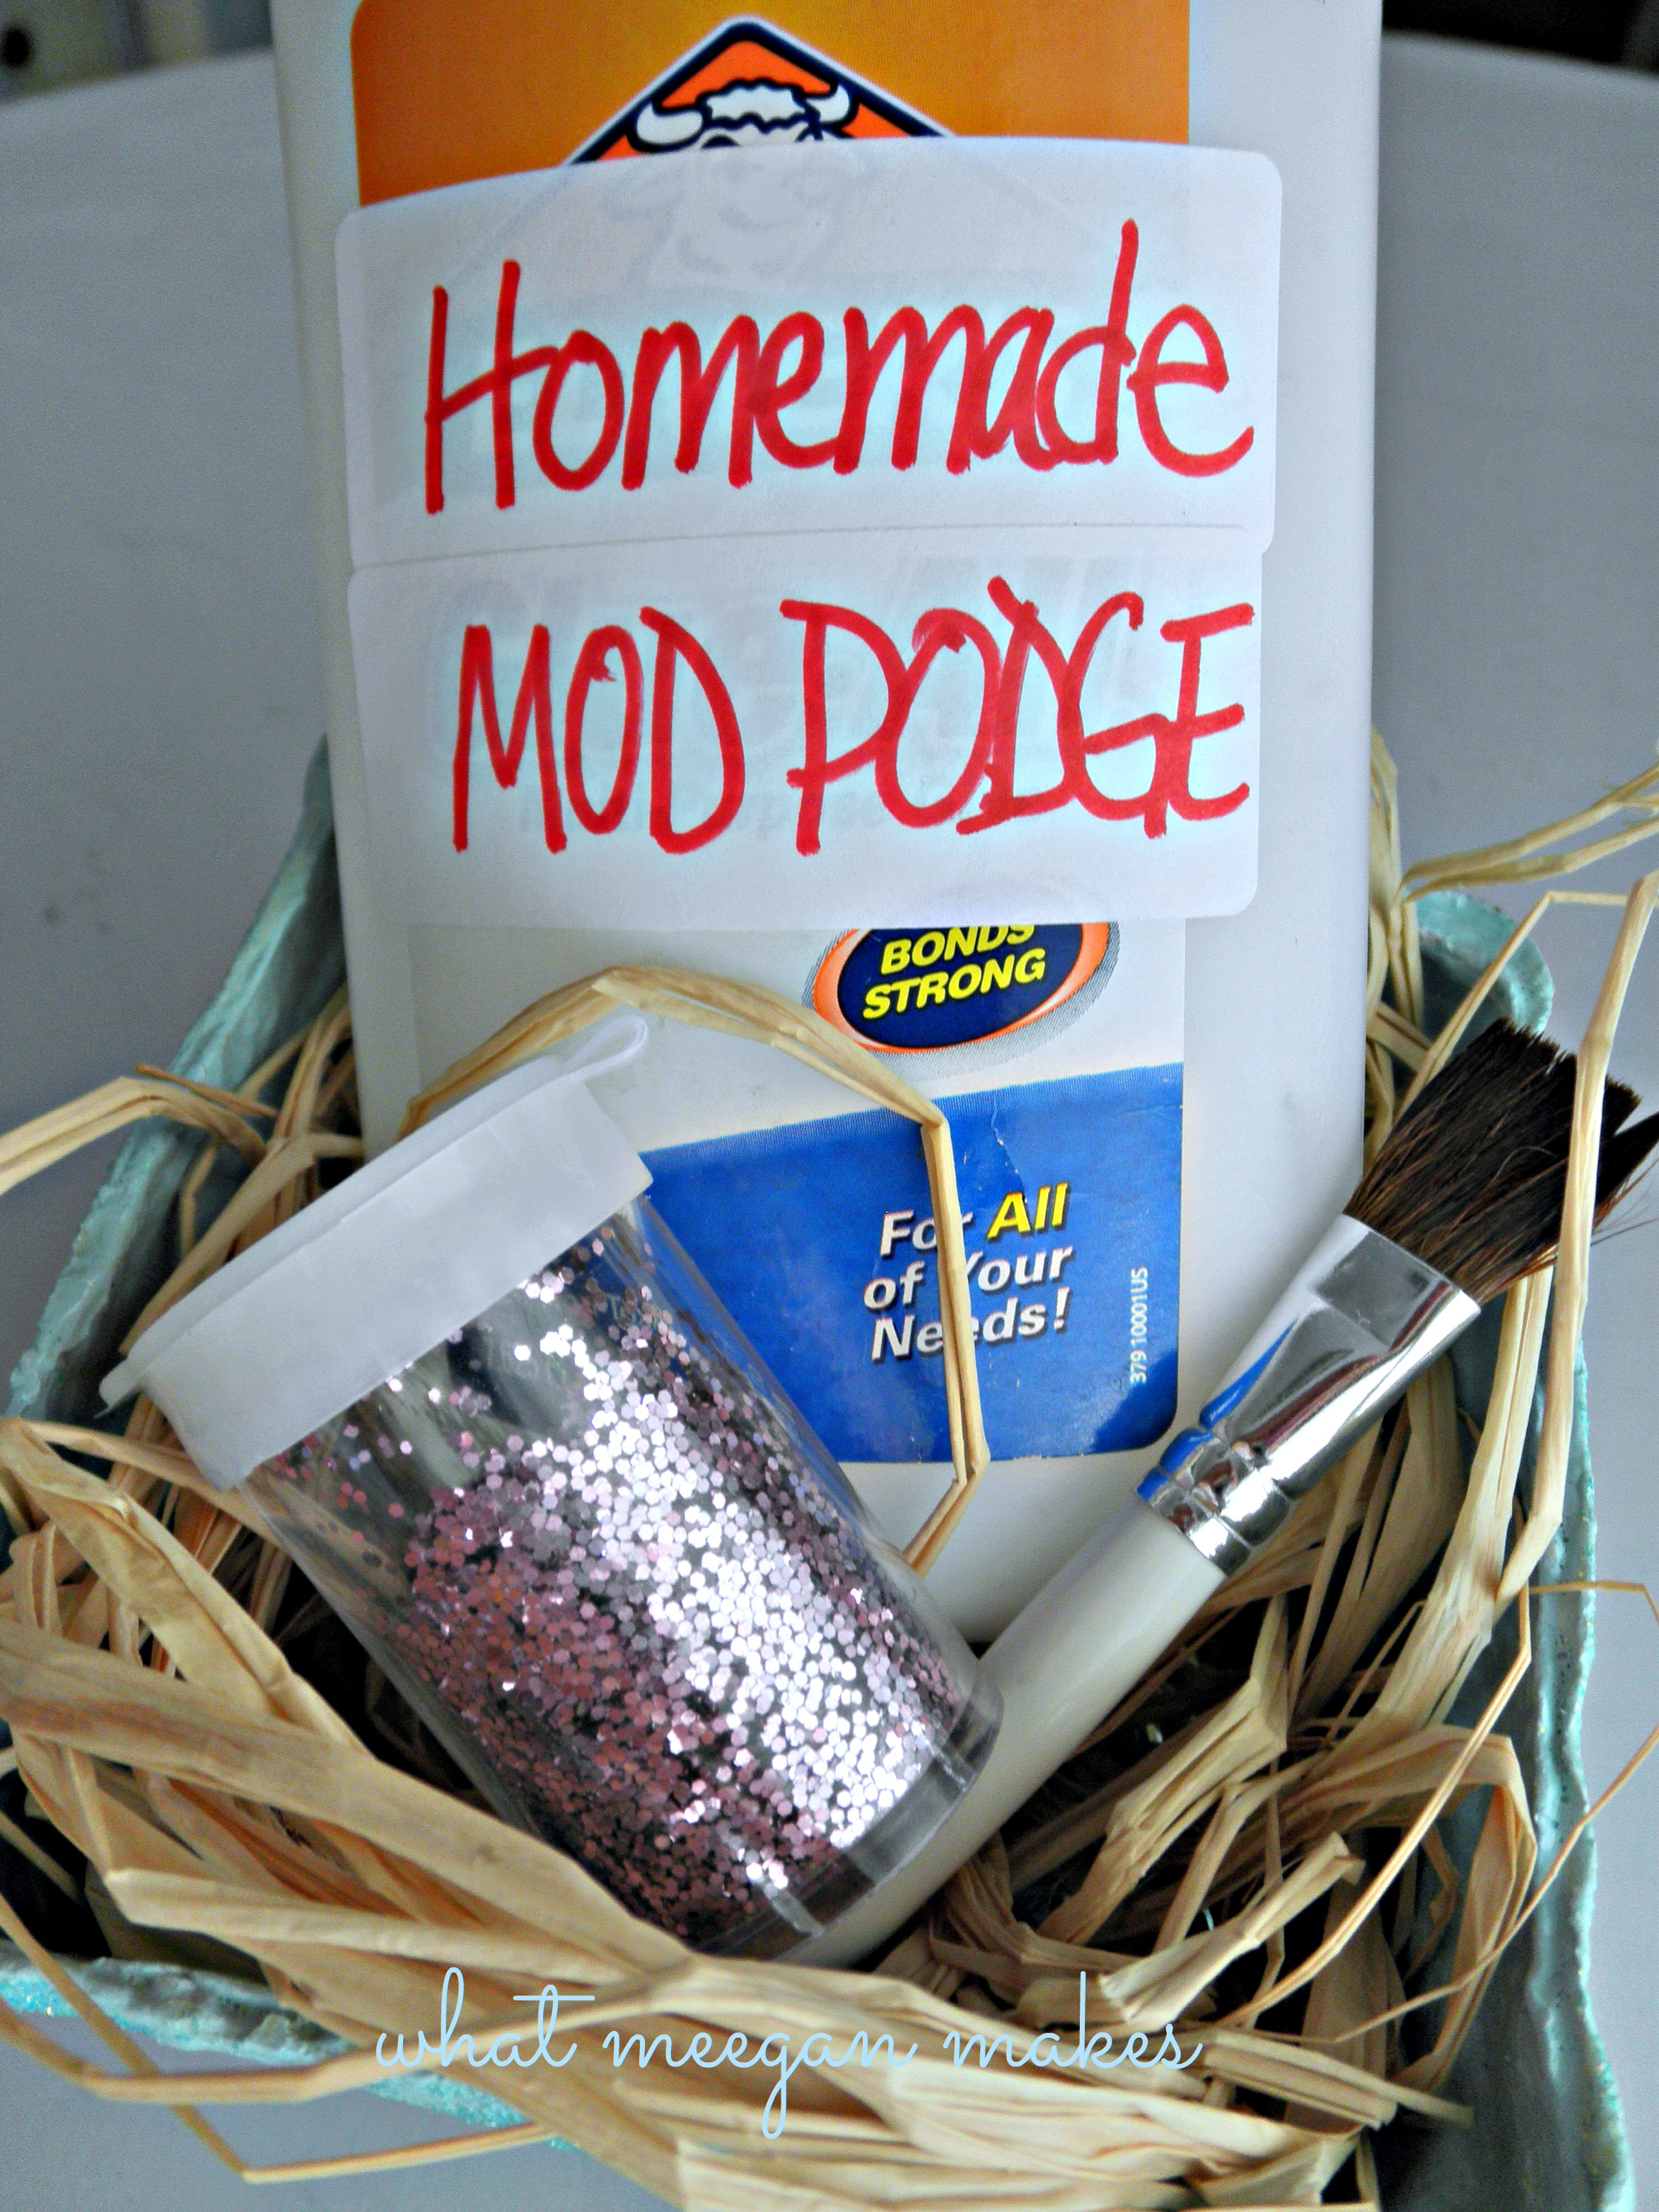
You will need mod podge, glitter, and a brush.  (I made my own mod podge-1/3 water/2/3 Elmer’s Glue)

DIY Glitter Phone Cover

Make a mixture of 1/2 mod podge and 1/2 glitter.

DIY Glitter Phone Cover

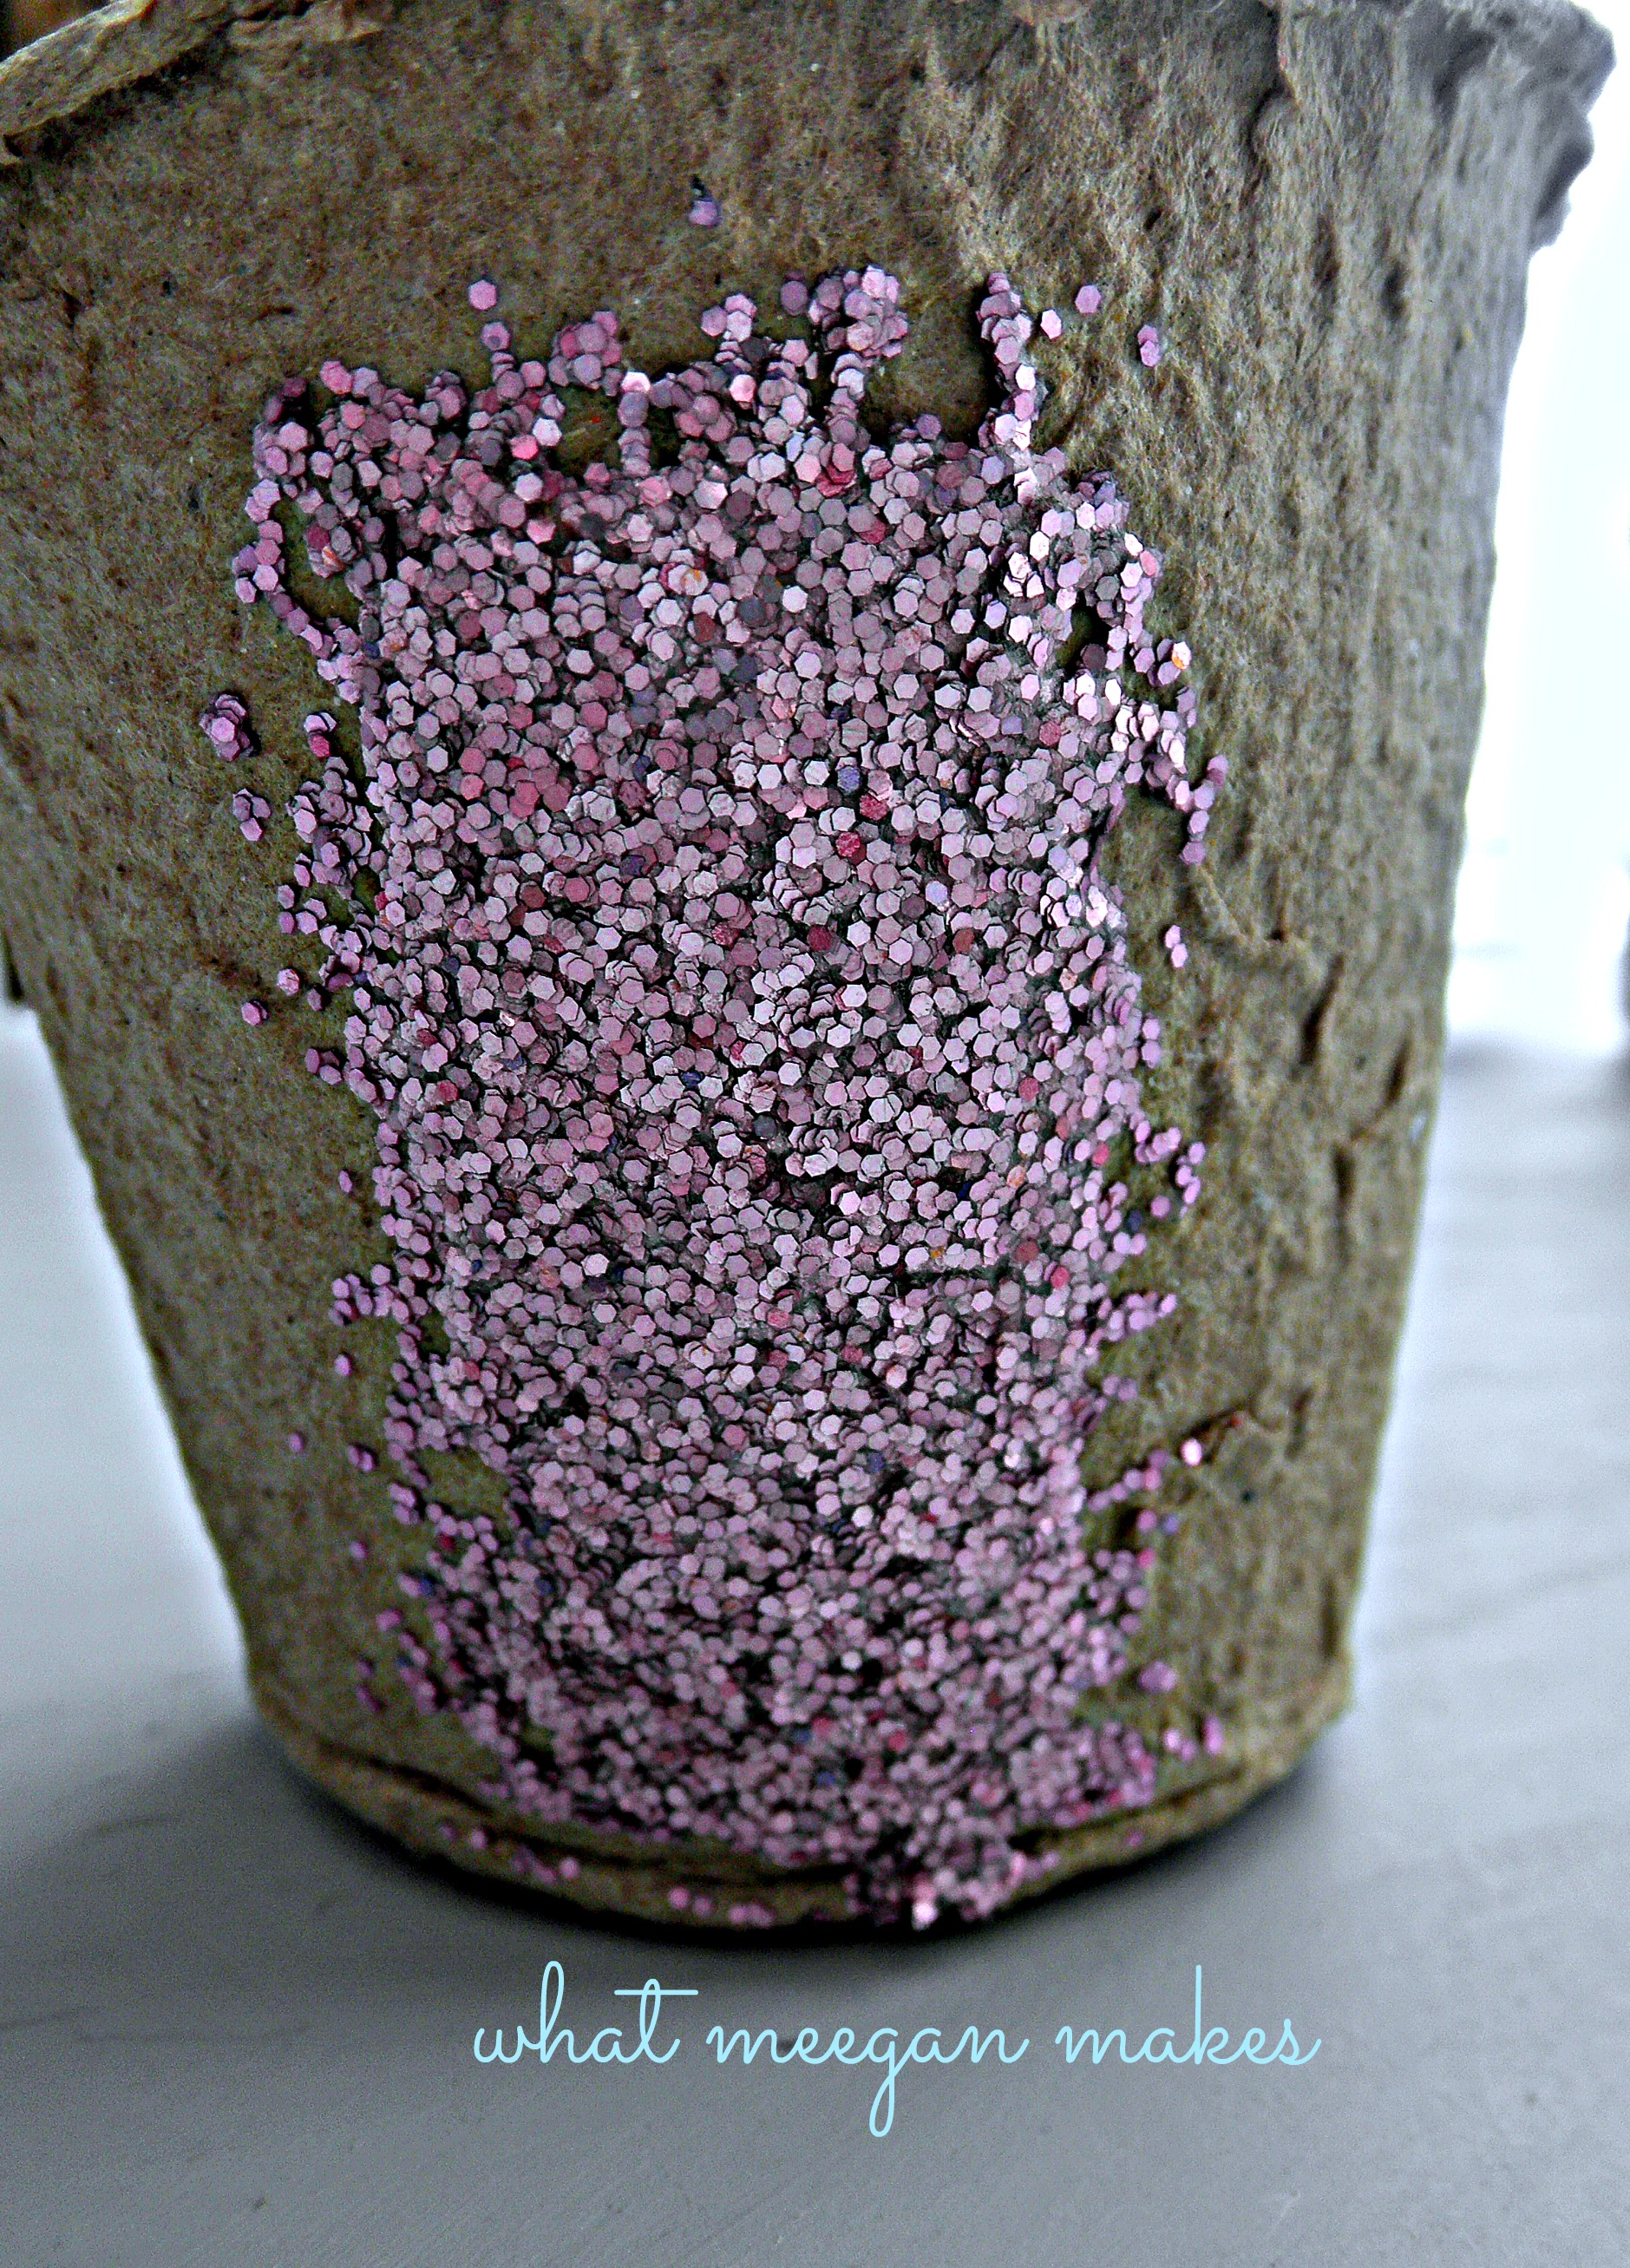
Begin with one layer of this mixture.  Let it almost dry.  Do this process 2 more times.

DIY Glitter Phone Cover

Your 3rd layer will look like this when wet. As you brush the glitter on, make sure the glitter isn’t clumped and piled.  Try to make it as smooth as possible.

DIY Glitter Phone Cover

Let it dry until it isn’t sticky to the touch.

DIY Glitter Phone Cover

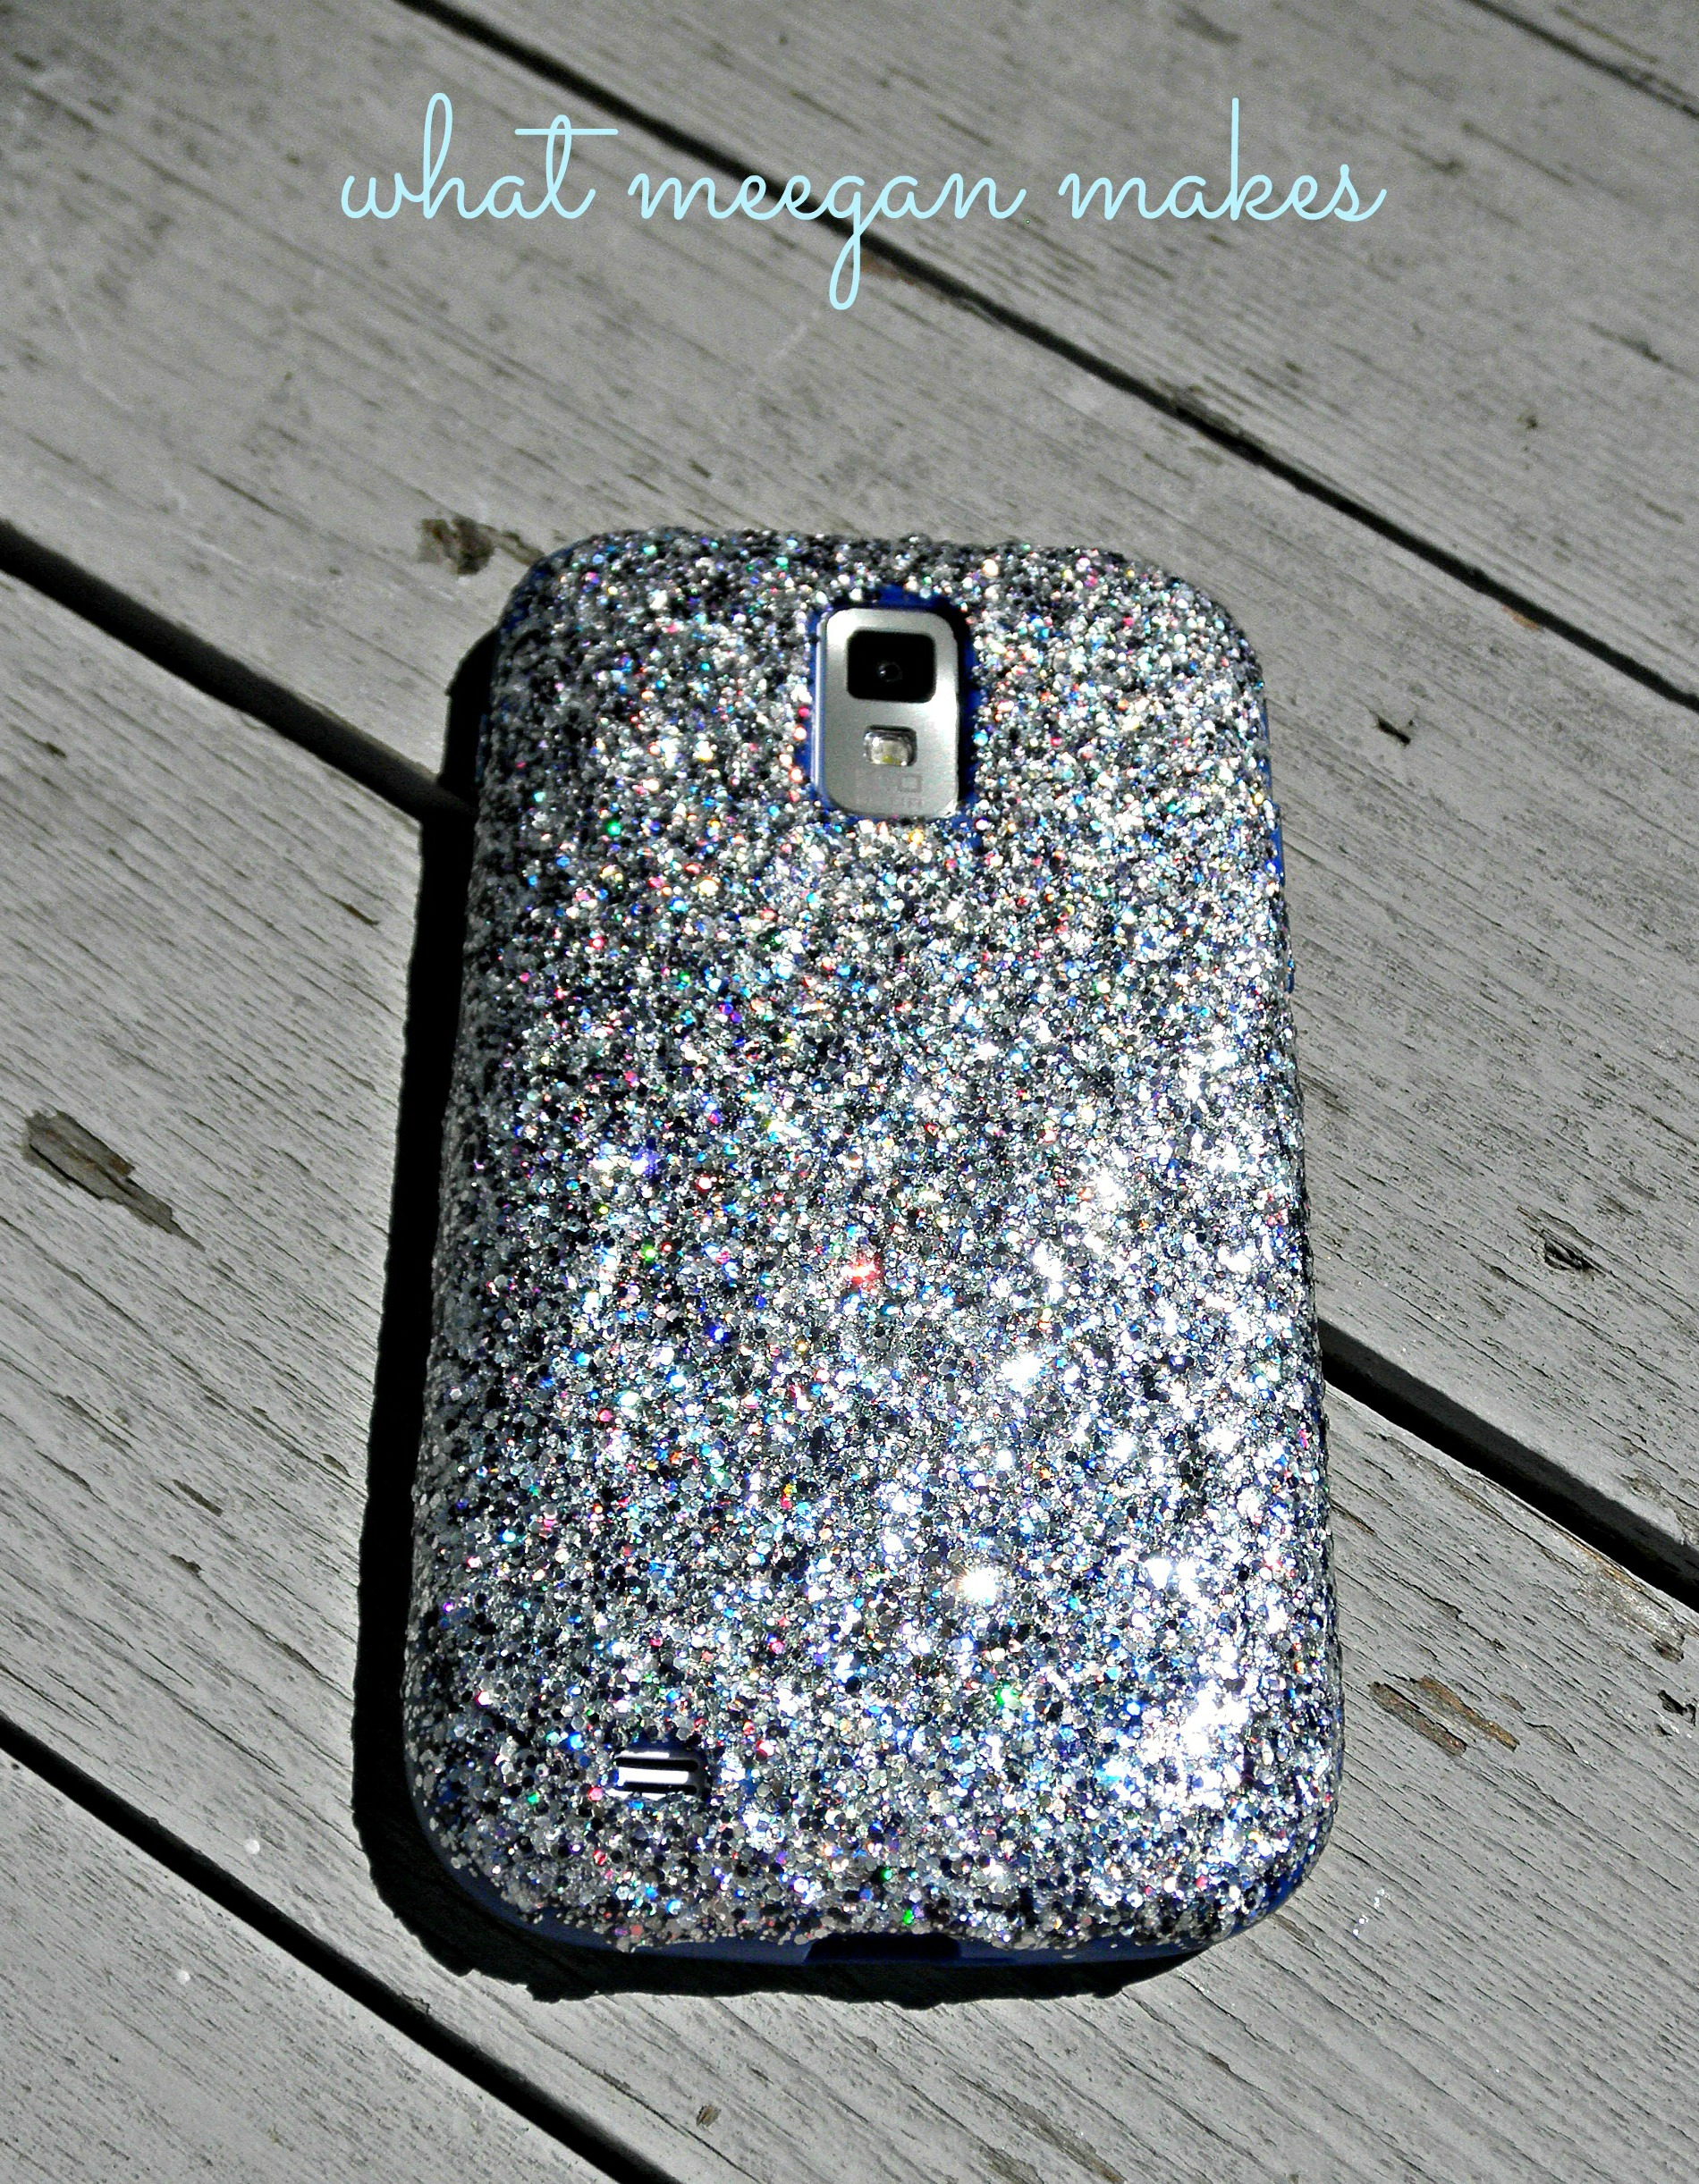
When it’s completely dry you will have a beautiful, glitter phone cover in no time at all!!

Questions:

1. Is it sticky after it dries?  No, it is very smooth.

2. Does the glitter fall or peel off?  Occasionally, I will see a spec of glitter on my screen.  But, that’s all.  It will peel if you peel it off, but it is adhered solidly.

3. Can I ever take it off?  Of course.  Using a very wet paper towel moisten the glitter and mod podge.  It will gradually be loose enough to scrape and peel off.

I hope you have enjoyed this simple idea for a DIY Glitter Phone Case.  It was a fun project for me for sure!!  What color are you going to choose for your DIY Glitter Phone Case?

Thanks for stopping by today.

Are you following me by email yet?  I wouldn’t want you to miss out on my posts.

I share little bits and pieces of my blog and life on here:

Pinterest Facebook Hometalk Google + Stumble Upon Bloglovin’ twitter Instagram

Make it a terrific Tuesday!

DIY Glitter Phone Cover
This post is linked to fabulous parties here.

DIY Pottery Barn Knock Off Net Ceramic Vase

June 18, 2013 By Meegan 32 Comments

Good Morning. It’s a beautiful day and I am excited to share a DIY Pottery Barn Knock Off Net Ceramic Vase.  While I was in Oregon visiting our daughter, she had a brain storm of an idea.  She loves browsing through the Pottery Barn catalogs, and she came across a Net Ceramic Stool for $179.  She loved the look, but not the price.

Her solution to that was this:

Pottery Barn Vase

Let me show you how she did it…

Continue Reading

Easy One Piece Ottoman Slip Cover

June 12, 2013 By Meegan 8 Comments

Hello Hello!  I am home from Oregon and can’t wait to share all of my travels with you.  But, first, I want to show you this EASY one piece ottoman slip cover.

I have wanted a slip cover for this ottoman for years.  Yes, years.  Now that Hubby bought me a sewing machine for Mother’s Day, I have been sewing up a storm.  Woo!  This is my first project with my new machine.  She came out pretty good, I would say…

Easy One Piece Ottoman Slip Cover


Easy One Piece Ottoman Slip CoverHere is my 15 year old ottoman.  She has been used as a game table, baby bed, and of course a foot rest.

Easy One Piece Ottoman Slip CoverAfter looking for fabric, I found this one with the greens and little bits of blue that I like.  I bought 2 and a half yards of 54 wide.

This is how I knew how much fabric to purchase:  I measured the width and length of my ottoman as well as the height. I also measured it from side to side.  IE; up the side, across the top, and back down each side.  I did this both length and width.

Easy One Piece Ottoman Slip CoverI laid the fabric right side down on the ottoman.  Finding the corners of the ottoman, I pinned and marked where I wanted my seams.  I left a little room, so I could easily slip it over when I was finished sewing.

Easy One Piece Ottoman Slip CoverFollowing my pins, I sewed a seam, and cut off the excess fabric.

I ironed open the seams.

Easy One Piece Ottoman Slip CoverFor a hem, I folded up the edge 2 times to make a smooth hemline.

Easy One Piece Ottoman Slip CoverHere she is now.  Huge difference, wouldn’t you say?  She makes me smile every time I look at her!  I had enough fabric leftover, so I made a small pillow, too.

When you make your own easy one piece ottoman slip cover, you can make it tighter, add a ruffle or any embellishments you like, to make it your own.

I needed something simple, easy and quick.

I could even make another one with a bold print for a new look.  Then I could have 2 separate looks anytime I want-Love it!!

Thanks for stopping by today and for following me:

Pinterest Facebook Hometalk Google + Stumble Upon Bloglovin’ twitter Instagram

Make it a great day!

Refreshed Summer Wreath

This post is linked to fabulous parties here.

Family History Monogram

June 6, 2013 By Meegan 10 Comments

Are you looking for a meaningful Fathers Day gift?  This Family History Monogram could be the answer…  It’s easy, original, doesn’t take a lot of time, and trendy.  AND no one will have anything like it.

OLYMPUS DIGITAL CAMERA

Our family loves the history of our ancestors, so this is a wonderful idea to share family history and family spirit.

You will need:

an empty frame

family history

aged paper

poster board

mod podge

a hollow monogram

paint

9001 glue

I found some of Hubby’s family history.  I then copied it on aged paper.  (I would never use the original)

OLYMPUS DIGITAL CAMERA

Once my pages were copied, I tore them specifically so that our last name was shown on each piece.  Clever, huh??  I mod podged them onto a poster board cut the same size as my needed frame.  I painted a hollow monogram (I made my own) and attached it to the family history poster board.

OLYMPUS DIGITAL CAMERA

I used 9001 glue to adhere the monogram and then the poster board to the frame.

OLYMPUS DIGITAL CAMERA

Paint your frame to match your decor and/or your frame.  She is looking pretty good so far!

OLYMPUS DIGITAL CAMERA

I thought it would look nice hanging on our gallery wall, along with the grandkiddos and our parents pictures.

OLYMPUS DIGITAL CAMERA

It finishes off the gallery wall with balance and meaning.

OLYMPUS DIGITAL CAMERA

So, there you have it.  My Family History Monogram.

I hope you make one for the Father in your life soon.  It is a meaningful gift anytime of year.  But, fathers are so hard to buy for, I thought this would be an ideal gift.

Thanks for stopping by today!  I love having you here!

I also like to play on:

Pinterest Facebook Hometalk Google + Stumble Upon Bloglovin’ twitter Instagram

Make it a great day!

signature

This post is linked to fabulous parties here.

« Previous Page
Next Page »

Recent Posts

  • Decorating a Chandelier for Christmas
  • Crustless Broccoli Quiche Recipe
  • Homemade Bacon Gravy From Scratch
  • All Things Apple
  • Handmade Sea Shell Garland

Purchase Beautiful Home Accessories for any style

Thrifty Style Team 2nd Friday Monthly

International Blogger Club-The 3rd Monday of Each Month

Fashion Trends for Over Fifty

DIY Bicycle Rim Halloween Wreath

Create and Decorate Pumpkins With Sea Shells

Fall Tablescape in Lavender and White

Vintage Bicycle Rim Wreath for Fall

How To Make a Faux Pumpkin Centerpiece

Glittery Welcome Embroidery Hoop Wreath

70+ Crafts and Decorating Tips for Fall

Top Ten Tips and Tricks for creating a Cottage Style Home

Pineapple Pecan Coffee Cake with Caramel Glaze

Raspberry Cream Sandwich Cookies

Cream Cheese and Shrimp Cocktail Dip

PERMISSIONS

What Meegan Makes and all it’s content, pictures, ideas, etc. are original ideas and copyright protected.

Using content including but not limited to: designs, original ideas, photos, posts, etc. is prohibited.

Please ask permission before using any content from my blog for any reason and if there is any question.

Search

FEATURED ON SHABBILICIOUS FRIDAY MAGAZINE

FEATURED IN EVERYTHING HOME MAGAZINE

FEATURED ON HUFFINGTON POST

FEATURED ON HUFFINGTON POST

MY OWN RECIPE WAS FEATURED

FEATURED ON GOOD HOUSEKEEPING

Designer Insights from Terry’s Fabrics

Copyright © 2025 ·Beautiful Pro Theme · Genesis Framework by StudioPress · WordPress · Log in