Good Morning!! How are you all doing today?? Are you keeping busy?? I sure am. I am doing the flowers for a reception next Saturday, and still working on our son’s wedding luncheon/dinner. Fun times.
I am excited to share with you both events and how they turn out. Each wedding is going to be quite beautiful with such lovely colors.
All around blogland, you will see a coffee filter wreath. Some are tea dyed, some are just white. Some tutorials will tell you to use a screw driver to poke your coffee filter in. Others will advise you to use a glue gun.
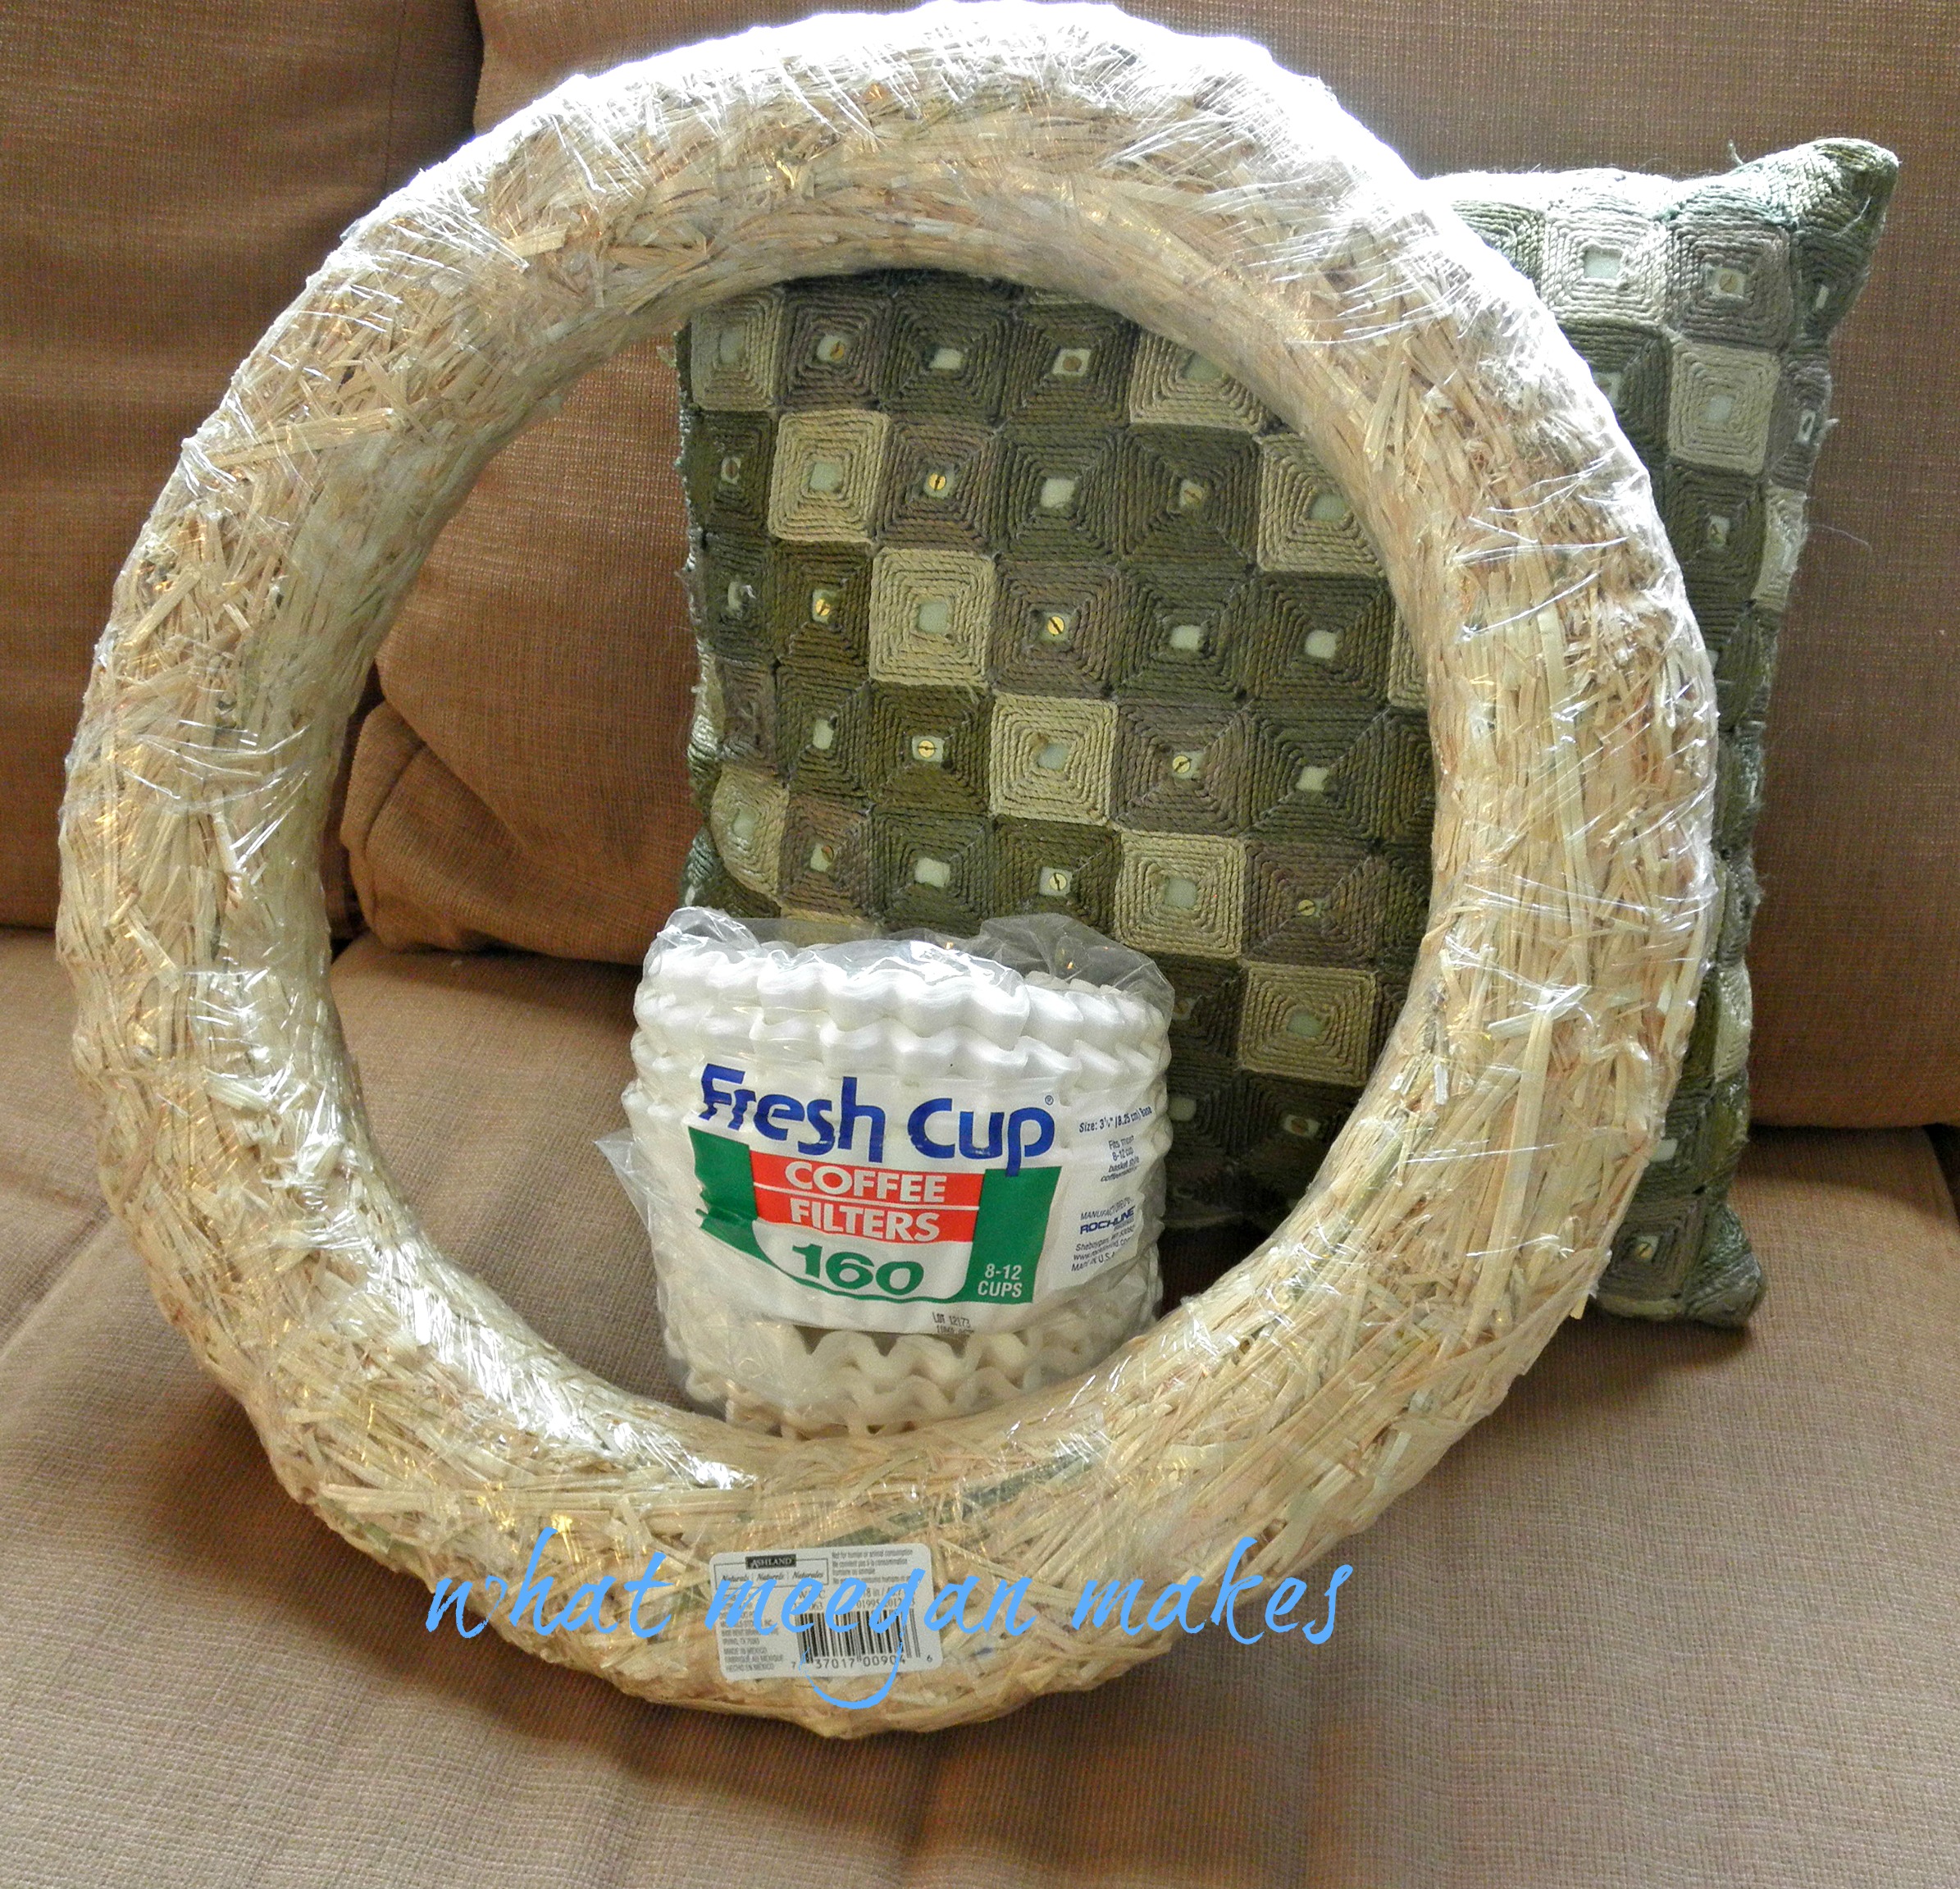
I decided to try one for myself. I bought 2 packages of coffee filters at the dollar store and purchased my 18 inch wreath at Michaels. I was ready to go…
I started out by folding my coffee filter into eighths, then twisted and pinched the bottom.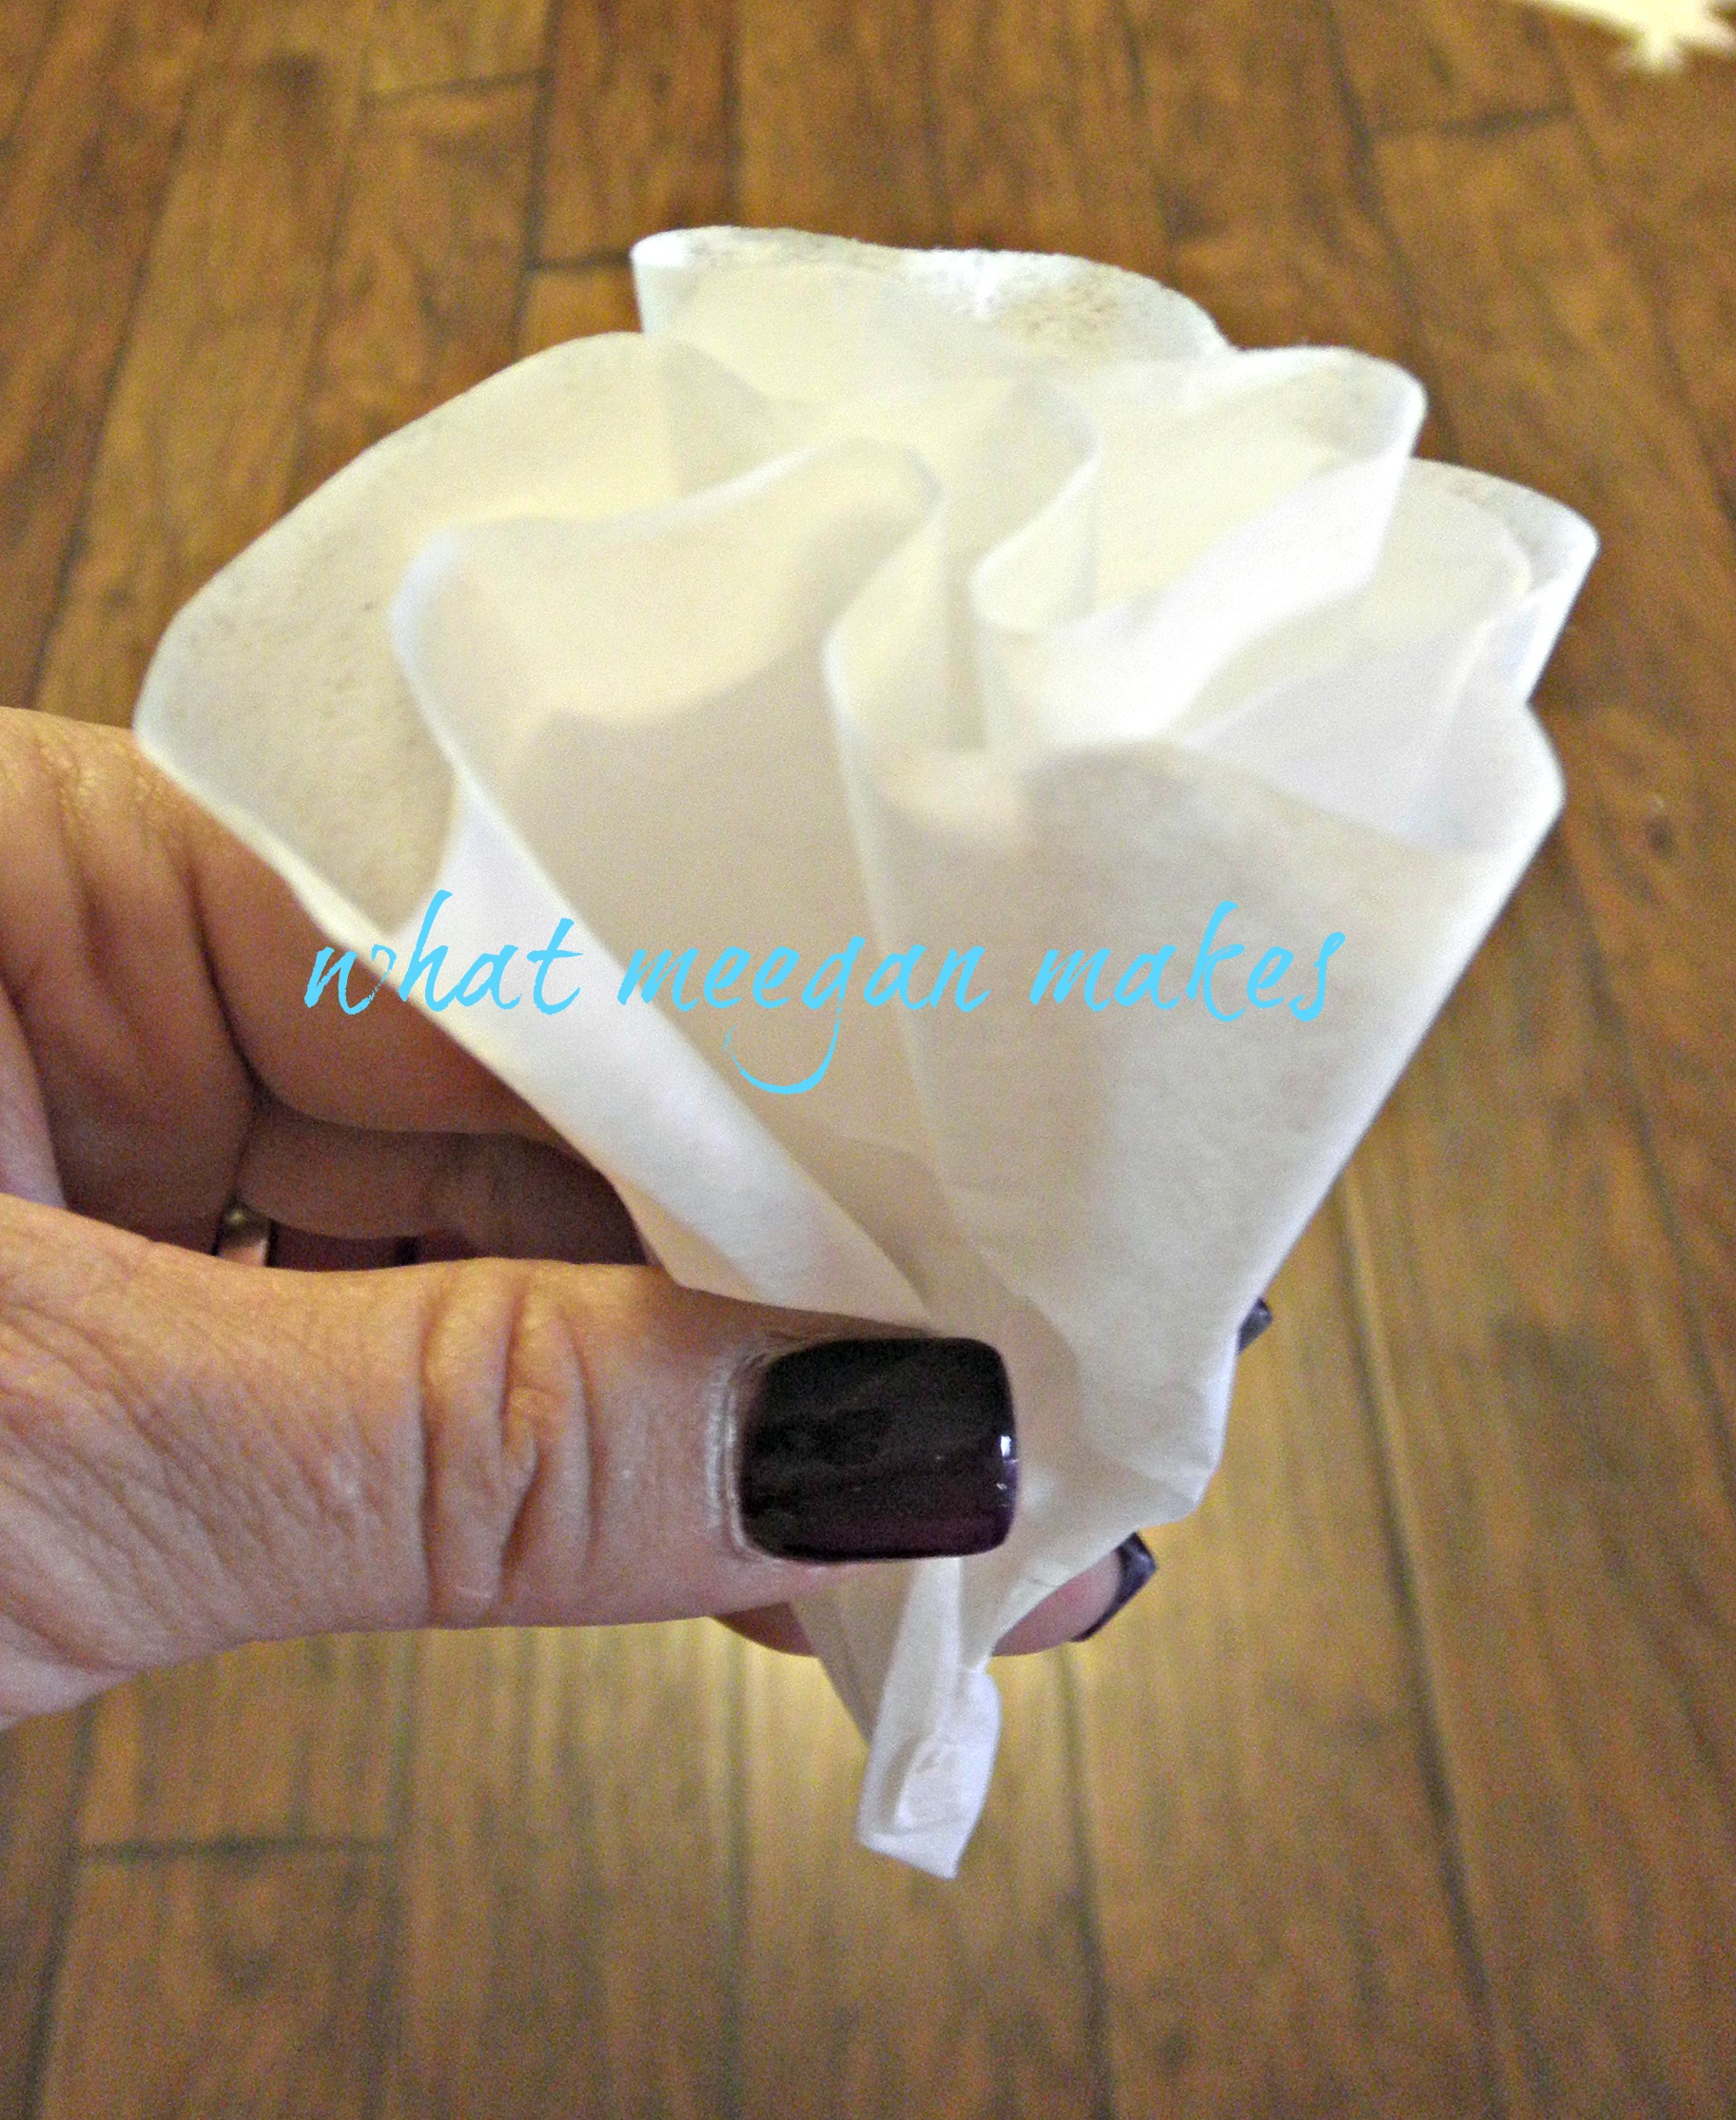
About 1/3 of the way through(which took me about an hour) of using the screw driver method, I opted to try the glue gun method to see if it would be any faster. No, it was not faster. (It was okay though-I watched DC Cupcakes on Netflix while I worked)
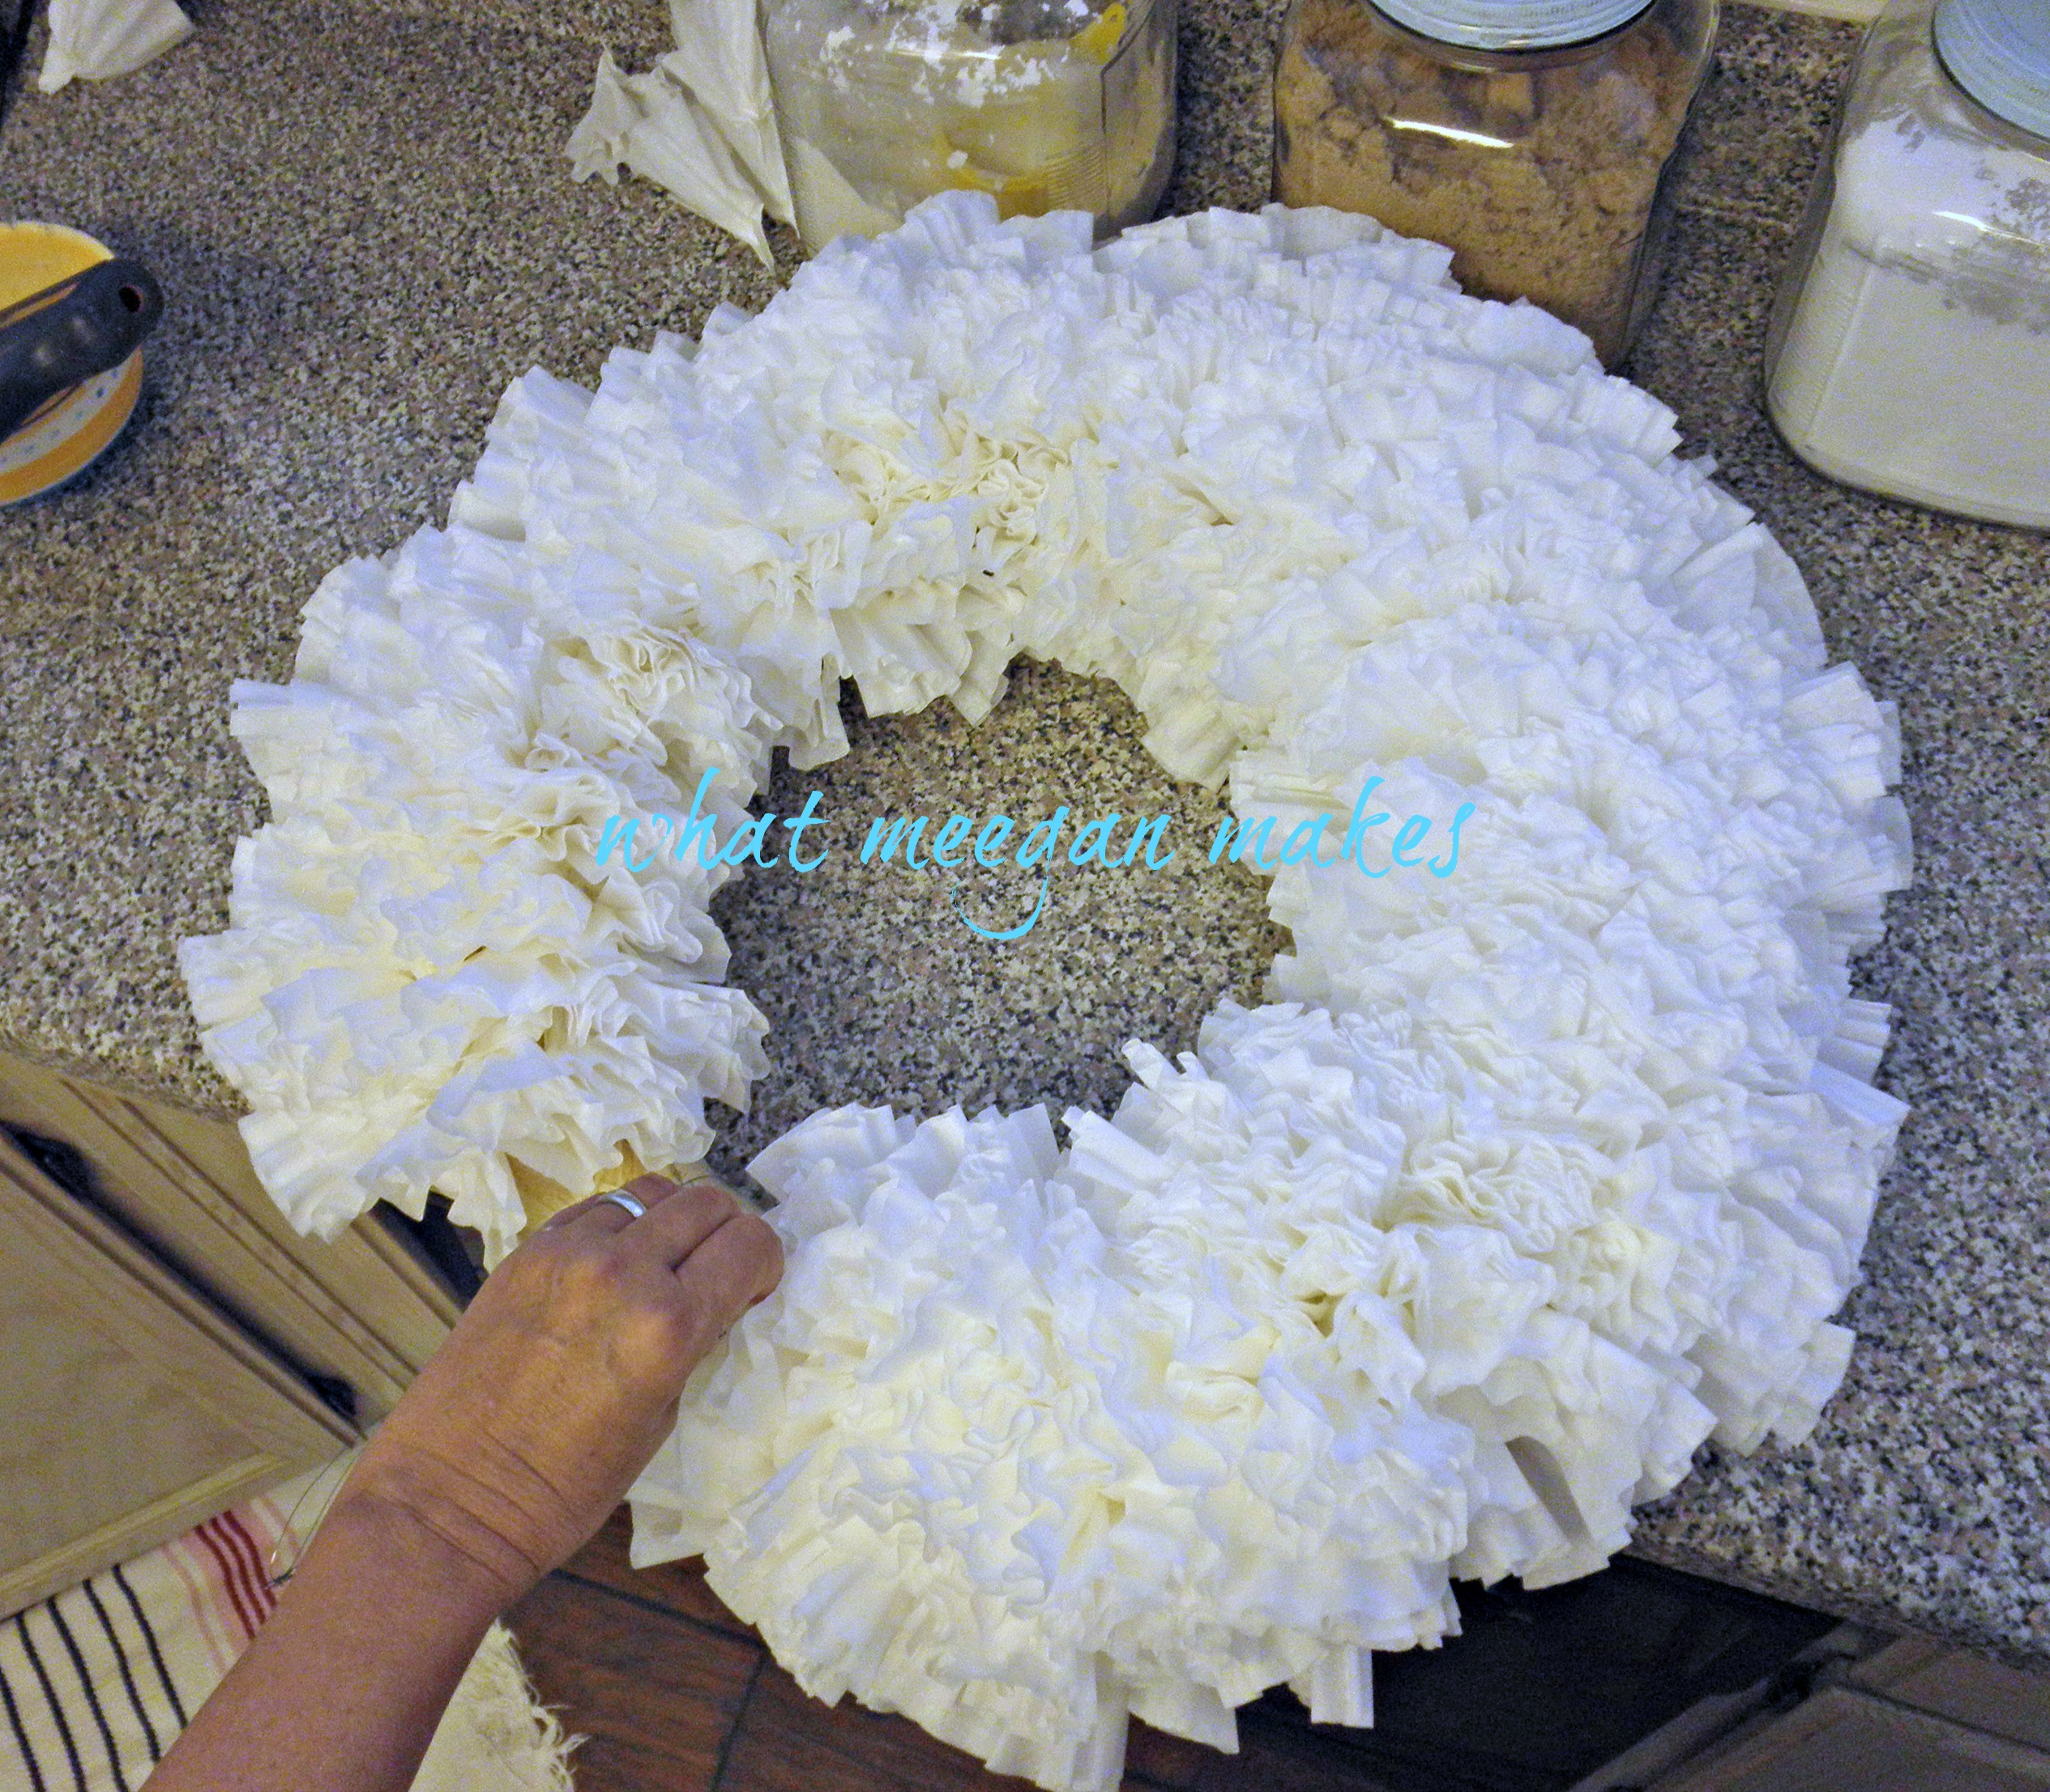
But I did like the look better. When I was almost done I added a 28 gauge wire as a hanger for my new wreath. Easy. I used almost every single coffee filter-320 in all, 4 glue sticks, along with a couple of blisters (Yowza!)
Here is my finished product. I think she is just lovely with the Fall green ribbon. Doesn’t she look happy hanging on the pantry door?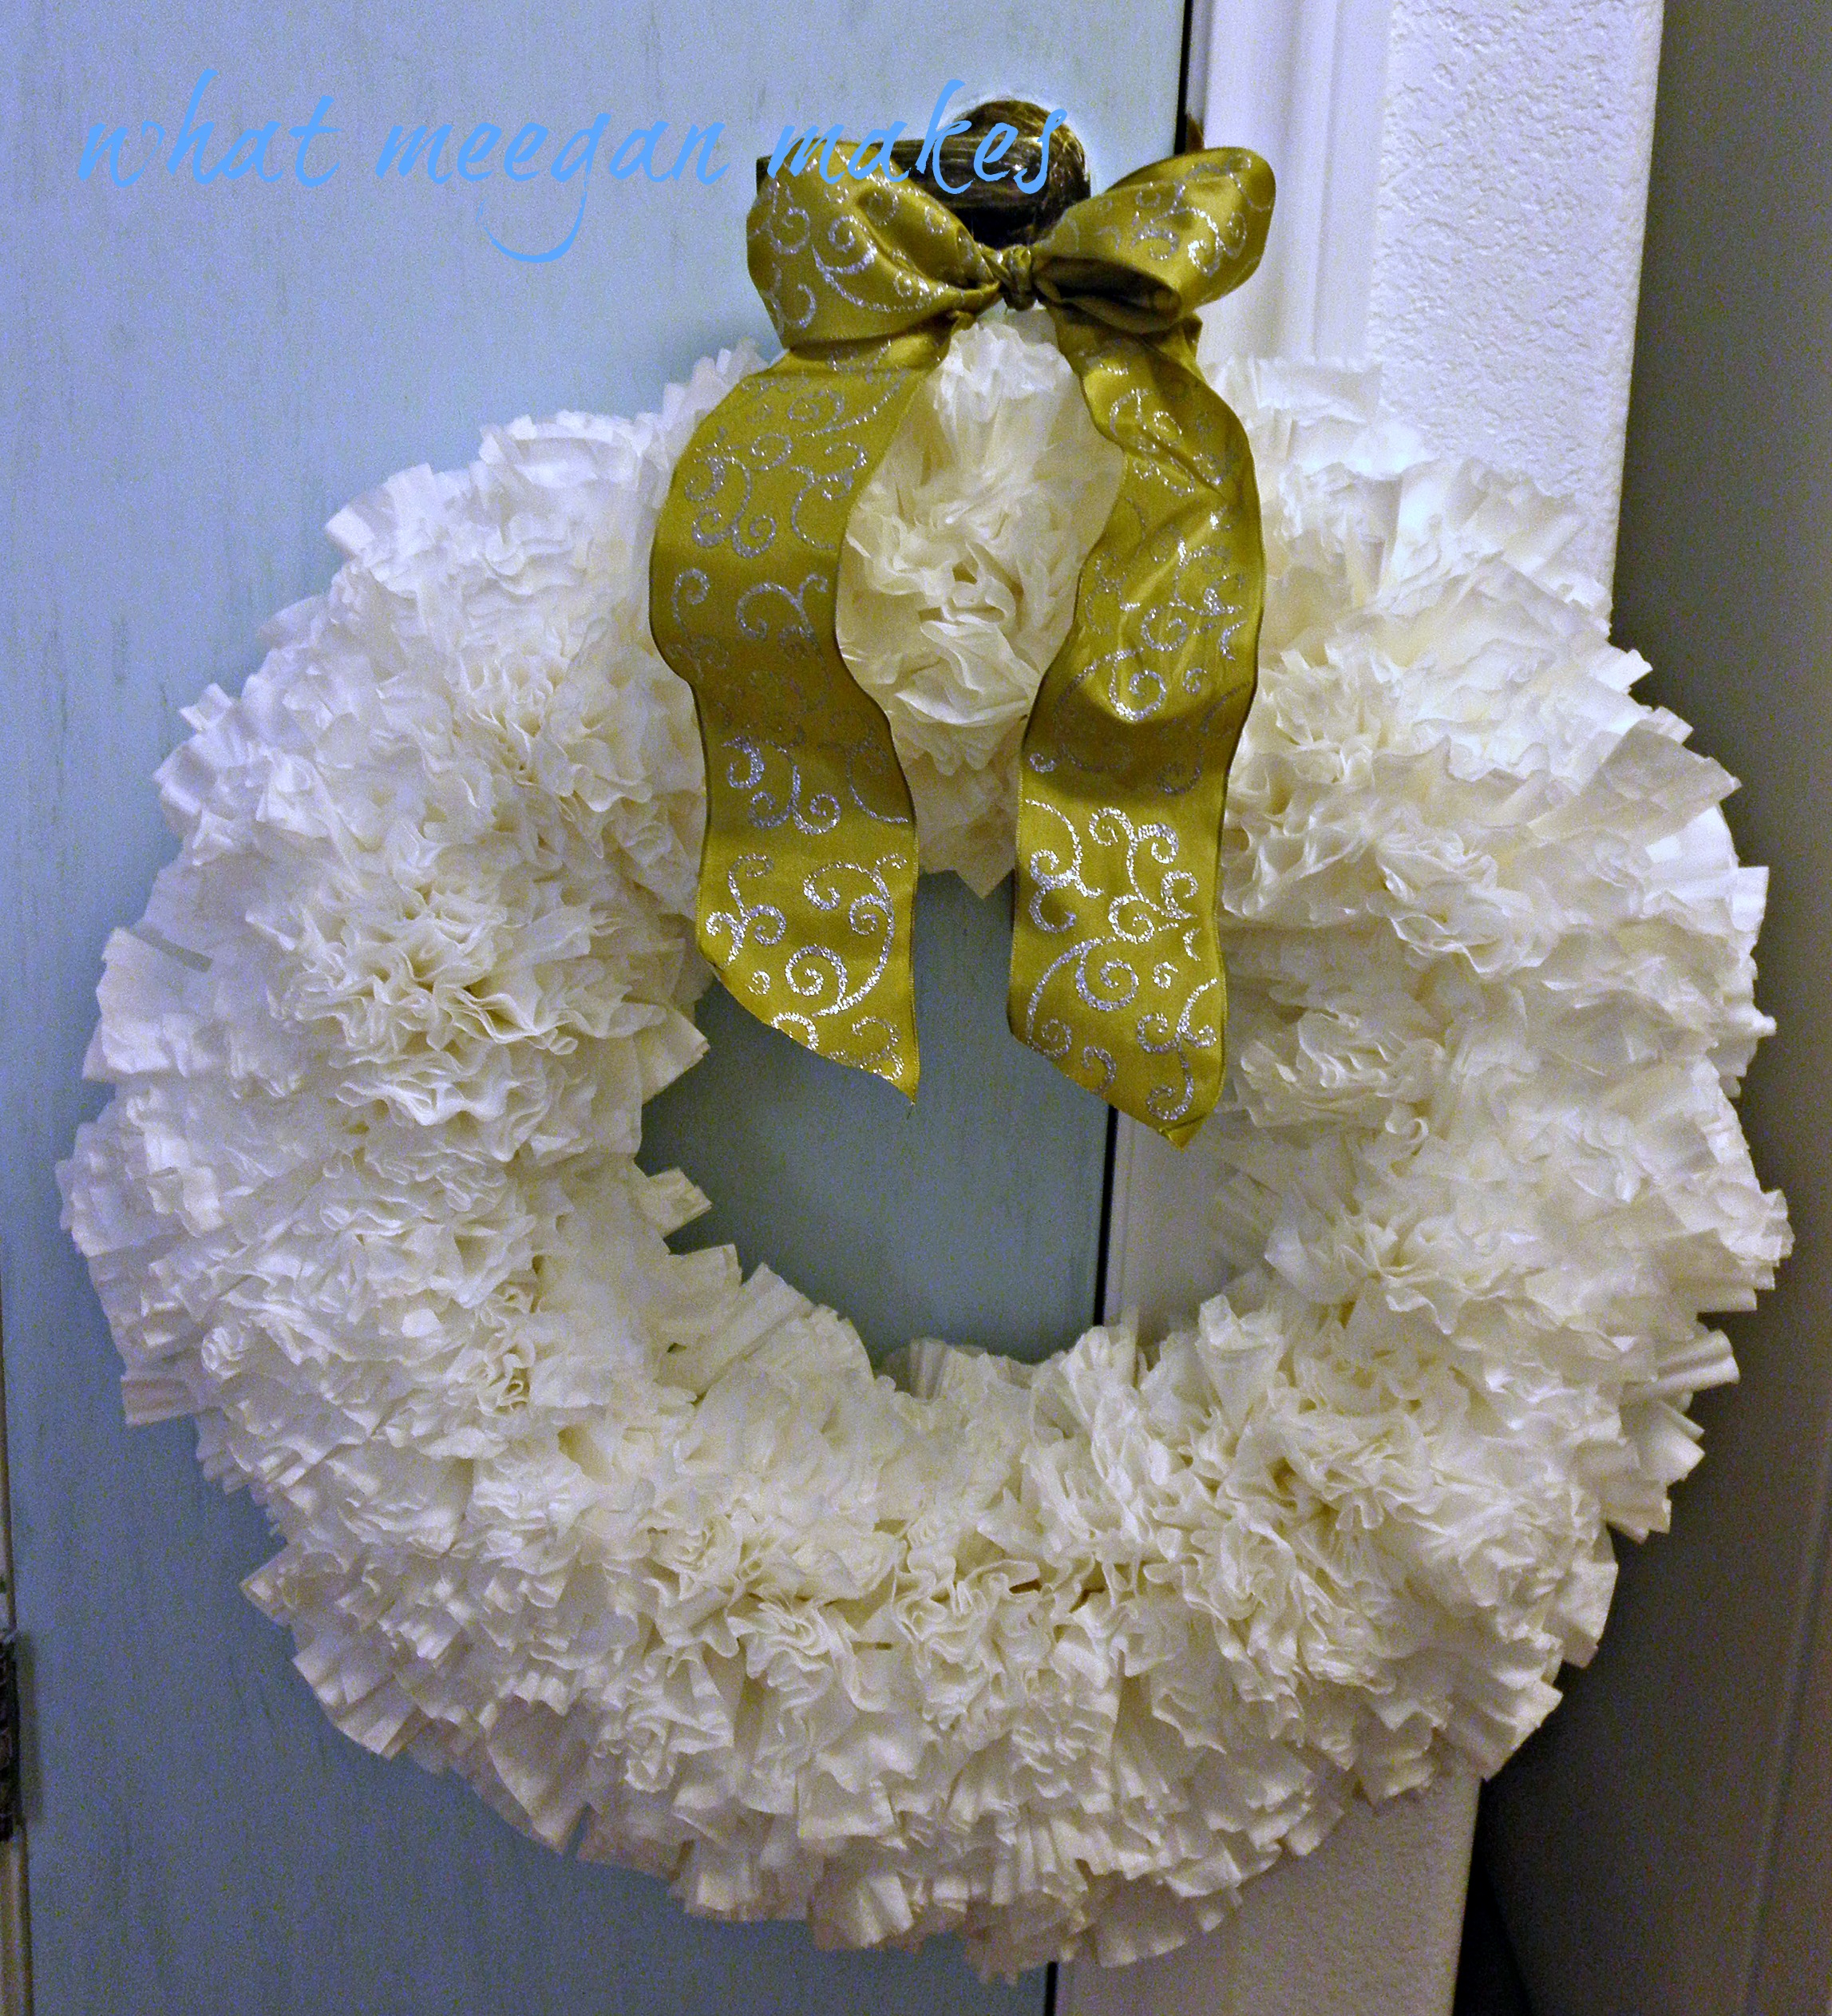
Here’s another look just for fun!
Anyone that has ever made a coffee filter wreath-I tip my hat to you. It is not a quick project. It takes time and precision to make your wreath look full and balanced. So, if you are looking for a quick project-this is not it.
Worth it, yes!
Let me know if you have attempted a coffee filter wreath. What was the method that worked best for you?
Thanks for following me! Be sure to stop by Pinterest, Hometalk, and be sure to addmeeganmakes.com to your Bloglovin’ Roll.