Today I am sharing something I haven’t ever done before. I am learning How To Make Simple Resin Tags with natural elements.
Am I a little nervous? You bet. Have I wanted to try this for a long time? I sure have.
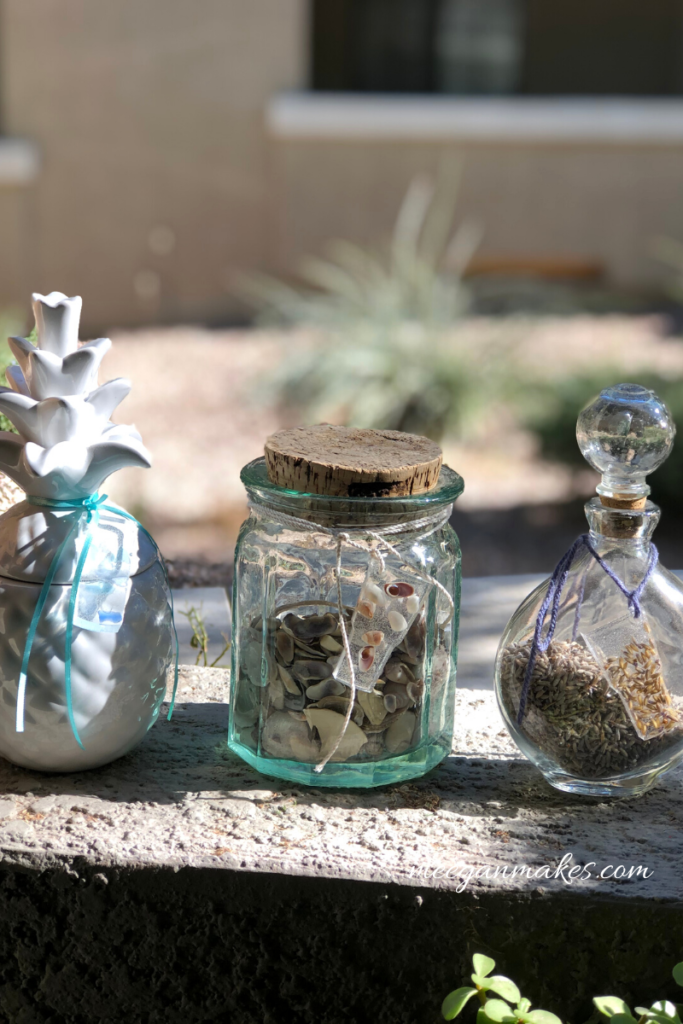
Thanks to my friends on The International Bloggers Club, I have been invited to share a resin project for the month of January.
These are the elements that I used for my resin tags:
*clear resin kit
*a silicone mold
*natural elements; dried lavender, small sea shells, small sea glass pieces
*paper bowls
*wooden chop stick or craft stick
*plastic or paper drop cloth
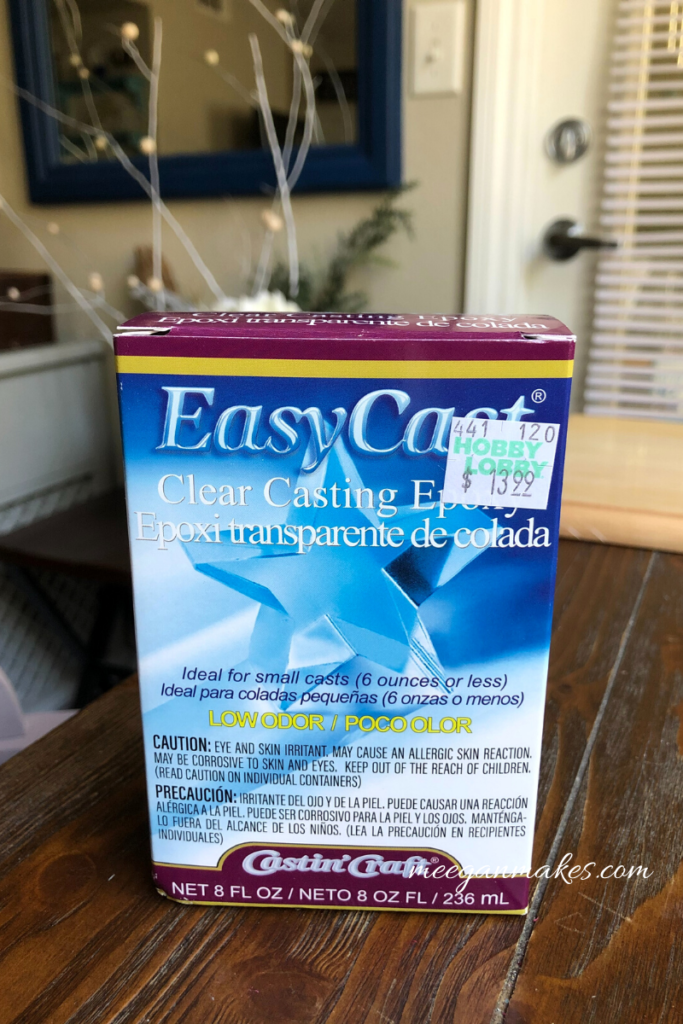
This is the kit I purchased at Hobby Lobby. I had a 40% coupon, so it wasn’t too costly.
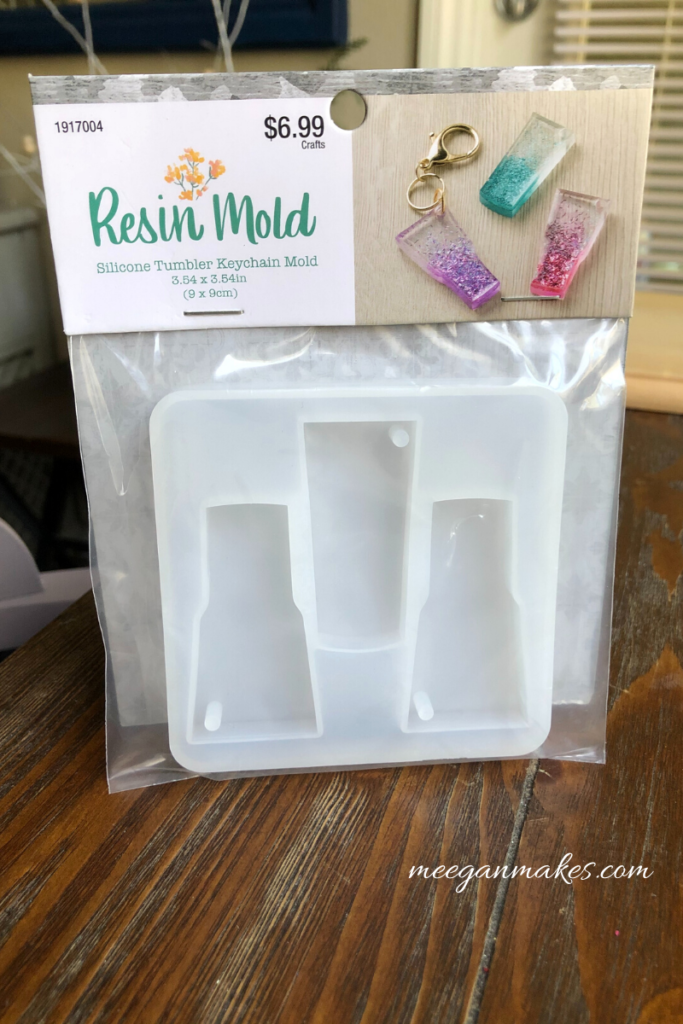
This is silicone mold I chose. It is a simple keychain shape. But I had other plans.
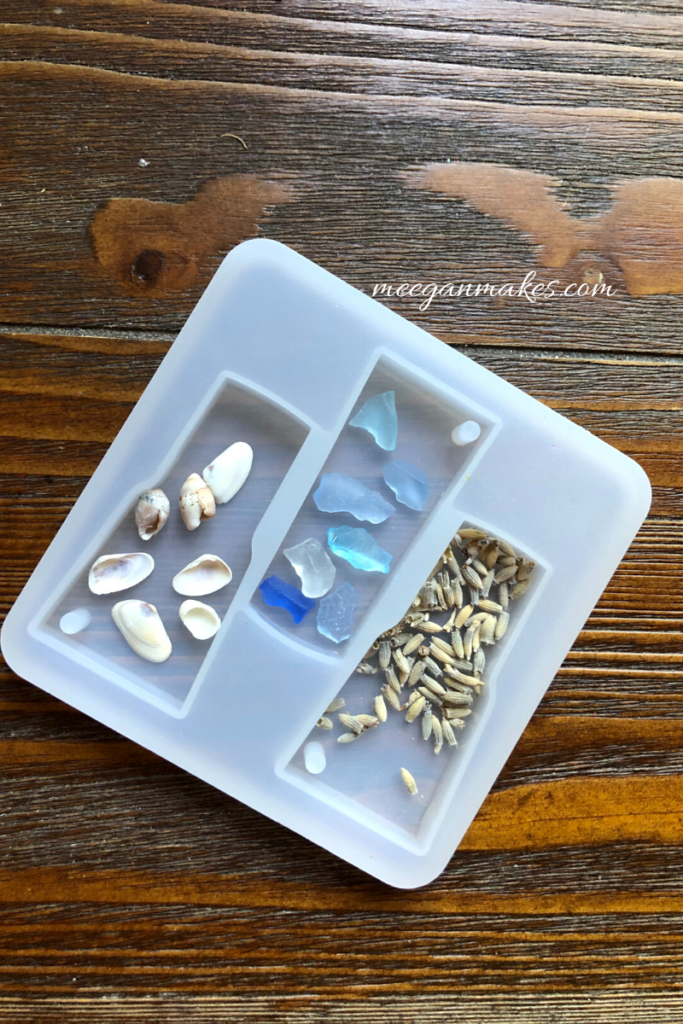
If you have been following me for any length of time, you will know how much I love the ocean and natural elements. Whether it’s sea shells. sea glass, driftwood, branches or even dried lavender, I have several collections around my home.
So it only seemed right to use what I love for this tutorial on How To Make Simple Resin Tags.

Before actually mixing the resin, I gathered my components. I used a paper bowl (without wax coating), but you can use paper cups instead. It’s all I could find locally.
The biggest tip I can give you is to follow the box directions explicitly. Whether you are making slow or quick cure resin. FOLLOW the directions. It makes ALL the difference.
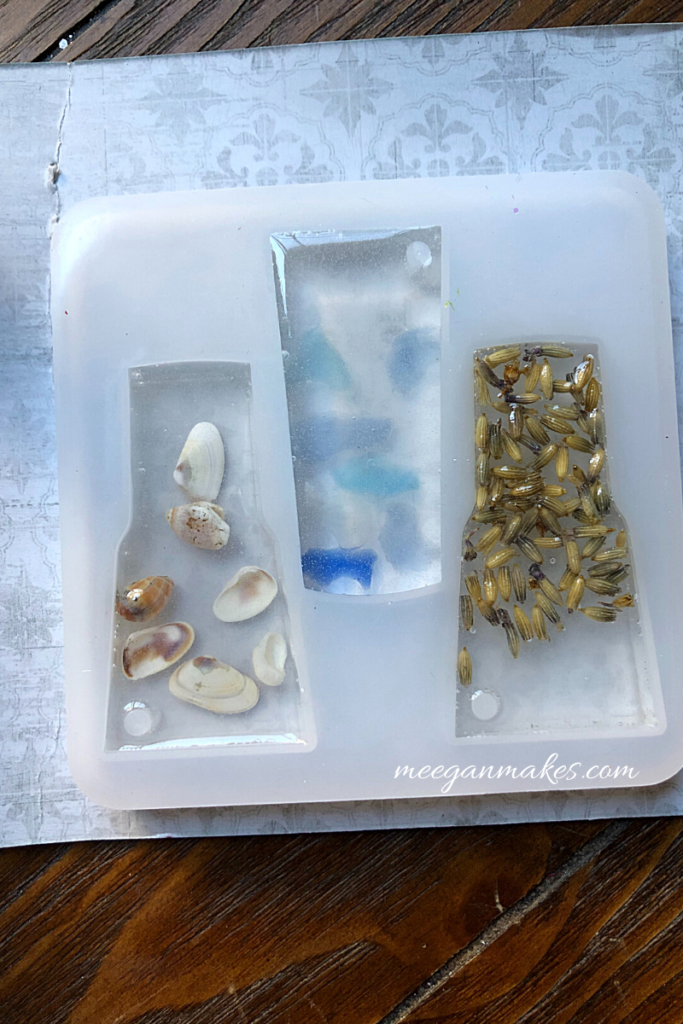
Once the resin was mixed I carefully poured it into my silicone mold. Using a sharp wooden toothpick, poke the bubbles to “pop” and release air. This process can take awhile, but be patient.
Now we wait. My directions said to wait 24 hours for the size mold I was using. THAT was a long wait. Only because I was excited to see the results.
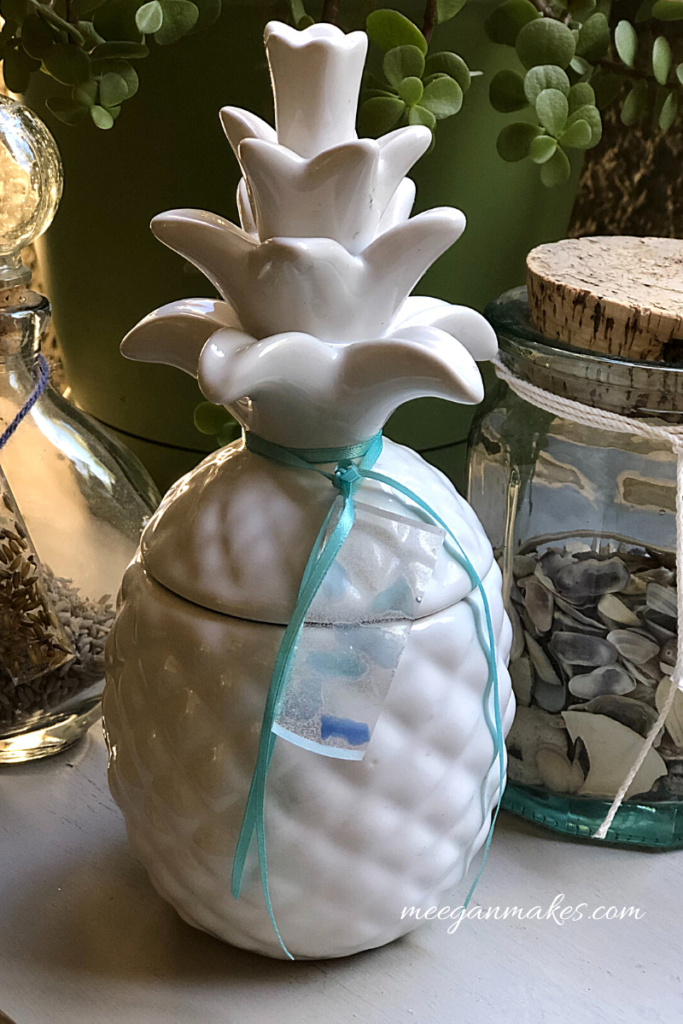
The sea glass tag was not too successful. I do believe it wasn’t because the glass wasn’t heavy enough to settle at the bottom of the mold. That in turn left a cloudy look. I am disappointed, but definitely want to try this one again.

The sea shells are looking really good. Lots of air bubbles, for sure. I will try this one again, as well. But I do really like how it came out.
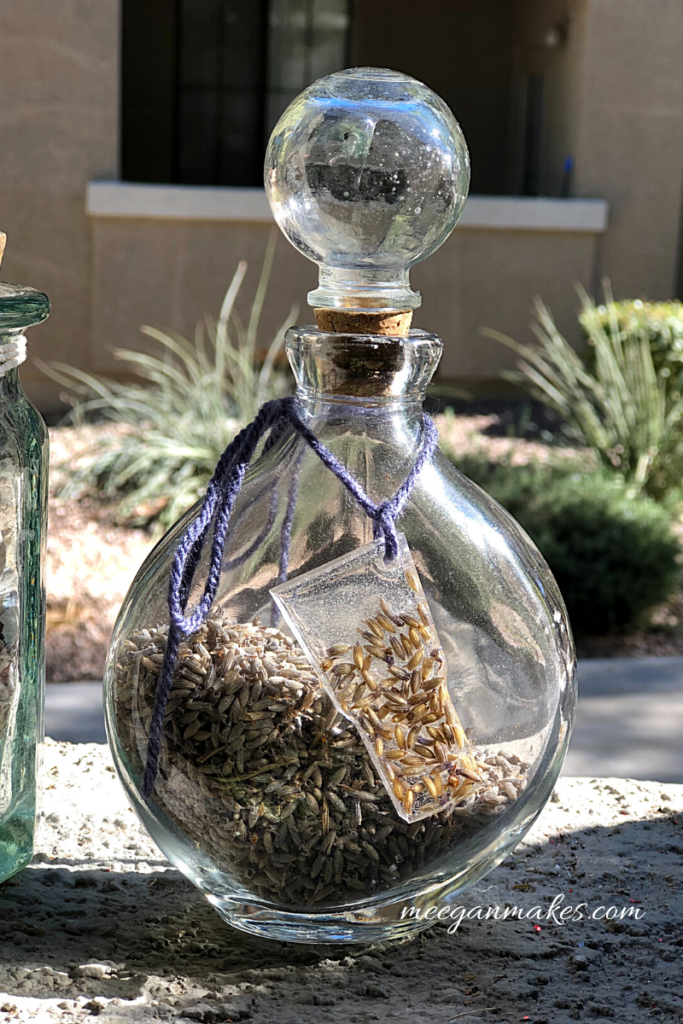
The resin tag with the dried lavender came out very nice., with a clearer result.
Now that my silicone mold is clean and ready to go again. I am excited to make more resin tags, using different elements. When I do, I will be sure to share them with you.

As I mentioned above, my International Blogger Club friends have their own I LOVE RESIN crafts to share with you. I will list their projects and links below. I know you will like them and be inspired from their creativity.

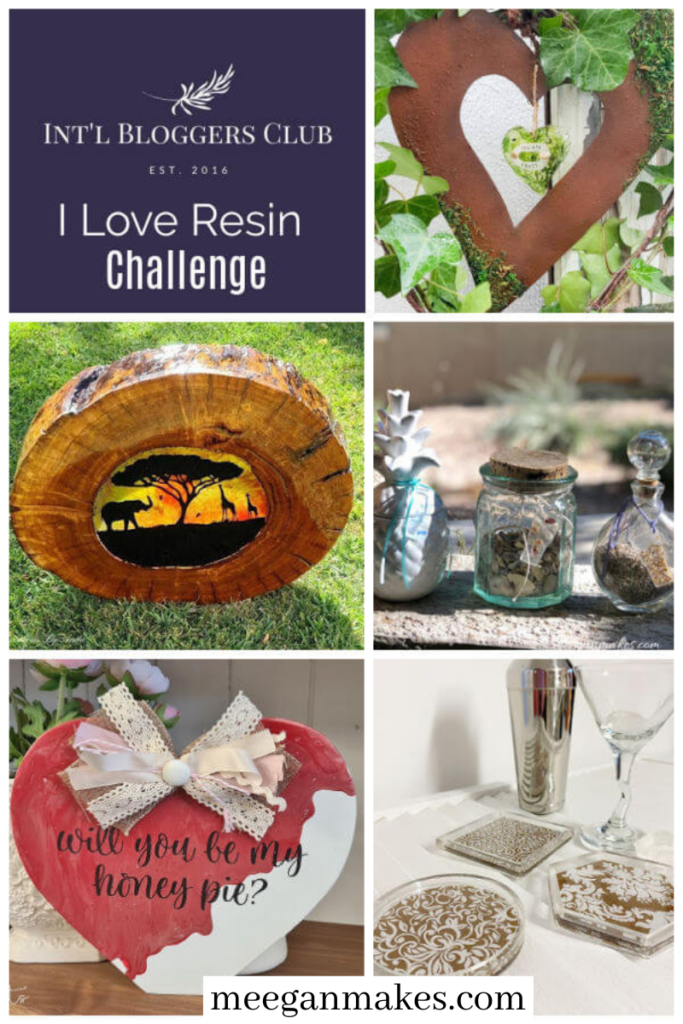
A Crafty Mix: Spring Heart Wreath
Unique Creations By Anita: Wooden Suncatcher
Interior Frugalista: Resin Coasters DIY For Beginners
What Meegan Makes (me): How To Make Simple Resin Tags
Raggedy Bits: DIY Thrifted Wooden Valentines Paint Pour Heart




This is one of the best resin ideas I’ve seen in a long time, Meegan. Just the thought of visually tagging the contents of somethings makes me smile. I’m picturing rice tags and spaghetti tags and mmmmmm maybe even dog food tags. I wonder………… Awesome idea
This is such a fun idea and the possibilities are endless.
Oooh, I never saw that silicone mold when I was looking – very cool! Such a great idea for small collections like your sea glass and seashells. Your lavender ones took me right back to my daughter’s wedding where her theme was lavender. It would have been so cool to make these to go with the guest favors.
What an amazing resin project! I. I need to try this
This is very clever and unique. And those bottles are stunning with your tags attached. Well done for your first time using resin.
I need to try resin. It is on my list to do. Thanks, for the simplicity of this. now I am not so intimidated.
Kim
Meegan,
I love this! Tags are always a sweet addition and these are just lovely!