What Meegan Makes

vintage style, cottage living, home cooking

  • Home
  • Contact for Collaborations
  • Privacy Policy and Disclosure
  • Furniture Makeovers
  • 10 DIY Seasonal Banners
  • 15 Creative Spring Crafts

Search Results for: diy projects/page/206/Pottery Barn Jingle Pillow Knock-off/Pottery Barn Jingle Pillow Knock-off/Pottery Barn Jingle Pillow Knock-off

Eight Creative DIYs For Your Home

July 29, 2018 By Meegan 4 Comments

Welcome back to Inspiration Monday! We are always happy that you are here.  Today we have Eight Creative DIYs For Your Home. Great ideas and craftiness going on here!


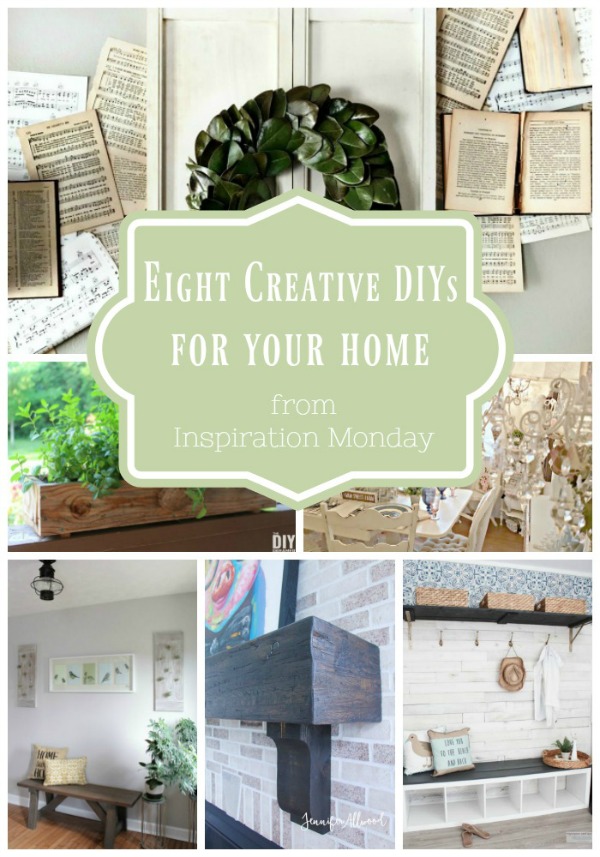
I am always looking for ideas on how to update and freshen up our home. These Eight Creative DIYs For Your Home are just what I need. I hope they inspire you to create updates and re-purposes in your own home.

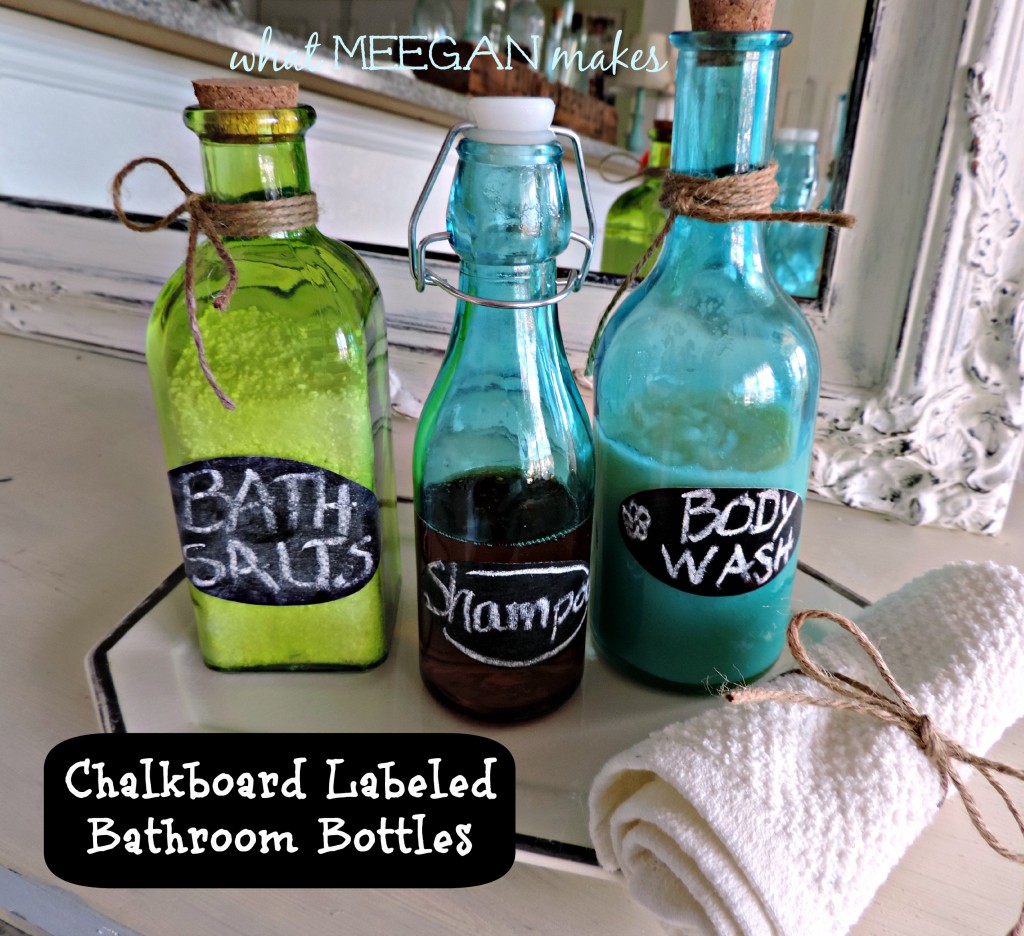
These week’s features were chosen by What Meegan Makes.

Continue Reading

DIY Herb & Pine Cone Filled Fire Starter

November 21, 2013 By Meegan 2 Comments


Happy Thursday!!  The holidays are coming upon us and we better start get ready soon!!  Is it cold where you live?  It is cooler here, but not COLD yet.  I sure miss our wood stove we had in the hills of California.  And, I also wish I had been able to use a DIY Herb and Pine Cone Filled Fire Starter for those cold Winter months.

These are a great Holiday gift and fun for your own home.  Besides that-they are EASY PEASY to make…

DIY Herb & Pine Cone Filled Fire Starter
 My components were:

newspaper

strips of cardboard

sprigs of fresh thyme

pine cones

paper doilies

twine and/or string

small tags (optional)


I “wrapped” the pine cone with cardboard and then tucked in the thyme.  I chose thyme, because the aroma will fill your home with a wonderful fresh, clean scent, that only thyme can give.
Rolling the pine cone in a newspaper tube, I tied each end with twine.
DIY Herb & Pine Cone Filled Fire Starter
Using a paper doily, my small tag and string, I tied the doily around the tied newspaper and pine cone.
Yep, it IS that easy!!
Won’t your friends and neighbors love this simple and festive gift?  It is a perfect hostess gift for your Holiday and Christmas parties.  You can make your tags personalized for each friend or neighbor, too.

Be sure to pin this so you can use a DIY Herb & Pine Cone Filled Fire Starter for your campfires and fire pits during the Summer months, too.

Thanks so much for stopping by today.  I love your comments and ideas.

Make it a terrific day.

Meegan

Are you following me by email yet?  Get my posts straight to your email, without missing a post!! Let’s Stay Connected: Pinterest Facebook Hometalk Google + Stumble Upon Bloglovin’ twitter Instagram


This post is linked to some of my favorite link parties here.

DIY Chalkboard Labeled Bathroom Bottles

February 14, 2014 By Meegan Leave a Comment

[slideshow_deploy id=’6144′]

Happy Valentines Day everyone!!  This past week has been full, fun and exciting!  I made another Pinterest Party craft and I am excited to share it with you.  My DIY Chalkboard Labeled Bathroom Bottles are SO EASY.  They look fabulous in your bathroom or even a guest bath for visitors.  I think they would even be a great gift for a guest to take home with them.

You will love how easy and simple this craft is.  I will be sharing it at the Michaels Hometalk Party on Sunday.

aPinterest Party 138

I bought 3 different sizes of bottles.  I liked the various shapes, as well.  You can get all the same color and shape if you wish.  There were lots of colors to choose from:  yellow, hot pink, green and aqua.

aPinterest Party 147

To fill each bottle, I carefully poured the shampoo and body wash into the smaller bottles.  But when it came to the bath salts.  That was a little more tricky.  Using a piece of computer paper, I twisted it into a cone and placed it in the bottle.

aPinterest Party 152

Using a measuring cup, I carefully poured the bath salts into the paper cone.  I was careful not to spill or over pour the salts.  Patience was the key to not making a huge mess.

Once my jars were full, I placed a chalkboard label on each bottle.  Using the chalk that came with the labels, I wrote the name of each ingredient in the bottles.  I tried adding a little flair for fun.

I like to use jute anywhere I can.  It’s a creativite way to add some personality to a gift, jar or even my DIY Chalkboard Labeled Bathroom Bottles.  I wrapped the jute around the top of the bottle and tied a simple knot at the top to hold it together.

Since chalkboards are all the rage right now, these will look just fab in the bathroom sitting on a vintage china tray.  Adding a wash cloth tied with jute, also adds the perfect touch, don’t you think???

If you are following me on any social media, you will see that I have been talking, instagraming, and tweeting all about theMichaels Hometalk Pinterest Craft I have been working on!  It is so exciting to be paired up with Michaels and Hometalk.

If YOU want to attend a Pinterest Party, Michaels is having one at EACH and EVERY one of their stores in the US and Canada!  Yep, isn’t that awesome???  The exciting part about it, is that Michaels and Hometalk asked 100 bloggers to help them host the party.  So, YOU might get to meet a blogger when you attend your Michaels Hometalk Pinterest Party this Sunday!  For more information and all the details look here.

I hope you will visit your local Michaels this Sunday and make a craft that you have pinned.  Now, you have a set time to make it your own, instead of just looking at it on your Pinterest Board.  Sounds fun to me!!

I can’t wait to meet and craft with some of you and/or your friends!!

Make it a Happy Valentines Day!

 Are you following me by email yet?  I would not want you to miss out on my posts.

I share little bits and pieces of my blog and life on: Pinterest Facebook Hometalk Google + Stumble Upon Bloglovin’ twitter Instagram

I will be linking this post tome some of my fave blogs here.

DIY Spring Refreshed Urn and Grow Your Google+ Circles

March 19, 2014 By Meegan 2 Comments

Hey everyone!  Happy Wednesday! I flew home from Oregon last night.  I have been gone from Hubby for 20 days!  Whew!  That’s such a long time, isn’t it?  It has been the trip of a lifetime across the country and back then up to Oregon.  I am truly blessed.  Lots of pictures to come in the days ahead of all the sights and adventures from my trip.

But today, I am thrilled to share a simple, yet impacting change for Spring.  My DIY Spring Refreshed Urn.  Easy peasy and the cost???  Very little.  Awesome!  Let’s get started…

I found this lovely urn filled with flowers and grass for $5 on clearance at Wal-Mart years ago.  SCORE!  At the time I purchased it, it fit my style and taste.  Now, I have tried fitting in every room in the house, only because I really haven’t found a home for it.

I finally decided to pull it apart and use the urn.  I mean it’s a great urn, right?  SO, I NEEDED to use it somehow.  I think it already looks better.

Using a grapevine orb that I found thrifting for a dollar.  I am able to change the whole look of my urn.

What a difference!  Placing my “new” orb and urn with other thrifted and vintage components, I created a new, fresh look for spring.

Combining the candlesticks, wheat grass, vintage books tied with twine all sitting in a large wood tray is the exact look I was hoping for.

To finish things off I filled a wire basket with pine cones and the grass from the urn.  So cool and great for a Spring look!

It’s funny how I can have something so long, tried using it in every room and FINALLY pulled it apart and found a home for it!  I REALLY like when that happens.  I was able to change the urn to fit my style, as my style as changed, too.  Do YOU have something that you can do the same thing with??

Thanks for joining me today as I shared my Spring Refreshed Urn.  It is always a joy for me to share things and I ideas that make me smile.

Make it a wonderful Wednesday!

Are you following me by email yet?  I would not want you to miss out on my posts. I share little bits and pieces of my blog and life on: Pinterest Facebook Hometalk Google + Stumble Upon Bloglovin’ twitter Instagram  I will be sharing this post at some of my fave blogs here.


Now, it’s time to join all of us tyo Grow Your Google+ Circles.  It’s a fun party with lots of growth.

Are you looking to grow your circles on Google+?  Do you want better SEO and increased website exposure? This is the place to be!  Welcome to the mommy is coocoo circles hop. *Update we’ve created a facebook group for Creative bloggers who google+.  Message me here with your email address if you would like to be in to the group. google+ link party, SEO, with mommy is coocoo

If you want to get coocoo with us on Google+:

Please add our button to your sidebar or post!
mommy is coocoo
1. Add all of the cohost to one of your circles.
2. Link up your Google+ url NOT your blog url.
3. Share a creative post (i.e. posts about cooking, DIY, crafts, etc…) to the public on Google+ and include the hashtag #mommyiscoocoo.
4. Socialize – The more shares a website or blog post has the better chance it has of ranking well.


  • Add new friends to your circles.
  • Comment and Share posts you really enjoy!
  • Throughout the day +1 posts with the hashtag #mommyiscoocoo on Google+
*If you want to grow your presence on Google+ email (me) Amanda at mommyiscoocoo(at)gmail(dot)com to cohost.


An InLinkz Link-up

« Previous Page
Next Page »

Recent Posts

  • Vintage Spring or Easter Tablescape
  • Affordable Easter Dresses
  • Best Glass Kitchen Tools
  • Short Style Dresses for Spring and Summer
  • Chicken Broccoli and Rice Recipe

Purchase Beautiful Home Accessories for any style

Thrifty Style Team 2nd Friday Monthly

International Blogger Club-The 3rd Monday of Each Month

Fashion Trends for Over Fifty

DIY Bicycle Rim Halloween Wreath

Create and Decorate Pumpkins With Sea Shells

Fall Tablescape in Lavender and White

Vintage Bicycle Rim Wreath for Fall

How To Make a Faux Pumpkin Centerpiece

Glittery Welcome Embroidery Hoop Wreath

70+ Crafts and Decorating Tips for Fall

Top Ten Tips and Tricks for creating a Cottage Style Home

Pineapple Pecan Coffee Cake with Caramel Glaze

Raspberry Cream Sandwich Cookies

Cream Cheese and Shrimp Cocktail Dip

PERMISSIONS

What Meegan Makes and all it’s content, pictures, ideas, etc. are original ideas and copyright protected.

Using content including but not limited to: designs, original ideas, photos, posts, etc. is prohibited.

Please ask permission before using any content from my blog for any reason and if there is any question.

Search

FEATURED ON SHABBILICIOUS FRIDAY MAGAZINE

FEATURED IN EVERYTHING HOME MAGAZINE

FEATURED ON HUFFINGTON POST

FEATURED ON HUFFINGTON POST

MY OWN RECIPE WAS FEATURED

FEATURED ON GOOD HOUSEKEEPING

Designer Insights from Terry’s Fabrics

Copyright © 2026 ·Beautiful Pro Theme · Genesis Framework by StudioPress · WordPress · Log in