Hey everyone! Happy Wednesday! I flew home from Oregon last night. I have been gone from Hubby for 20 days! Whew! That’s such a long time, isn’t it? It has been the trip of a lifetime across the country and back then up to Oregon. I am truly blessed. Lots of pictures to come in the days ahead of all the sights and adventures from my trip.
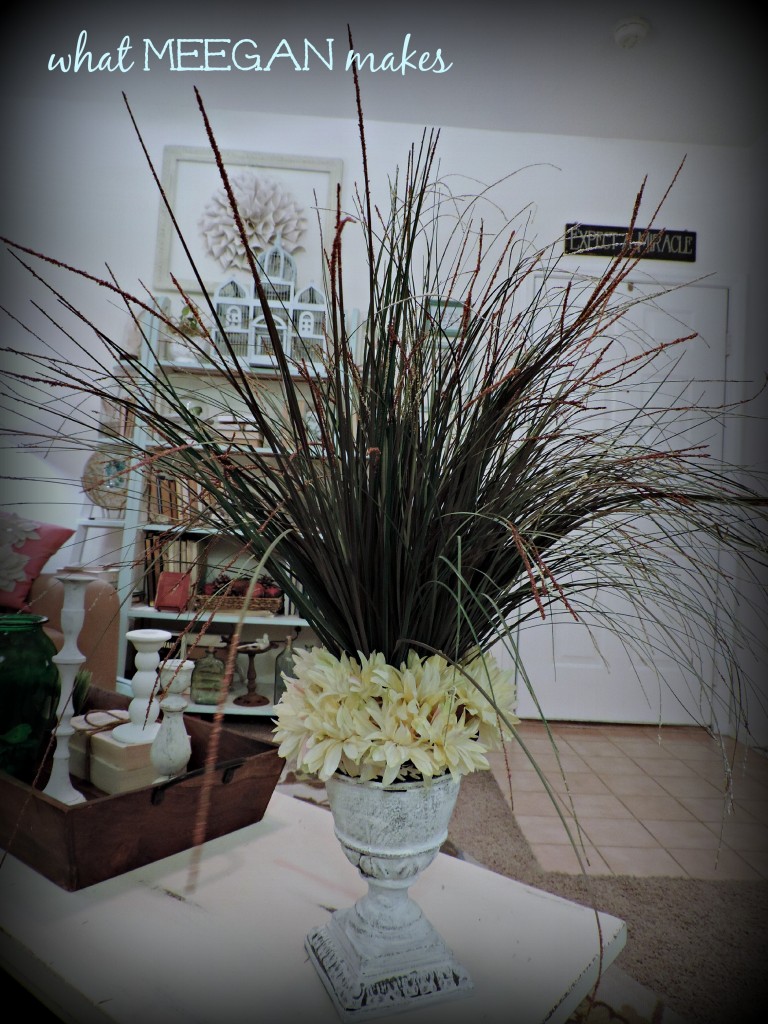
But today, I am thrilled to share a simple, yet impacting change for Spring. My DIY Spring Refreshed Urn. Easy peasy and the cost??? Very little. Awesome! Let’s get started…
I found this lovely urn filled with flowers and grass for $5 on clearance at Wal-Mart years ago. SCORE! At the time I purchased it, it fit my style and taste. Now, I have tried fitting in every room in the house, only because I really haven’t found a home for it.
I finally decided to pull it apart and use the urn. I mean it’s a great urn, right? SO, I NEEDED to use it somehow. I think it already looks better.
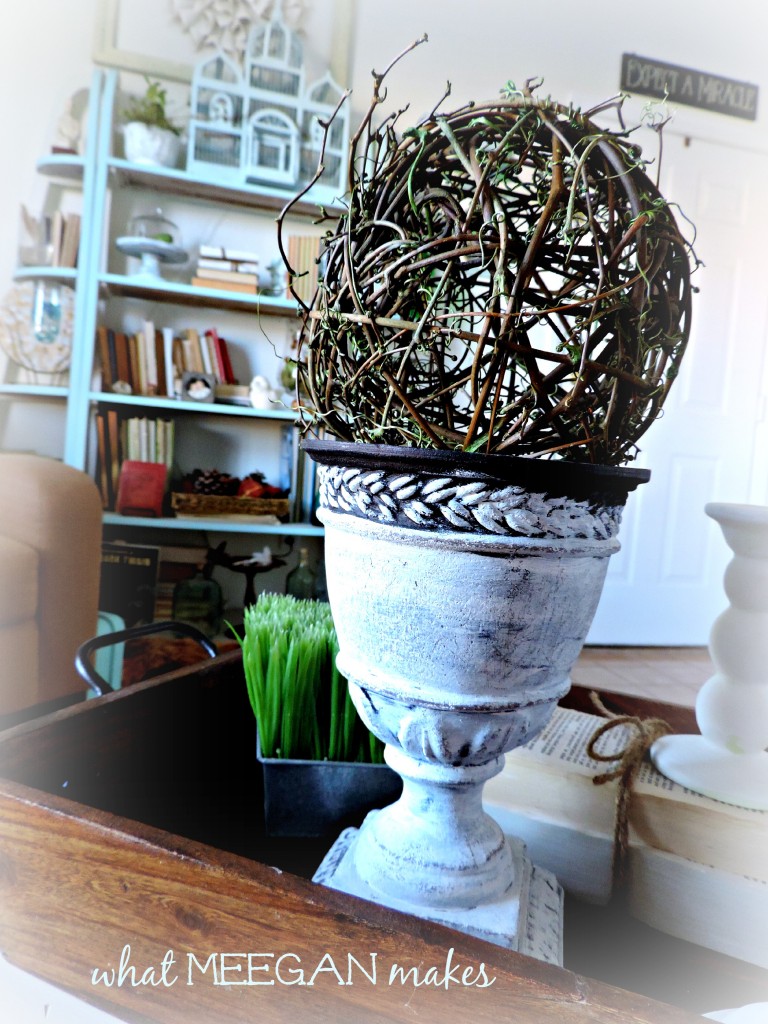
Using a grapevine orb that I found thrifting for a dollar. I am able to change the whole look of my urn.

What a difference! Placing my “new” orb and urn with other thrifted and vintage components, I created a new, fresh look for spring.
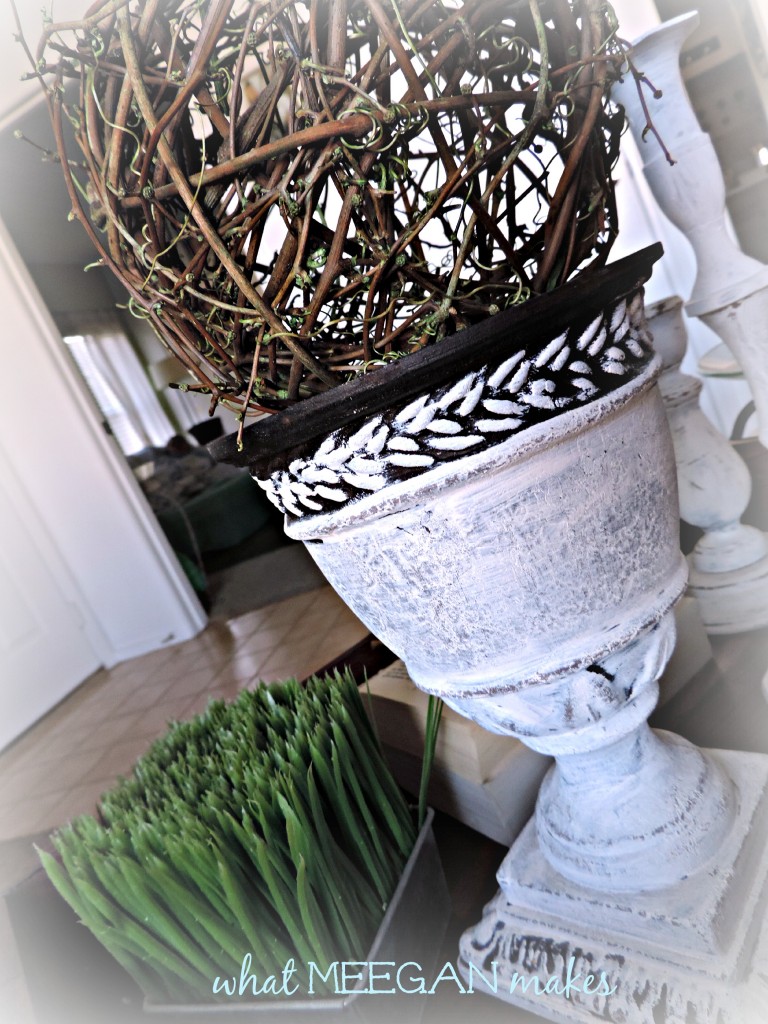
Combining the candlesticks, wheat grass, vintage books tied with twine all sitting in a large wood tray is the exact look I was hoping for.
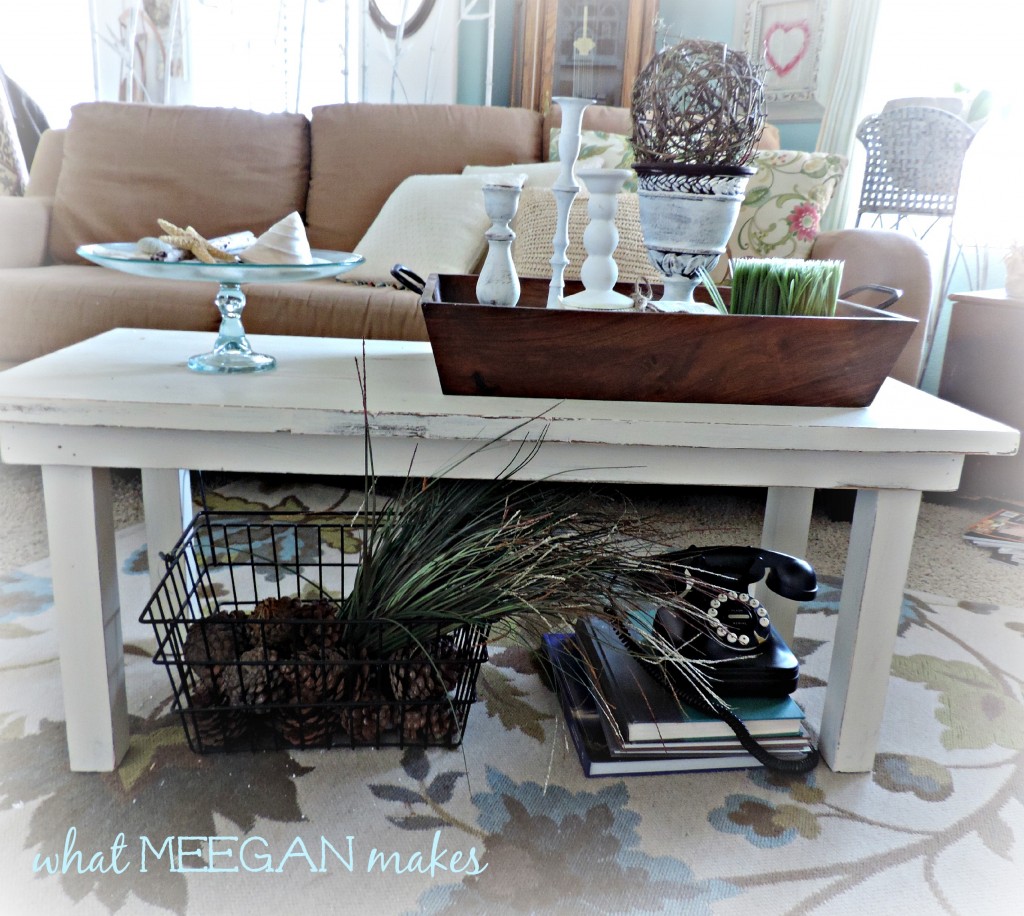
To finish things off I filled a wire basket with pine cones and the grass from the urn. So cool and great for a Spring look!
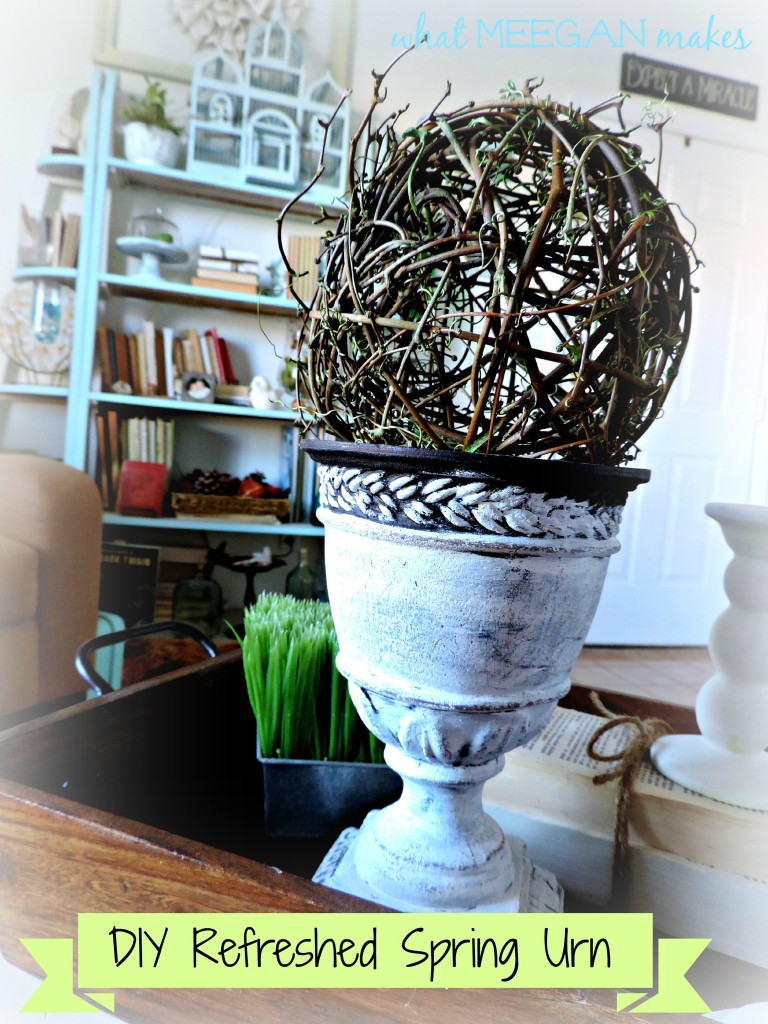
It’s funny how I can have something so long, tried using it in every room and FINALLY pulled it apart and found a home for it! I REALLY like when that happens. I was able to change the urn to fit my style, as my style as changed, too. Do YOU have something that you can do the same thing with??
Thanks for joining me today as I shared my Spring Refreshed Urn. It is always a joy for me to share things and I ideas that make me smile.
Make it a wonderful Wednesday!
Are you following me by email yet? I would not want you to miss out on my posts. I share little bits and pieces of my blog and life on: Pinterest Facebook Hometalk Google + Stumble Upon Bloglovin’ twitter Instagram I will be sharing this post at some of my fave blogs here.
Now, it’s time to join all of us tyo Grow Your Google+ Circles. It’s a fun party with lots of growth.
Are you looking to grow your circles on Google+? Do you want better SEO and increased website exposure? This is the place to be! Welcome to the mommy is coocoo circles hop. *Update we’ve created a facebook group for Creative bloggers who google+. Message me here with your email address if you would like to be in to the group. 
If you want to get coocoo with us on Google+:
- Add new friends to your circles.
- Comment and Share posts you really enjoy!
- Throughout the day +1 posts with the hashtag #mommyiscoocoo on Google+







Love that change. The changes are infinite. Rest up and have a wonderful week.
Welcome Back! Glad you had a great trip with your daughter/grandkids. Love how you rearranged and made a complete different look with the urn. I haven’t quite figured out how to do that, but I’m trying. Love the look!