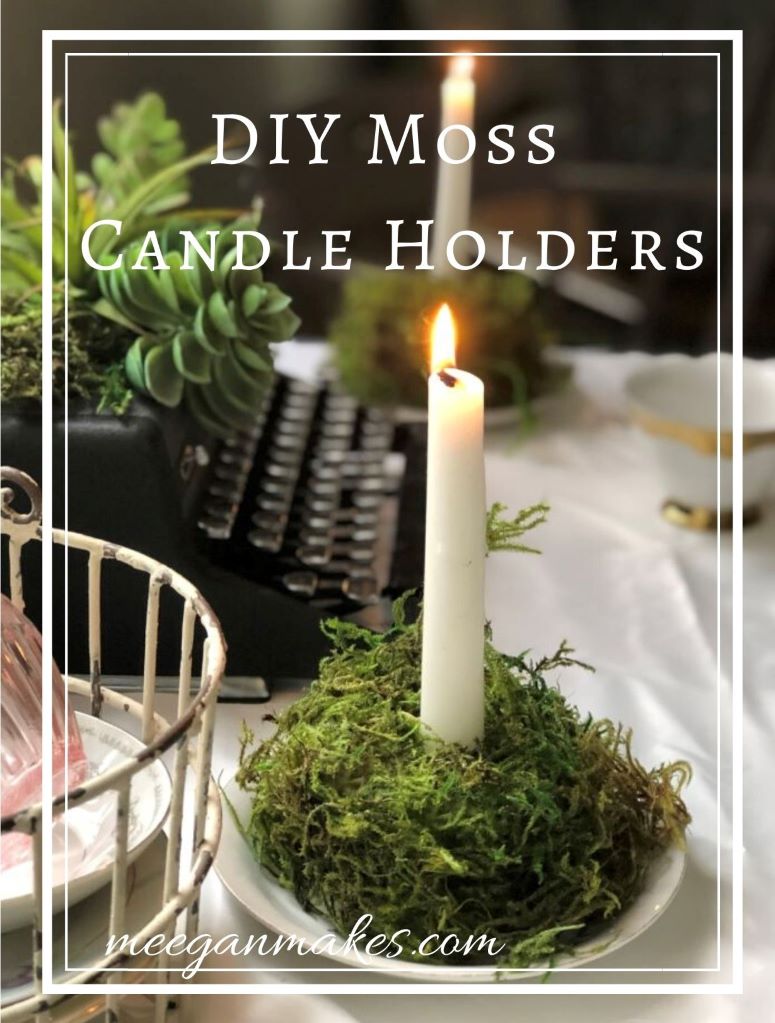
Creating these Thrifty DIY Moss Candle Holders could not have been any easier. With Dollar Store items I was able to set a lovely Spring table for very little money and beautiful style.

This post is part of the monthly Thrifty Style Team collaboration. The 2nd Friday of each month my talented blog friends gather together. We like to share our thrifty decor, crafts or money saving ideas with you. * This post was updated 2025.
Thanks to Julie at Redhead Can Decorate for hosting the Thrifty Style Team and creating this amazing idea,
I will leave all the links below for you at the end of this post.

Let me show you how I made my Thrifty DIY Moss Candle Holders and everything you will need to make your own.
What you will need:
2 round Styrofoam forms (I bought mine at Dollar Tree)
1 large bag of reindeer moss
1 bottle tacky glue
1 small carving or butter knife

I also bought greenery stems, but later decided not to use them at this time.
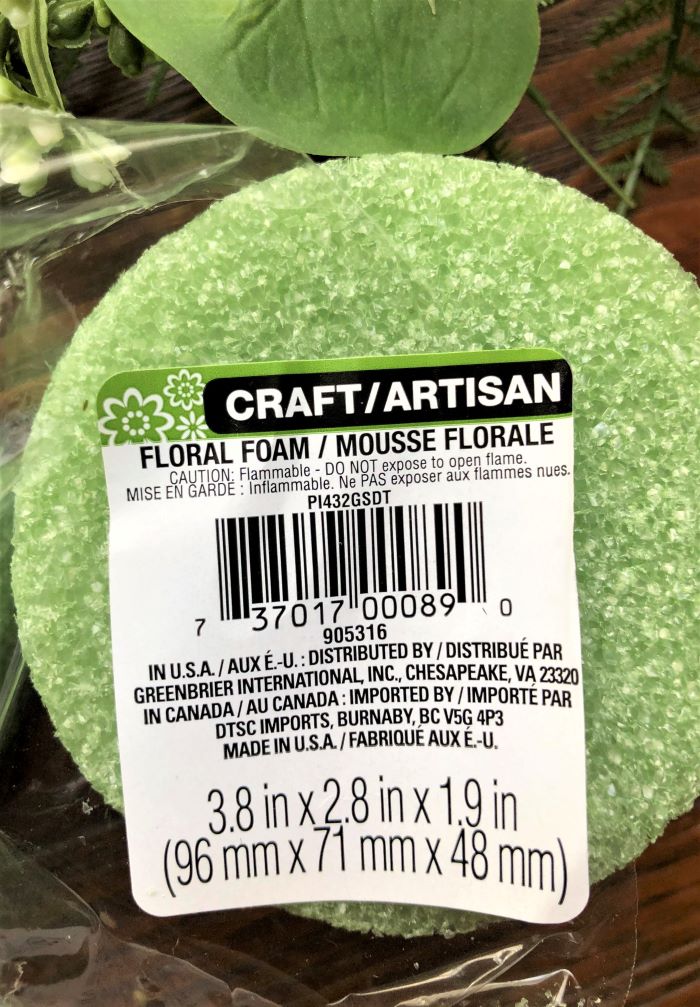
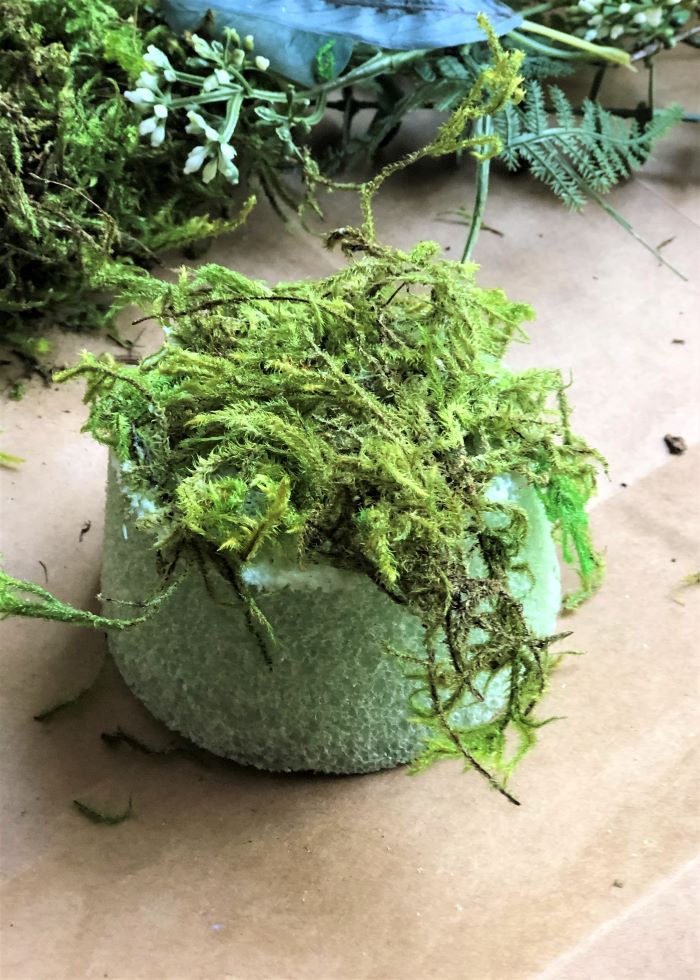
The first step is to apply tacky glue using a sponge paint brush to the top of the round Styrofoam piece.
Next, place reindeer moss onto tacky glue. Hold moss with fingers until it has adhered to the Styrofoam.
It will take about 15-30 seconds for the moss to stick. So, be patient. Especially when you are working on the sides. Take your time as you attach the moss to the Styrofoam piece.
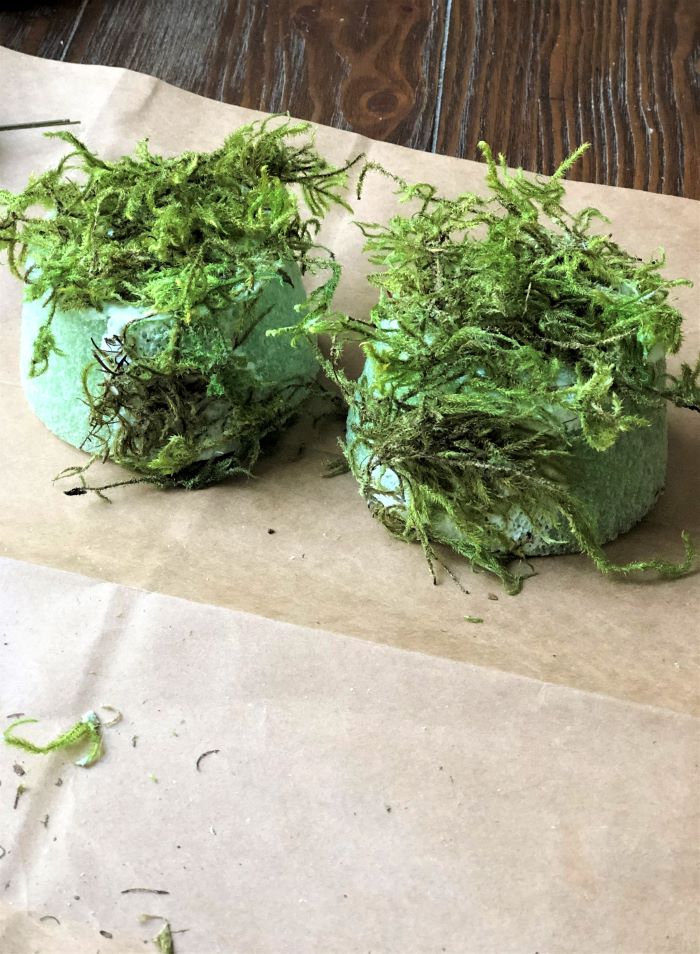
The moss will want to fall off. So, hold it securely until it stays. Continue this process until the sides are covered. The same process was used when I made a moss wreath. (I tried using a hot glue gun, but was unsuccessful.)
Set aside until completely dry. This may take about 3 to 5 hours, depending on your weather.
You may need to go back and patch any spots that were missed.

Once the glue and moss are dry, use a knife to cut a “small” hole in the middle. Be sure it is a small hole, as this will be where you insert the taper candle. And you want it to stand straight and secure. Not at an angle with the possibility of falling over.

Once the candle is set into the Styrofoam, place the finished moss candle holder on a vintage tea saucer.

Now you have a beautiful piece to add to any tablescape. It has a touch of Spring with a hint of vintage style.
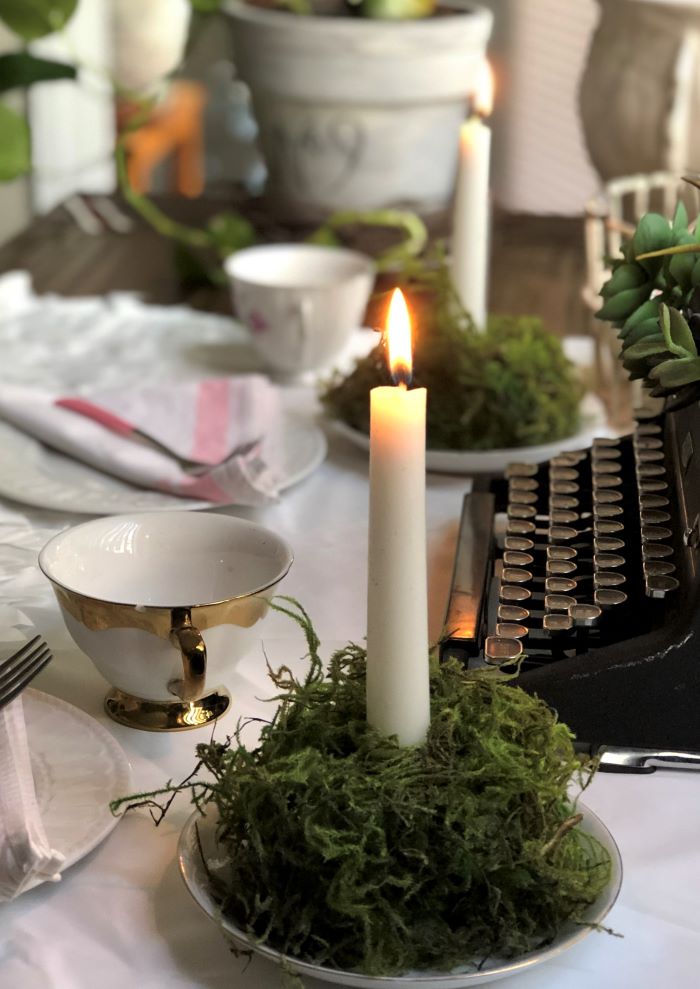
To see how I decorated my vintage typewriter look HERE. I think it adds ambiance for this look, don’t you?
Thanks for joining me as I shared the Thrifty DIY Moss Candle Holders. They are definitely easy and such a fun way to decorate for any party, baby or bridal shower or even wedding.
Make it a great day!
Enjoy looking through all the 12 Thrifty Gorgeous Home Styling ideas… 
Redhead Can Decorate – Repurposed Vintage Clutch Purse
The Painted Hinge – Vintage Trunk Makeover with Chalk Paint
DIY Beautify – Easy and Thrifty Decor Ideas for a Spring Table
2 Bees In A Pod – Easy DIY Wood Bead Garland
Jennifer Rizzo – Shop Your House Living Room Makeover
Postcards From The Ridge – 13 Ideas for Thrifty Wall Art & Decor
The Creek Line House – Affordable Gold Kitchen Hardware Update
The How To Home – Easy No-Sew Drop Cloth Curtains
The Tattered Pew – Repurposed Vintage Magazine Rack Ideas
Sweet Pea – DIY Picture Frame Wreath
What Meegan Makes – Thrifty DIY Moss Candle Holders
Salvaged Living – Wooden Bowl Decor Ideas

MORE ideas that you will enjoy…

10 Upcycle Projects That Anyone Can Do
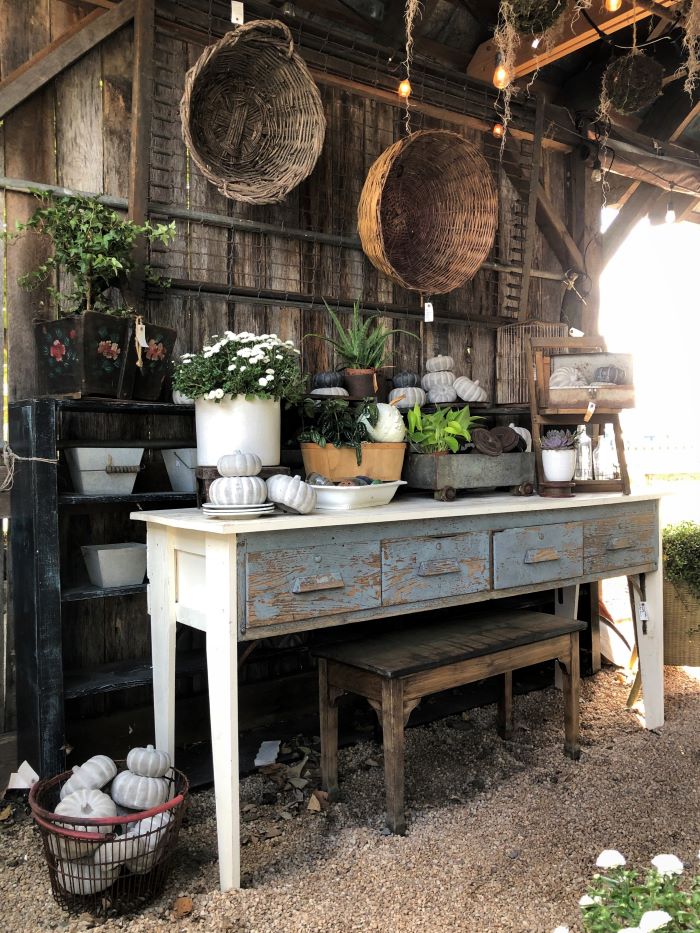
A Tour of Garden Gatherings in Lucketts, Virginia.
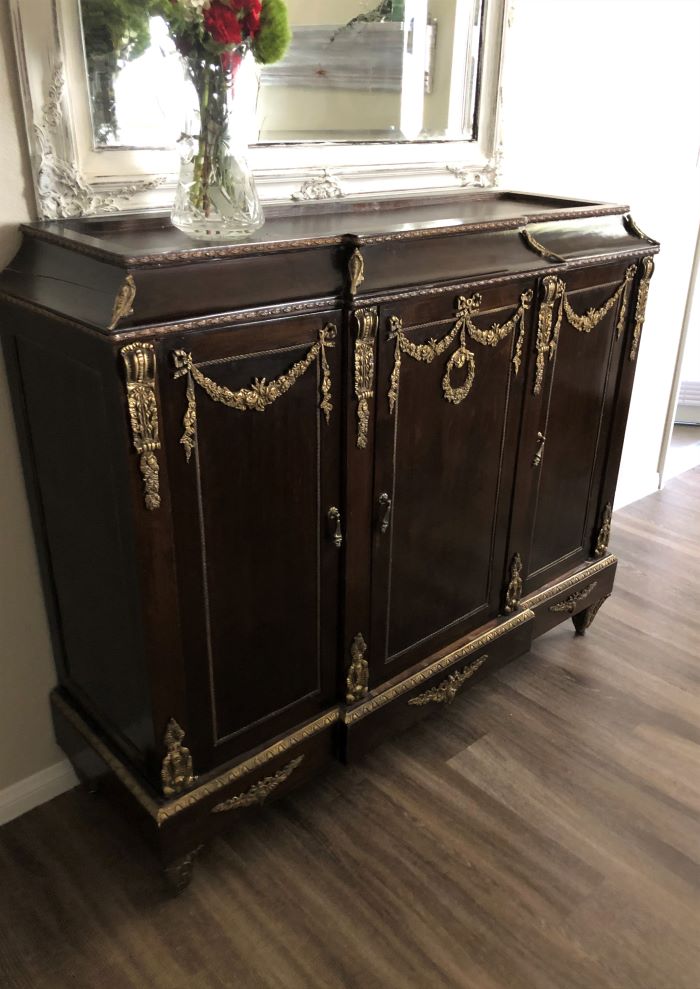
My Thrifted Victorian Buffet Find-Deal of the Century!
Make it an amazing day!




What an adorable idea and thrifty to boot! You are going to really enjoy using this project in any season.
This turned out so beautiful Meegan! And I love your spring-y typewriter too!! xx
Oh wow, I love this idea Meegan. It’s so lovely and perfect a fairytale forest setting.