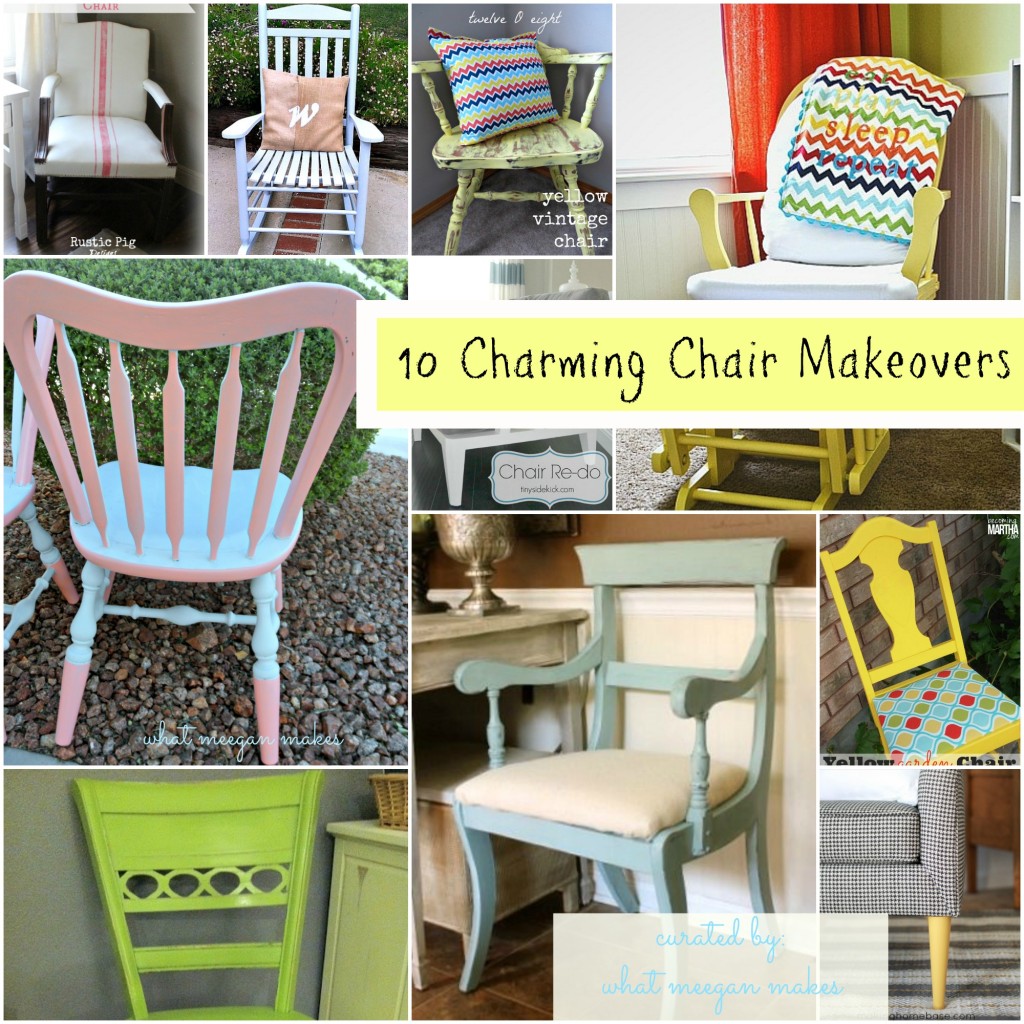
I have had so much fun looking at chair makeovers recently. I am loving all of the colors, textures and creativity! It all inspires me and gets my creative juices flowing. I just love these 10 charming chair makeovers. I am sure you will, too.
One trend I noticed was yellow. Lots and lots of yellow out there. Not to mention the ever popular shades of blue.
Chairs are an easy makeover, whether it’s for the living room, dining room, or garden. They are fun to work with and let your creativity fly! You can just paint the legs, paint the fabric, or use paint on the whole chair even if it is fabric! You could recover with a bold print, make a slipcover, add a pillow or throw for an accent piece.
Are you ready to get this show on the road? Are you ready to get your creative juices flowing?? Well, let’s go see 10 charming chair makeovers…
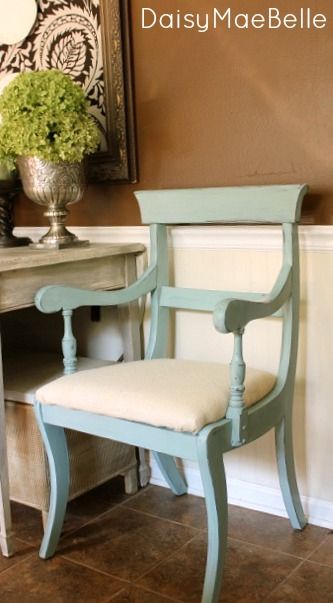
Duck Egg Chair
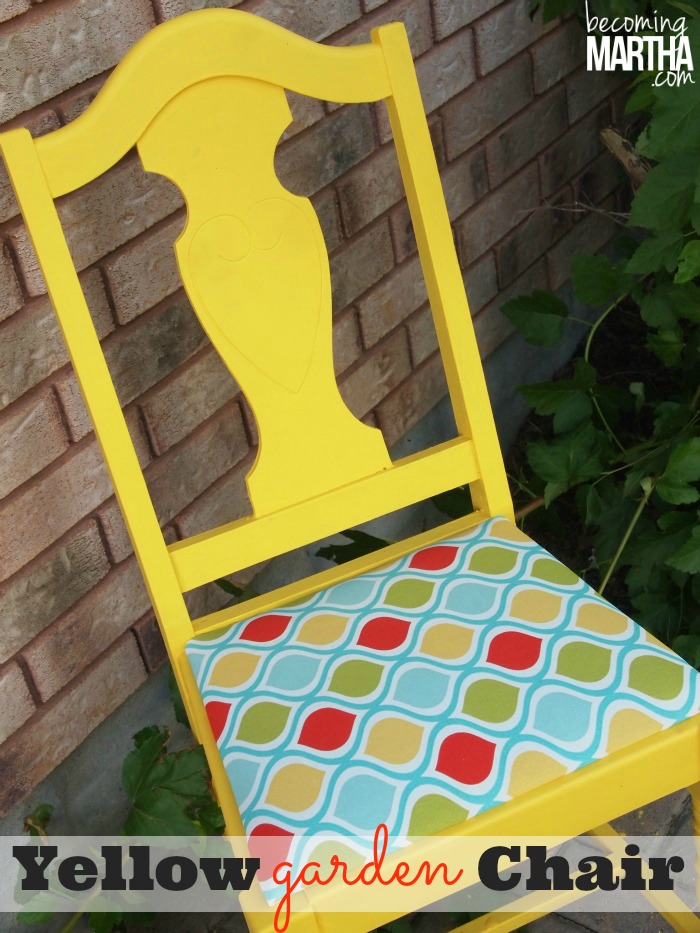
Yellow Garden Chair

Yellow Vintage Chair
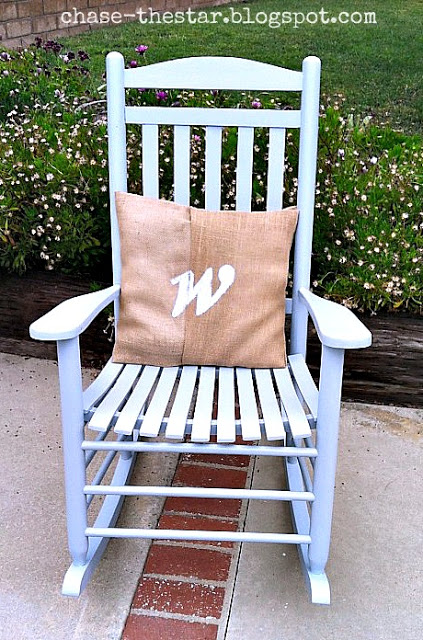
Rocking Chair Upcycle

Thrifted Chair Progress-So Far
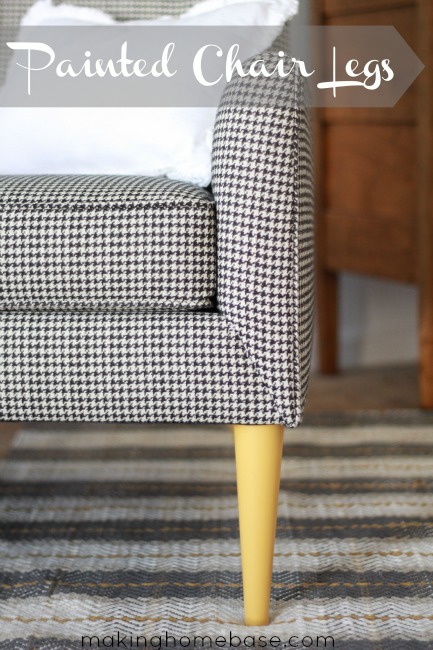
Painted Chair Legs
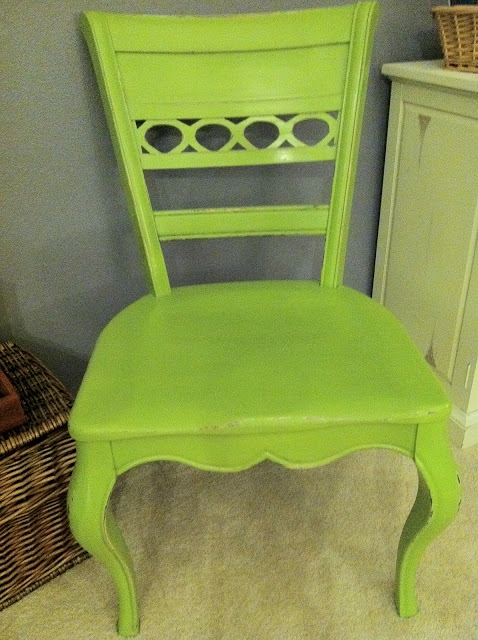
The Spring Green Chair
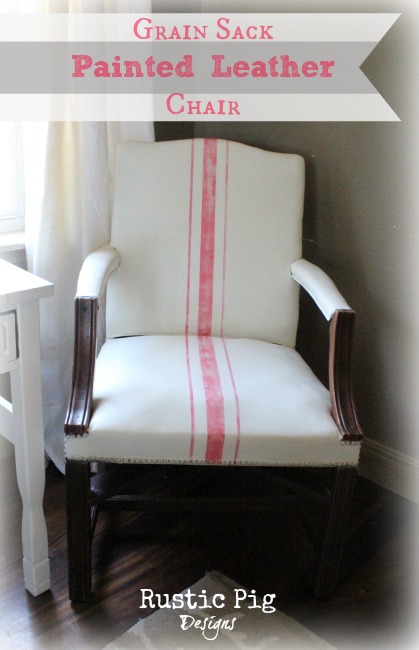
Grain Sack Painted Leather Chair

Glider Makeover

Chair Re-Do
Seriously inspiring, isn’t it? Which chair was your fave? The creativity and ideas never end-I love that! It was fun for me to share this post with you.
Thanks for stopping by to view 10 charming chair makeovers today!
I’d love for you to pin the features, but please click through and pin from the original source.
Are you following me by email yet? I would not want you to miss out on my posts.
I share little bits and pieces of my blog and life on:
Pinterest Facebook Hometalk Google + Stumble Upon Bloglovin’ twitter Instagram
Join me there soon!
Make it a wonderful Wednesday!

This post is linked to fabulous parties here.