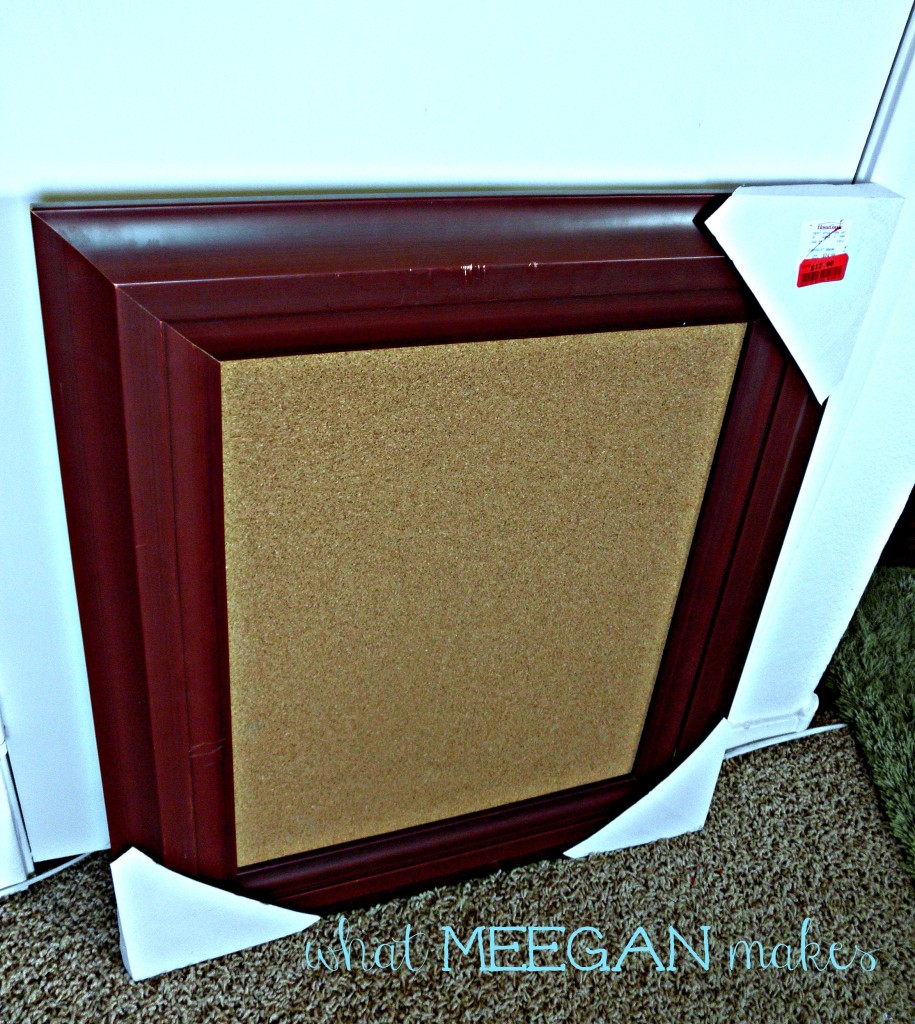
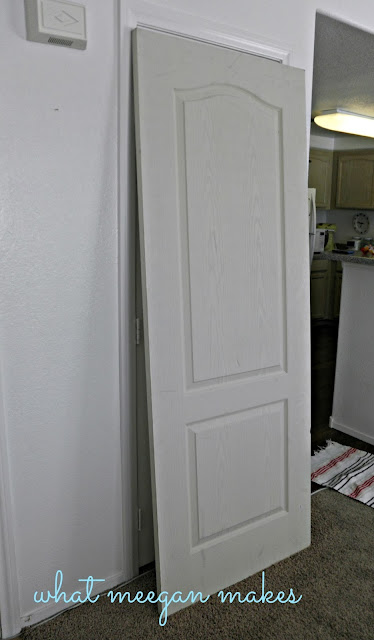
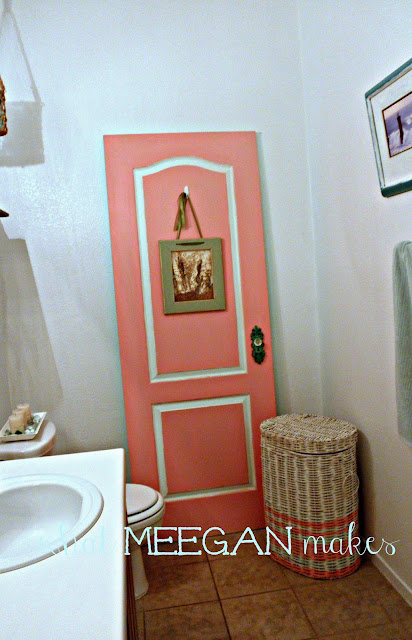
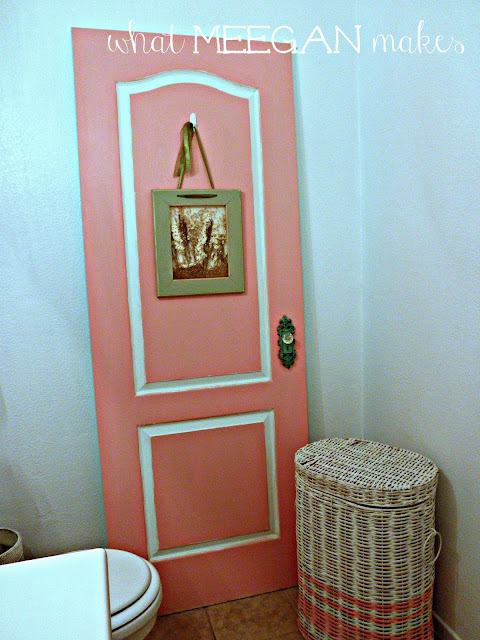
I have been wanting to show you this thrifted beauty of a “bathroom” door for sometime now. I almost have our master bathroom done, so I figured this is a good time to show you THE “bathroom” door. You are gonna love her!!
You KNOW how I love to shop thrift stores, right?? Well, I kept telling my Hubby I wanted a door for the bathroom. He was so confused, because the master bathroom DOES have a door.
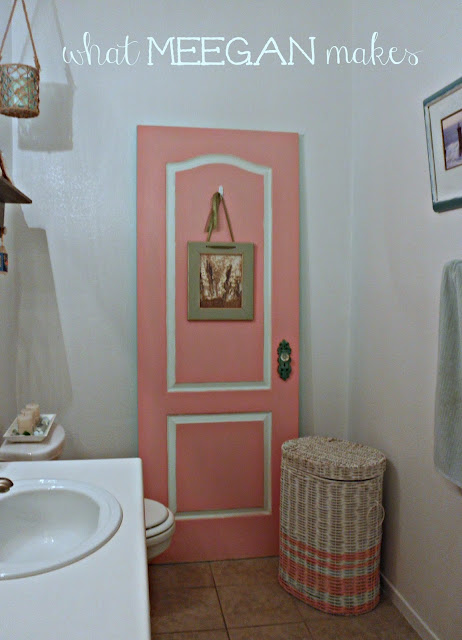
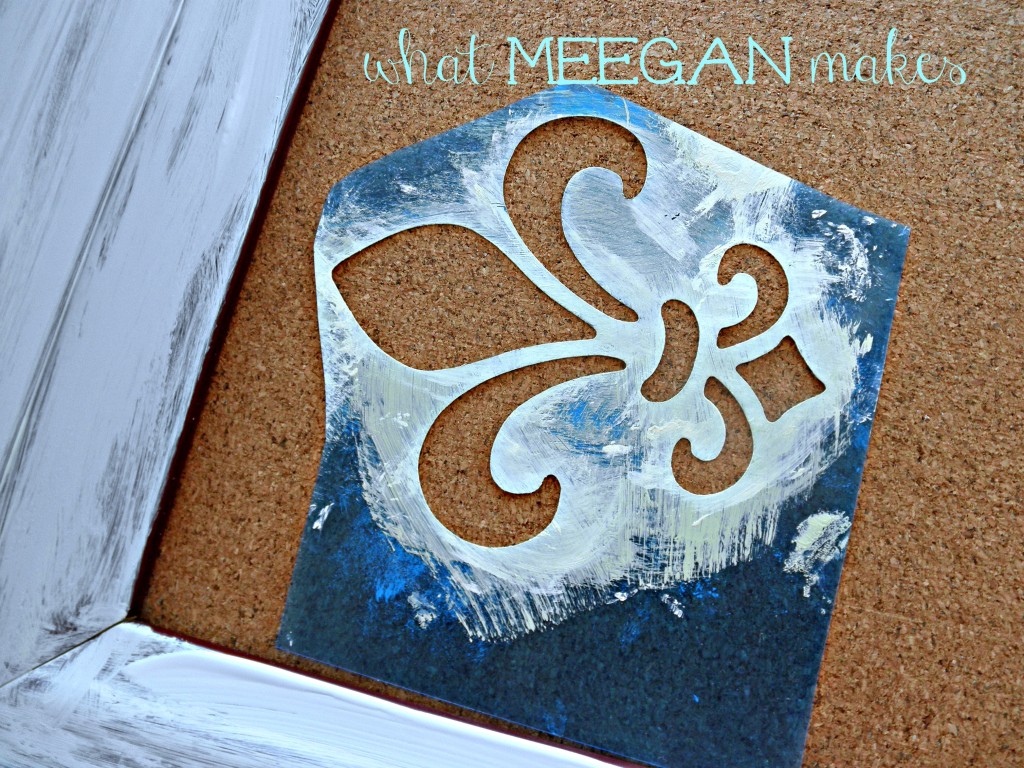
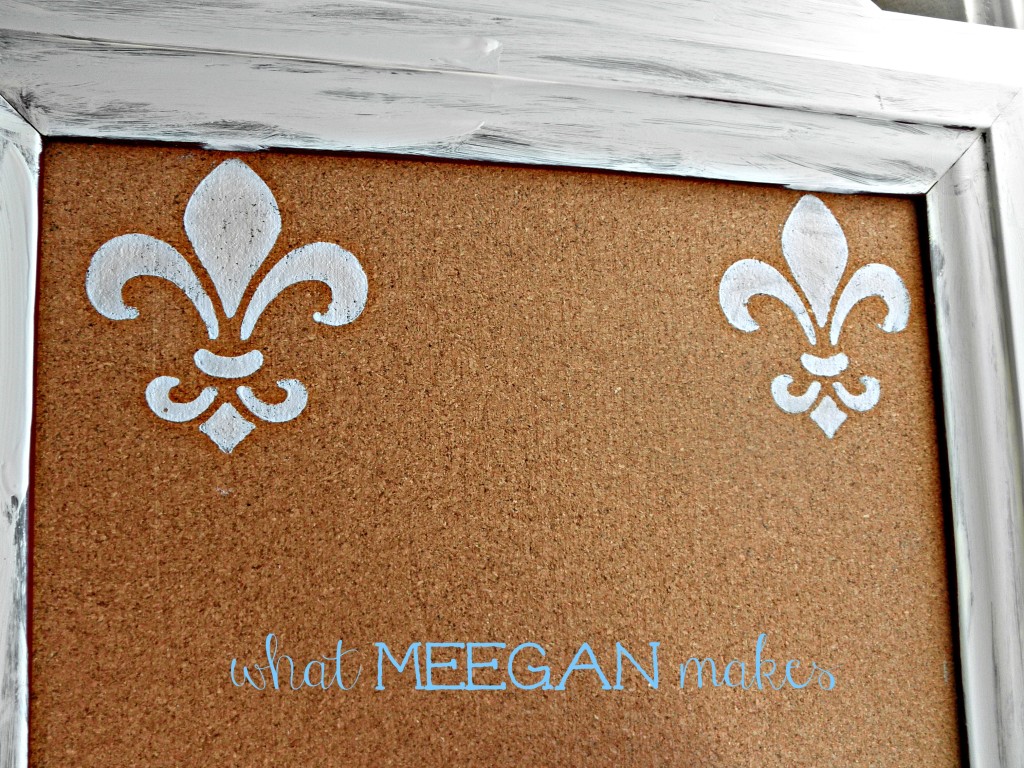
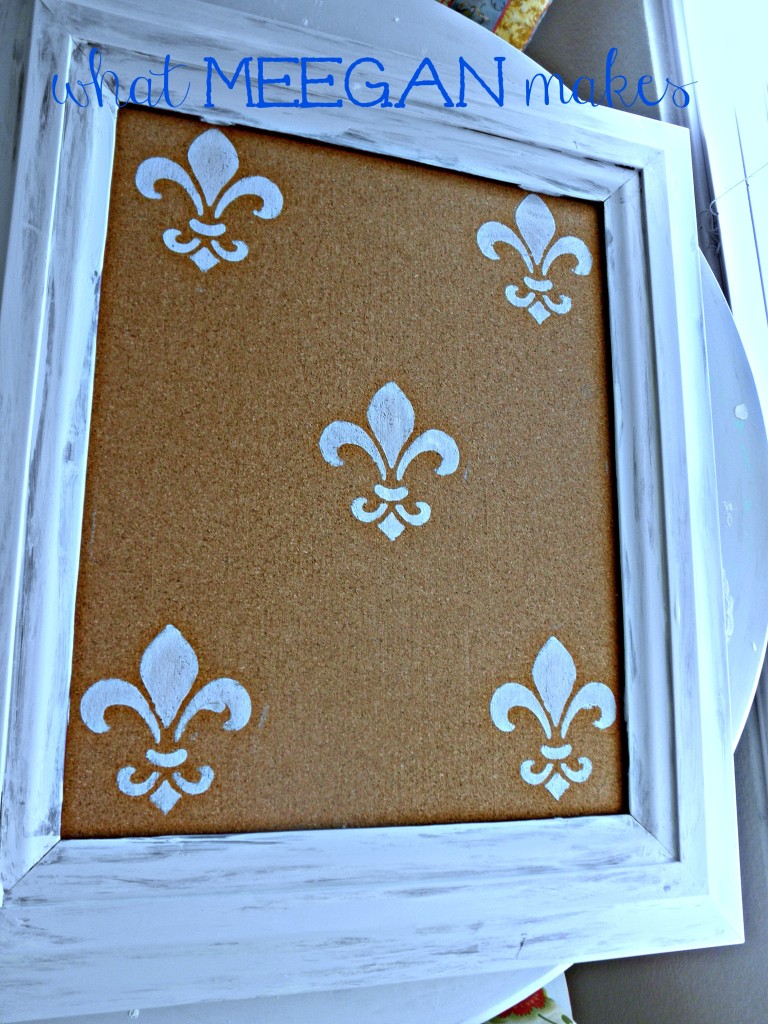
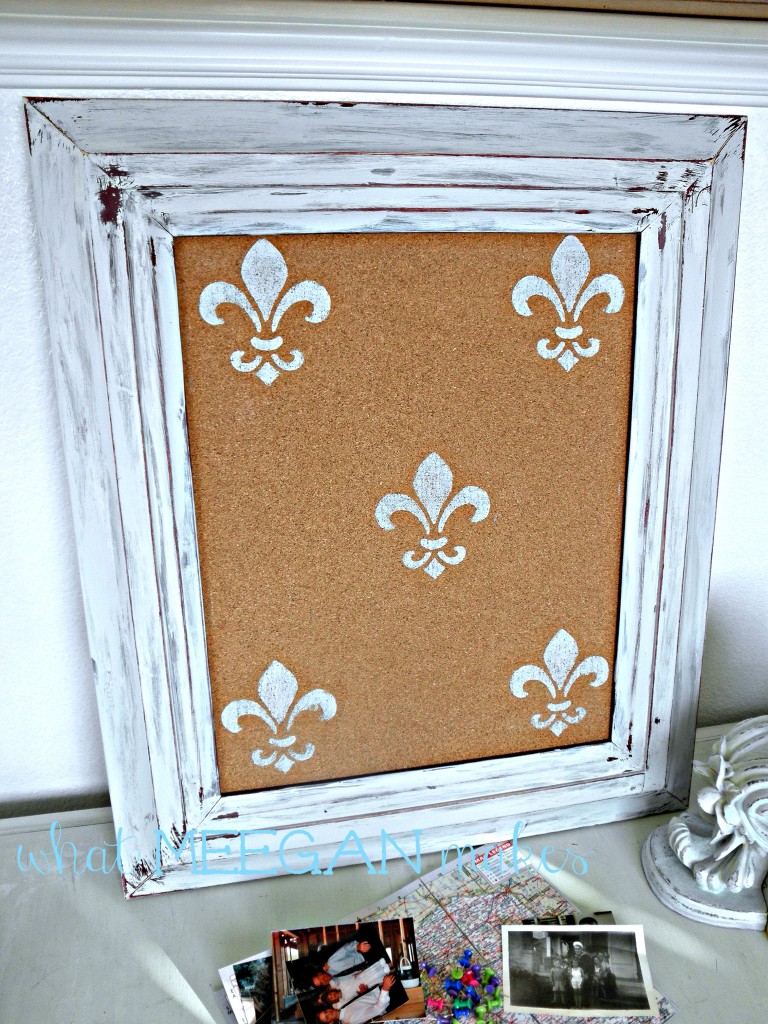
Isn’t she amazing?? She fits right along with my beach striped hamper!!
That’s why I needed a “bathroom” door. Not to open and close, but just to sit and look pretty.

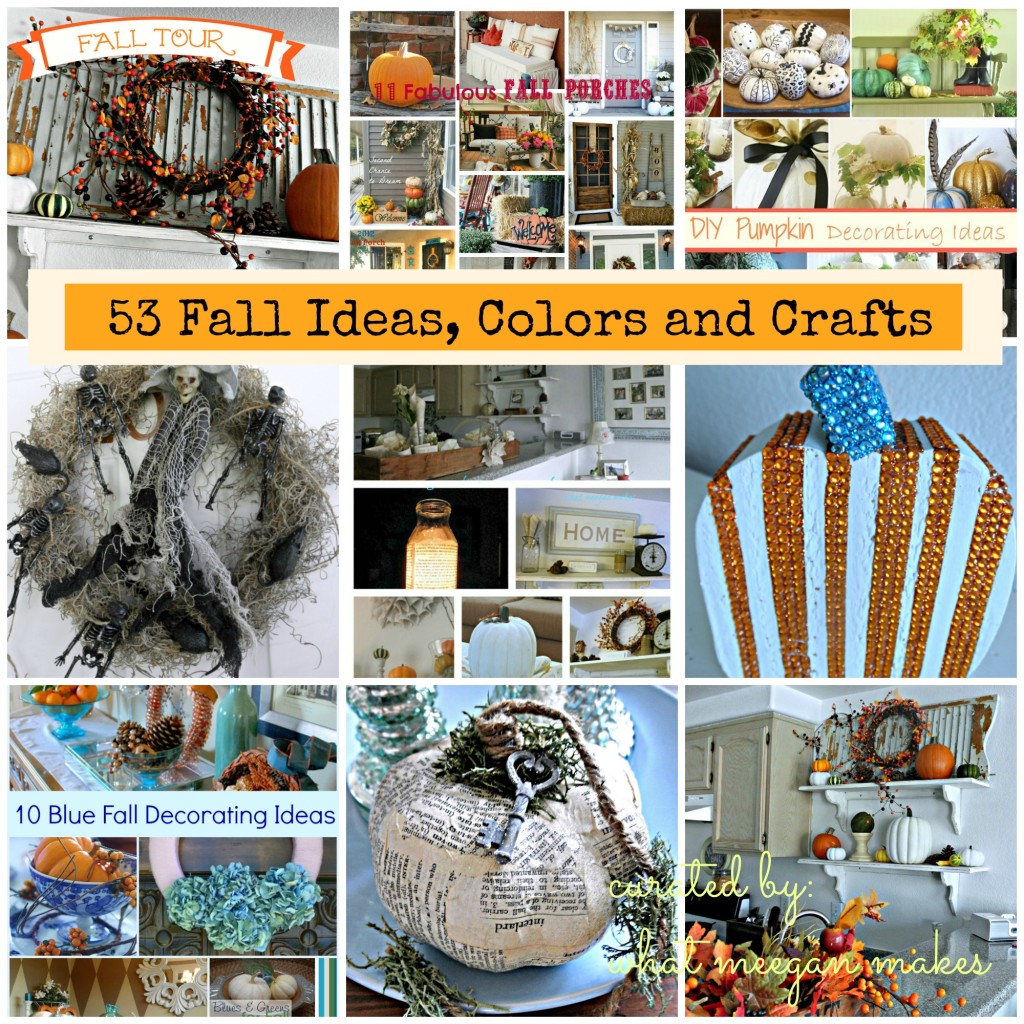
Here is the line up…
Monday:
Savvy Southern Style
Finding Home
Lilacs & Longhorns
The Inspired Room
The Crafty Woman
Tuesday:
Stone Gable
Debbiedoos
What Meegan Makes
Maison de Pax
Confessions of a Plate Addict
Wednesday:
Thistlewood Farm
Eclectically Vintage
My Soulful Home
Cedar Hill Farmhouse
Southern Hospitality
Thursday:
The Lilypad Cottage
A Little Claireification
Fresh Idea Studio
Pennywise
The Rustic Pig
Friday:
Housepitality Designs
Mom4Real
Country Design Style
The Everyday Home
Unskinny Boppy

Are you following me by email yet? Get my posts straight to your email, without missing a post!! Let’s Stay Connected: Pinterest Facebook Hometalk Google + Stumble Upon Bloglovin’ twitter Instagram
This post is linked to some of my favorite link parties here.