Are you looking for something to welcome guests, to use on your front porch or resting on your mantel? Why not Decorate an Olive Bucket for Fall. I have all the details for you here, today.

Decorating for various seasons can be overwhelming. This vintage olive bucket decorated for Fall could not be any easier.
*This post was updated November 2025.
Julie from Redhead Can Decorate hosts the Thrifty Style Team each month on the 2nd Friday. Each blogger brings a thrifty home idea to share. And I guarantee you won’t be disappointed.

There will be SO many projects and inspiration from the fabulous Thrifty Style Team linked at the end of this post. You are gonna love it!
My husband has worked in the furniture industry most of our married life. One day he called and said, “Hey there is a vintage olive bucket here, do you want it?” My response was, “YES!” I honestly thought it would be a reproduction. But, nope! It’s the real deal. You can find find one just just like it here.
It has been a staple in my cottage apartment ever since.
One thing I haven’t done with the vintage Olive Bucket is decorate it for Fall. If you have been following me, you KNOW how much I love the color blue. On the exact opposite of the color wheel, my husband loves orange and yellow. He NEVER complains about how or what I decorate with. When, on occasion, I do use orange or yellow, he is thrilled.
After decorating with blue , lavender and neutral colors for Fall, I thought it would fun to decorate the vintage olive bucket in traditional Fall colors of orange, yellow, gold, green and brown.

If you look closely the lights are gold, brown, amber, orange, and yellow. Ideal for Fall. I found mine a few years ago at a grocery store. You can find similar ones here.

After Carefully placing the string of lights in the bottom of the bucket. It was time for the creative juices to get flowing.

I LOVE how you can see the lights shining through the slits of the bucket, don’t you?

Wrapping the faux berry vine around the edge was a great start. I attached it to the bucket by twisting the wire vine in and out of the handles.

Carefully adding faux leaves and berry stems to either side of the bucket. The berry vine around the bucket helps hold these upright. Once again, twisting each of them with the other.

This is where it might get tricky. The wired vines and berries can get tangled. As you can see in the picture above-when I set the wreath in, it pulled down the vine. Take your time and enjoy the process. There is no rush.
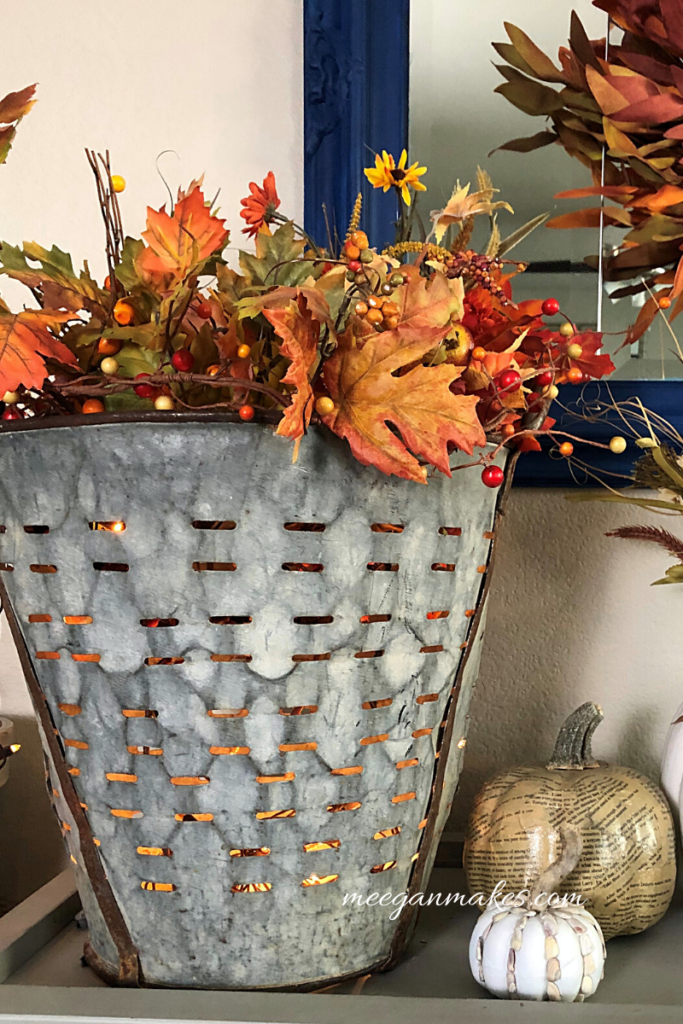
Adding leave bunches in various Fall colors were next. Create heights and levels to YOUR liking. The whole idea is to look like you picked the berries and flowers while walking through a field or orchard. So, the bucket has a touch of whimsy and romance.


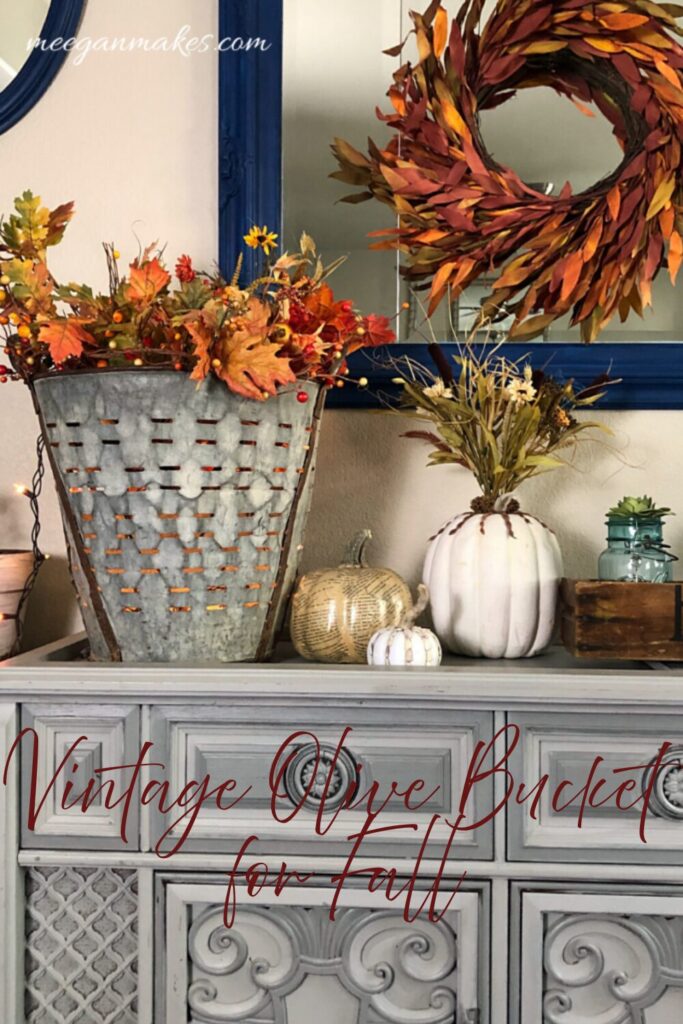
Sitting along side some of my favorite pumpkin crafts adds to the feel of Fall. You can find tutorials for the book page pumpkin, faux pumpkin centerpiece and pumpkin with shells and driftwood here on my blog, too.

All lit up at night the reflections on the wall brings the bucket to a whole new ambiance.

I hope you have enjoyed today’s How to Decorate an Olive Bucket for Fall. It was fun to share with you. It’ll be fun to see what YOU come up with your own bucket decorating.
Be sure to check out ALL of the Twelve Home Styling Ideas for October from the Thrifty Style Team. Each of them is linked below. Sit back with your favorite drink and browse through all of the inspiring ideas. Have fun!
Make it a wonderful day.

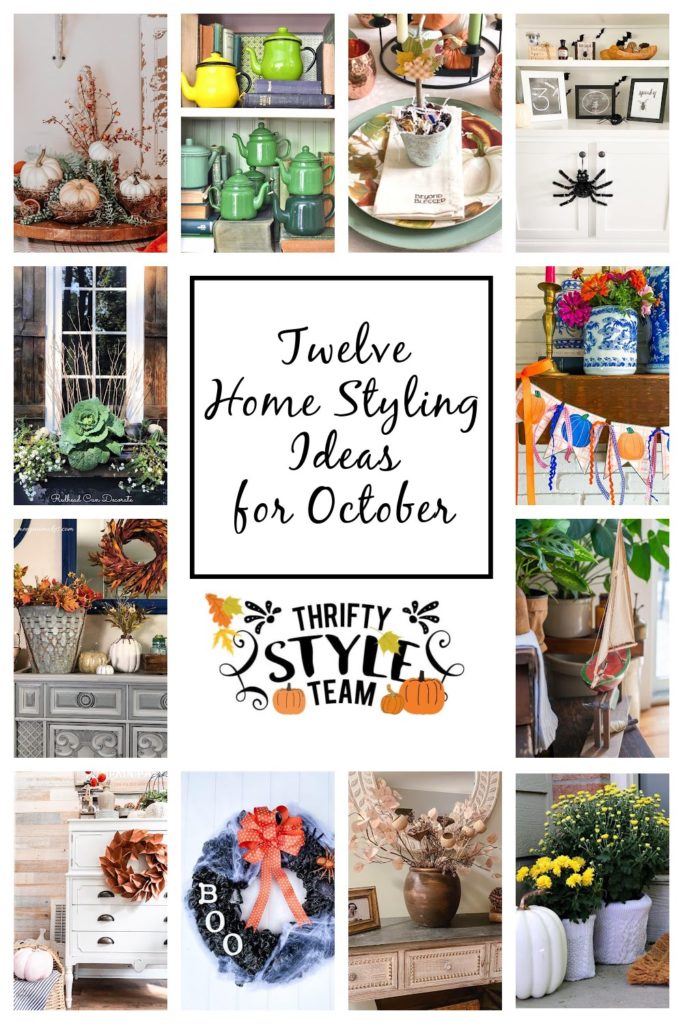
Redhead Can Decorate – Affordable Fall Ornamental Cabbage Window Box
Our Crafty Mom – DIY Candy Cups Thanksgiving Favors
DIY Beautify – Copper Magnolia Wreath From Paper Bags
2 Bees In A Pod – 3 Free Halloween Printables
The How To Home – Autumn Display with Depression Glass
Sweet Pea – Upcycled Plastic Bag Halloween Wreath
What Meegan Makes –Decorate an Olive Bucket for Fall
Lora B. Create & Ponder – Creative Ways to Display Your Collections with Style
The Tattered Pew –5 Simple and Thrifty Fall DIYs
I Should Be Mopping The Floor –Free Printable Pumpkin Garland
Cottage On Bunker Hill –Pottery Barn Dupe Vase
More ideas from my blog…

DIY Halloween Vintage Bicycle Rim Wreath

Tutorial for Decorating Faux Pumpkins with Shells and Driftwood




Love how this looks! And such a great idea to add lights to the bottom. It gives it even more warmth.
This is beautiful Meegan, I love the glow of the lights and the combo of berries, grapevine and leaves. Pinned
Your olive bucket looks beautiful decorated for fall. I love how you added colored lights.
Ok I am in love with the light in the olive bucket! Why have I never thought of this? You are so creative! I can’t wait to try this!
This is such a pretty idea!!
I love how the lights shine through the holes. Laura
I didn’t even know olive buckets existed before now! Your makeover is so charming; I love how you decorated the bucket for Fall.
It looks beautiful Meegan! I have an olive bucket around here someplace!
I love these buckets, if you can believe it, I’ve never come across one in all of my vintage hunting adventures! I simply love the glow of the orange lights and all of your fall touches, simple perfection!
I love this idea for fall with the rustic metal and the light shining through!! Now if my husband would just happen to bring a vintage olive bucket home…
This fall olive bucket is absolutely gorgeous, Meegan!
So clever and beautiful, Meegan! What a find. xoxo, Kristi