This post contains affiliate links. I will make a commison from your purchase at no extra cost to you.
Hi everyone. Are you in the middle of decorating your home for Christmas? I keep thinking I am done, then I want to put out “just one more thing”. That’s what happened with this DIY Silver Christmas Tree.
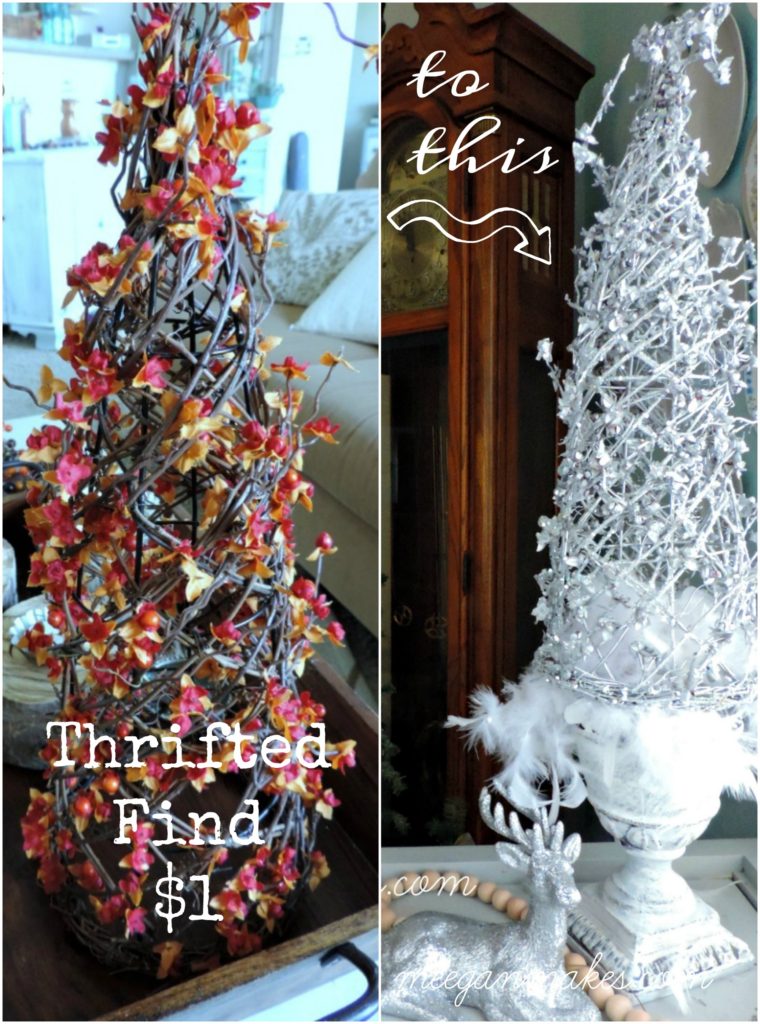
If you know me at all, you know I like to go thrifting. My favorite shop is just a few blocks from our home. I happen to shop there often. Usually I only purchase what I need. This was one of those days.
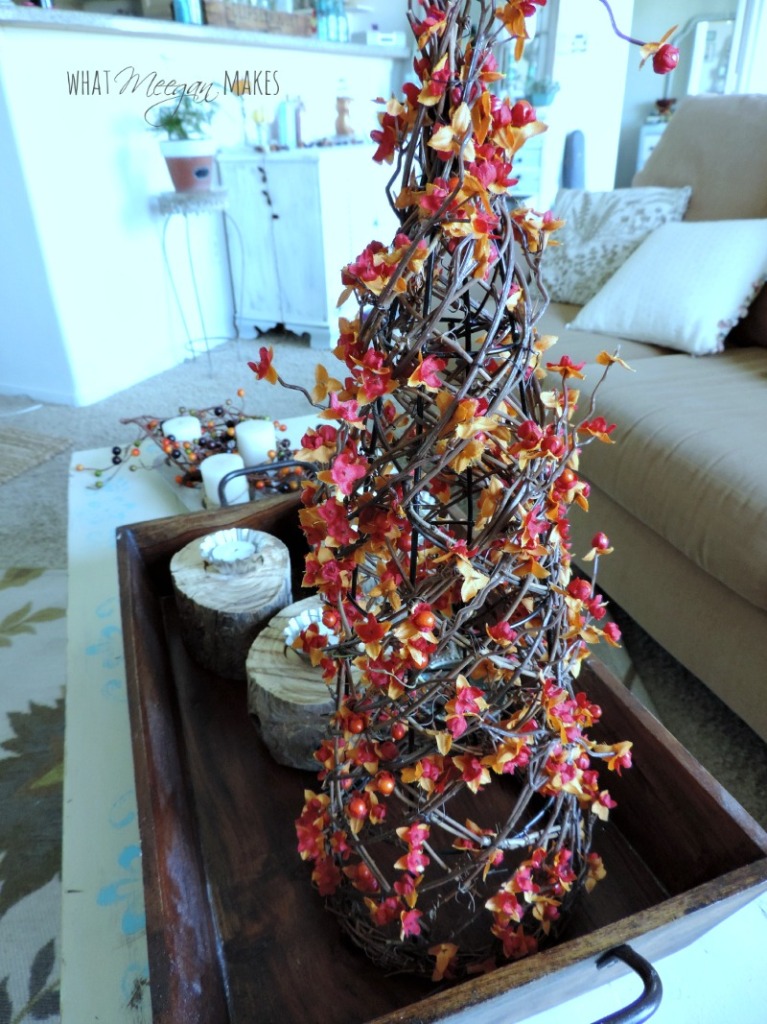
I was looking for a few things to decorate our cottage in the desert for Thanksgiving. Although, I really don’t like the typical orange, red and yellow colors, I thought, “Well I will get this cone tree, anyway. I will make it work.”
And for a $1 why not, right? I like blue and orange for Fall and Thanksgiving, now. So I just place the cone tree in my living room and on our front porch.
After a year has gone by, I thought. Hmmm…Why don’t I add some bling for Christmas? I had silver spray paint and LOTS of large silver and Diamond Dust glitter from Floral Craft.

After letting the silver paint dry, (about 24 hrs, just to be sure), I used Mod Podge to adhere the
large silver glitter to the cone tree. It was looking great, so far.
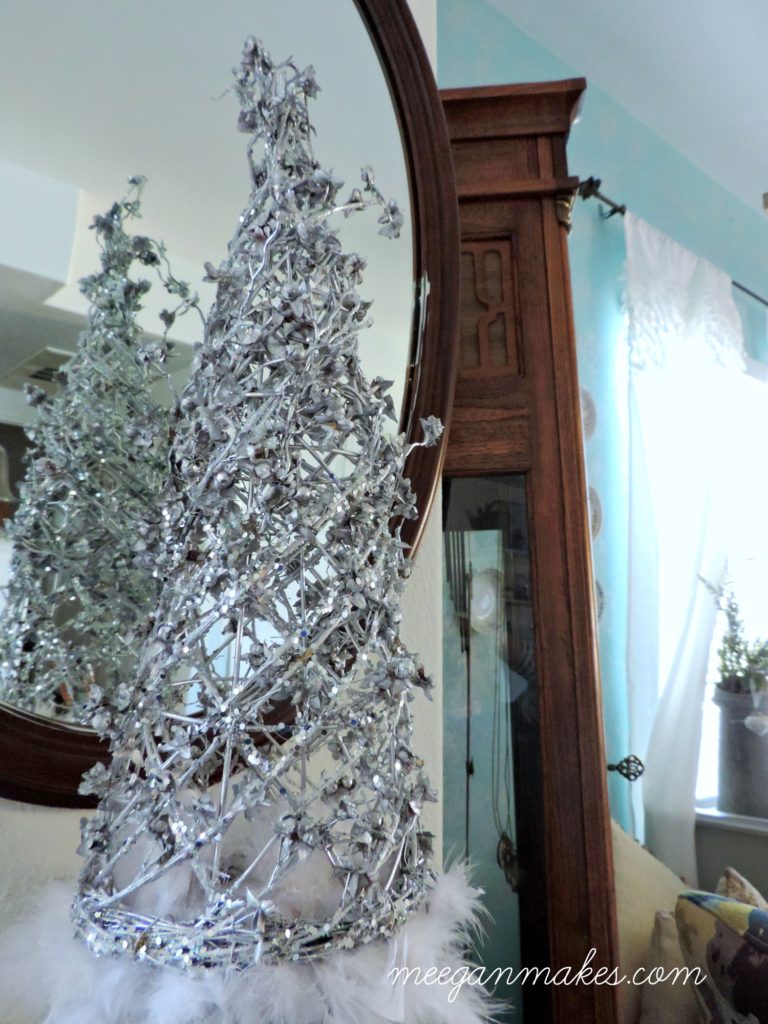
Now it was time for the Diamond Dust Glitter . Again, I used Mod Podge to adhere the Diamond Dust. This took me a little longer than I expected. Either because I was being picky OR I was just slow. Either way, I was really liking the new fresh look of the DIY Silver Christmas Tree.
Not only that, but I thought the feathers at the bottom were the perfect touch. I used a white feather boa. I cut each piece about 6 inches to place under the DIY Silver Christmas Tree. Oh, I am liking this look. BUT, I still wanted a whole new look.
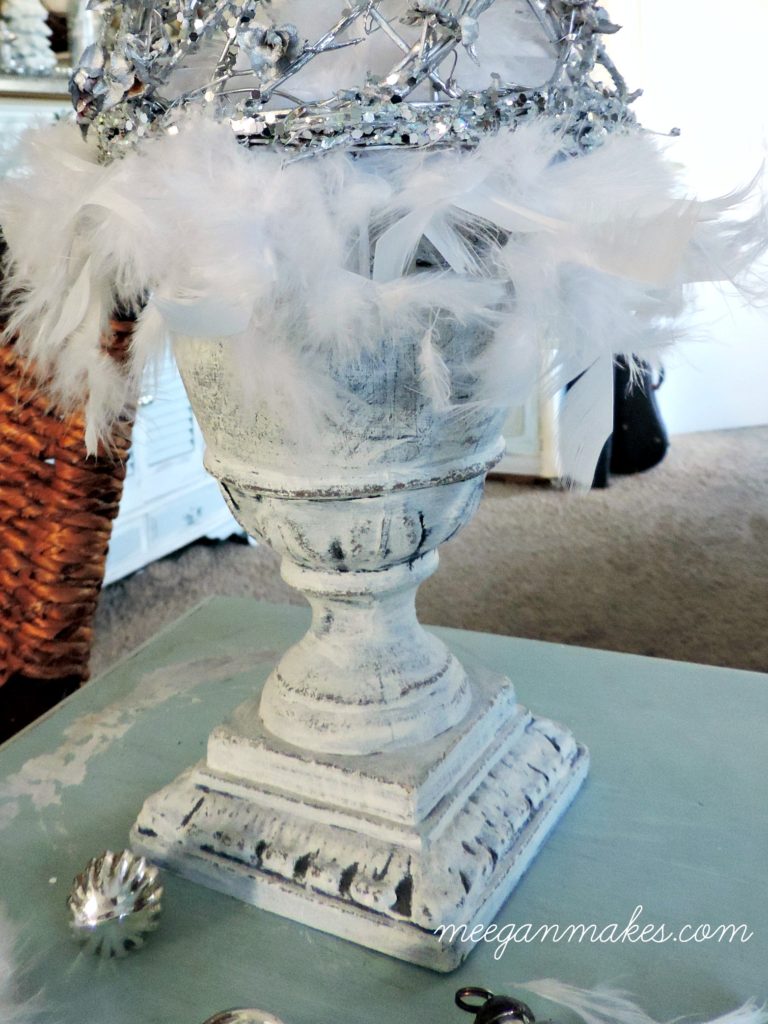
After looking at it awhile, I thought I wanted a little more. How about sitting on a white urn? I couldn’t have been more pleased with this look and style.
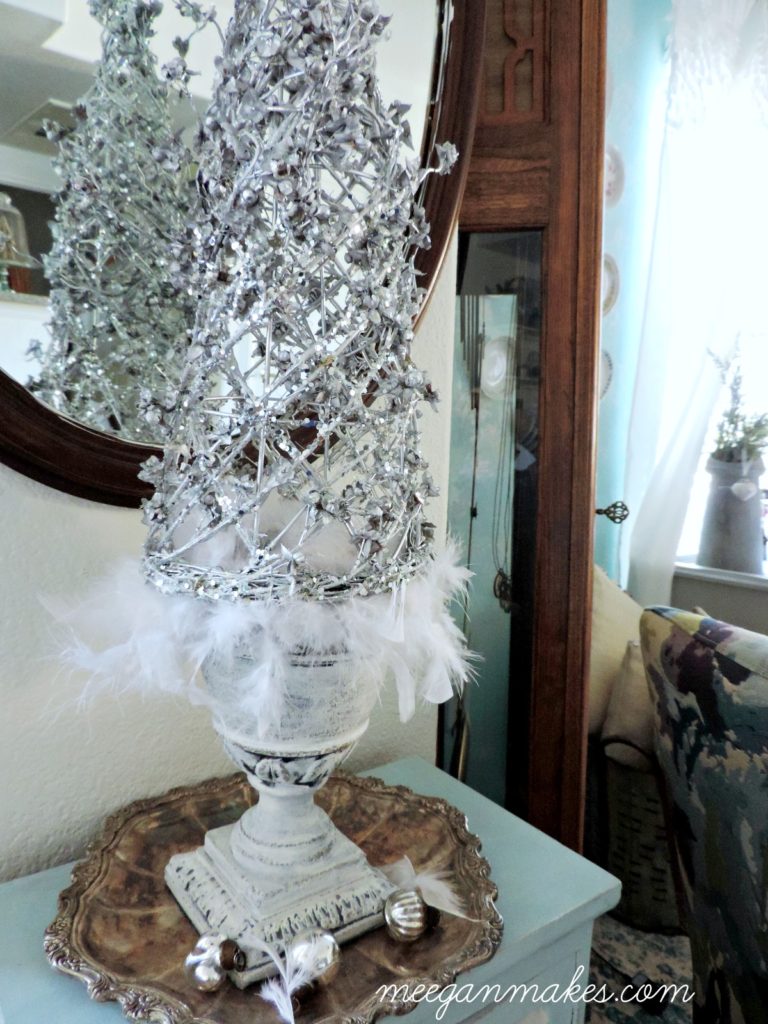
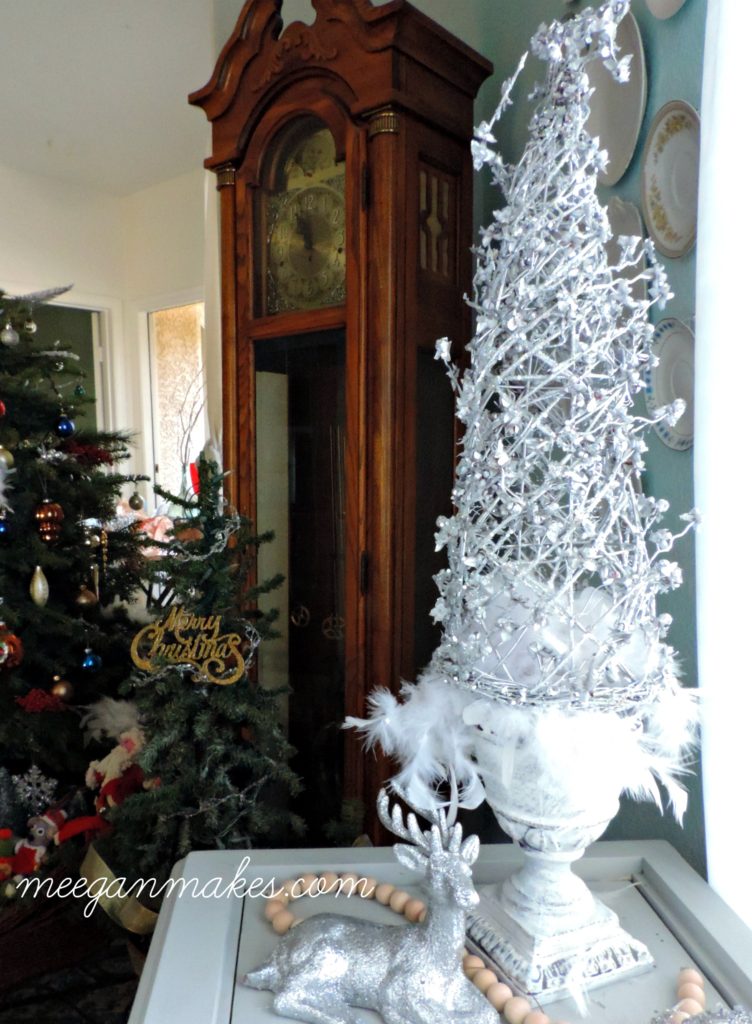

Here’s a before and after, Can you believe the difference? Who would have thought the DIY Silver Christmas Tree would look like this when I was finished?
All it took was a little creativity and some paint and glitter. Boy, I am sure glad I took the time to create a new piece for our Christmas decorations.
Thank you for joining me today. I am always delighted to have you here,
For more Christmas ideas, please look below…

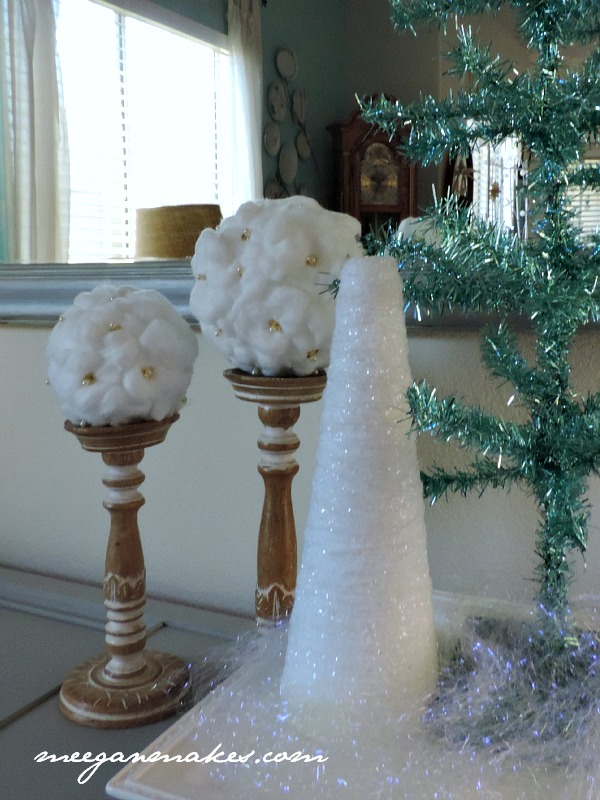
Yarn and Glitter Christmas Tree

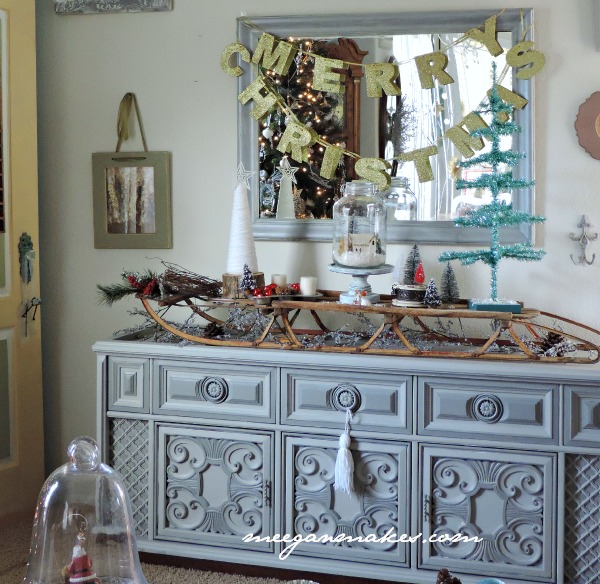
Decorating our Vintage Christmas Sled





Leave a Reply