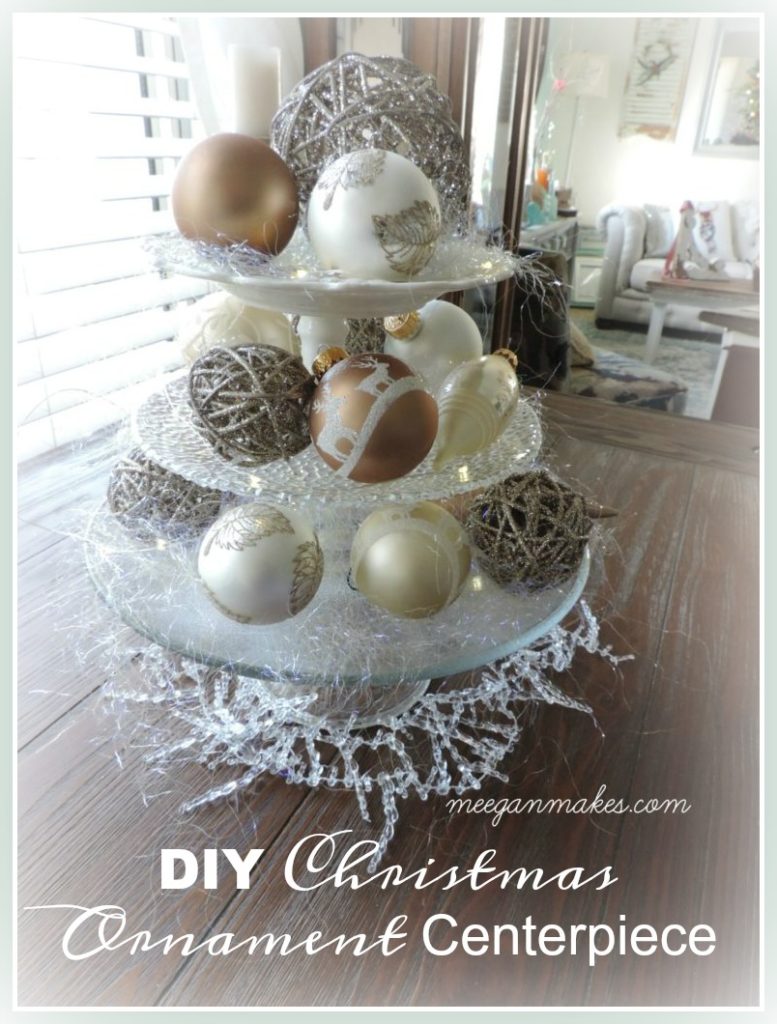
I am excited to be a part of the Creative Christmas Link Party today. I belong to a Blogging 50 Tribe. Each of us are sharing a creative Christmas post today. I thought it would a great time to show you How To Make a Christmas Ornament Centerpiece.

Today’s Creative Christmas Link Party is filled with inspiring Christmas ideas from several talented bloggers.
This blog post was updated October 2025.

How To Make a Christmas Ornament Centerpiece can be as intricate or as simple as you want. It is up to your style and taste. The fun part is that you can “play” around and enjoy the process. It is suppose to be an enjoyable experience.

For me I started with neutral, vintage colors. I bought the glass ornaments from Hobby Lobby and the wrapped grapevine ornaments from Pier 1 Imports.
I created a three tiered tray with my collection of pedestals and cake plates. The one in the middle was purchased at Home Goods and the other two were gifts.

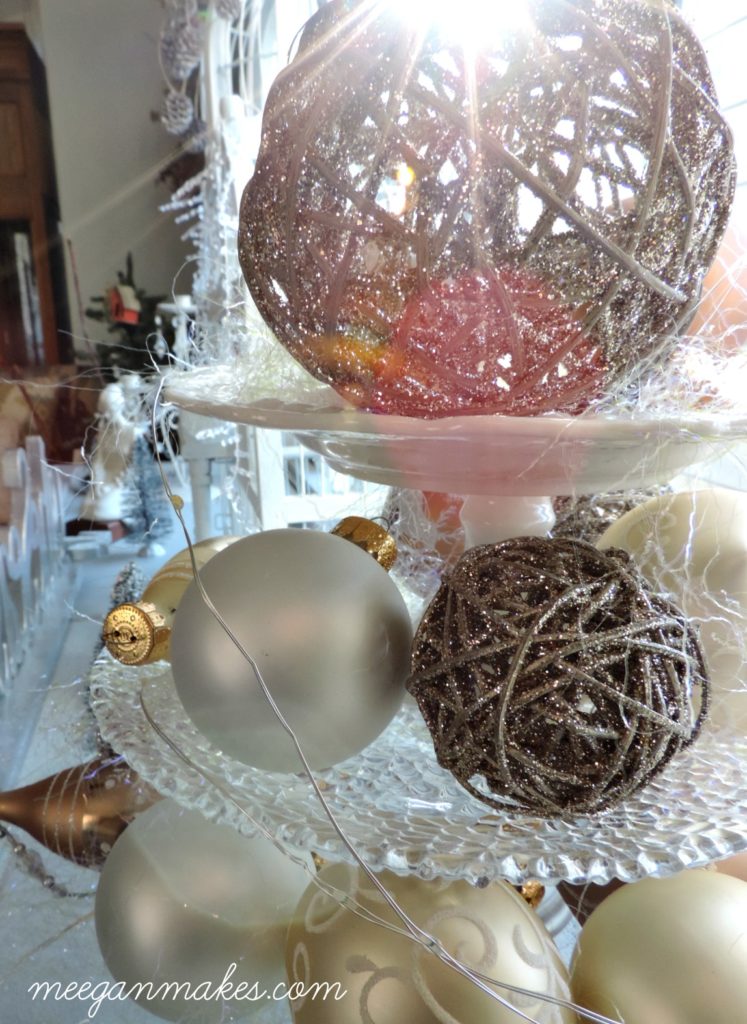
I started with a larger cake plate and used my smaller pedestals to create a tiered tray. Easy peasy.
Using the ornaments in various shapes, sizes and colors, I placed each ornament on the trays. I didn’t worry about size or shape. For my taste and style, I like a mismatched look.
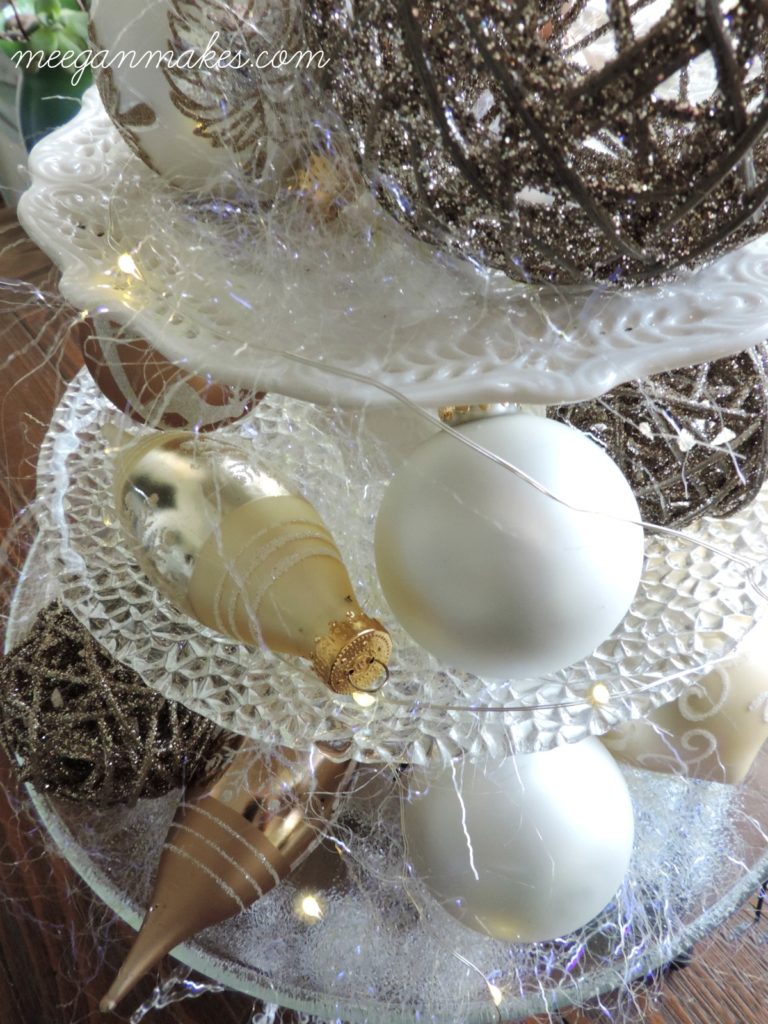
Once the ornaments were placed, I statically added mini lights (purchased at Wal-mart) and some iridescent “grass” in-between the ornaments. (I wish I could remember where I bought the grass. It may have been Wal-mart or Hobby Lobby.)
My style in How To Make a Christmas Ornament Centerpiece might vary from what you would choose. And that is what creativity is all about, isn’t it?
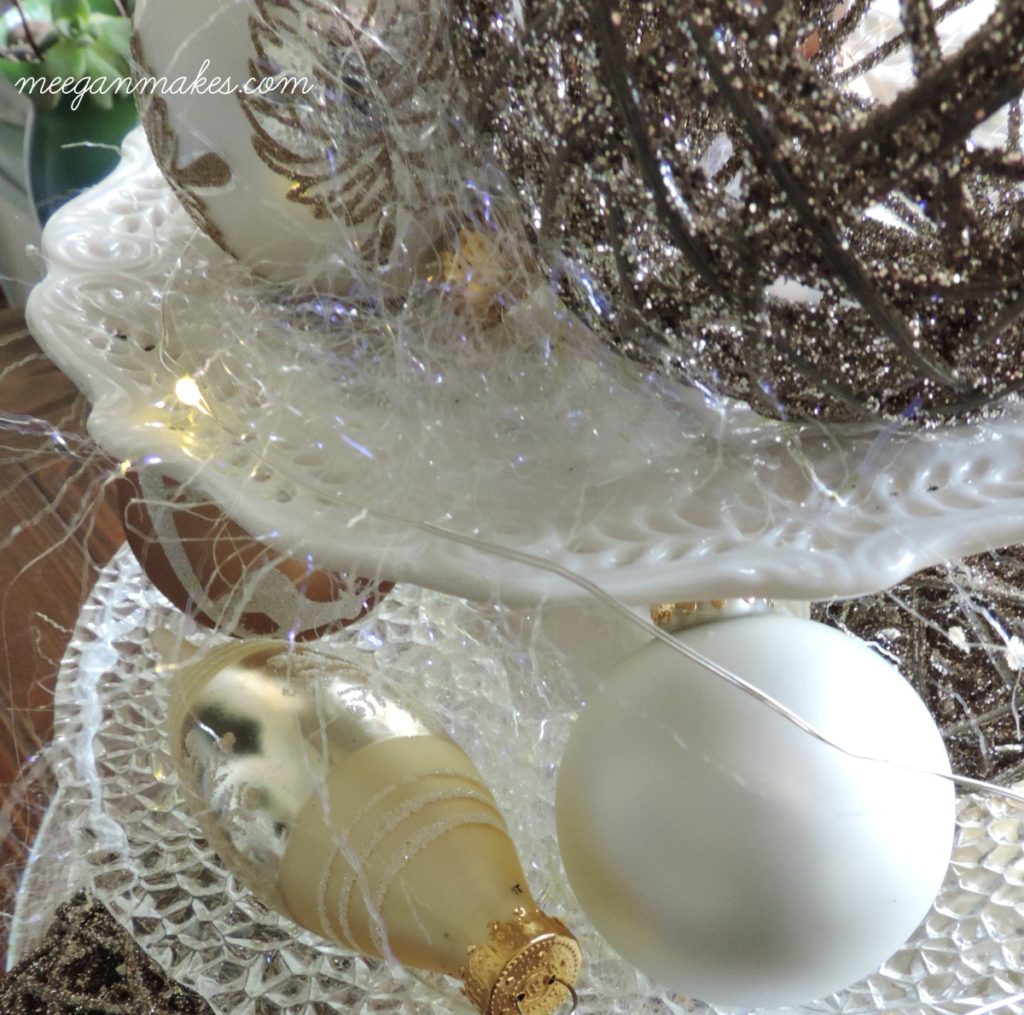
The lights and “grass add texture to your Christmas ornament display.
The tiered trays look beautiful with the light from the sun flowing through, don’t they?


Thanks for stopping by so I could share my blog post on How To Make a Christmas Ornament Centerpiece. I am always happy when you visit.
I love being inspired by others, don’t you. Enjoy as you take time to visit each link below.
Make it a wonderful day…

More ideas from my blog…

DIY Recycled Tin Can Vases for Christmas
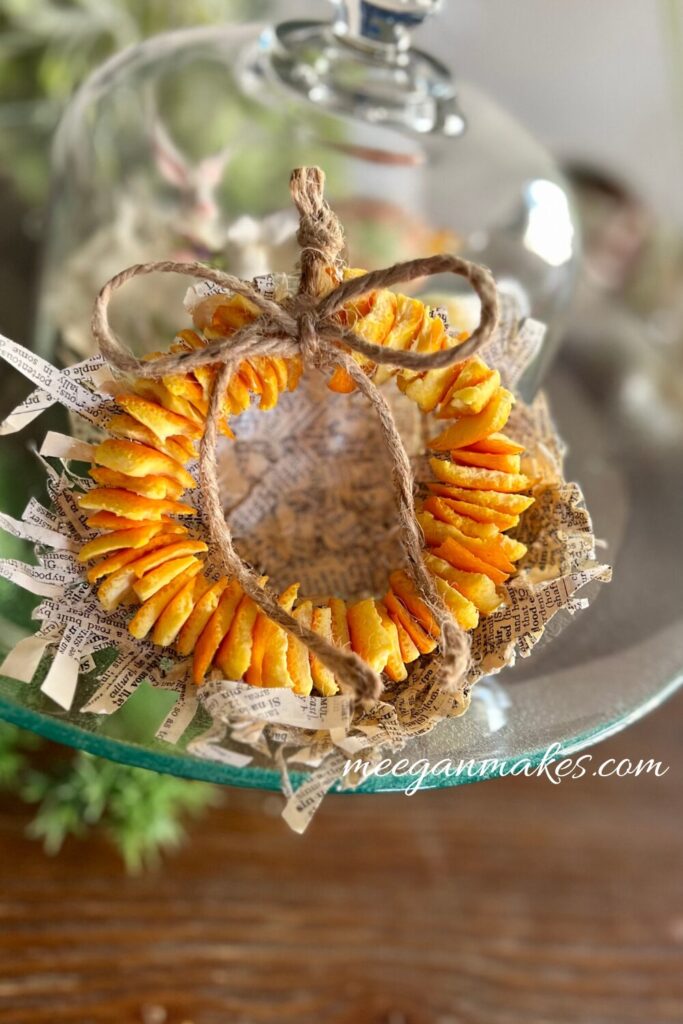
Handmade Orange Peel Wreath Tutorial


What a pretty centerpiece of ornaments!Love the different shades of silver and gold, they almost look edible. It makes your room pop! I hope you get to enjoy them with your Thanksgiving feast! Have a good one.
Maria
This is such a beautiful and easy-to-do idea, Meegan.
What a unique idea! I love the bit of sparkle it has. Nicely done.
I love your centerpiece and the fact that it is easy! With so much business, it is great to see creativity that is simply elegant! The Blogging 50 Linky has been fun!
What a beautiful centerpiece! Love how versatile and how this can be made in so many different ways depending on someone’s colors, decor, etc. This is something that would look great on our holiday table!!
Such a lovely way to show off beautiful ornaments Meegan. I think this would make for a beautiful centrepiece for a dinning table too.
I’m enjoying popping around to all the links in our Blogging Fifty Creative link party and always a pleasure to visit you xx
This is so darn pretty. I love that it looks a like a Christmas tree. What a great idea for a three tired tray!!