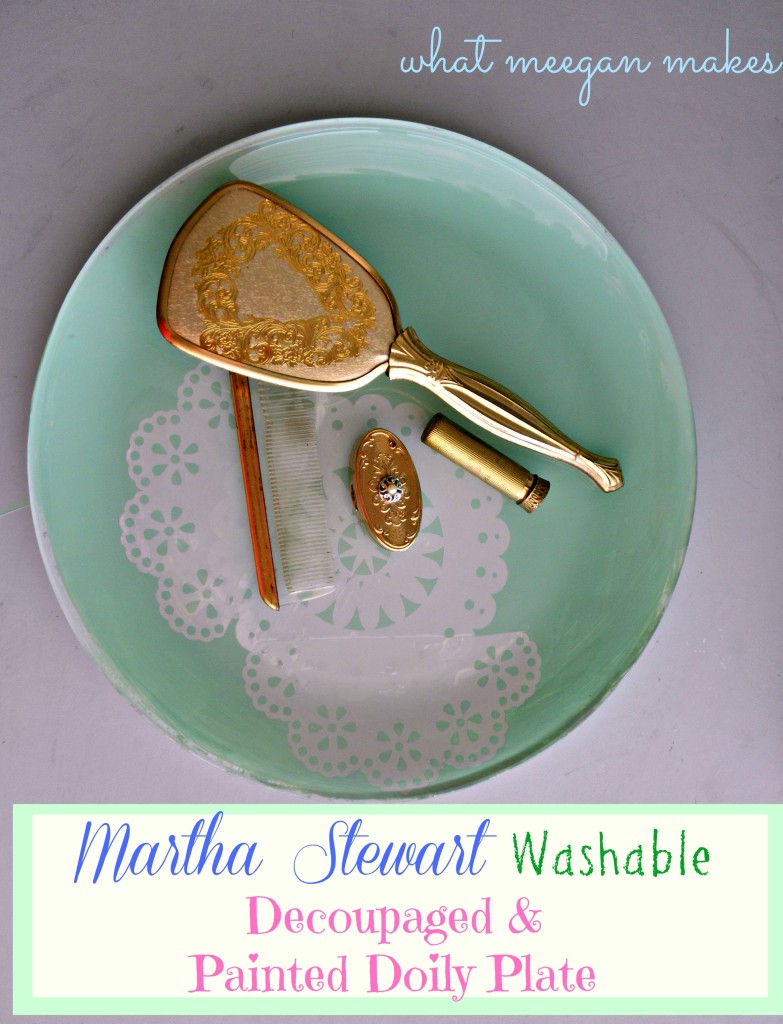
What a fun craft for you to make! Either as a gift or something beautiful for your own home. This Martha Stewart Washable Decoupaged & Painted Plate couldn’t be easier.
This post is sponsored by Martha Stewart Decoupage, all opinions are my own.
Yes, you read that right. A washable decoupage from Martha Stewart Decoupage. Amazing, right? And it is available at Michael’s.
I was so excited when I first saw Martha Stewart’s washable and durable decoupage. I knew I needed to try it asap.
Using Martha Stewart’s quality supplies, I got to work.
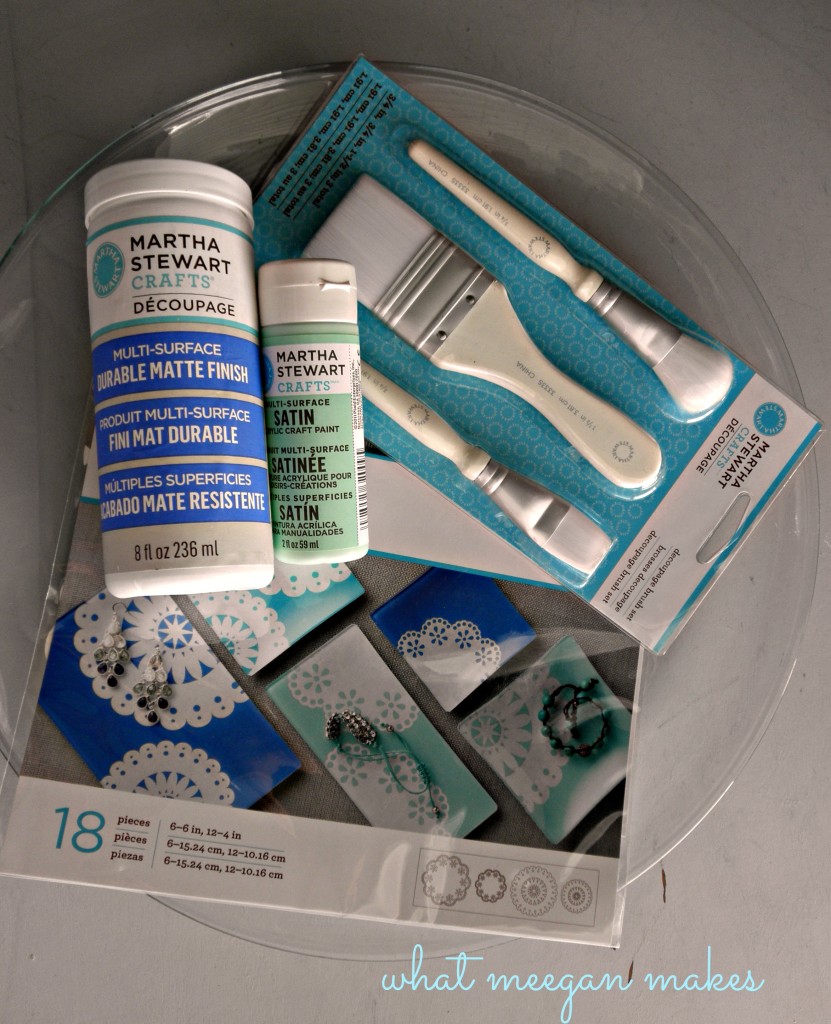
The supplies I needed were:
Martha Stewart Durable Matte Finish Decoupage
Martha Stewart Multi-Surface Craft paint in Pea Shoot
Martha Stewart Soft Bristle Decoupage Brushes
Martha Stewart Decoupage Paper Doilies
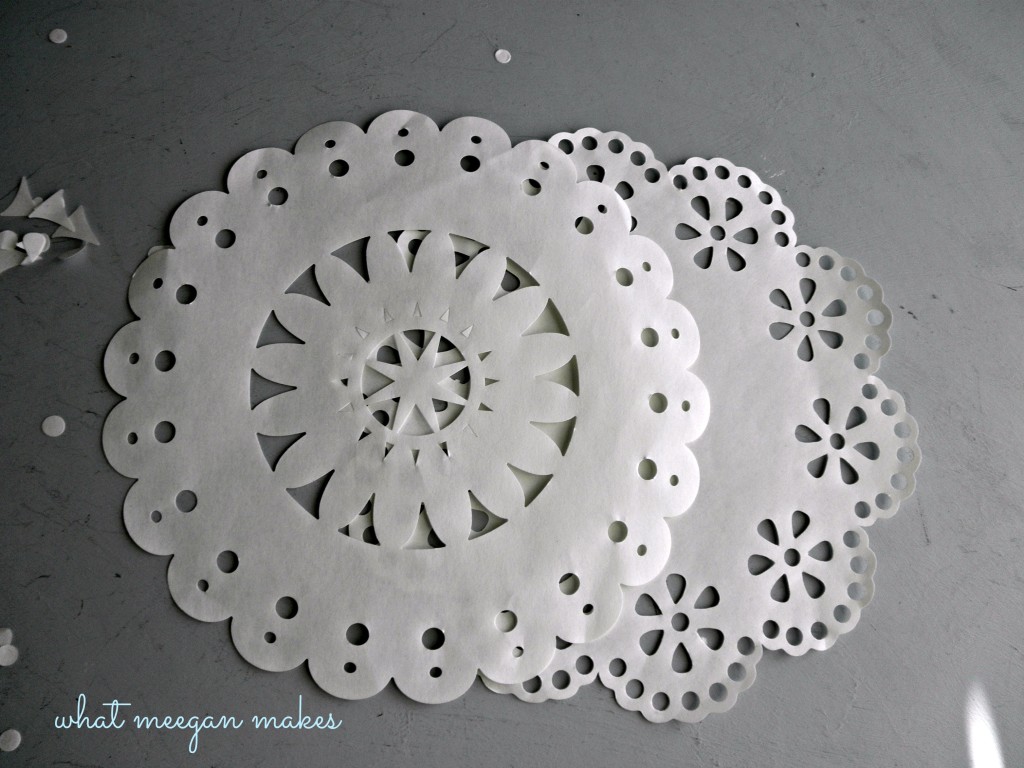
I love that doilies are becoming such a huge trend and I thought they would be just the look I was hoping for. I was right.

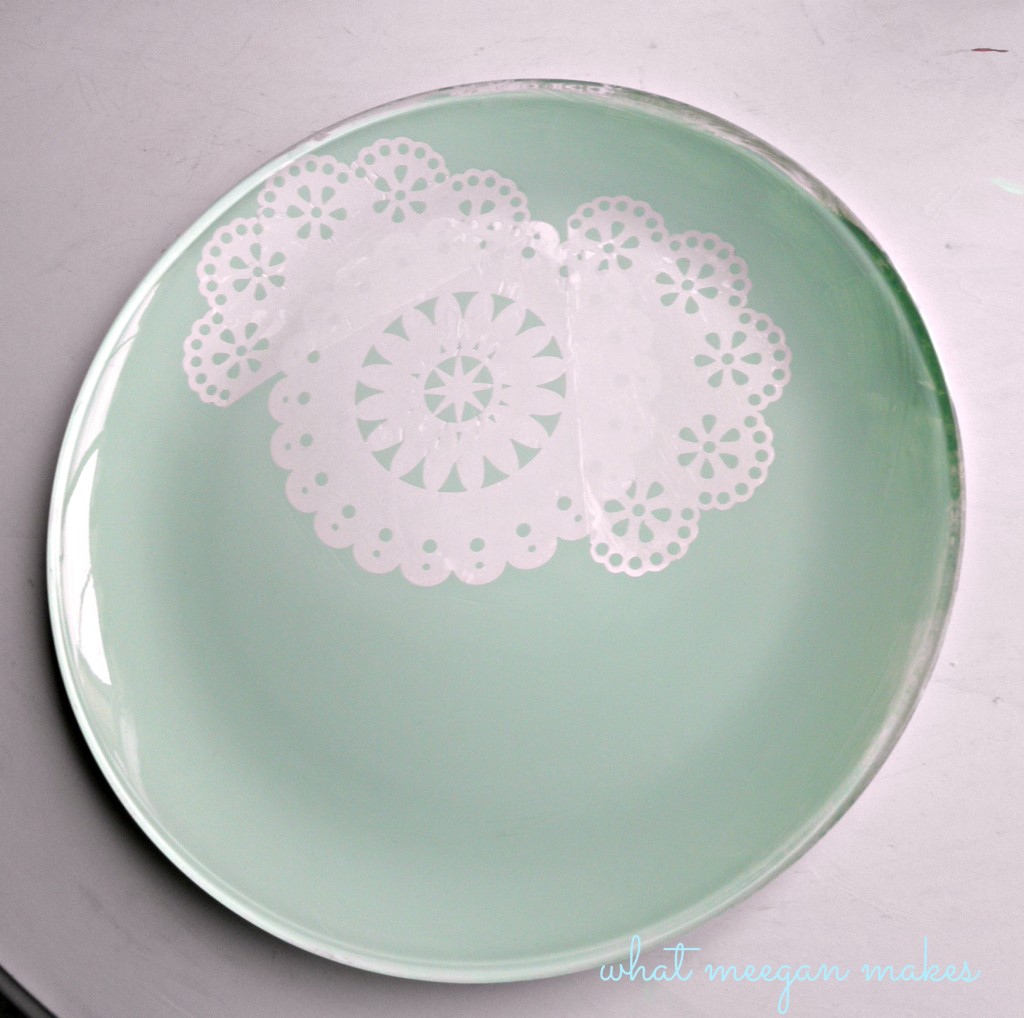
Using a fair amount of Durable Matte Finish, I covered a small area on the BOTTOM of my plate with decoupage. I then carefully placed my doilies on the decoupage. Once they looked smooth, I bushed more decoupage on the doilies. I did at least 3 coats of decoupage waiting for it to dry in-between which took 2-3 hours, each time.

Twenty-four hours later when the decoupage was dry, I was ready to paint. Using Martha Stewart’s Multi-Surface Craft Paint in Pea Shoot, I started to paint the BOTTOM of my plate.

After one coat, I let it dry and started again. Using 4 coats altogether. Again, letting it dry 2-3 hours in-between coats.
Isn’t she just gorgeous? I love the look of the doilies and the paint under my plate. It has a pretty look and adds dimension to a regular clear glass plate. The quality of the Martha Stewart Decoupage supplies was unsurpassed! They definitely exceeded my expectations.
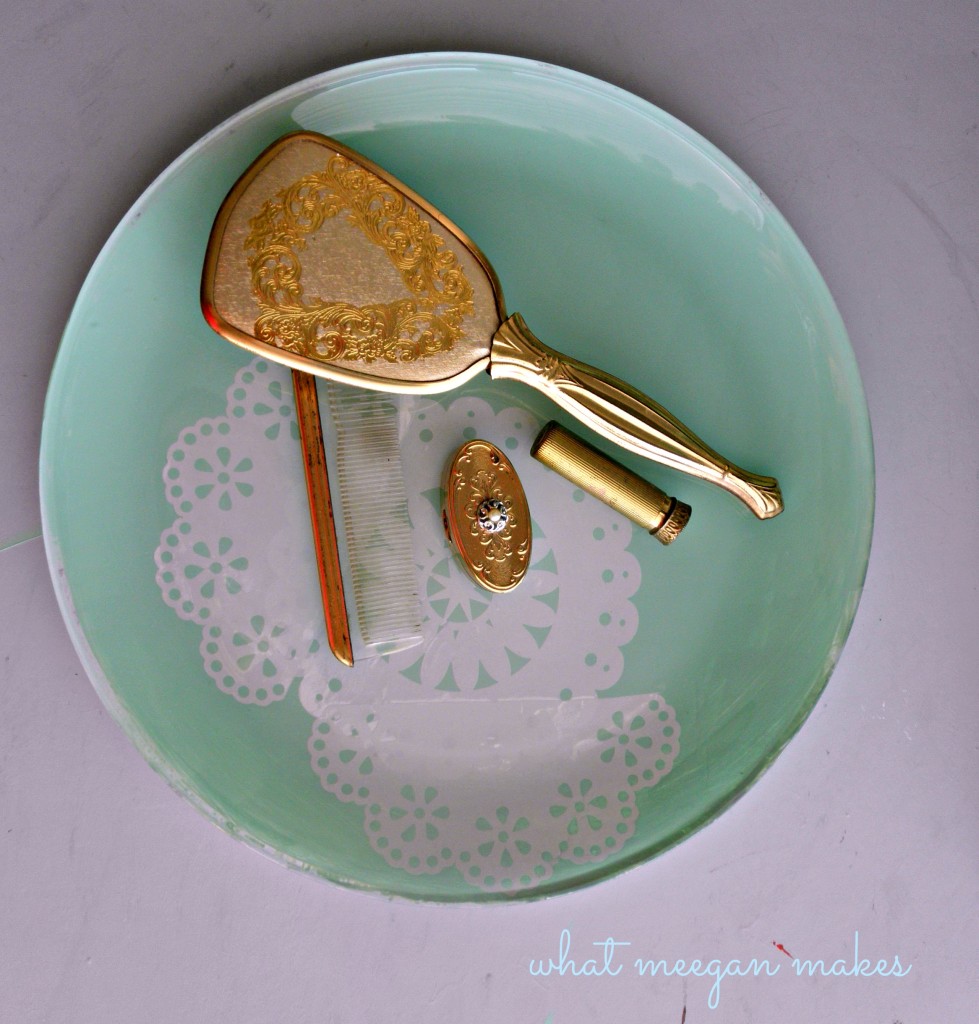
I could now use my plate made with Martha Stewart Decoupage and Paint as a beautiful addition to our home. I could hang her in the kitchen, serve fruit on her, or even place my grandma’s vintage brush , comb and lipstick set on her.
The Decoupaged Doilies and the Pea Shoot Satin Paint highlight the depth and colors in the comb and brush set. I love it!
AND, did you know after 21 days of curing, I can wash my Martha Stewart Washable Decoupaged & Painted Plate on the top rack of my dishwasher? Leave it to Martha Stewart to come up with Durable and Washable Decoupage. You have a choice of either a Matte and Shiny finish. SO AWESOME!

More advantages to using this new line: You can also decoupage fabric, lace, trims, oilcloth and paper!
To see more Martha Stewart Decoupage Supplies and Inspiration visit:
Facebook: Plaid Crafts
Twitter: Plaid Crafts
Pinterest: Plaid Crafts
Blog: Paint Me Plaid
I can’t wait to see what you come up with. Be sure to let me know as soon as you pick some up at Michael’s. I would love to hear all about your project!
Make it a great day!

More ideas from my blog:

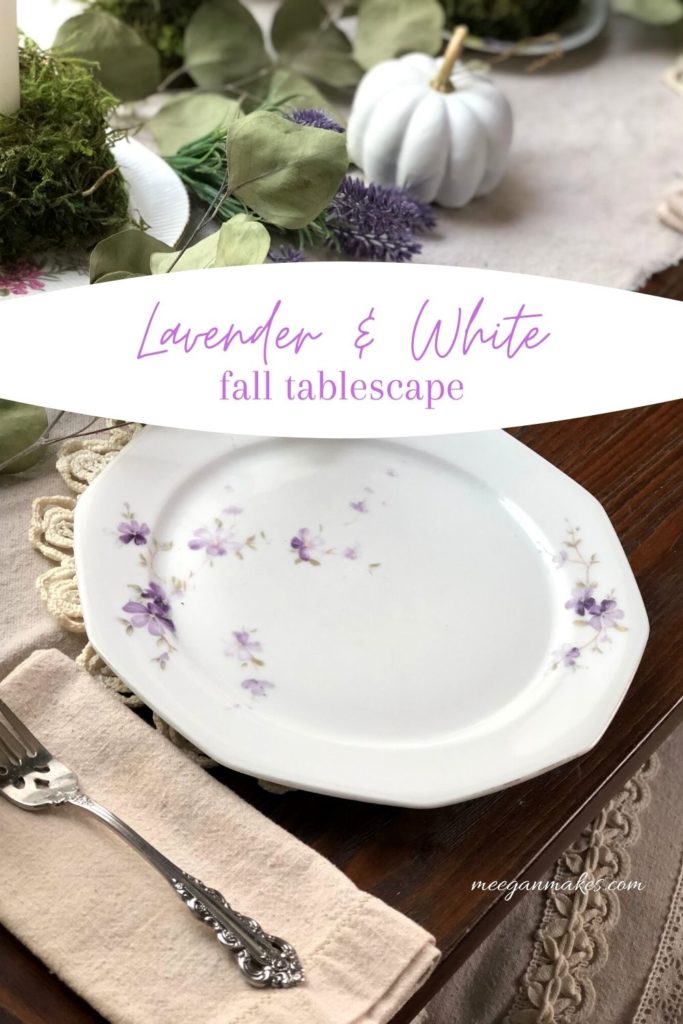
Beach Style Pumpkin with a Shell Necklace and Driftwood
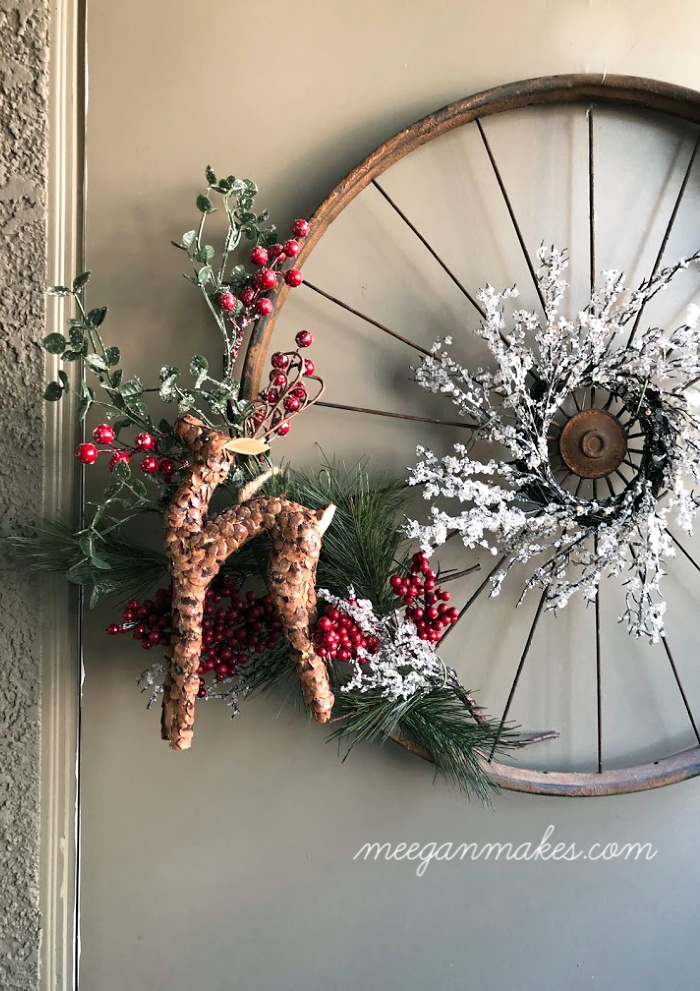
Vintage Bicycle Rim Christmas Wreath


This is a great project! I would love if you would link it up with Give Me The Goods {1 party-5 blogs!} Hope to see you there!
Amber
Thank you very much Amber! You are such a sweetie xoxo
This is such a great idea Meegan! I love it.
Thanks so much Mary! xoxo
Came out great! Love it!
I love this idea! Have you ever tried to make one using a picture?
Thank you Karen. You are so nice! I have used a picture before, but it was years ago. Have you tried it yet?
Make it a great day!
I love these…the plate colour is amazing and the way you’ve positioned your doilies-I’d love one in my kitchen cupboard…or maybe out on display!!!
Thank you Janice! It came out just as I had hoped. The color is one of my faves. I hope to see you here again VERY soon!
Beautiful color!! This turned out so awesome, Meegan!
You are so sweet Kristi! I love having you on my blog! Thanks for stopping by. xoxoxoxo
That is really pretty Meegan. I agree with Kristi, love the color. I have an old hand mirror that you reminded me of. It was my grandmother’s. I use it every day, but it’s getting really beat up. I need to do something with that. XO
Thank you Julie! I am sure you will find something fabulous to do with your grandma’s hand mirror. You are so talented. xoxox
What do you mean by curing? Can you use a sealant? Thanks, beautiful plate!