If you follow me, you KNOW I am a lover of all things thrifted, painted or inexpensive. Today I am sharing my latest Thrifted Table with Homemade Chalky Paint. I just love the way it turned out. Even better than I expected.

It was super easy with my own recipe for homemade chalky paint. This post was updated October 2025.
This post is part of the At Home DIY Challenges. At the end of this post you will be able to see ALL of the paint projects from many talented bloggers.

It’s been a year since I found this $8 vintage table at my local thrift store. Yep, a year and I am FINALLY going to update it to fit our home.


Those legs, though! The details and the shape are what really drew me to this vintage table. And the price was just right.
Like I said before, I made my own chalky paint. It’s super easy and you make it with ACRYLIC CRAFT paint. I know, right? Who would have thought!
This is what you will need to paint a table similar to this:
2 oz acrylic craft paint (color of your choice)
1 oz water
1 plastic or paper cup

I am bringing pink, lilac and deep blue into my home. So I chose this acrylic paint from Michael’s.

I found the grout at here.
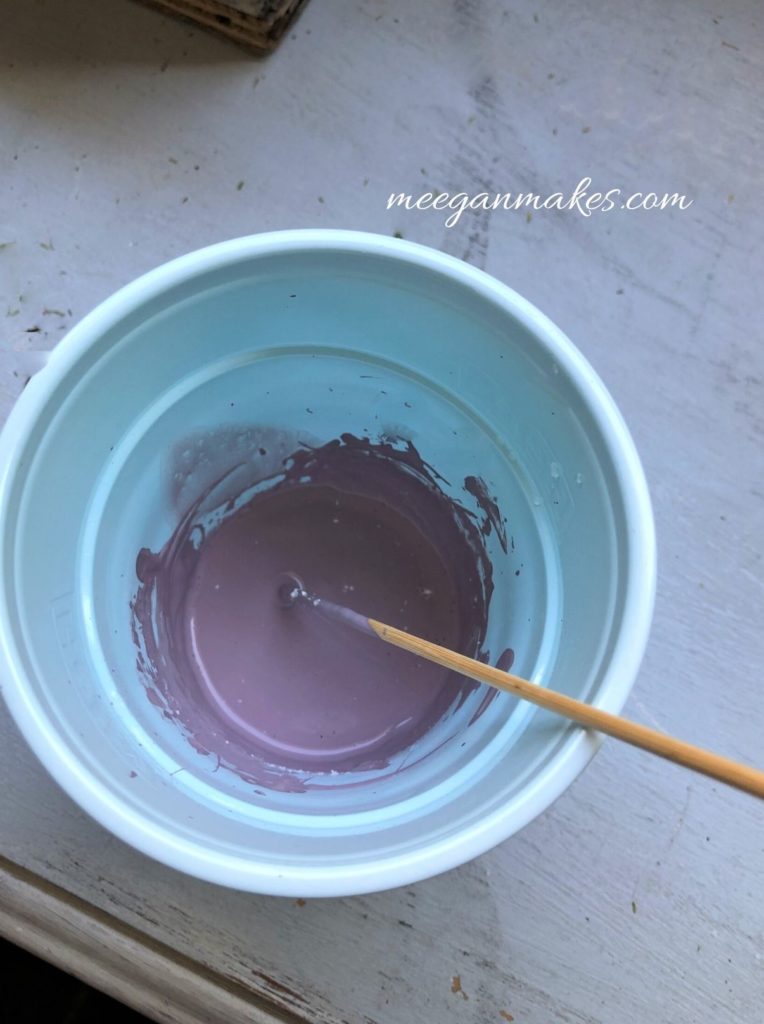
In my cup I added the whole TWO ounces of acrylic paint, 1 oz of both water and grout.
With the wooden skewer-stir, stir, stir, stir until it is the texture of paint. I know that sounds funny. But the grout can make it pretty thick. So if it is TOO thick, add 1/2 teaspoon water at a time. This also depends on the weather, believe it or not.
Basically the “recipe” is 2 parts paint to 1 part water and grout. But you might still need to play around with it until you are confident. The “recipe” has worked for me every time.

Here is my table after one coat of paint. I still have LOTS of paint left over. Even though I started out with only 2 oz of paint. Crazy, huh?
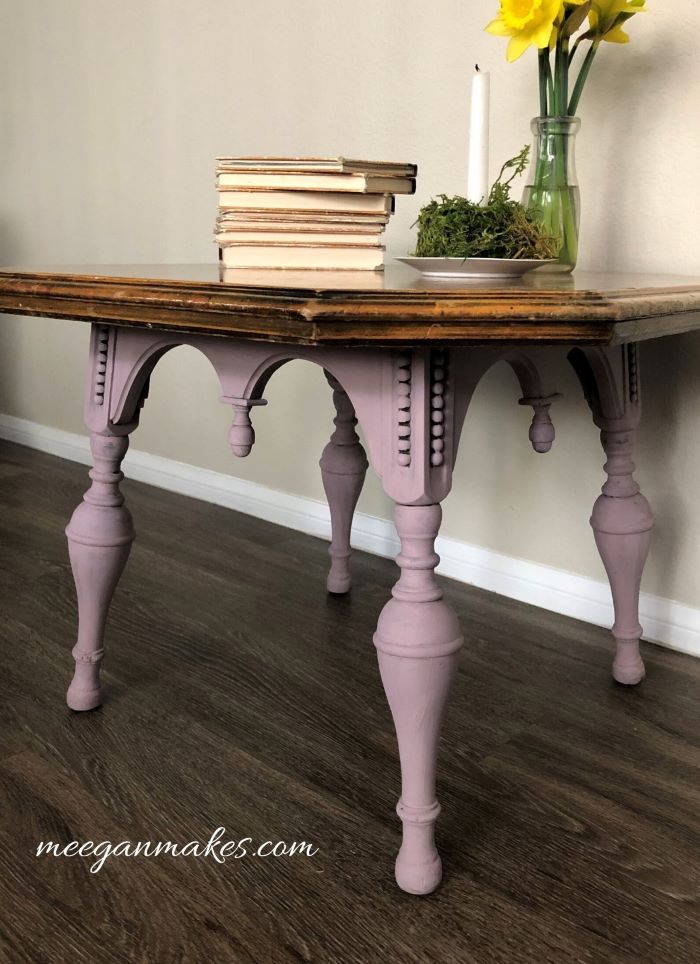
Here it is after two coats of the homemade chalky paint.

I just love how the color brings out all the curves, beaded look and all the unusual details.
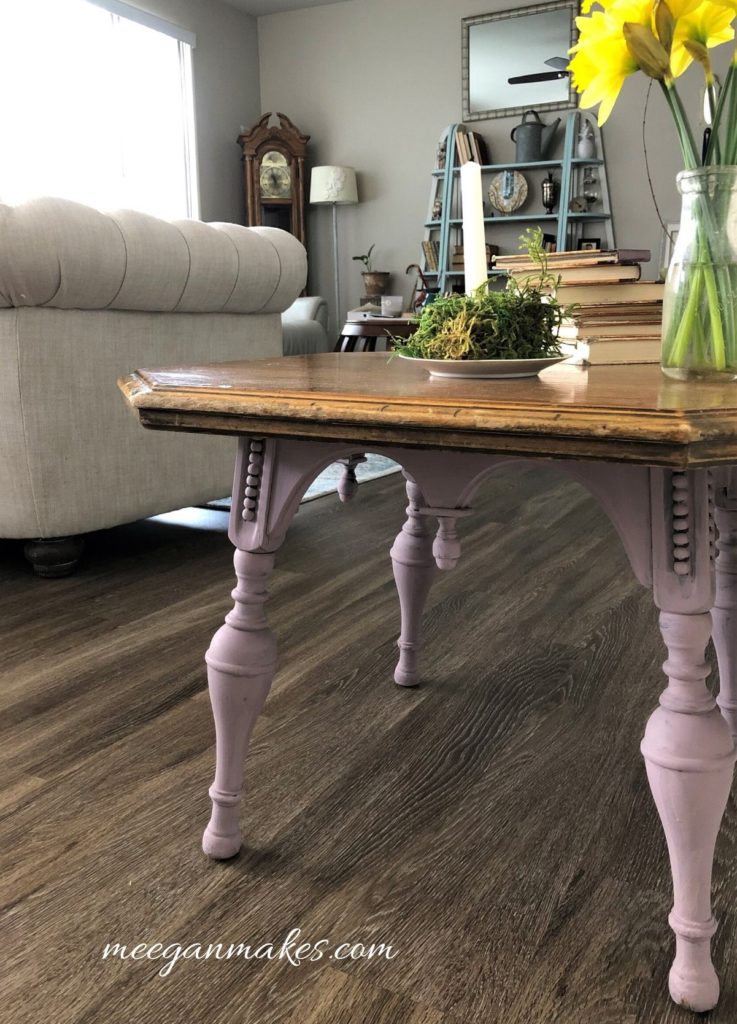

At this point you COULD use a wax to finish it off. I never have and the paint stays on without chipping or peeling. Like I did HERE.
I haven’t decided whether or not I am going to sand and stain the top or paint over it. What are your thoughts?

Thanks for joining as I shared my latest Thrifted Table with Homemade Chalky Paint. I hope you make something similar very soon and share it with me.

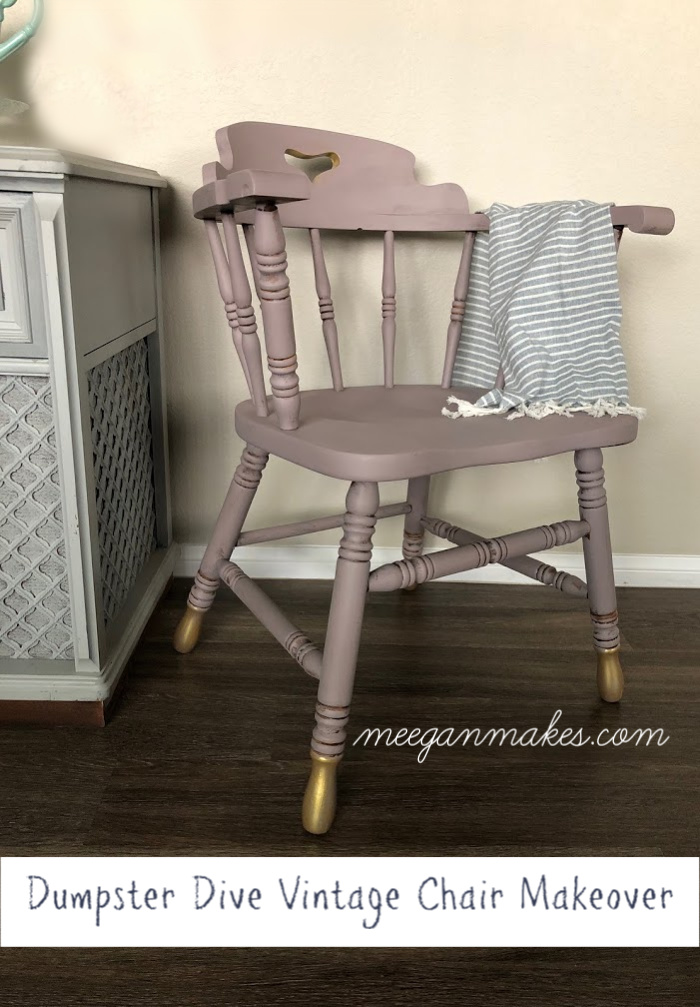
Most recently I found a vintage chair in a dumpster around my apartment. The after is HERE.
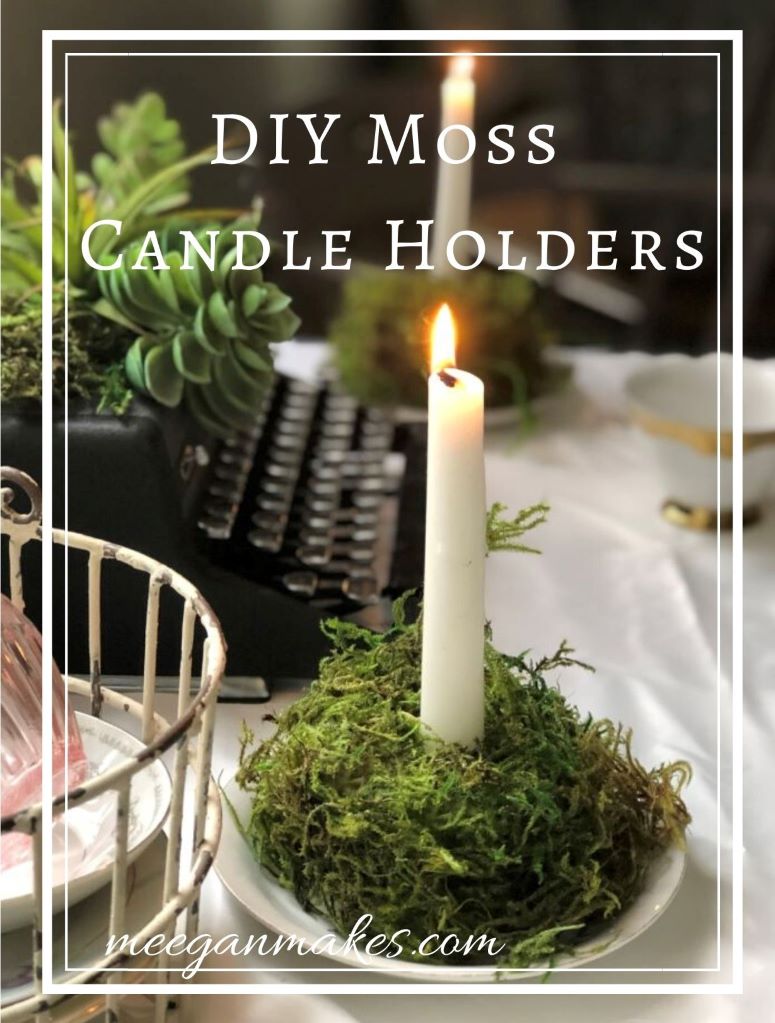
You might also enjoy… Moss Candle holders for Spring or Easter decor…
My Easy Easter Place Cards are made from peat pots. A nice, but simple craft.





What a unique table! The legs definitely give it character!
Meegan, that is a beautiful table and I love what you did with it. Thanks for the share.
You’re right Meegan, those legs are gorgeous and deserve to take center stage and you did an amazing job celebrating them.
What a great price and a beautiful color! I love using paint to transform just about everything! Great job!
Love what you did! I also love the wood top. Would leave it! Thanks for the chalky paint recipe that you know is a winner!
Meegan…I am truly in love with your table!! And chair too!! What a stunning makeover! The color is just perfect!!!