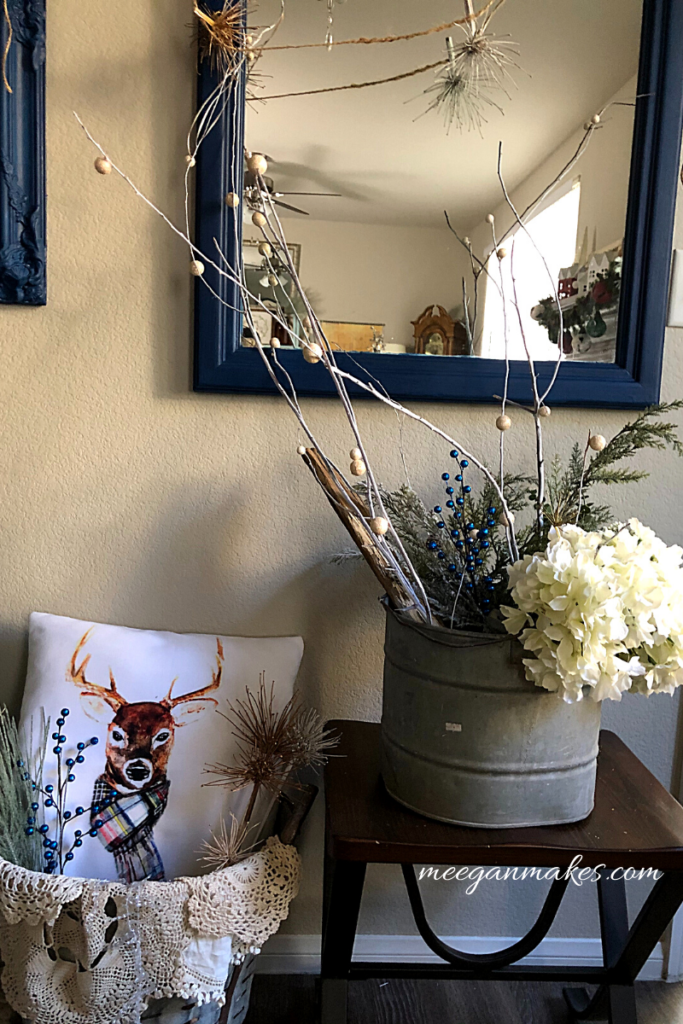
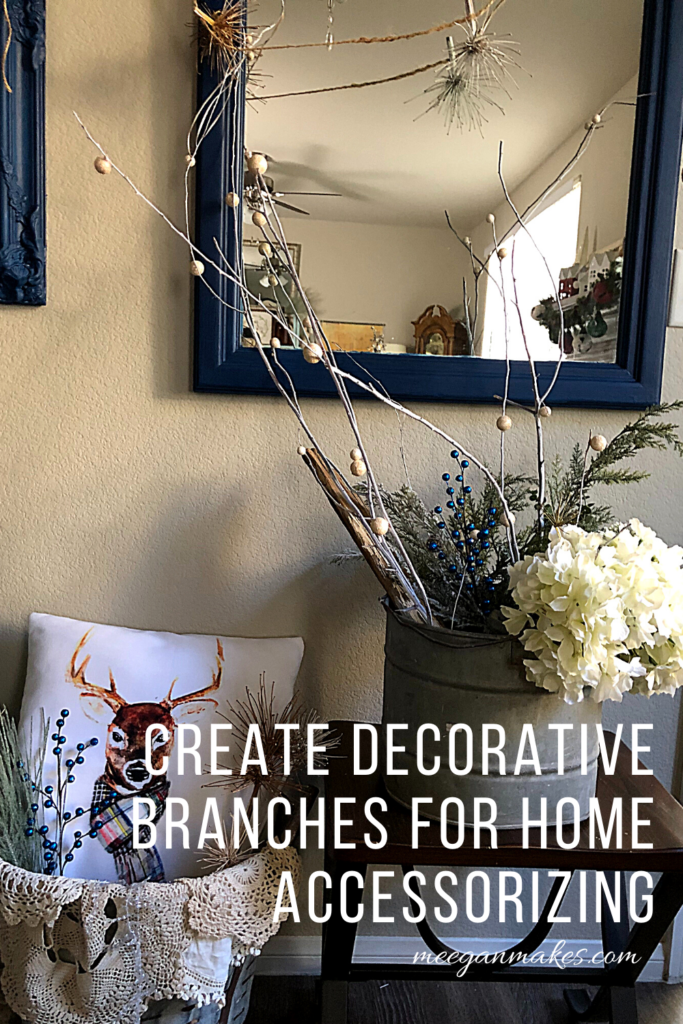
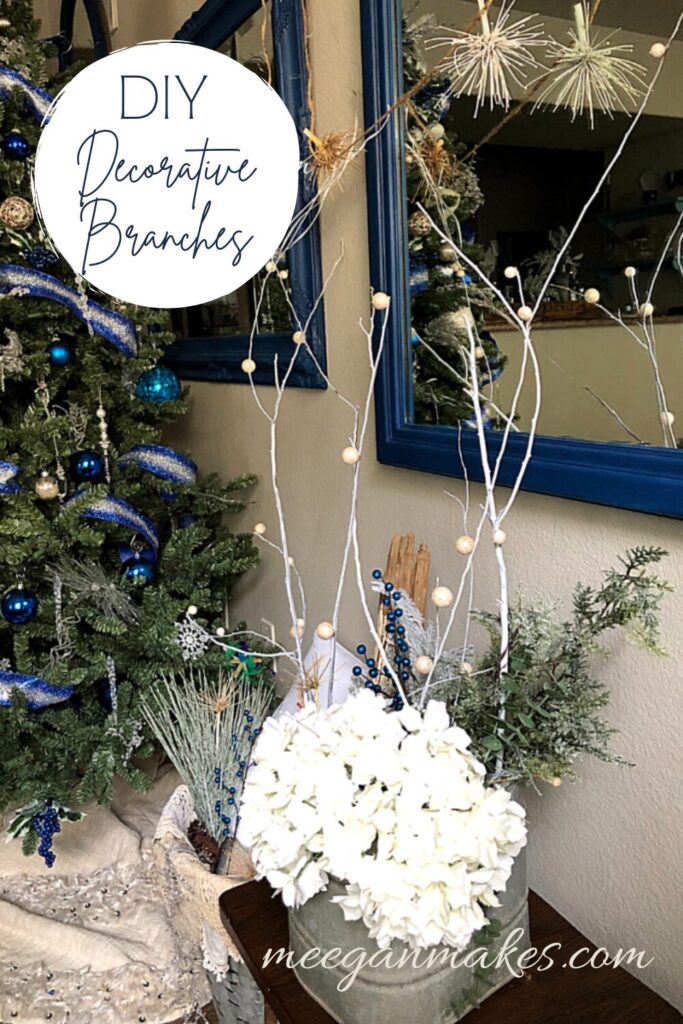
While looking for a natural element to add to my Christmas decorating, there really wasn’t anything that I liked or wasn’t expensive. That’s when I decided to DIY Decorative Branches for Home Décor, with my own components.
This took very little time and the results are just what this area needed.
*This post was updated November 2025.
I thought you might like to use this tutorial, too.
What you will need:
*several branches, at any length that is best for you (I found mine in my yard)
*a pair of strong clippers, to clip branches off a tree
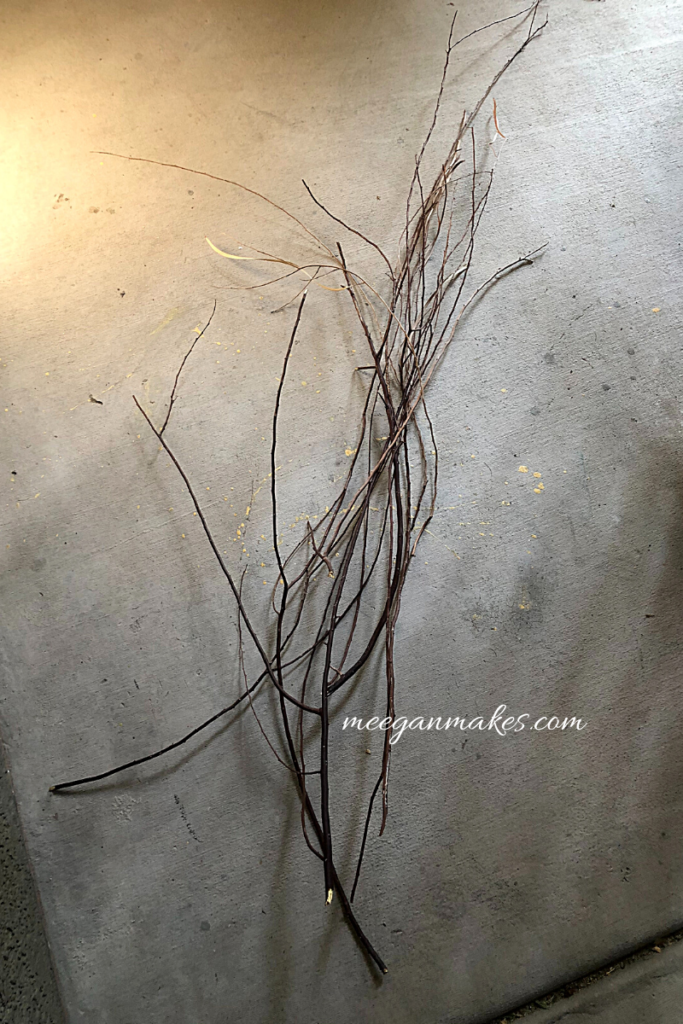
My branches are between 3-4 feet long.
Just my luck, a tree was being cut down in my apartment complex. I spied the branches and asked the maintenance worker if I could have a few. He looked at me kind of funny, smiled and said that I could.
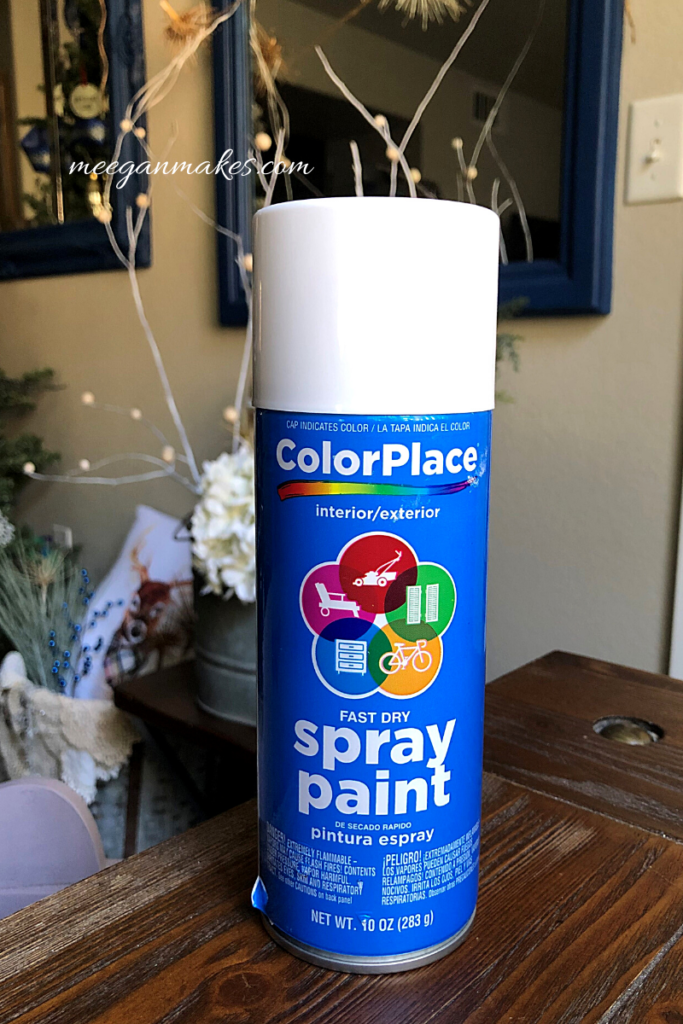
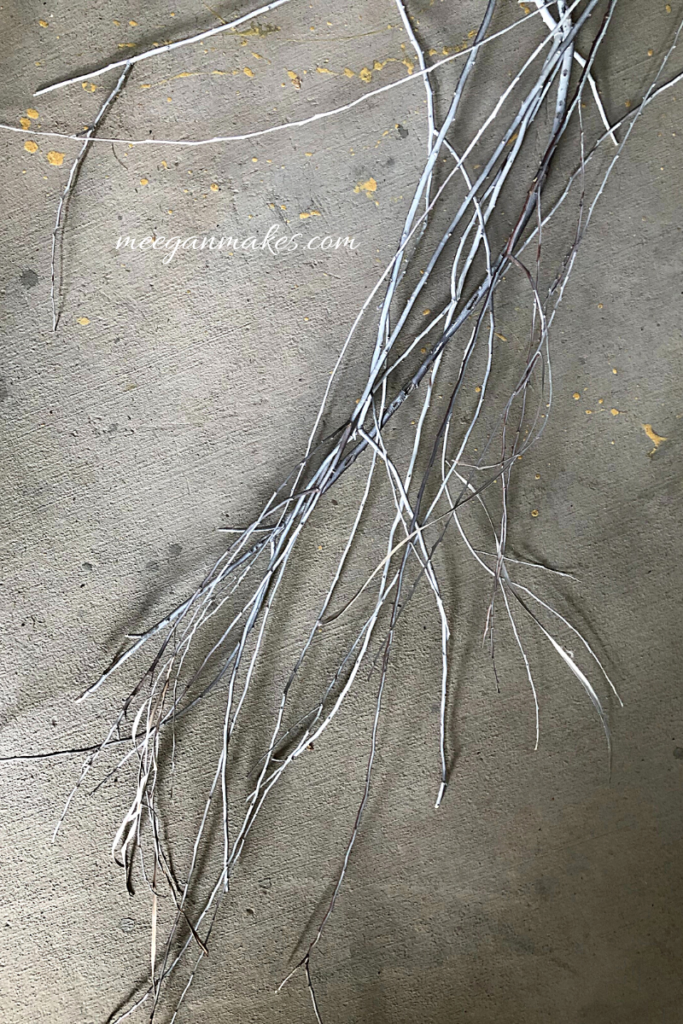
Once I brought them back to my apartment, I was ready to spray paint them white.
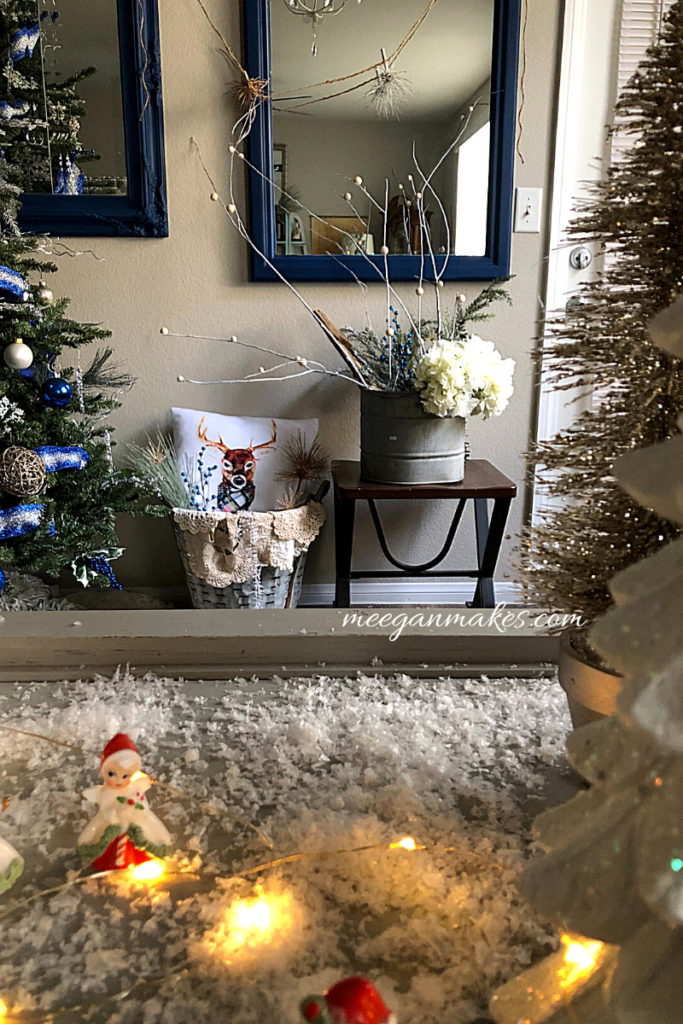
My thought was to add a layer of texture in the dining area next to the Christmas tree.

After the paint was dry, I wanted to add a little bit of glimmer, like I did here and here.
Choosing to just use the gold filler balls, was the best choice for this project.
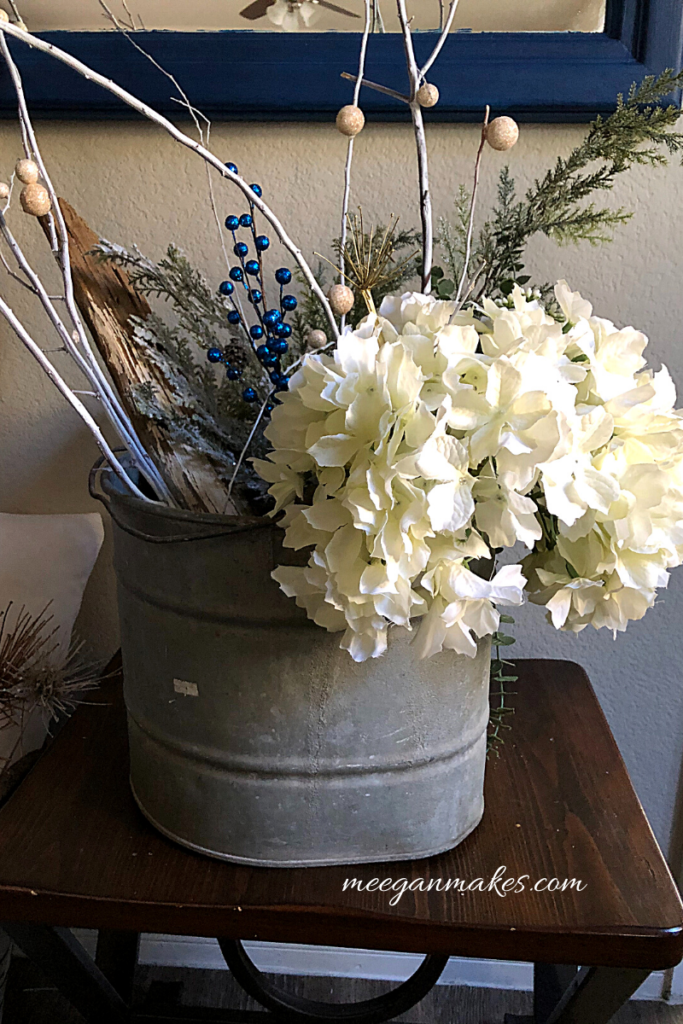
With my hot glue gun I attached the filler balls to various spots on each branch.
There is no rhyme or specific space to each ball. Just where I thought it looked good. Some are closer than others. And others further apart.
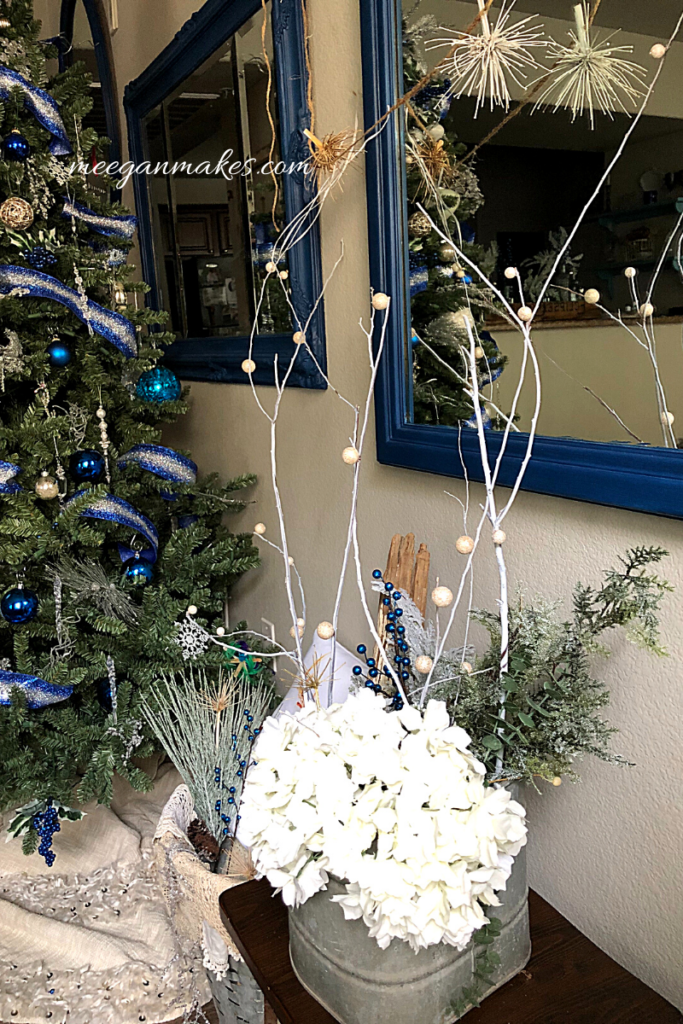
All in all I loved the outcome. They look great at Christmastime and throughout every season.
These DIY Decorative Branches for Home Décor could not be easier!
It is always nice to see you visiting my blog. I will see you back here very soon for even more DIY projects, recipes, thrifted and craft ideas. Your support is greatly appreciated. Thank you.
Make it a wonderful day.

More ideas for you to browse through…

15 Thrifty DIY Projects Under $20
Vintage Village Christmas Tree


Leave a Reply