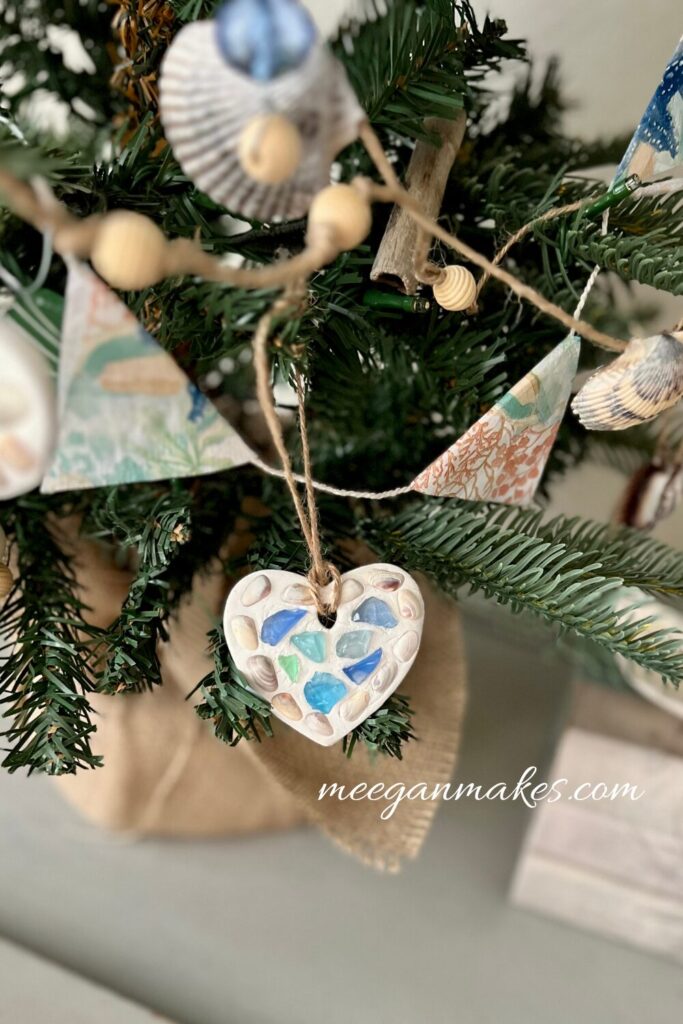
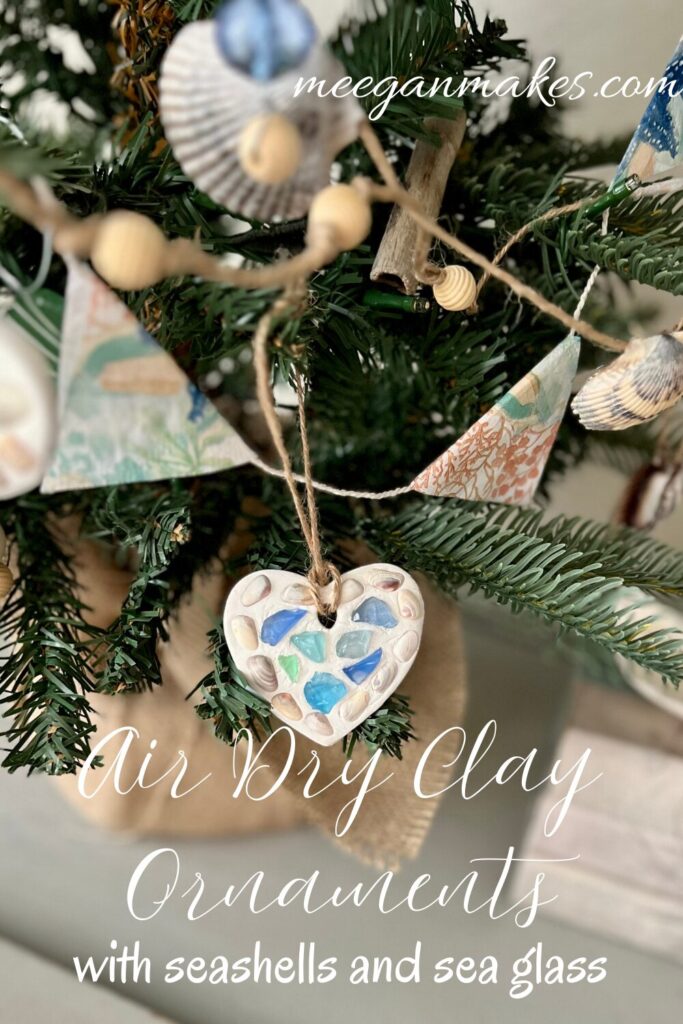
It’s been awhile that I have wanted to create Air Dry Clay Ornaments with SeaShells and Sea Glass. Perusing through Pinterest helped a lot. In the end I decided to make up a “one of a kind” design.
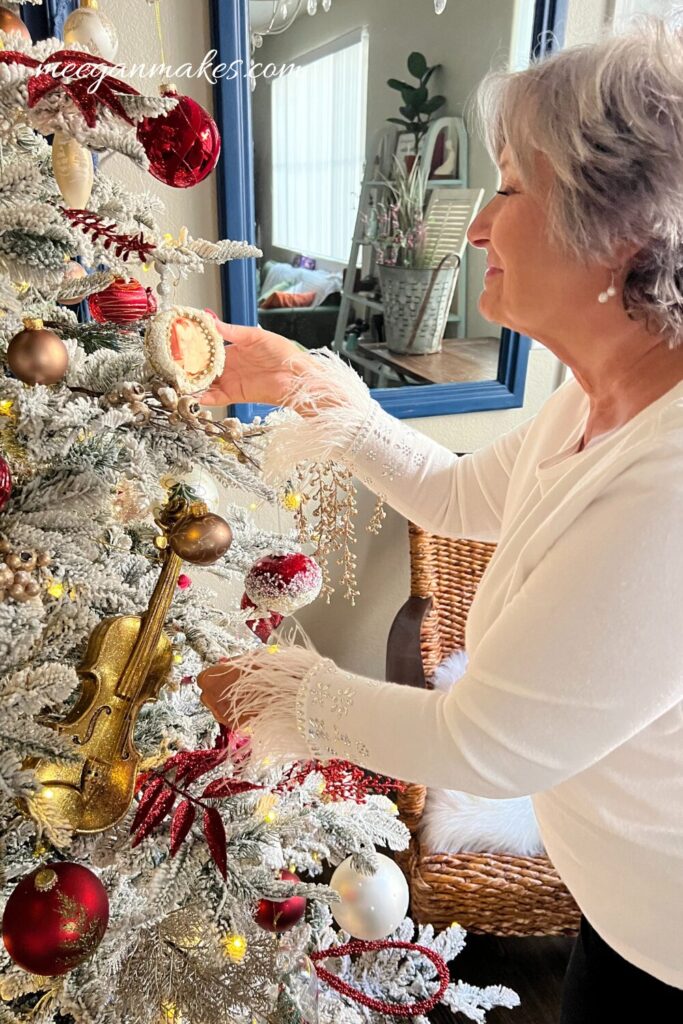
There has been a “Grandma” tradition every Christmas, for 26 years, that each of our grandchildren receive a handmade ornament from me. Last year I tried my hand at air dry clay ornaments. They turned out…okay. Not my best work. But, fun to make, nonetheless.
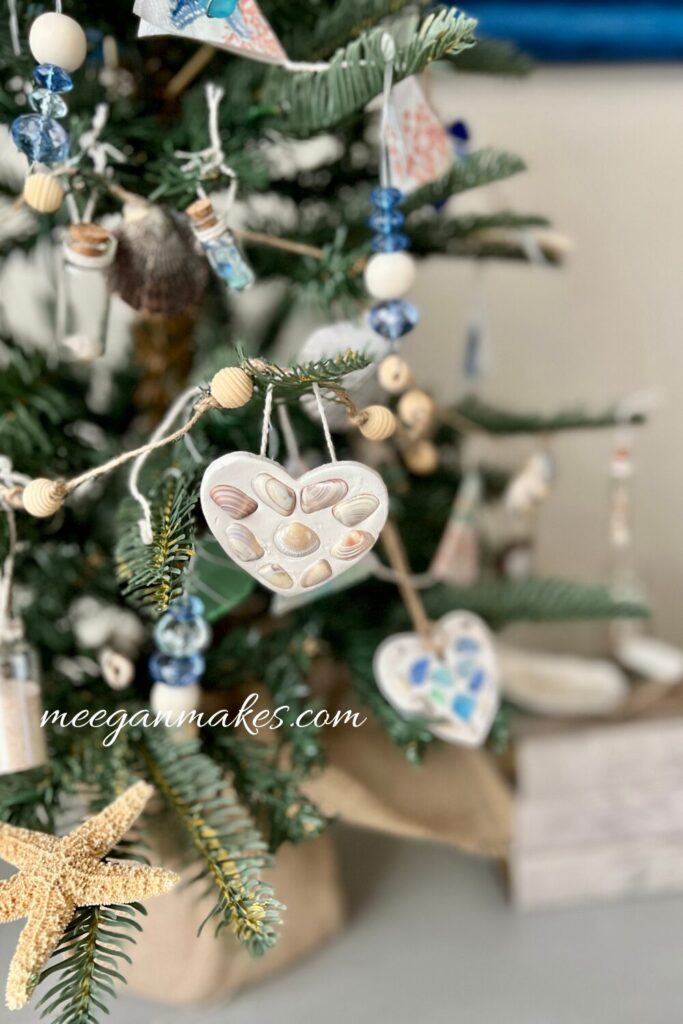
Every chance we get, as a family, we have beach trips. While we are there-we search for shells and sea glass. Being able to decorate the Christmas tree with these shells and sea glass each of us can be reminded of our family beach memories.
When I was designing a Beach Style Christmas tree, it was another opportunity to use the beach collections and make air dry clay ornaments.
Here is the process that ANYONE can do...
Components for Air Dry Clay Ornaments with SeaShells and Sea Glass:
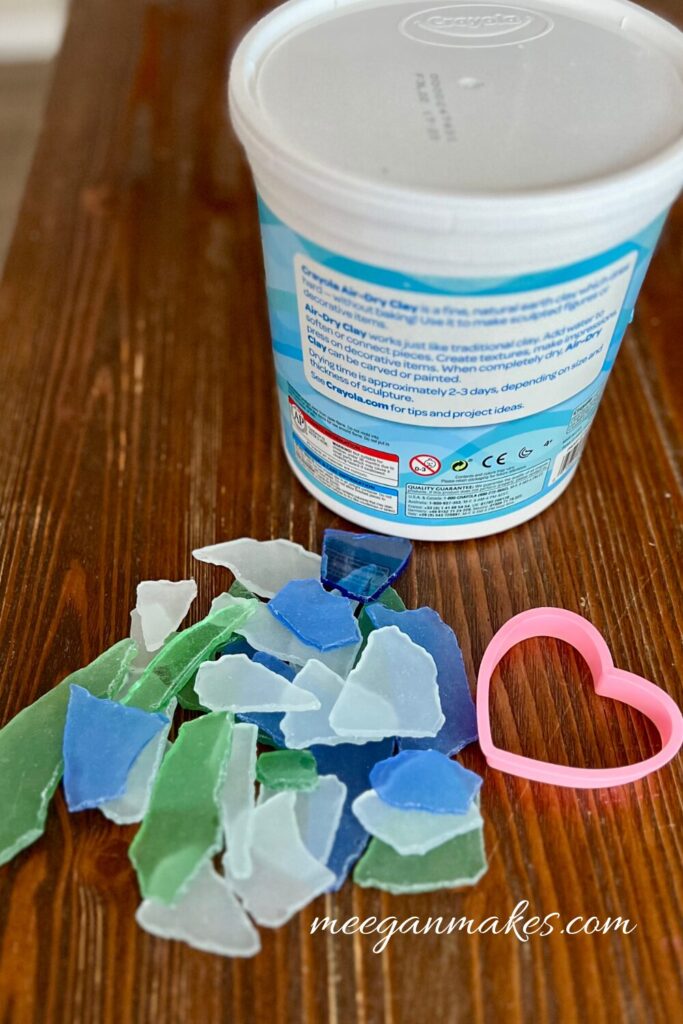
Gather the sea glass, shells. cookie cutter and air dry clay to get started.
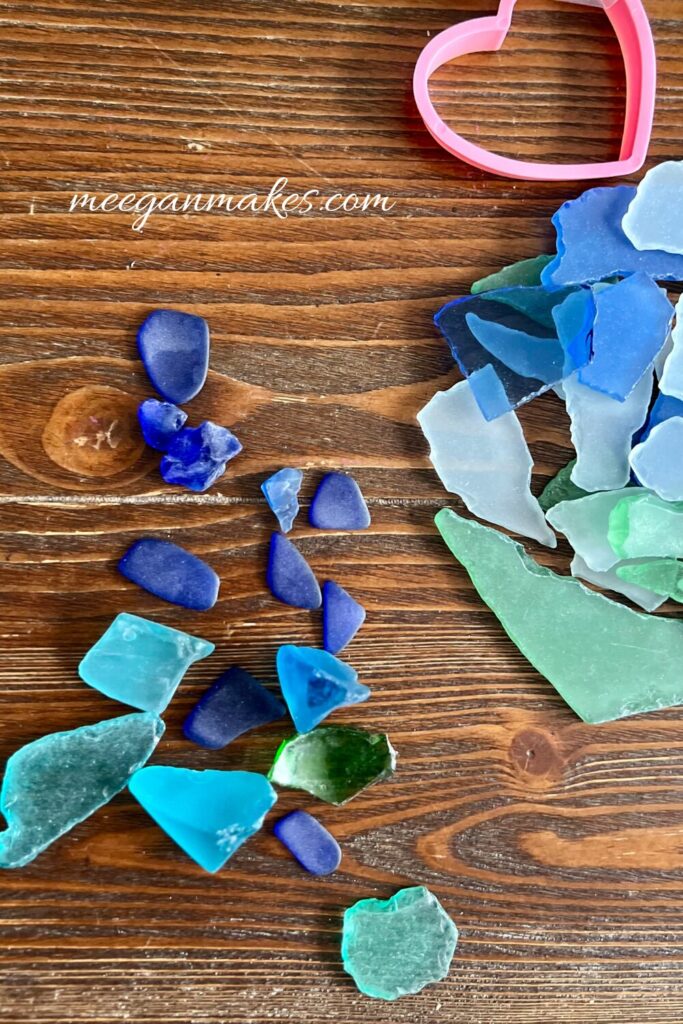
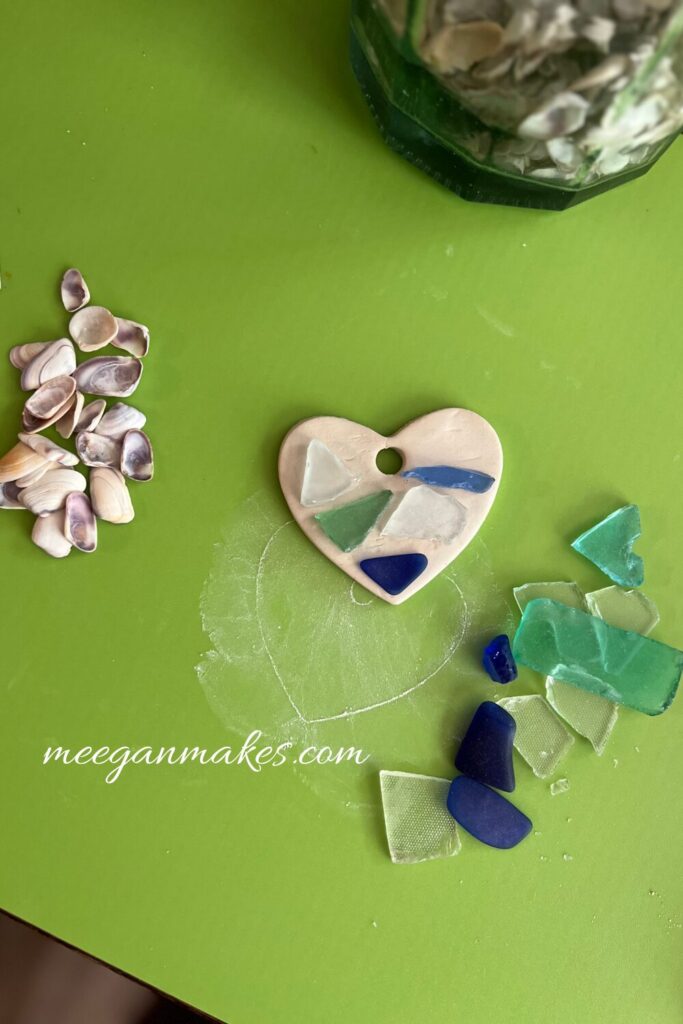
You can use various sizes and shapes that YOU like. It can come out as a pattern or a random style. It’s YOUR design. Whatever you like is best.
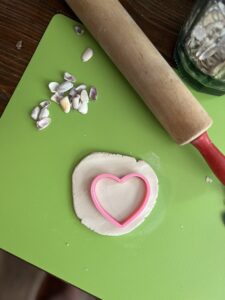
Using a rolling pin and cutting mat, roll out the air dry clay large enough to fit your cookie cutter.
Roll out the clay to a 1/4 inch thickness.
Use ANY cookie cutter shape that fits your design style.
Peel away the excess clay from your shape.
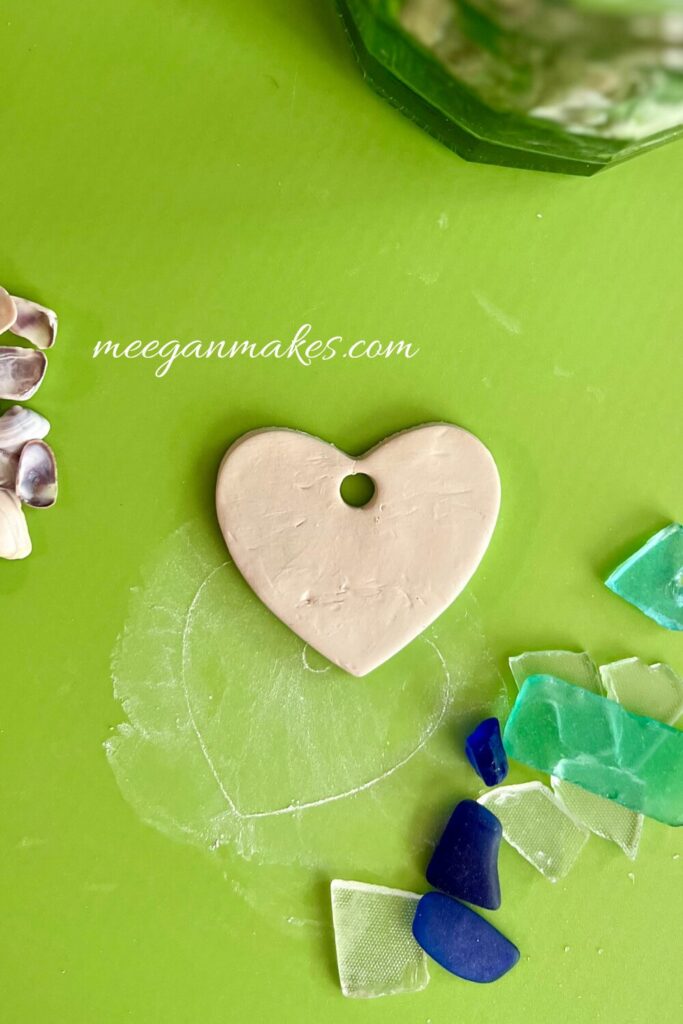
While the clay is still soft, use the tip of a straw to make a hole through the clay shape. This will allow you to tie a piece of jute twine through your ornament for hanging.
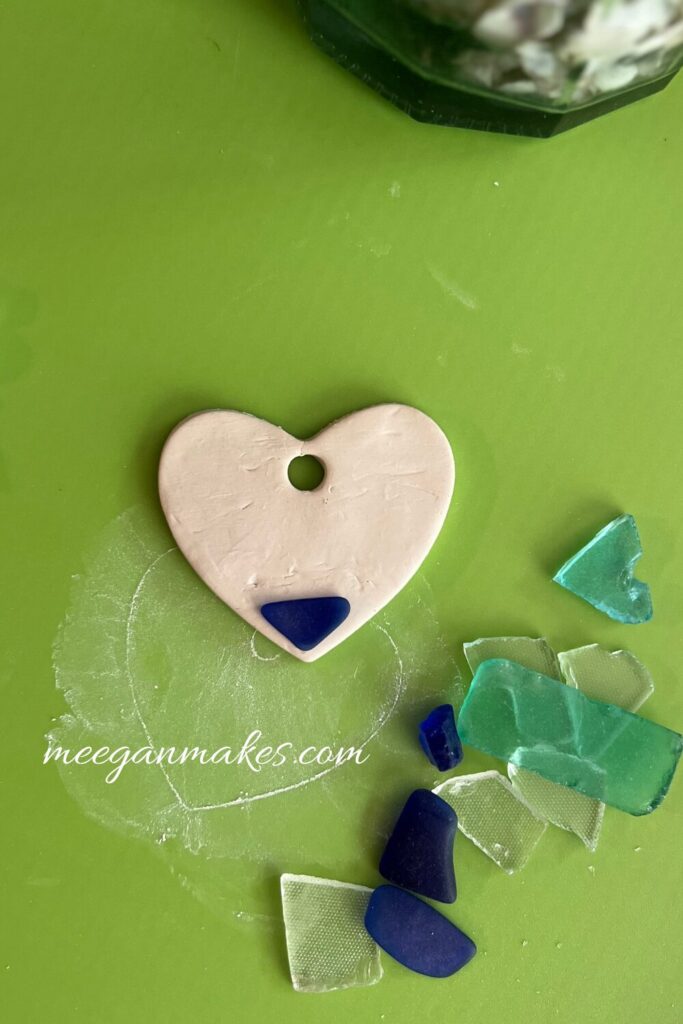
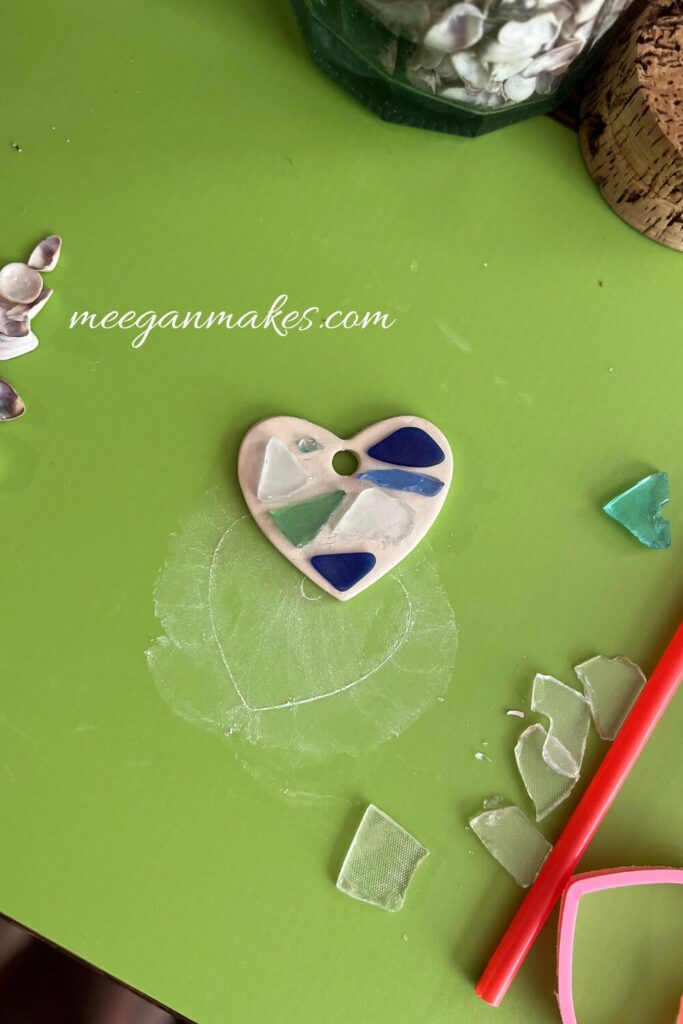
Begin placing your glass or shells in a pattern that you like best. It takes trial and error. So be patient with yourself.
Press each piece into the clay as to make a deep indentions.
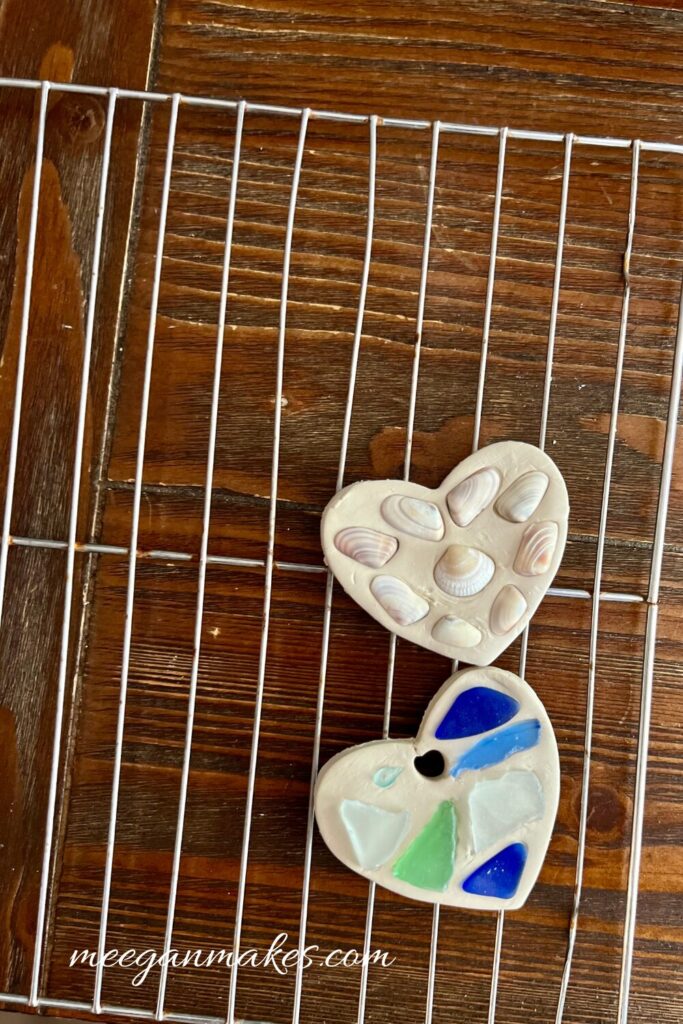
Once you are done designing your ornament, place it on a baking rack. This will allow the clay ornament to dry all the way around, both top and bottom.
Allow your ornaments to dry according to the directions on the air dry clay package.
There is a GOOD CHANCE that your shells or glass will NOT stay affixed to the clay. At this point use a gel glue to adhere the shells and glass. The gel glue is best because it dries clear. I have it linked in the component list for you.
If there are rough edges once the ornament is dry, you can dip your fingers in a small amount of water to soften the edges. Just gently rub the edges to get the look and feel you want.

Cut a 9-12 inch length of jute twine. Loop the twine through the hole you made with the straw. NOW you have a hanger for your ornament.
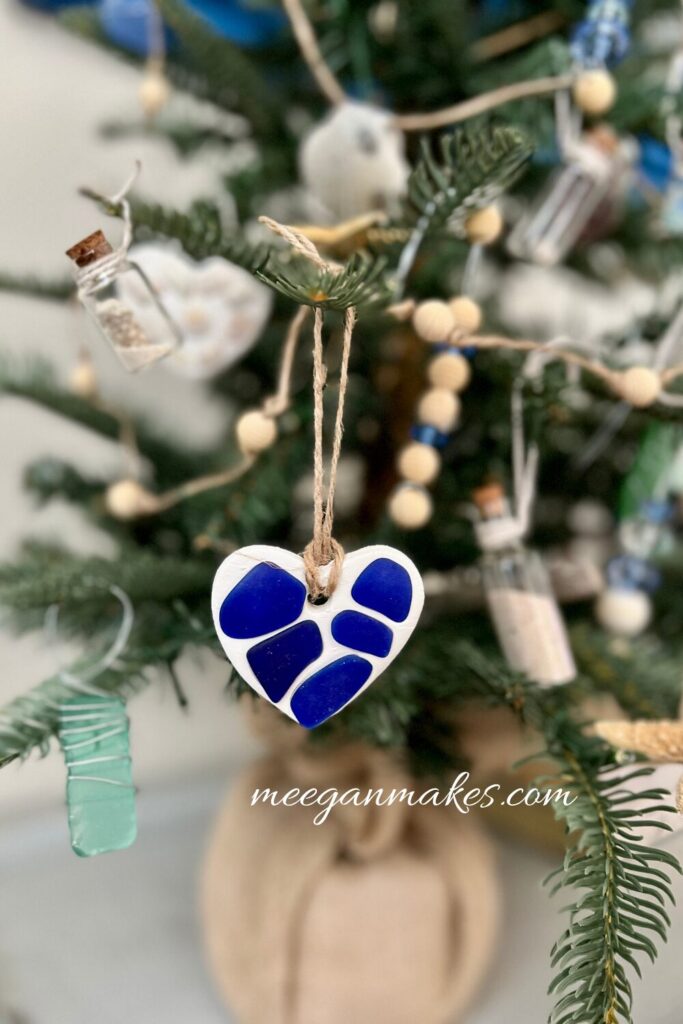
What’s fun about creating these ornaments is the fact that you can make any design you want. They don’t have to be identical. You can combine both shells and sea glass or not.
And it is as easy as that. It does take a few days because of drying time. But other than that, use your creativity and make more memories.
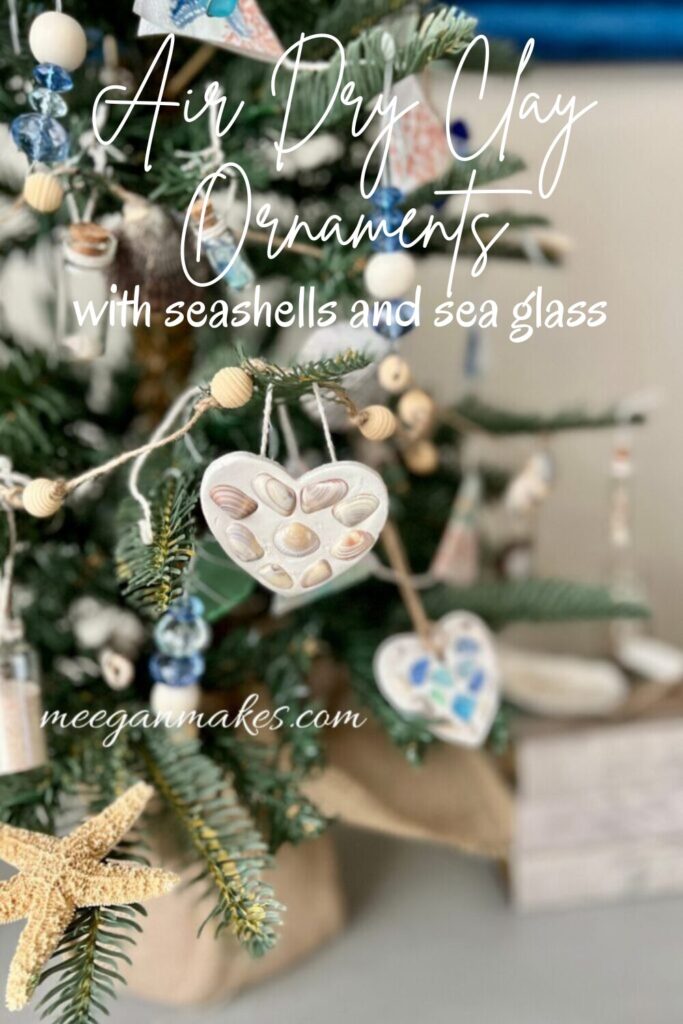
These Air Dry Clay Ornaments with SeaShells and Sea Glass are beautiful on any Christmas tree, as gifts, or gift tags.
I hope you have a great time making these and I am excited to see your ideas!
Thanks for stopping by today. Make it a wonderful day…

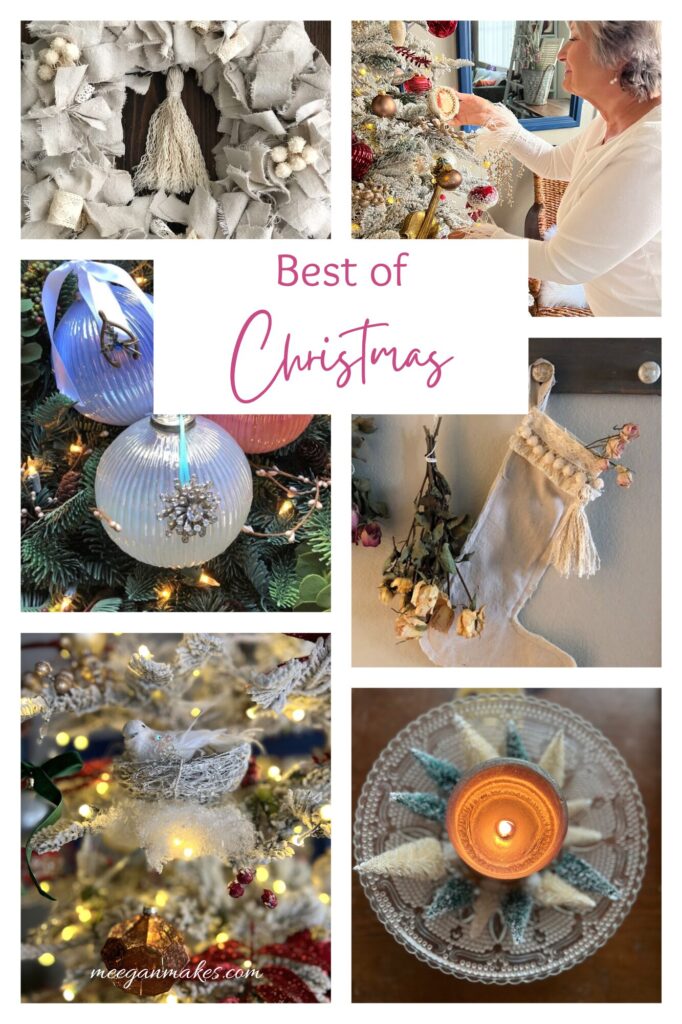
There are more blog posts you might enjoy here>>>
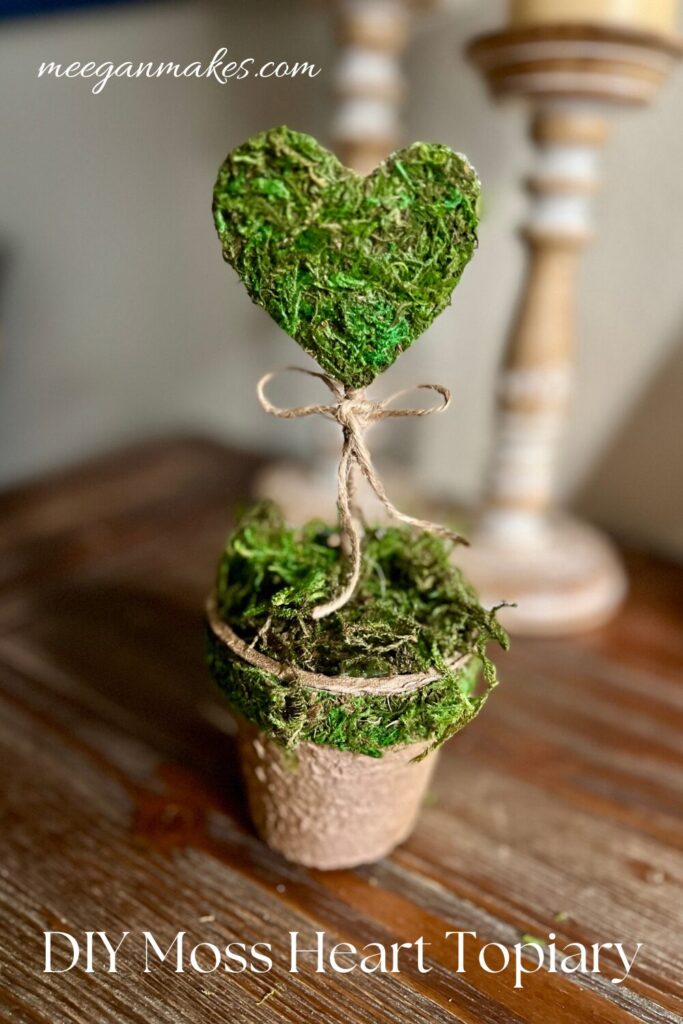
How To Set Up and Decorate a Flocked Christmas Tree


Leave a Reply