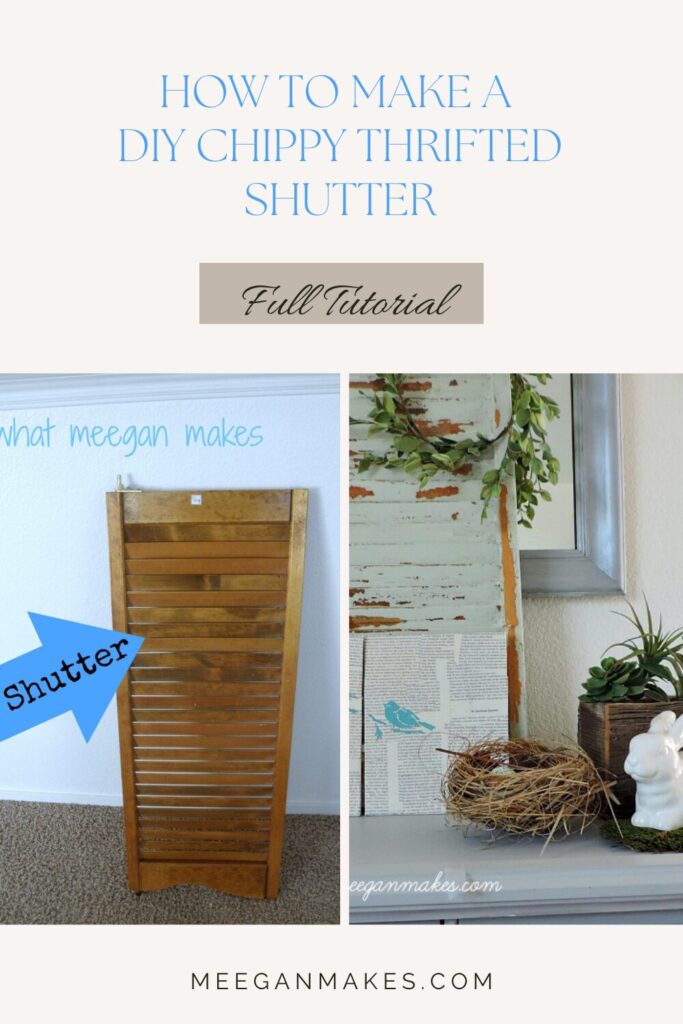
You know I love thrifting, right? Well how could I resist this $5 Shutter? Since then I have been working on this DIY Chippy Thrifted Shutter. With a little paint, paint stripper, and sandpaper, I got the exact look I was hoping for: Old, worn, and chippy.
I started out with this pretty, new shutter:
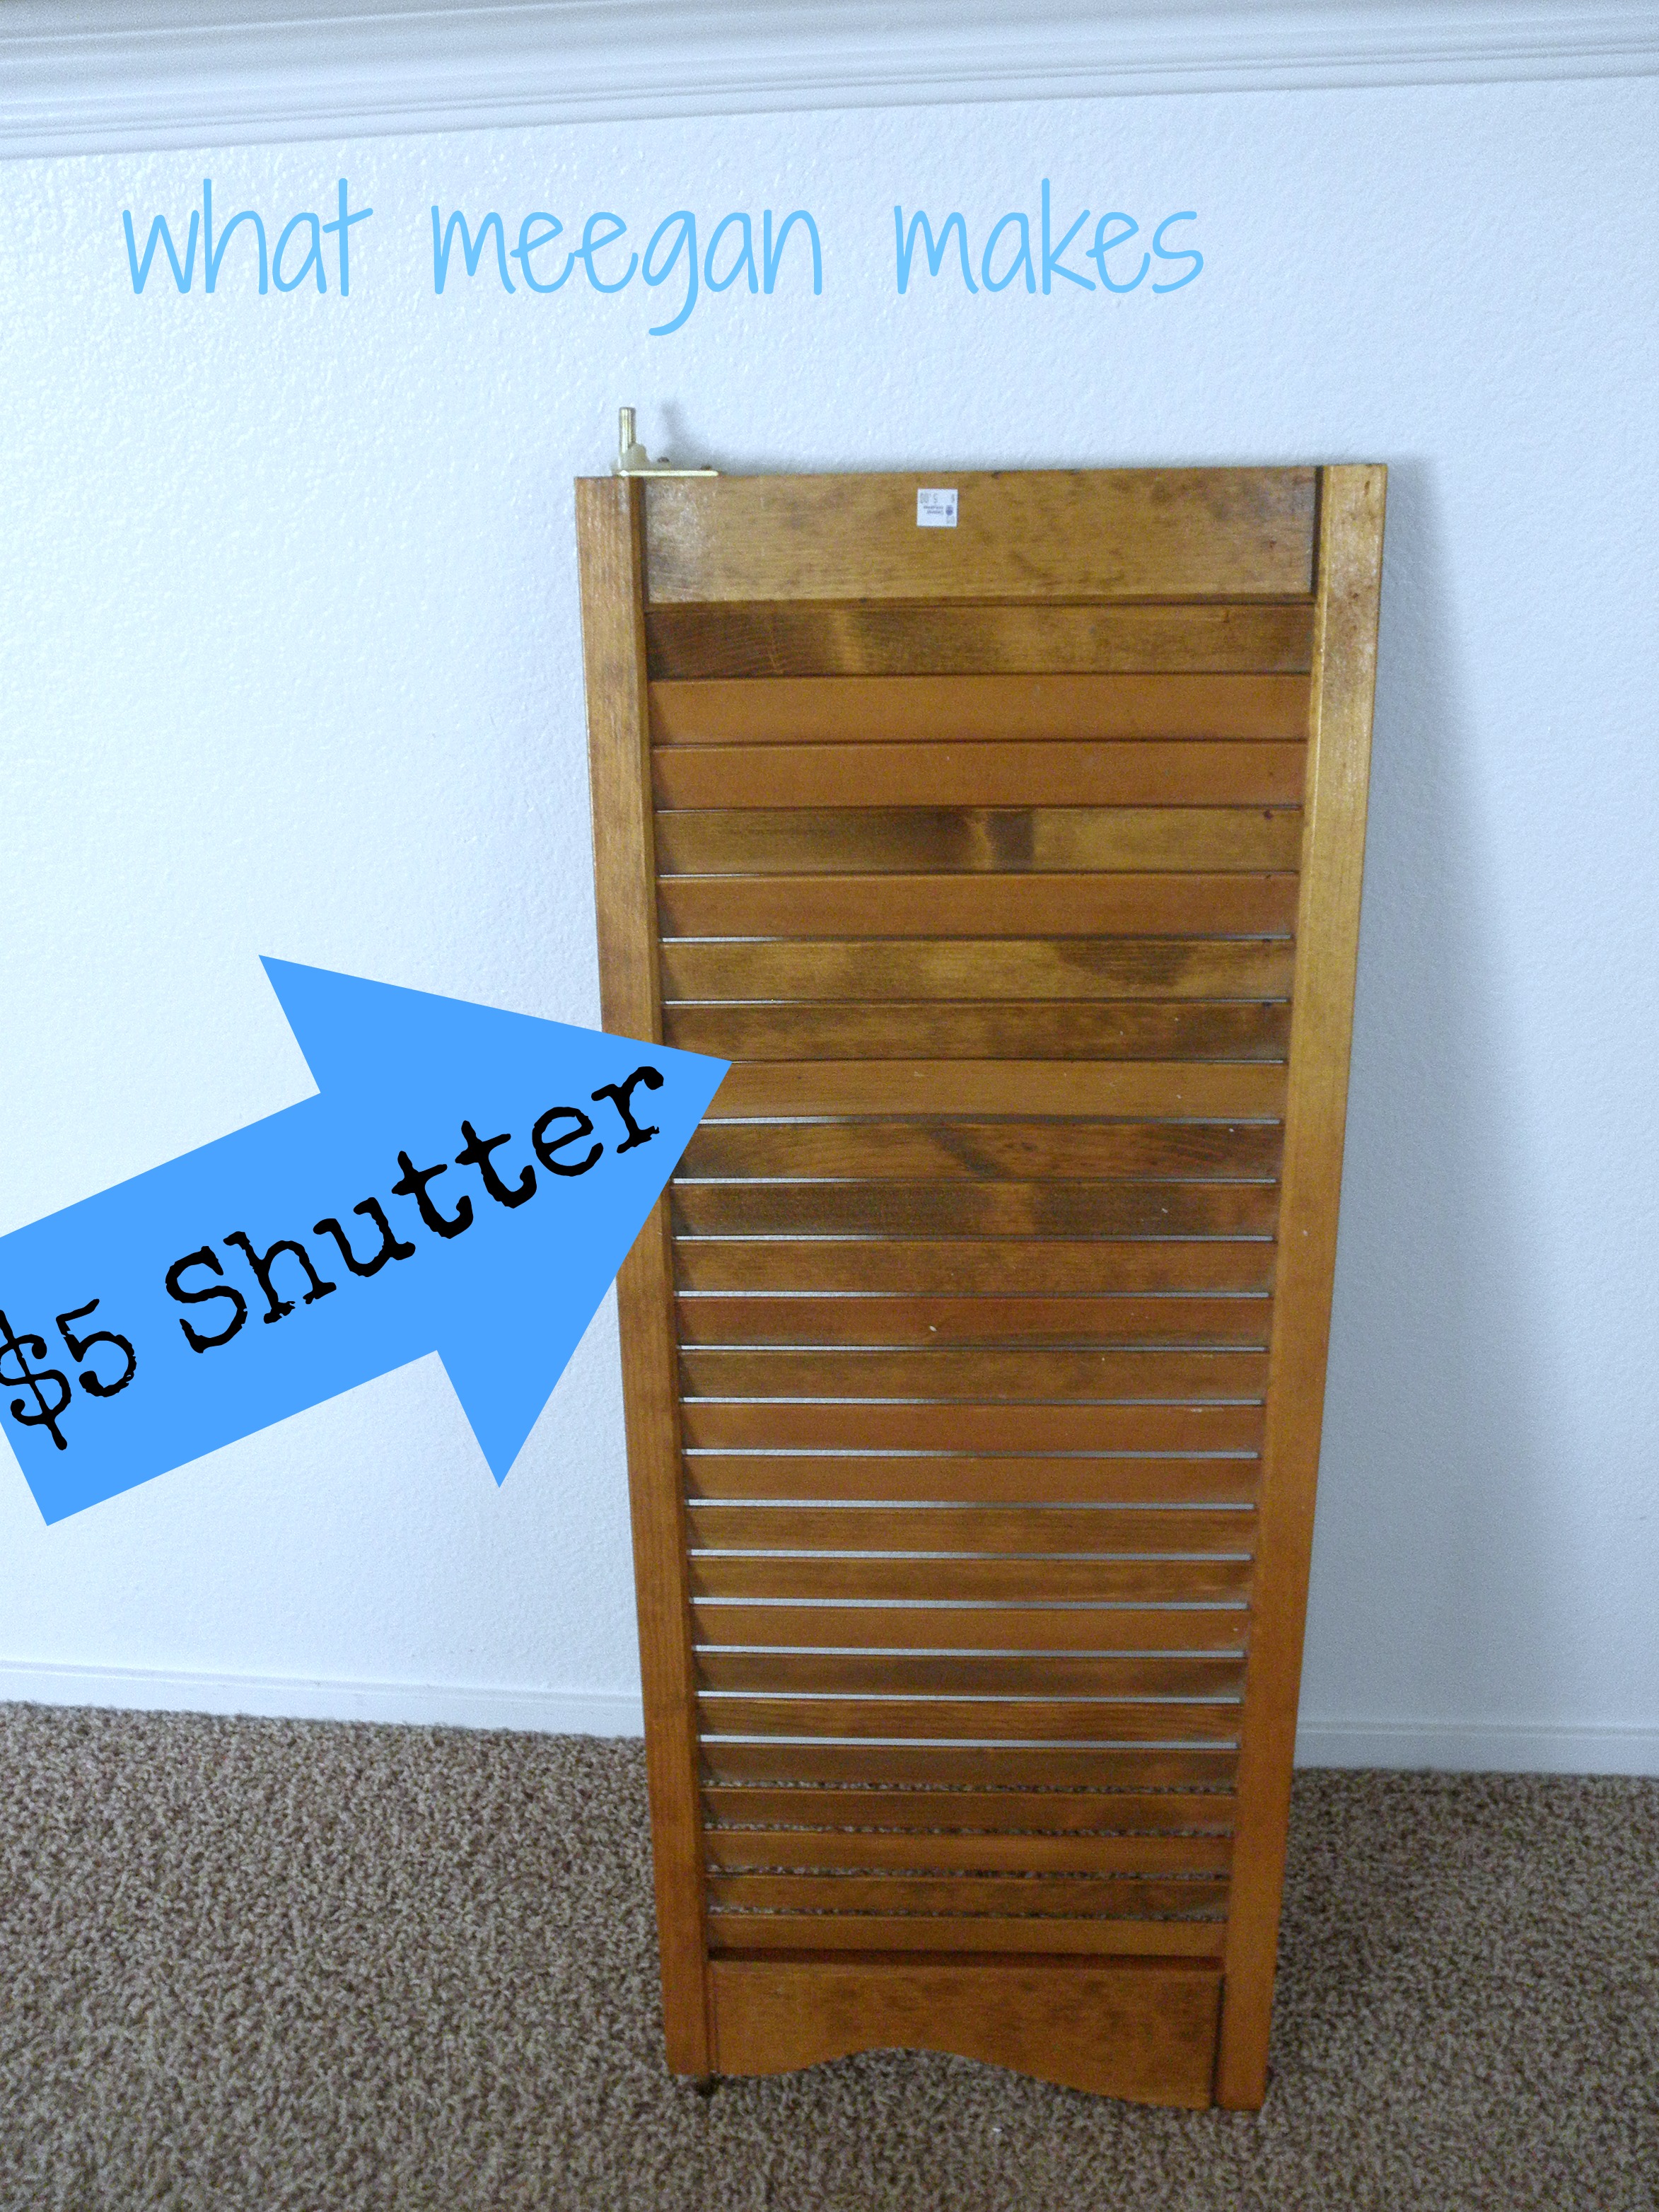
It is just right for what I need. Don’t you love that the hardware is still attached?
*This post was updated October 2025
My first thought was to remove it, but once I had it around for awhile,
I knew the hardware was staying on for good.

My first coat consisted of a white primer.
The second coat that you see here is called Summer Sonnet by Ace Hardware.
I also used this same color on my coffee table.
I sprayed on a coat of stripper and waited. I did this outside, in a ventilated area.

That is the key for removing paint-patience. I covered the whole shutter rather than just areas, because I was hoping for a cracked, chippy look all over. Again, patience is the key.
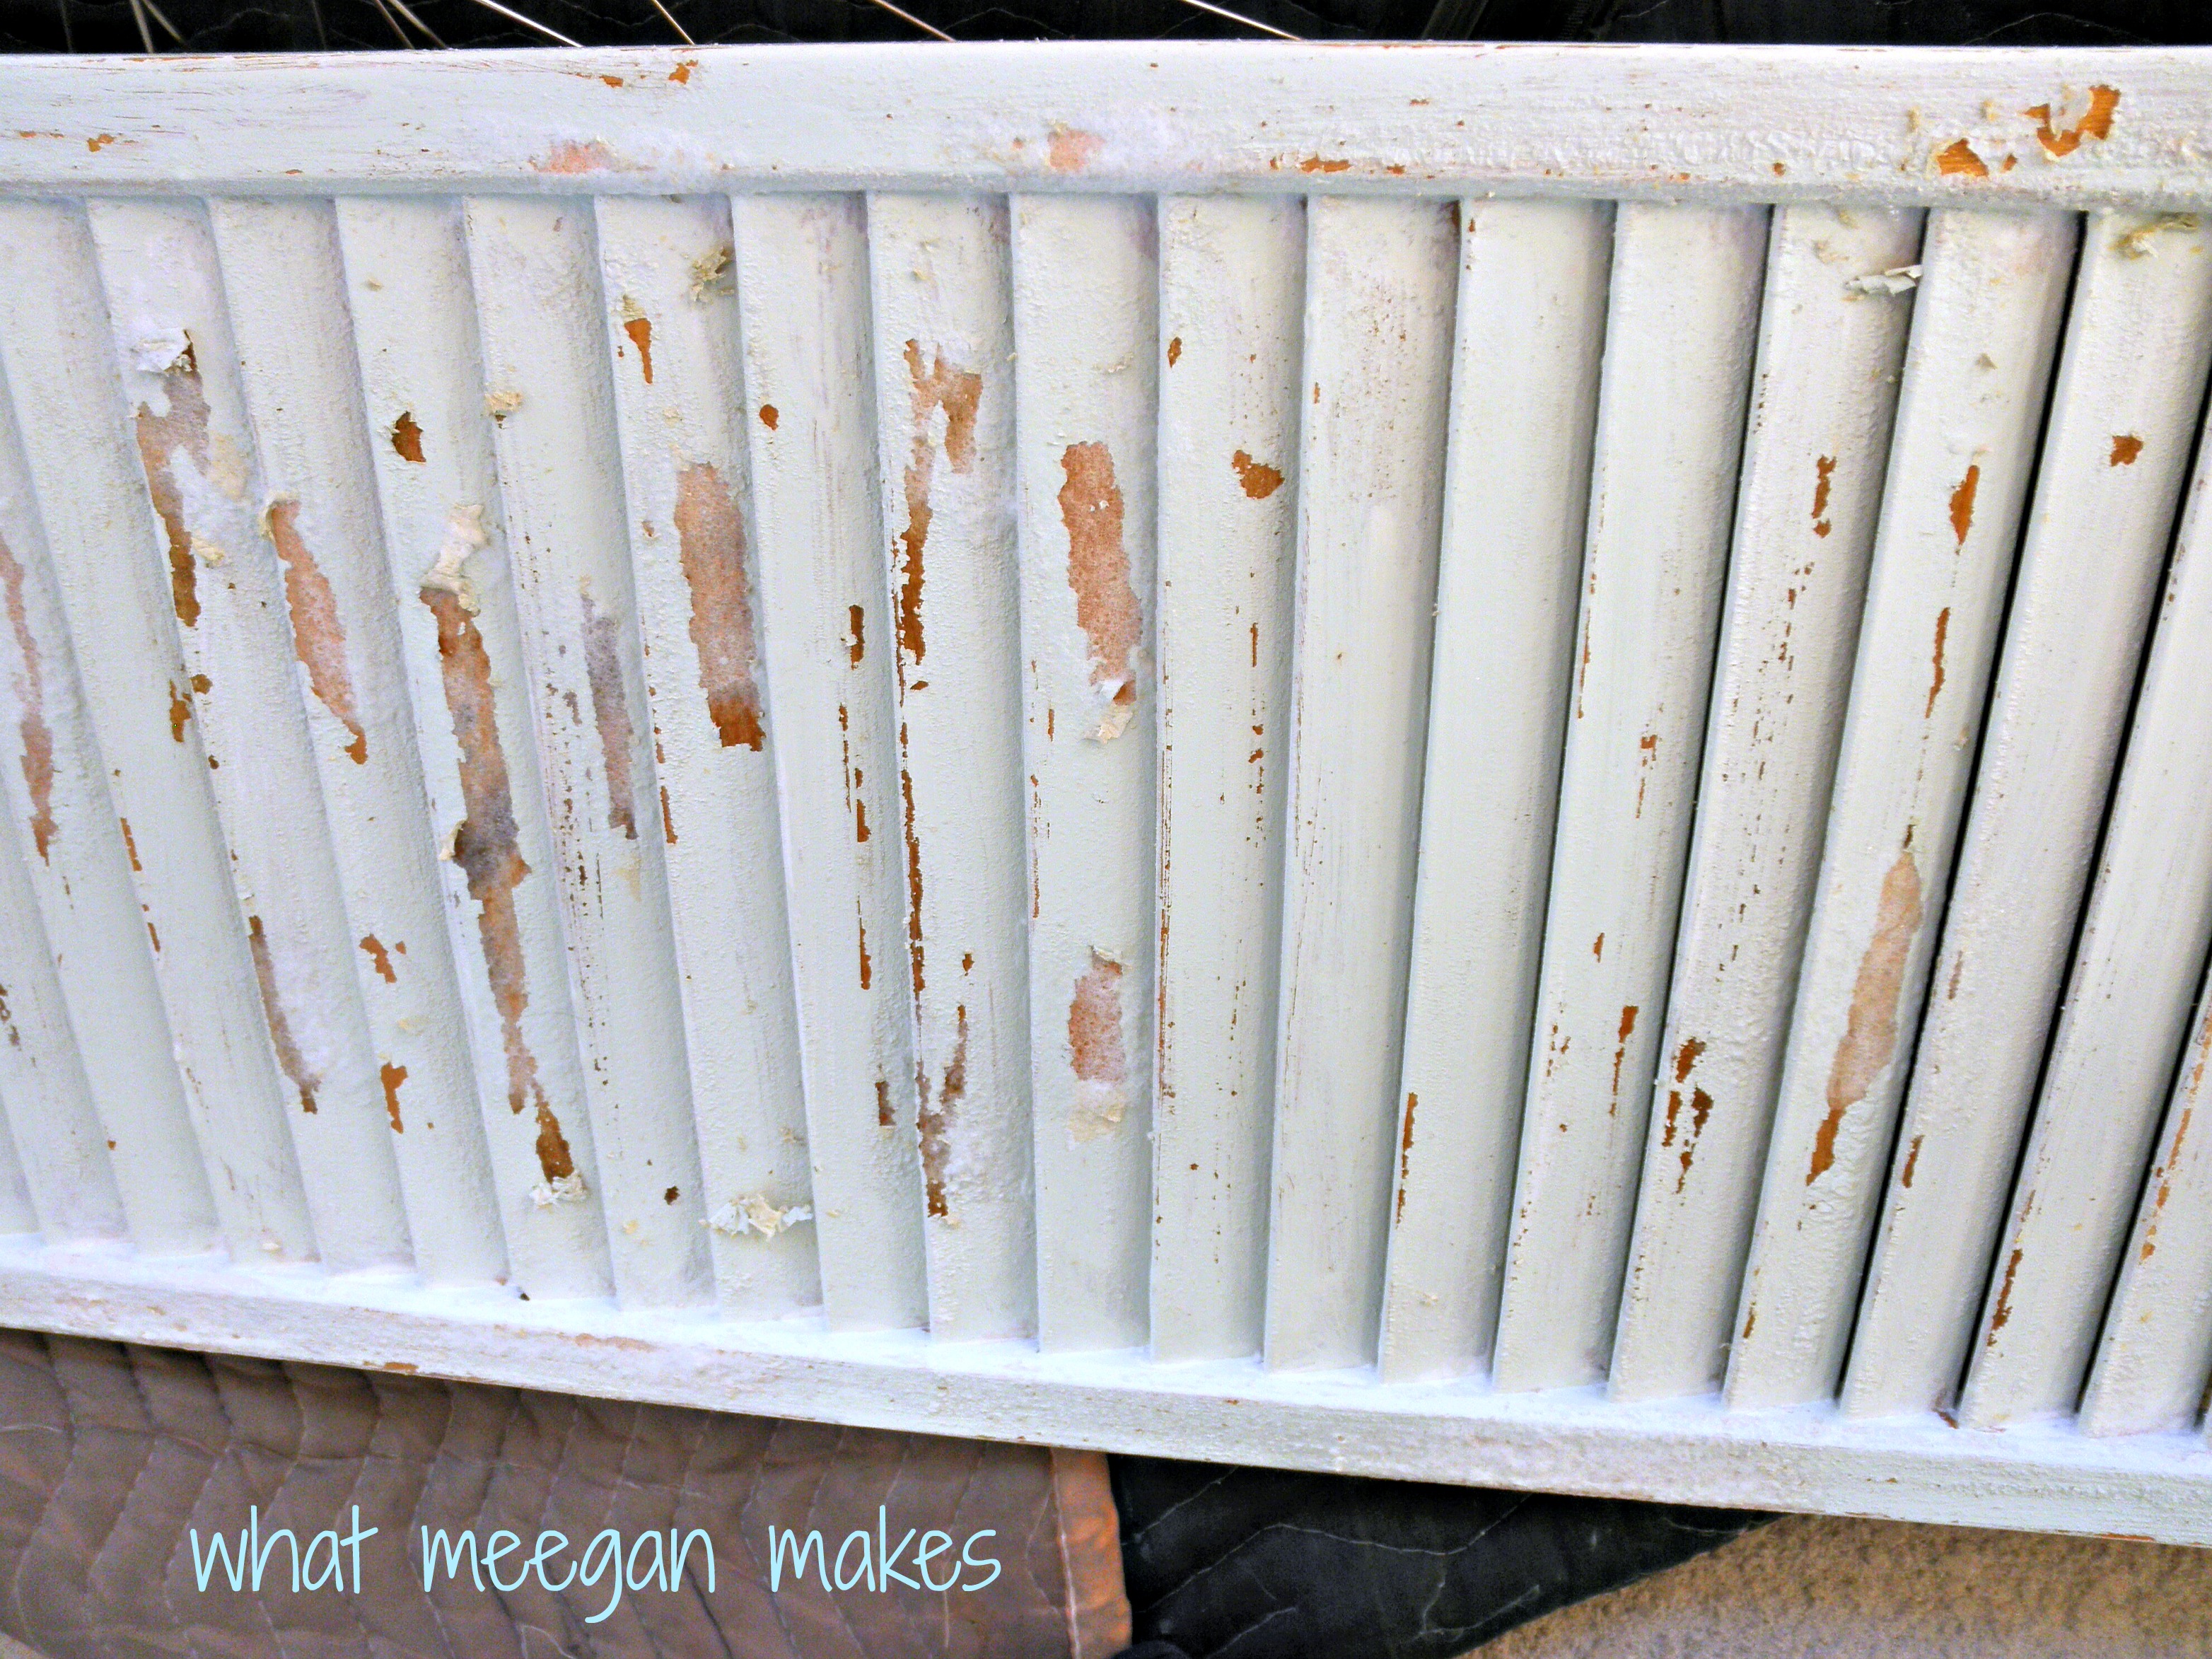
I waited 1 hour, I sanded some of the paint off. I then sprayed more stripper where only the actual wood was showing. I wanted to take the varnish off of the shutter for an aged, worn look.
I ended up leaving the second coat on overnight. It turned out just how it was in my mind. Bubbly and very chippy.
The varnish came right off without a hitch. And look at all the chippy paint. Wow-it truly makes my heart melt. Not only that-but it was super easy. I can’t wait to try a project like this again.
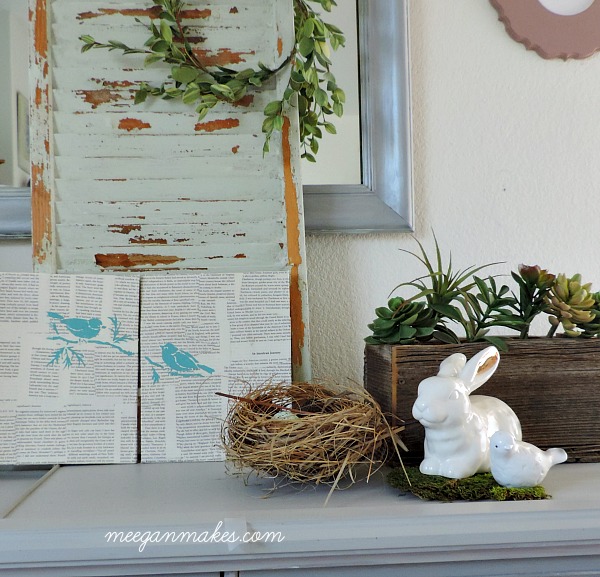
Doesn’t it look happy with my Book Page Art?
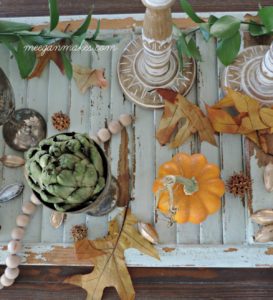
I have also used it as a Fall tablescape runner.

AND for Christmas decorating, as well.
Thanks so much for joining me today as I shared my DIY Chippy Thrifted Shutter.
Make it a lovely day.


Wow Meegan, what a difference in the Before and After photos. It went from generic looking to perfectly distressed. Thanks for sharing on Project Inspire{d}!
This is so cute and, yes, I love it with the book page art! So fresh for spring!