What Meegan Makes

vintage style, cottage living, home cooking

  • Home
  • Contact for Collaborations
  • Privacy Policy and Disclosure
  • Furniture Makeovers
  • 10 DIY Seasonal Banners
  • 15 Creative Spring Crafts

Search Results for: shells

DIY Embellished Frame

July 9, 2014 By Meegan 4 Comments

This post is sponsored by Blueprint Social and Plaid Crafts.

I am one of the lucky ones that gets to share a new type of craft sensation.  It’s called Decoden. Today I am going to share with you Mod Podge Collage Clay. And how you can make a DIY Decoden Embellished Frame.

At first you might feel that Decoden is too much embellishing, but that’s part of the excitement.  AND, when you get to work with it like I have recently, you will be hooked. Decoden is the art of decorating anything with trinkets, and “the more the merrier”.

As I have used Mod Podge Collage Clay, I was excited to make my DIY Embellished Frame.

DIY Embellished Frame Label

Now, doesn’t that look fun?  Let me show you how I made my frame.

I received these Mod Podge products: Collage Clay in Strawberry and Vanilla, Hot Melts, Mod Molds, and Collage Drizzle Paint.
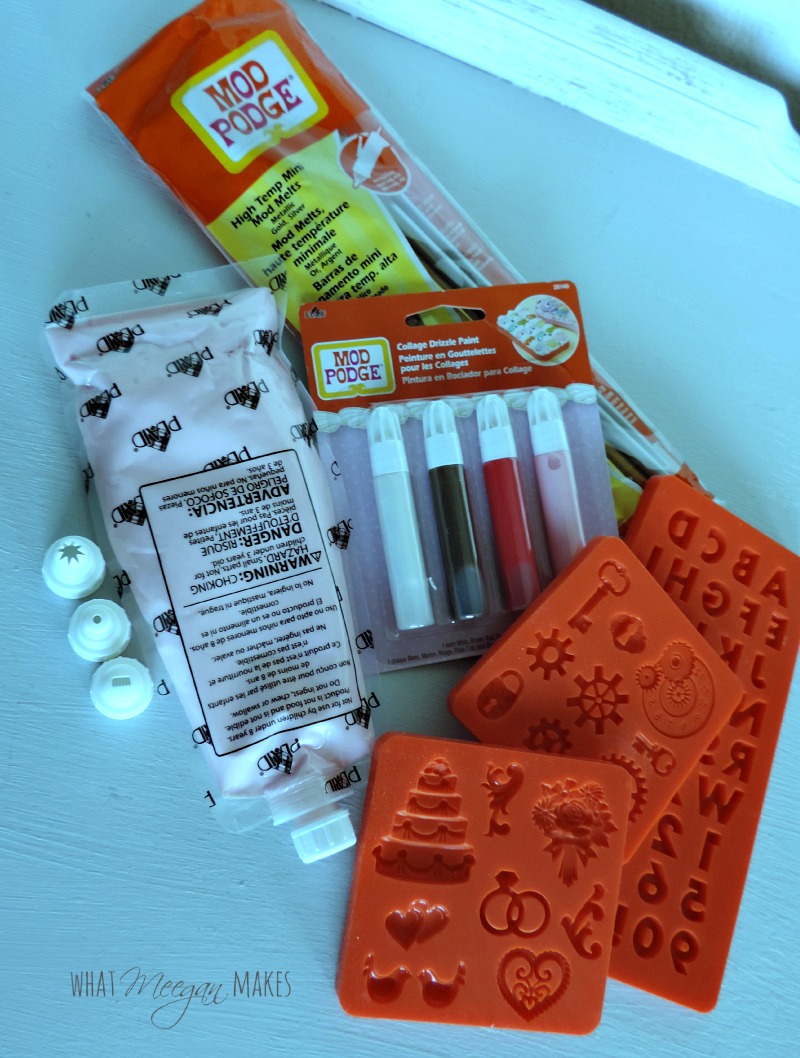
DIY Embellished Frame

 My first step was to make  some embellishments with the Hot Melts and the Mod Molds.  Using a mini high temp glue gun I filled the molds and waited ten minutes for them to harden.  You can also fill your Mod Molds with Collage Clay.  Wait 24 hours to dry and pop them right out.

DIY Embellished Frame

While I was waiting for the Hot Melts, I gathered my trinkets.  I used glitter, crystals, shells, starfish, keys, sequins, and a few scrapbook supplies.
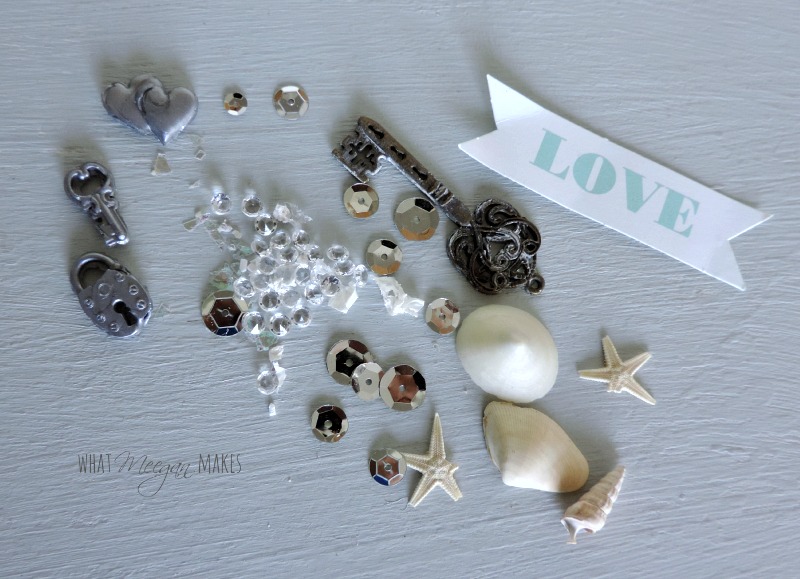
DIY Embellished Frame

Now it was time to start my DIY Embellished Frame.  I used the star tip with strawberry collage clay to cover the top of my frame.  Making rosettes I was ready to add my embellishments.
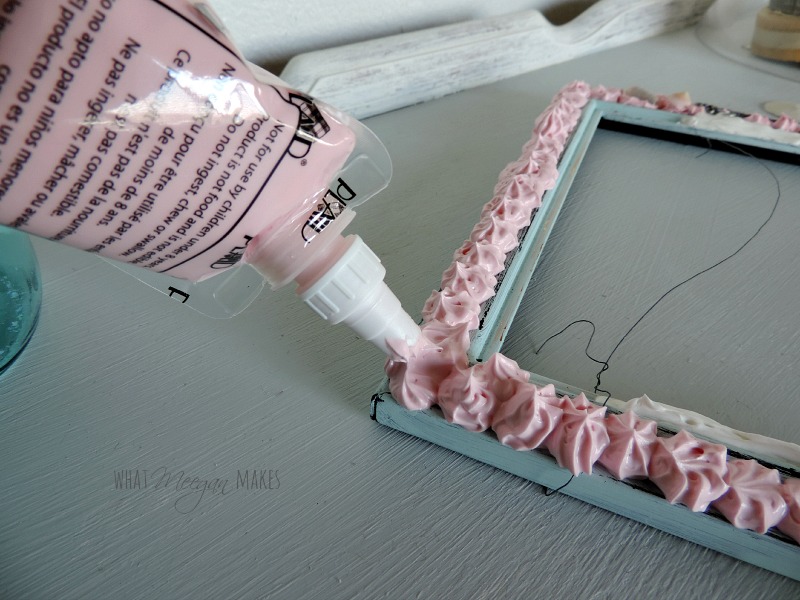
DIY Embellished Frame

 I began to add my shells and crystals.  Then the real fun started.  I remembered “the more, the merrier” while I added my trinkets and embellishments.

DIY Embellished Frame

I was having so much fun that I decorated a clothes pin to hold my picture.  Some glitter and a shell was just the right touch.

DIY Embellished Frame

Now it was time to let my frame dry.  It takes a full 24 hours for the Collage Clay to dry.  So, don’t be in a rush to use your Decoden art.  Let it dry completely.

  I have to admit I was a little nervous about designing an over the top look in my 3D collage clay. But using this new technique was a lot of fun. I KNOW you will enjoy it as well.

DIY Embellished Frame Label

Collage Clay is not recommended for children ages 12 and under, and the product is not edible. Small parts are a choking hazard for children.

Here are more varieties of how YOU can create your own Decoden art with Mod Podge Collage Clay:
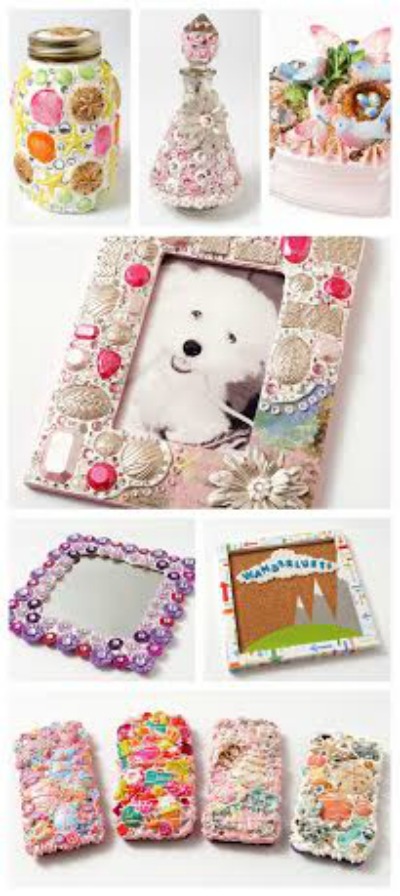
Mod Podge Design

You will find Plaid products in your local Michaels Store.

You can keep up with Plaid in a number of ways: 
Blog | Newsletter | Pinterest | Facebook | Instagram
| Twitter | YouTube | Google+
You can win your own set of Mod Podge Collage Clay supplies…

a Rafflecopter giveaway


Don’t forget to check out my fellow bloggers ideas, too.

Make it a wonderful Wednesday.

signature

I share little bits and pieces of my blog and life on: Pinterest Facebook Hometalk Google + Stumble Upon Bloglovin’ twitter Instagram  

Sharing this post at some of these amazing blogs.

Easy, Simple Fall Bookcase With a Cottage Feel

October 18, 2012 By Meegan 3 Comments

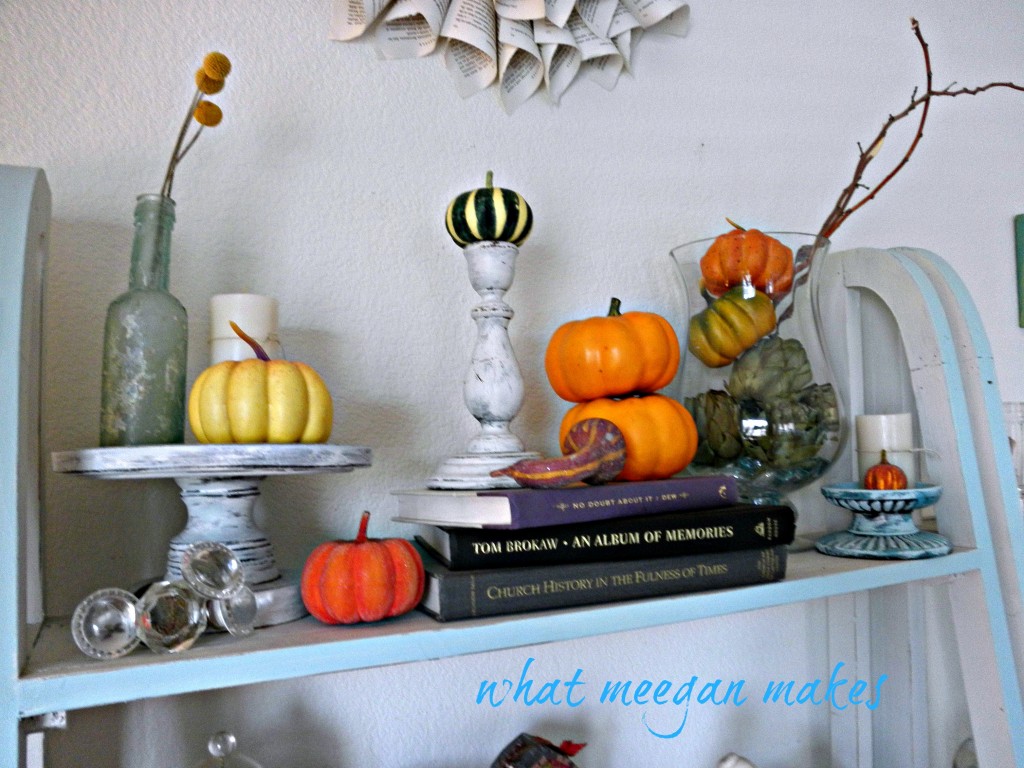
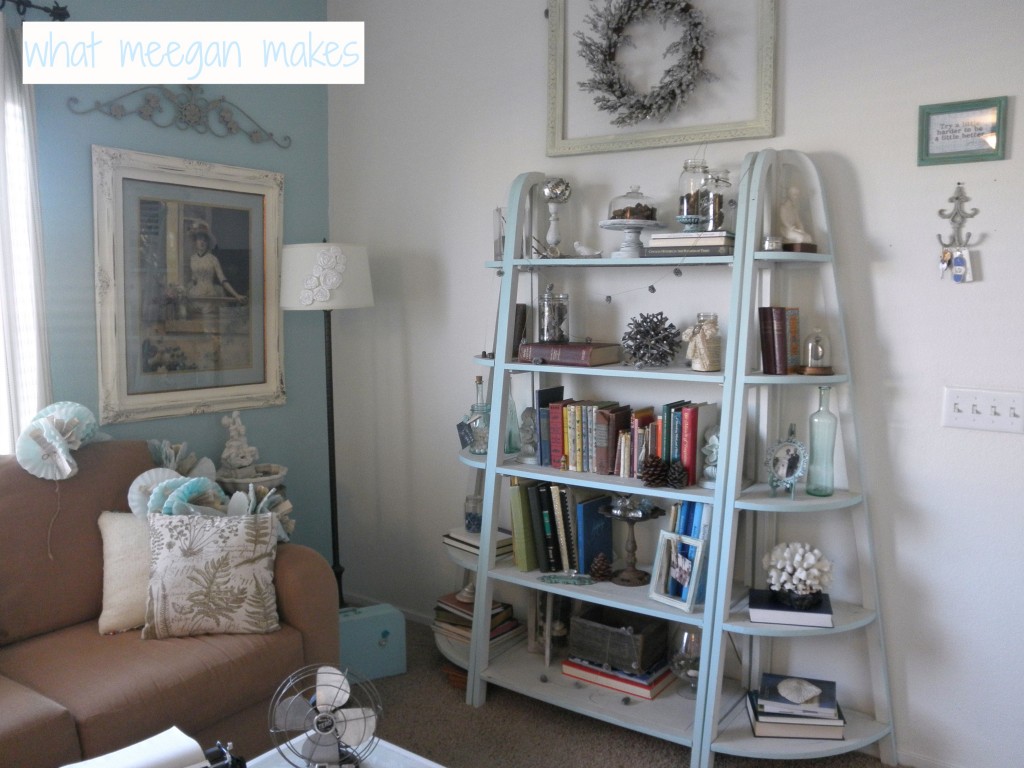
I am swamped with things to do within the next couple of weeks, as we prepare for our son’s wedding.  BUT, I do want to share with you some of the easy, simple Fall bookcase with a cottage feel I do have around our home.  It was SUPER EASY and fun to get my creative juices going!

I basically used the same foundation as my Summer Shelf, but took away my shells and added new Fall elements.  Easy and effective.

I found the clear pull knobs at HL. I knew I needed them!!  I added Billy Balls to the vintage blue bottle for some Fall color.  I also switched out shells and rocks for pumpkins.

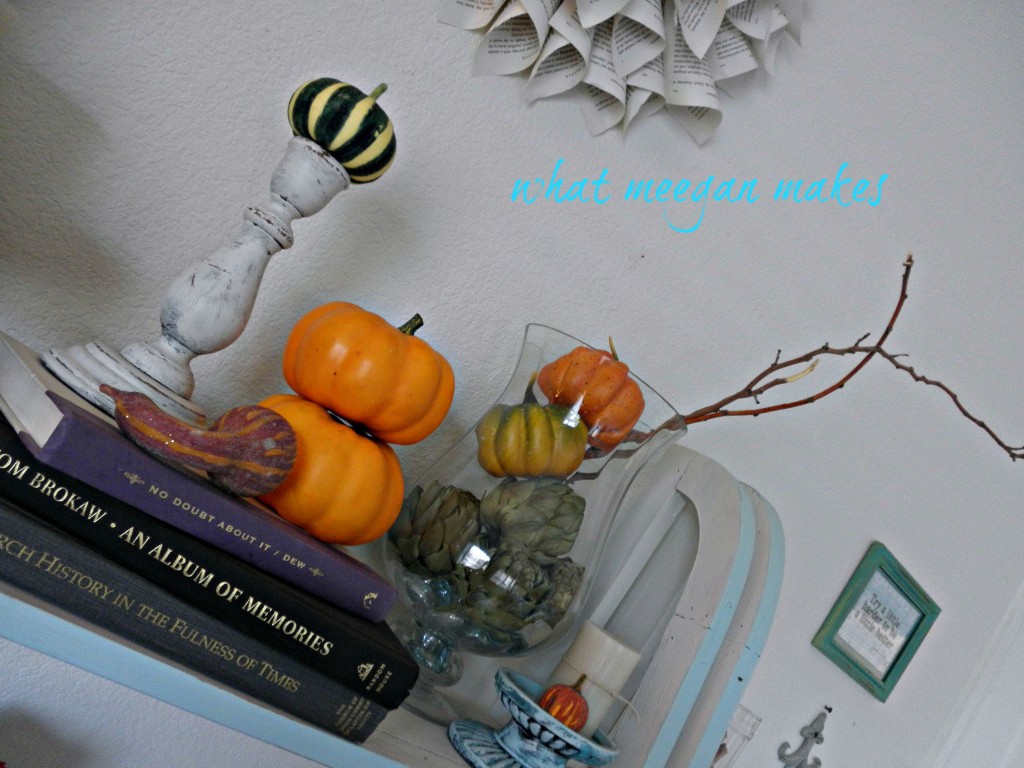
I found the artichokes at PB a few years ago.  They are working well in our home now matter the season.  Love it!!  Both candle sticks were thrift finds.  I painted them to fit our decor.

Here is just another look at all the elements and colors.  Same blue, same style with just a touch of Fall added.  It is so easy to change things up in your home for each season.  I have been doing it for years and I hope you can see how fun it is.  You don’t need a lot to make a difference.

I hope I have inspired you to bring a little bit of Fall to your home with my Easy, Simple Fall Bookcase With a Cottage Feel .  If you have decor already to place around your home, and don’t have a lot of time-just put up a few things.  (I literally still have a full container full.)  You still bring the season into your home without the clutter and taking up too much time.

Enjoy your day and treasure those you love.

signature

Sign up to receive my posts by email.  I don’t want you to miss out on anything!

 I share little bits and pieces of my blog and life on:
Pinterest
Facebook 
Hometalk 
Google + 
Stumble Upon 
Bloglovin’ 
twitter
Instagram 
Join me here soon, too!
This post is linked to fabulous parties here.

My Winter Book Shelves

January 3, 2013 By Meegan 11 Comments

I woke up the past few days to temperatures in the 20s and 30s.  Not common for here, and it did get me in the mood to decorate for My Winter Book Shelves.

Since i just took down Christmas yesterday, Valentine’s Day can wait just a few more weeks.  And I just love me a winter look.  How about you??

My Winter Book Shelves

Pin It

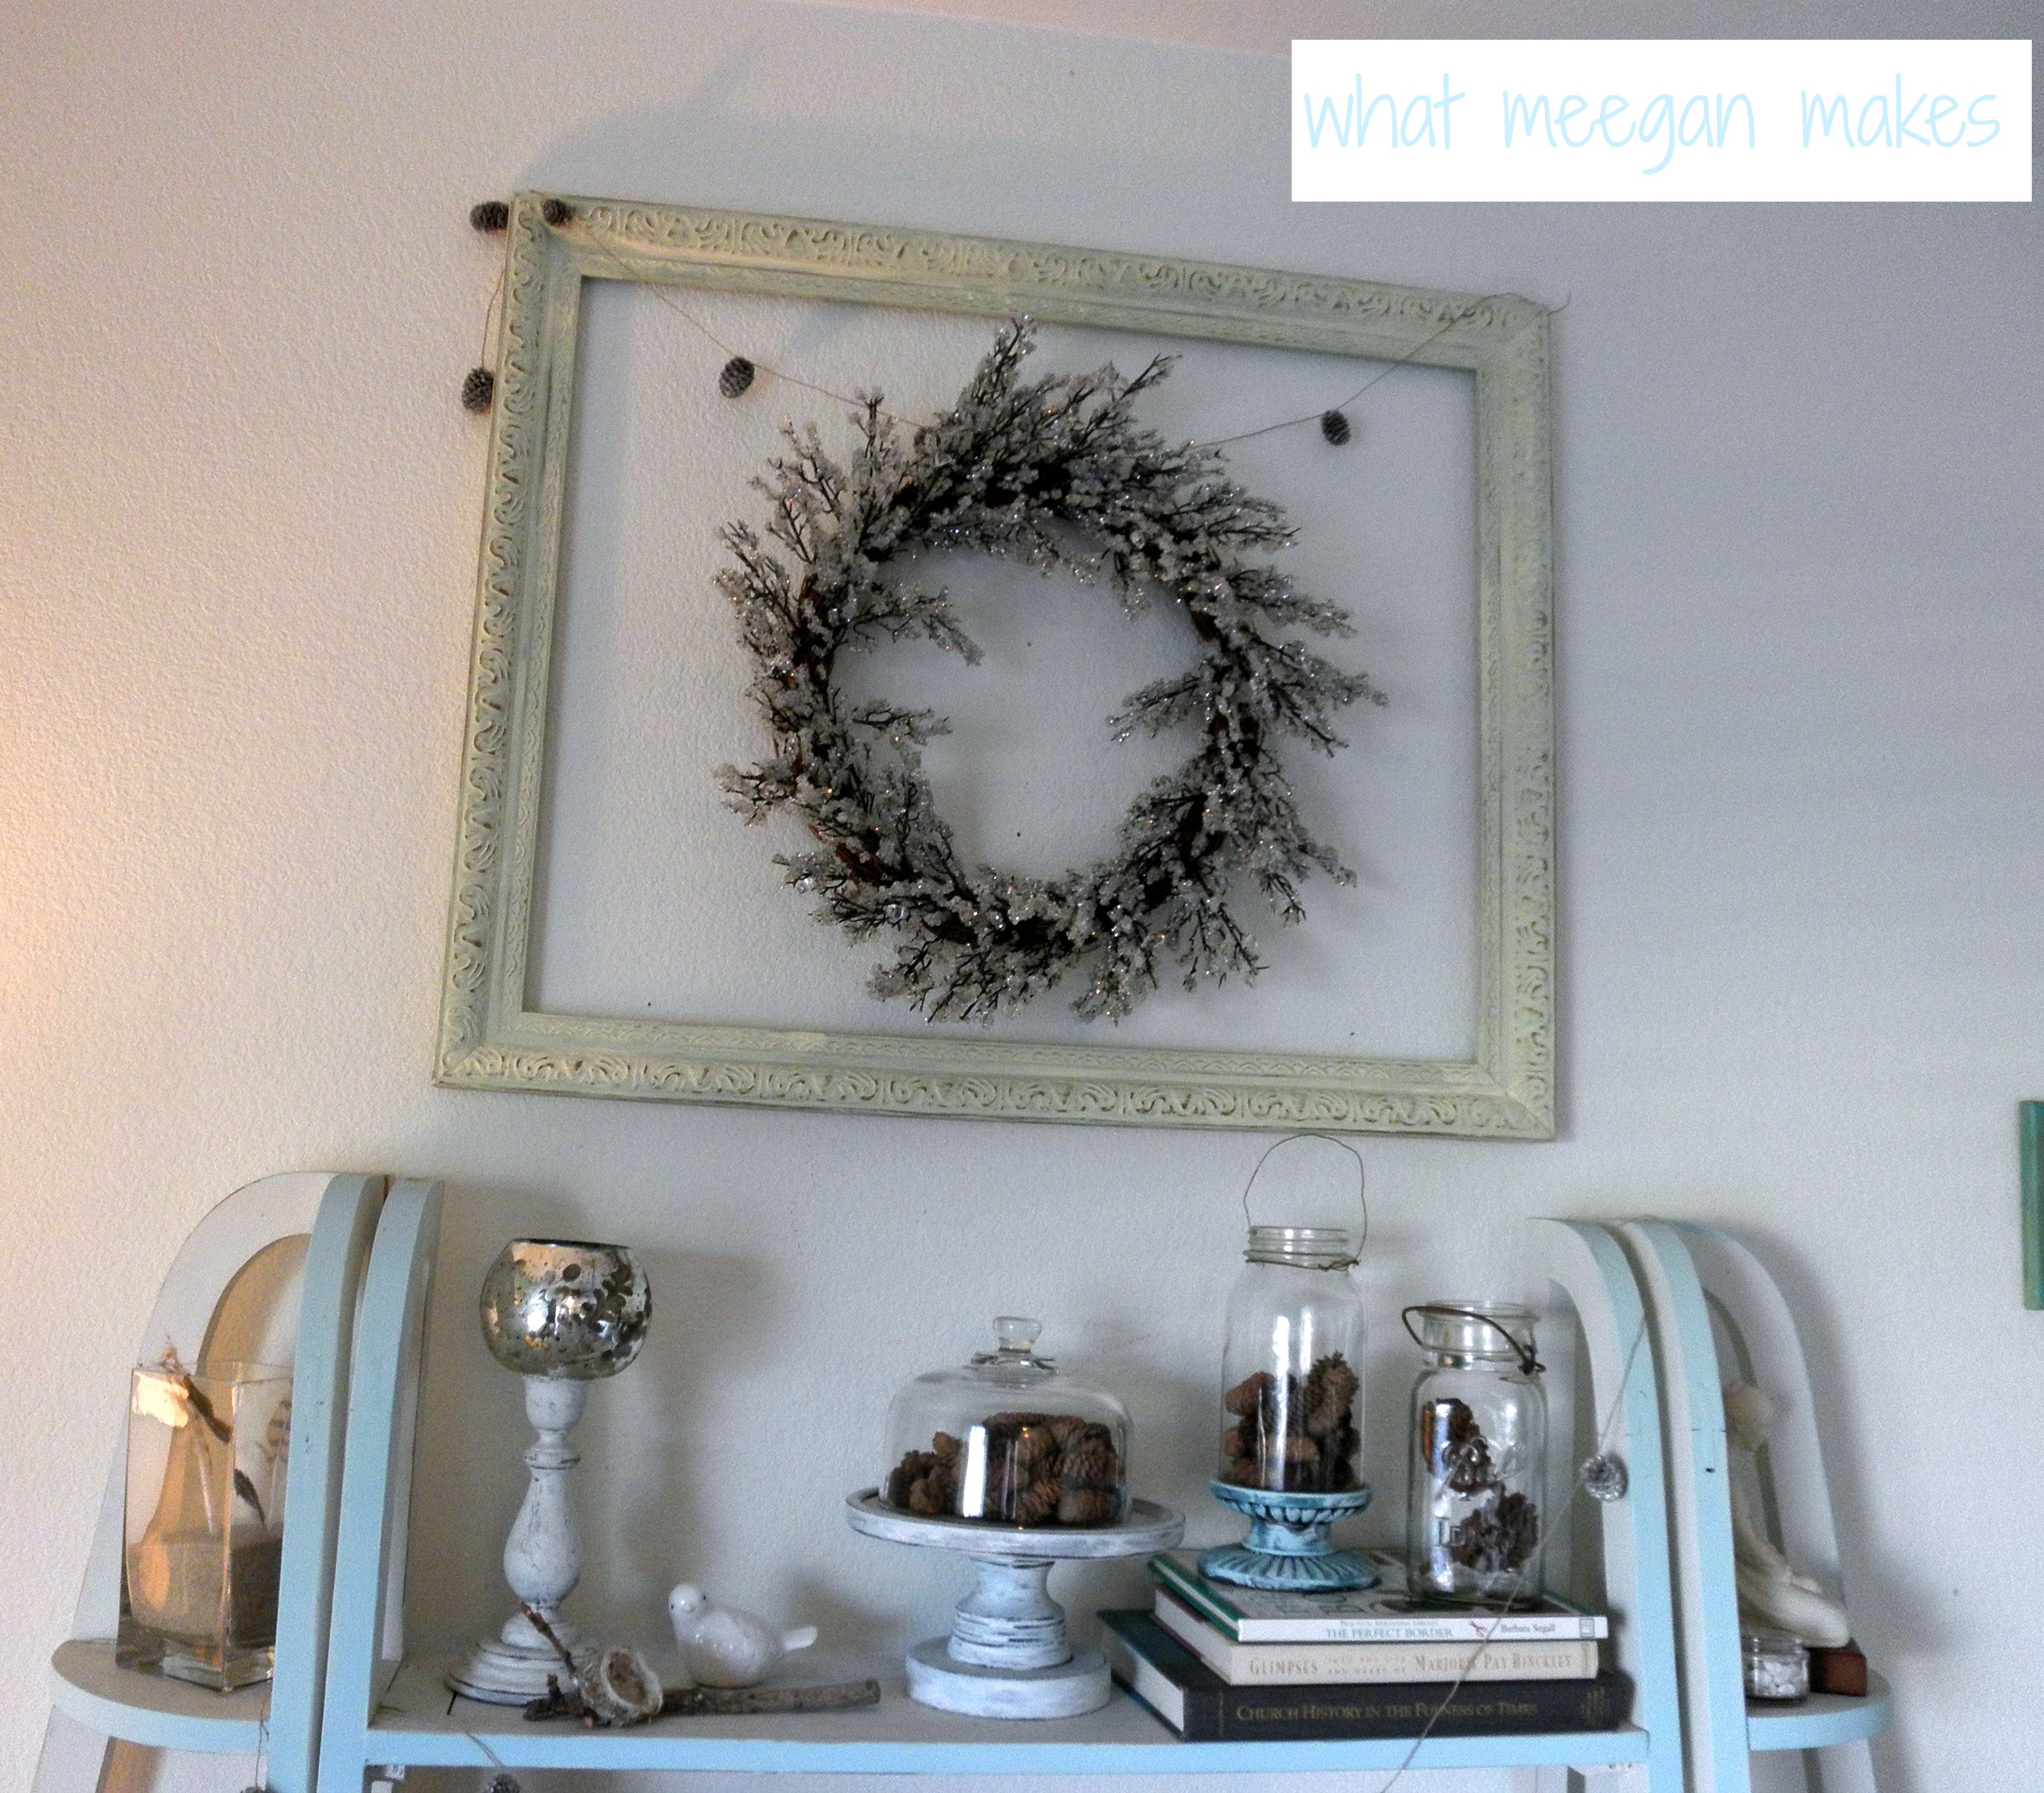
I started by adding my Christmas wreath and pine cone garland.  I love the leafless look with just twigs and a little icy look.

My Winter Book Shelves

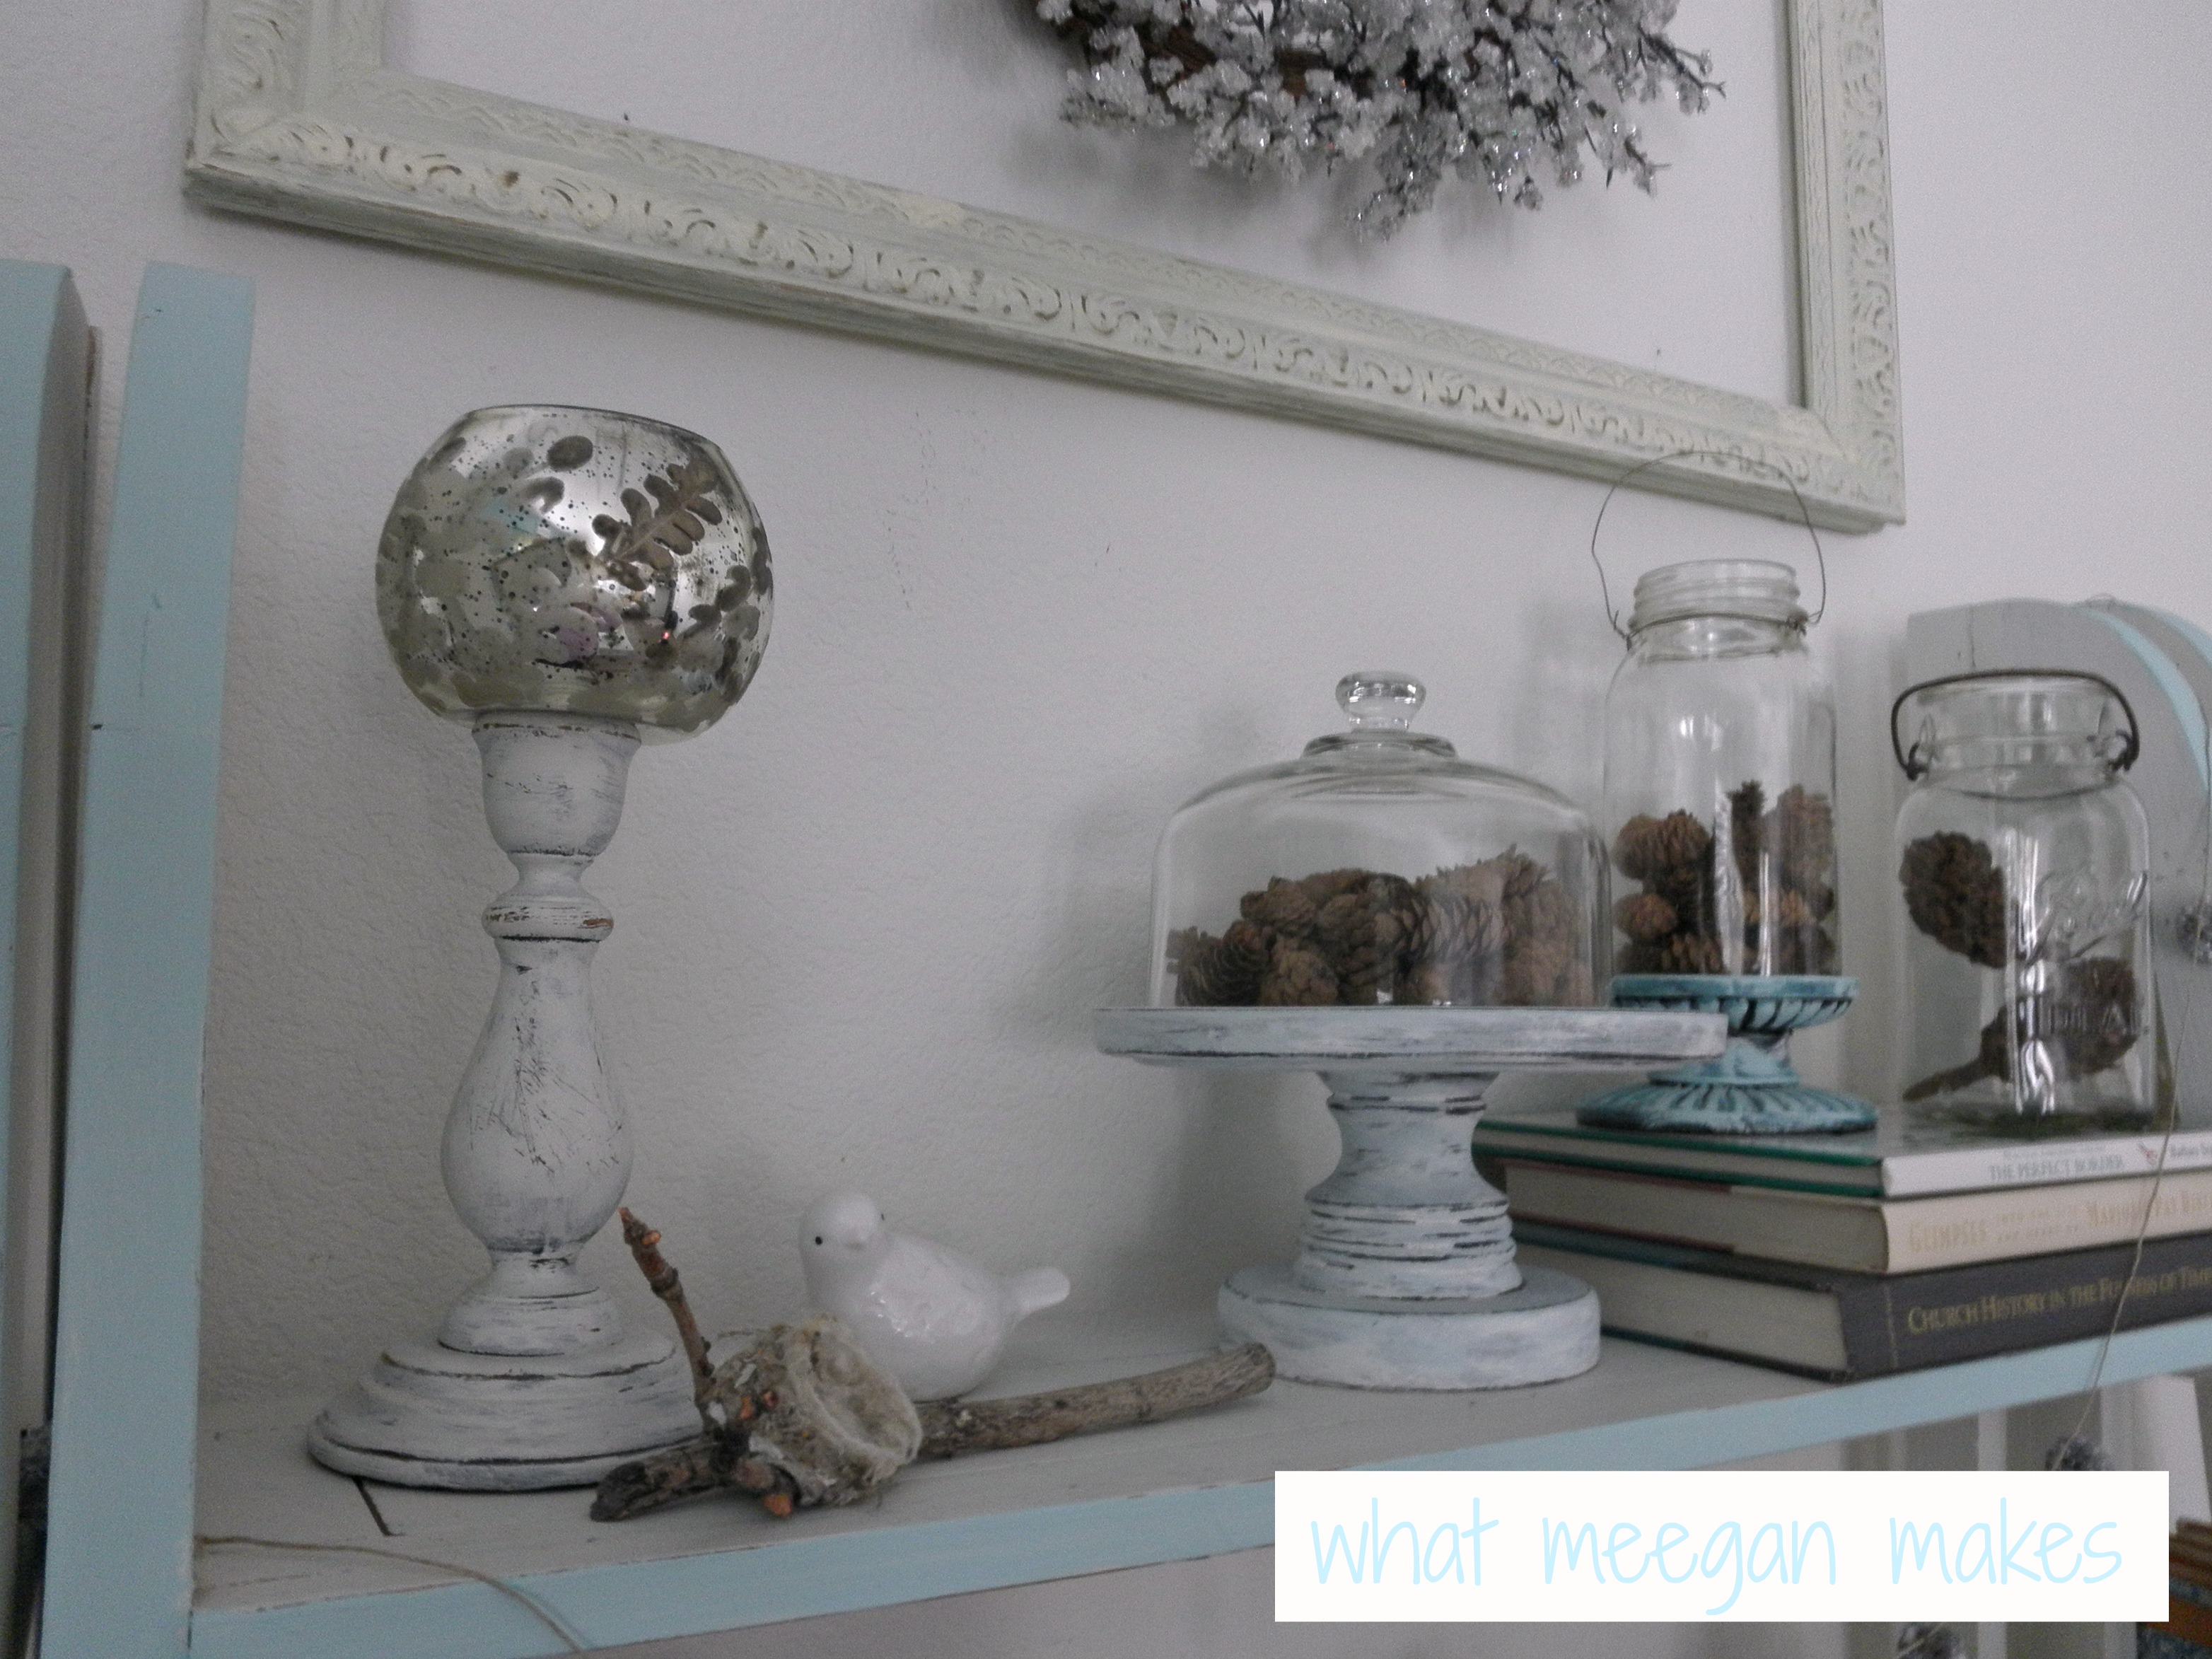
I had a some pine cones left over from my Christmas decorations so I added them to my jars and cloche.  The mercury glass votive was a gift from my sweet friend, Lynn.  She knows my taste well, doesn’t she??   Does’n’t it look so perfect on the candlestick??   The branch with the hummingbird nest was our Granny’s.  I am loving this bare winter look so far!!

My Winter Book Shelves

Most of my book covers are dark.  So to add a softer look, I turned some of them around so you could see the pages, rather than the covers.  Easier than making white covers for all of them.  Although, that is on my goal list…

My Winter Book Shelves

Pin It

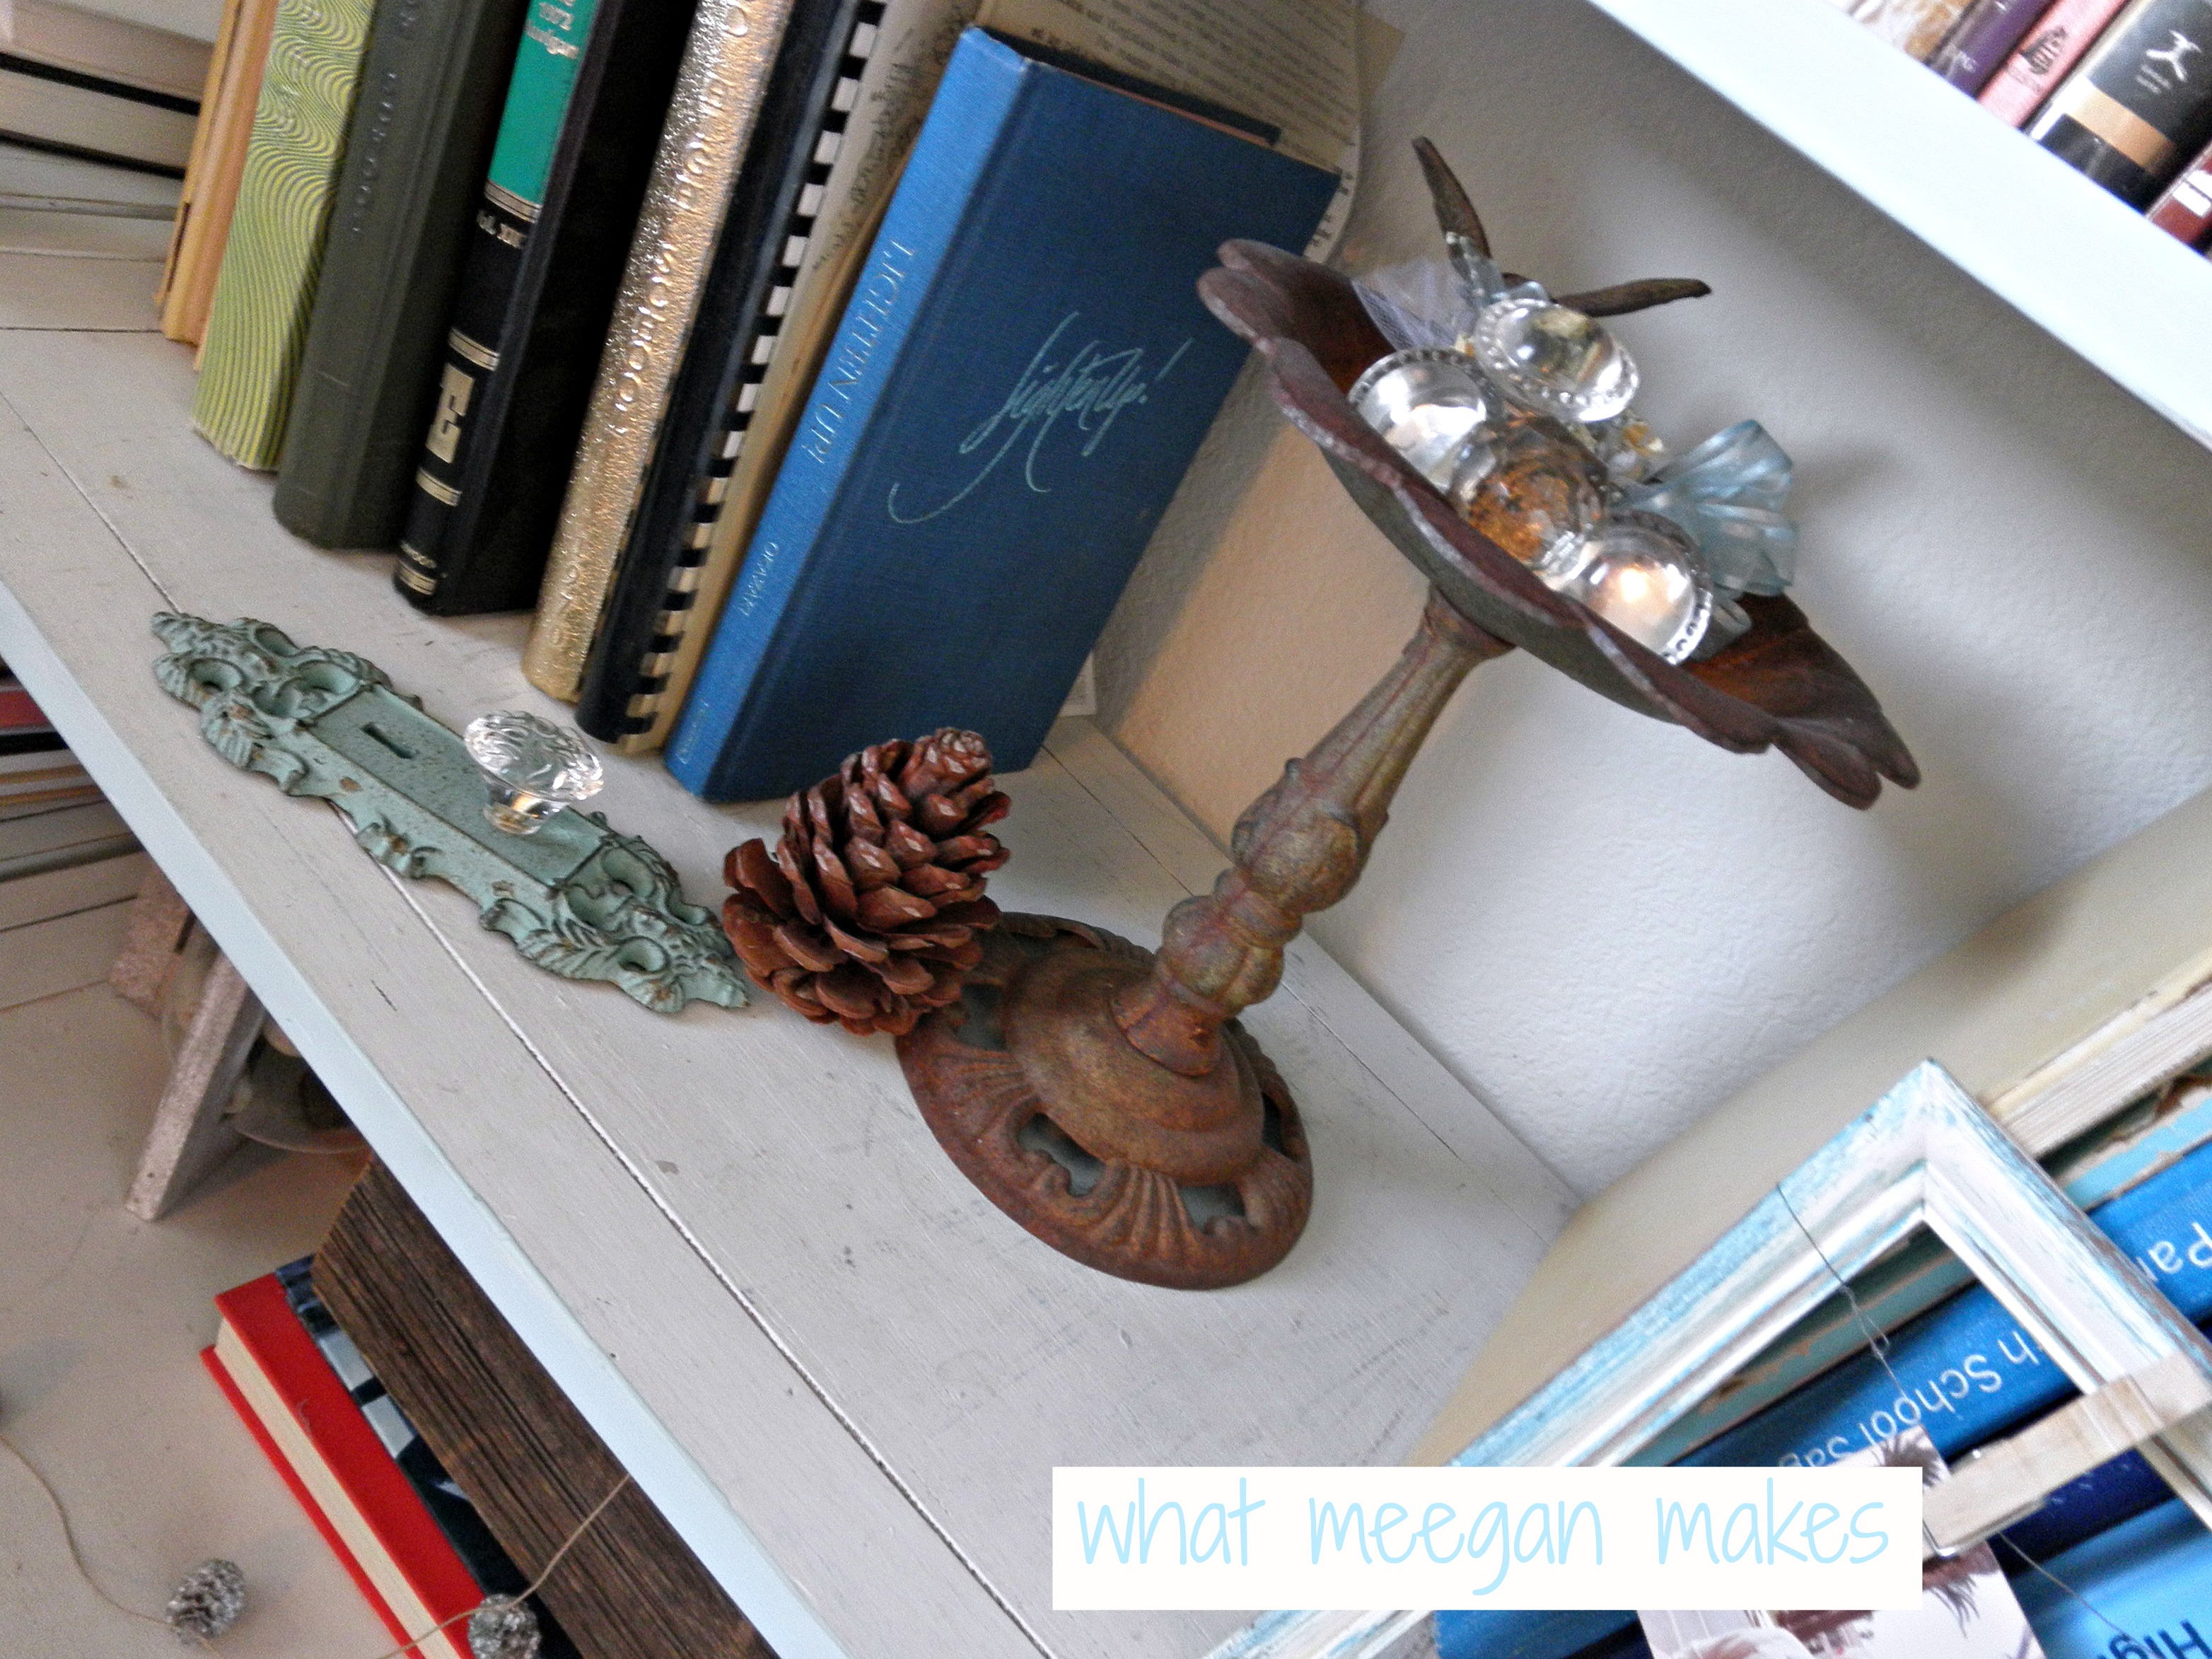
This is probably one of my favorite items in our home.  I love this rusted birdbath filled with doorknobs.  The door lock with a similar knob, and a single pine cone remind me of times past.

My Winter Book Shelves

Pin It

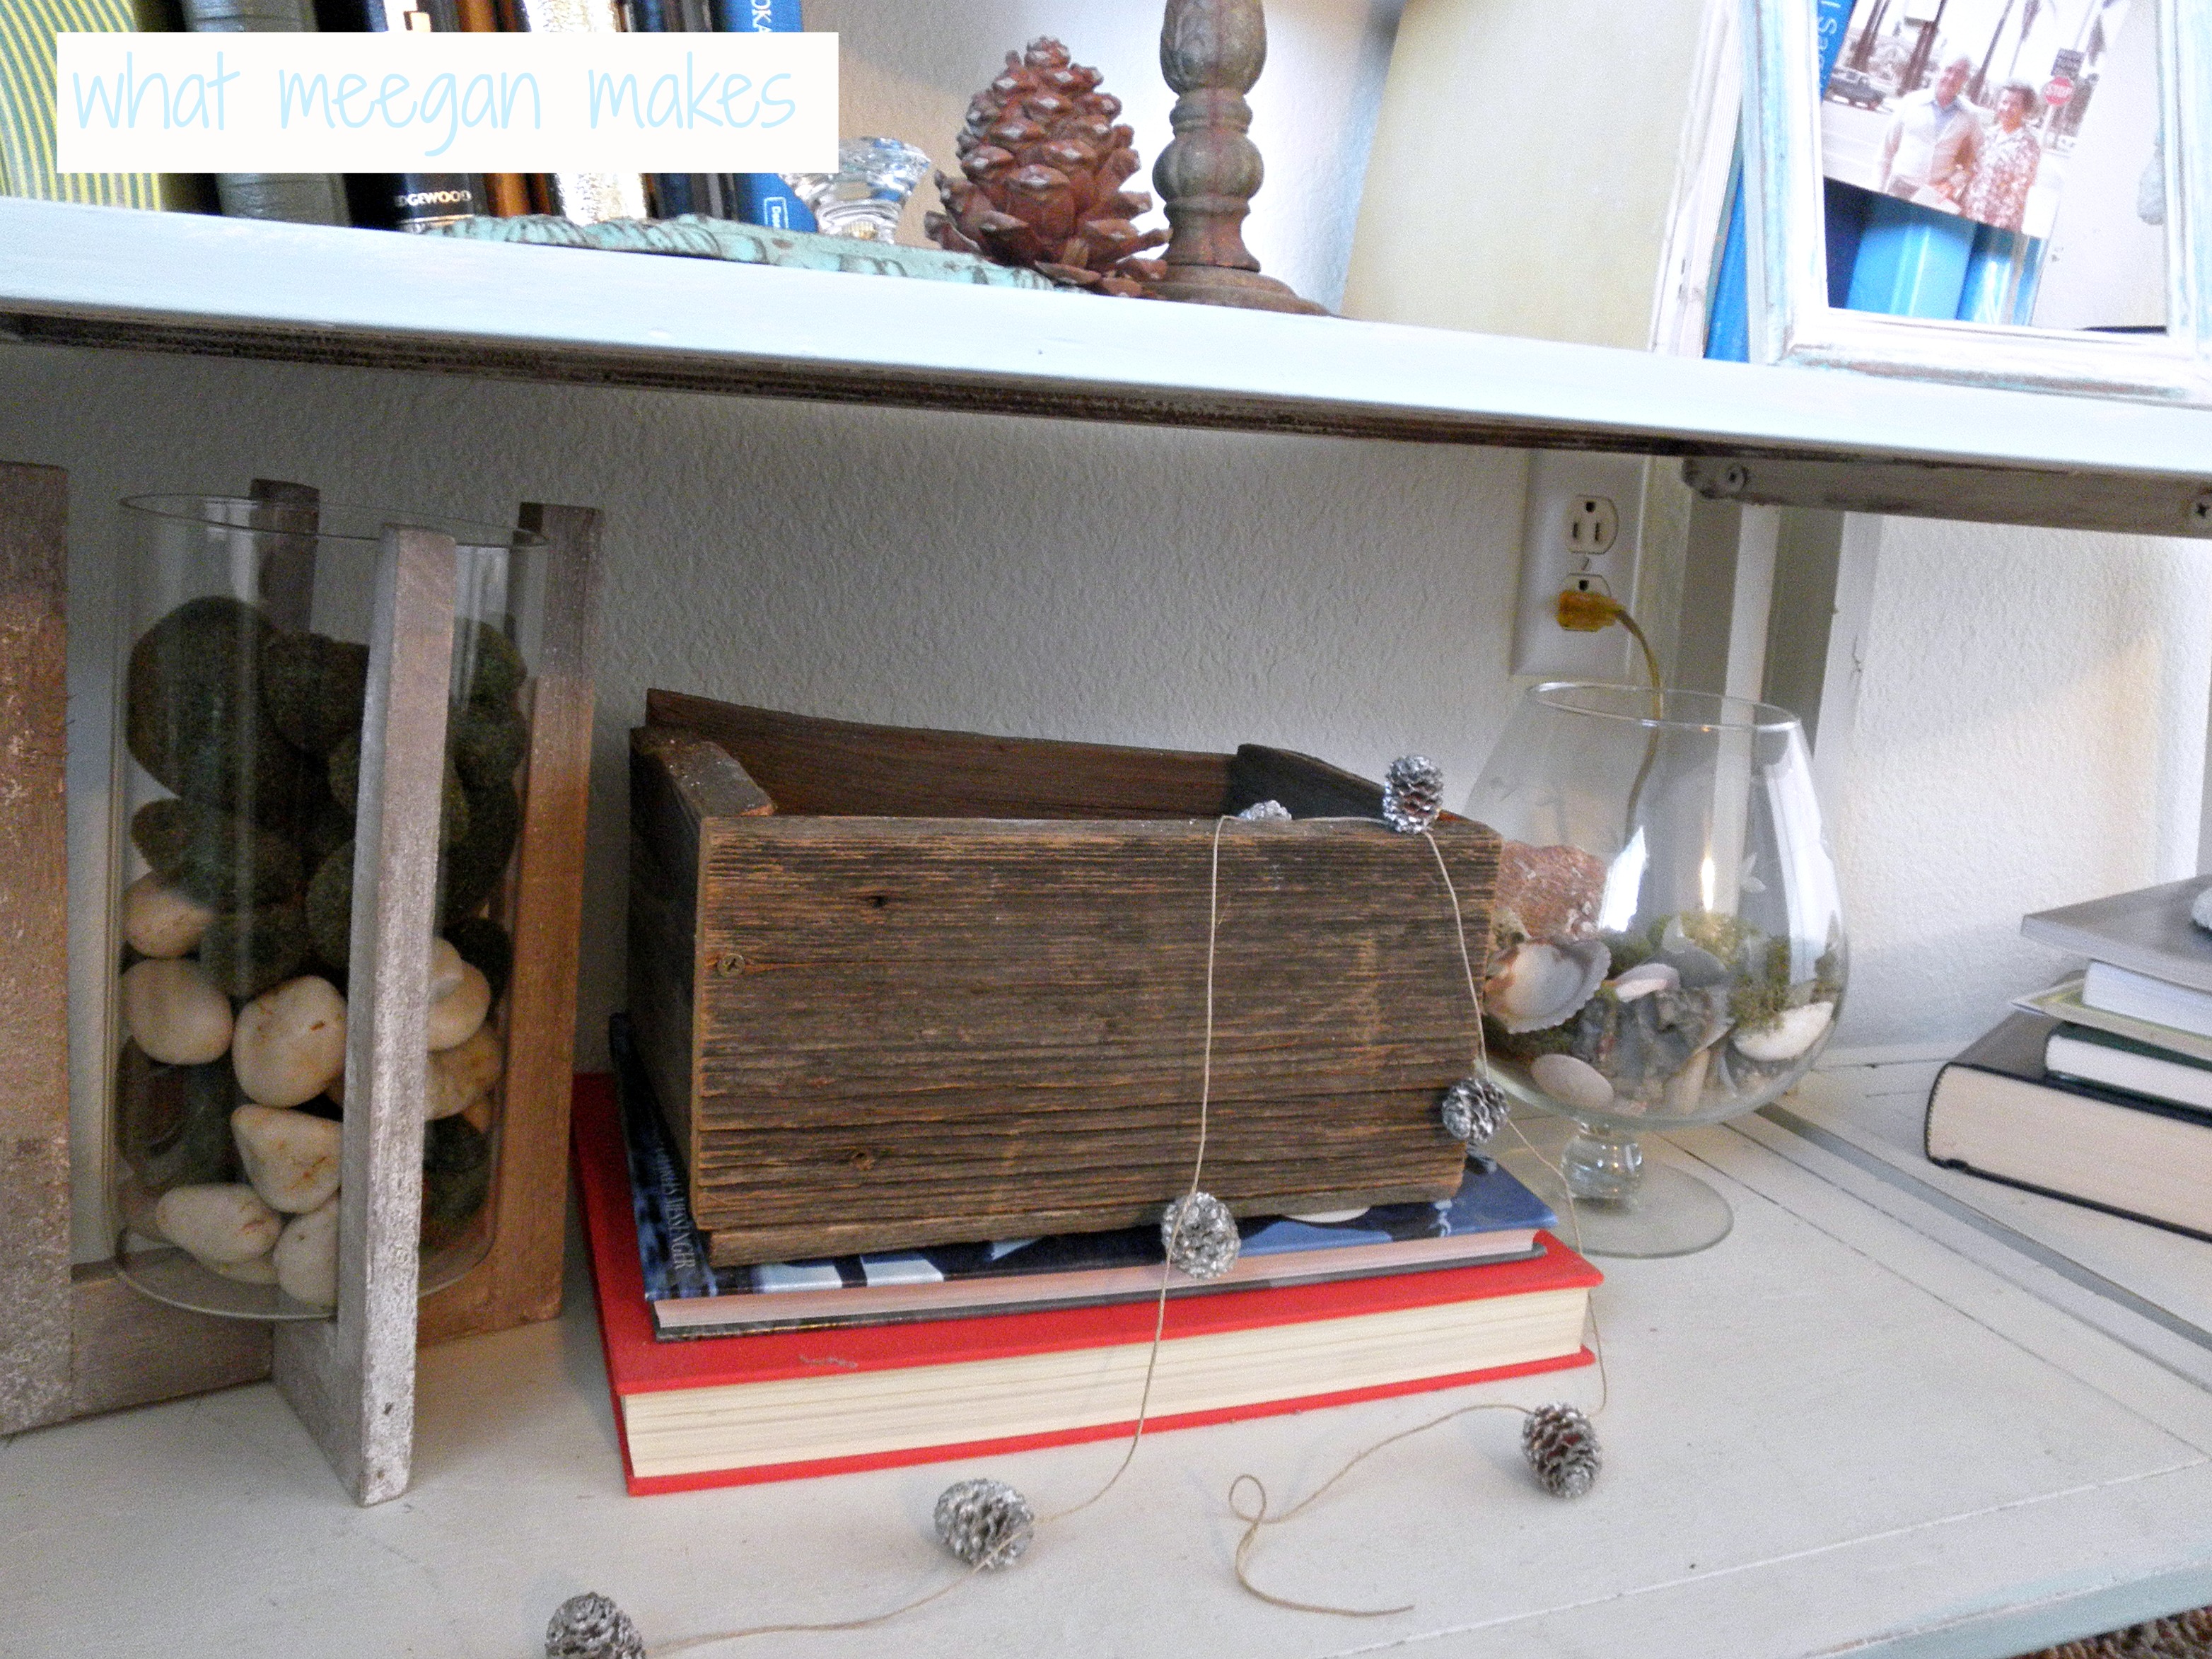
This barn wood box is another thing that makes me smile.  I added some pine cone garland for her.  I love the white, brown sparse look for winter decor.  And of course, some shells and white rocks add more texture.

My Winter Book Shelves

Pin It

I added a few more pine cones for the wintery look.  I also turned my book ends sideways, so you can see the detail.  Aren’t they so perfect for this shelf.  I found them at Kirkland’s in brown, brought them home and painted them up!!

My Winter Shelves

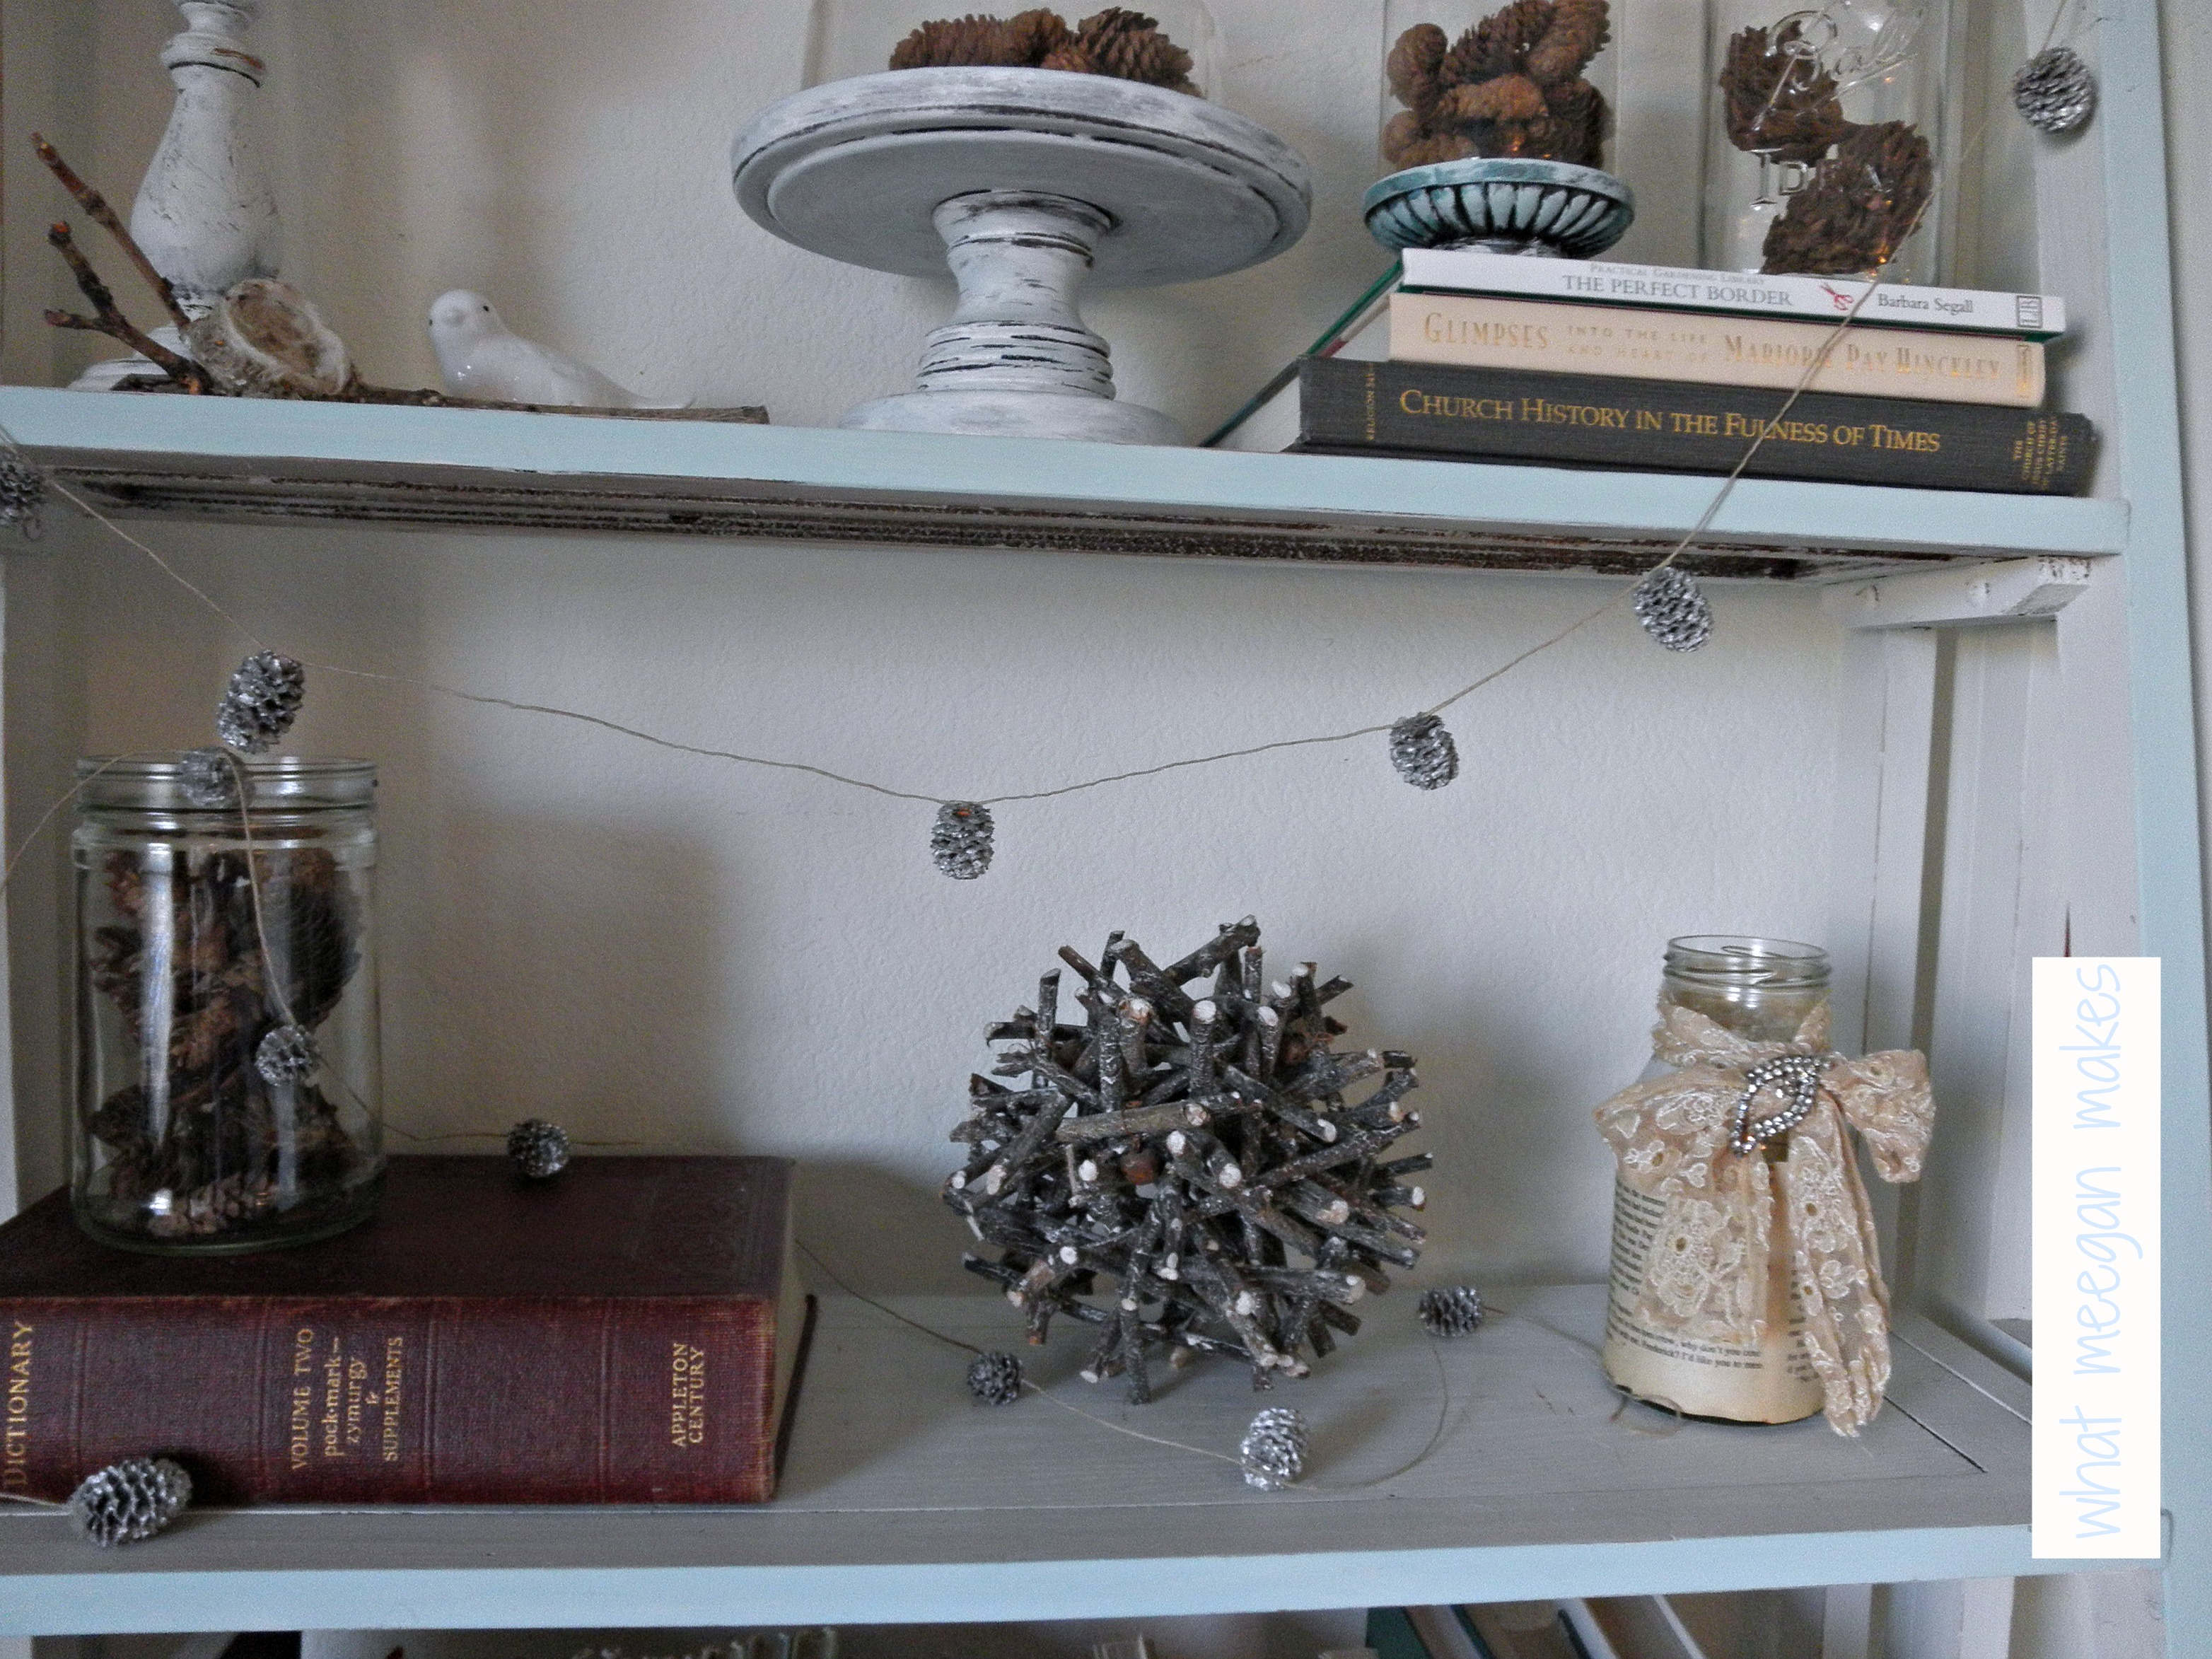
I have used this twig ball several times all over our home.  Again using the pine cone garland for a little filler and my jar to add a small vintage feel.

My Winter Book Case

Pin It

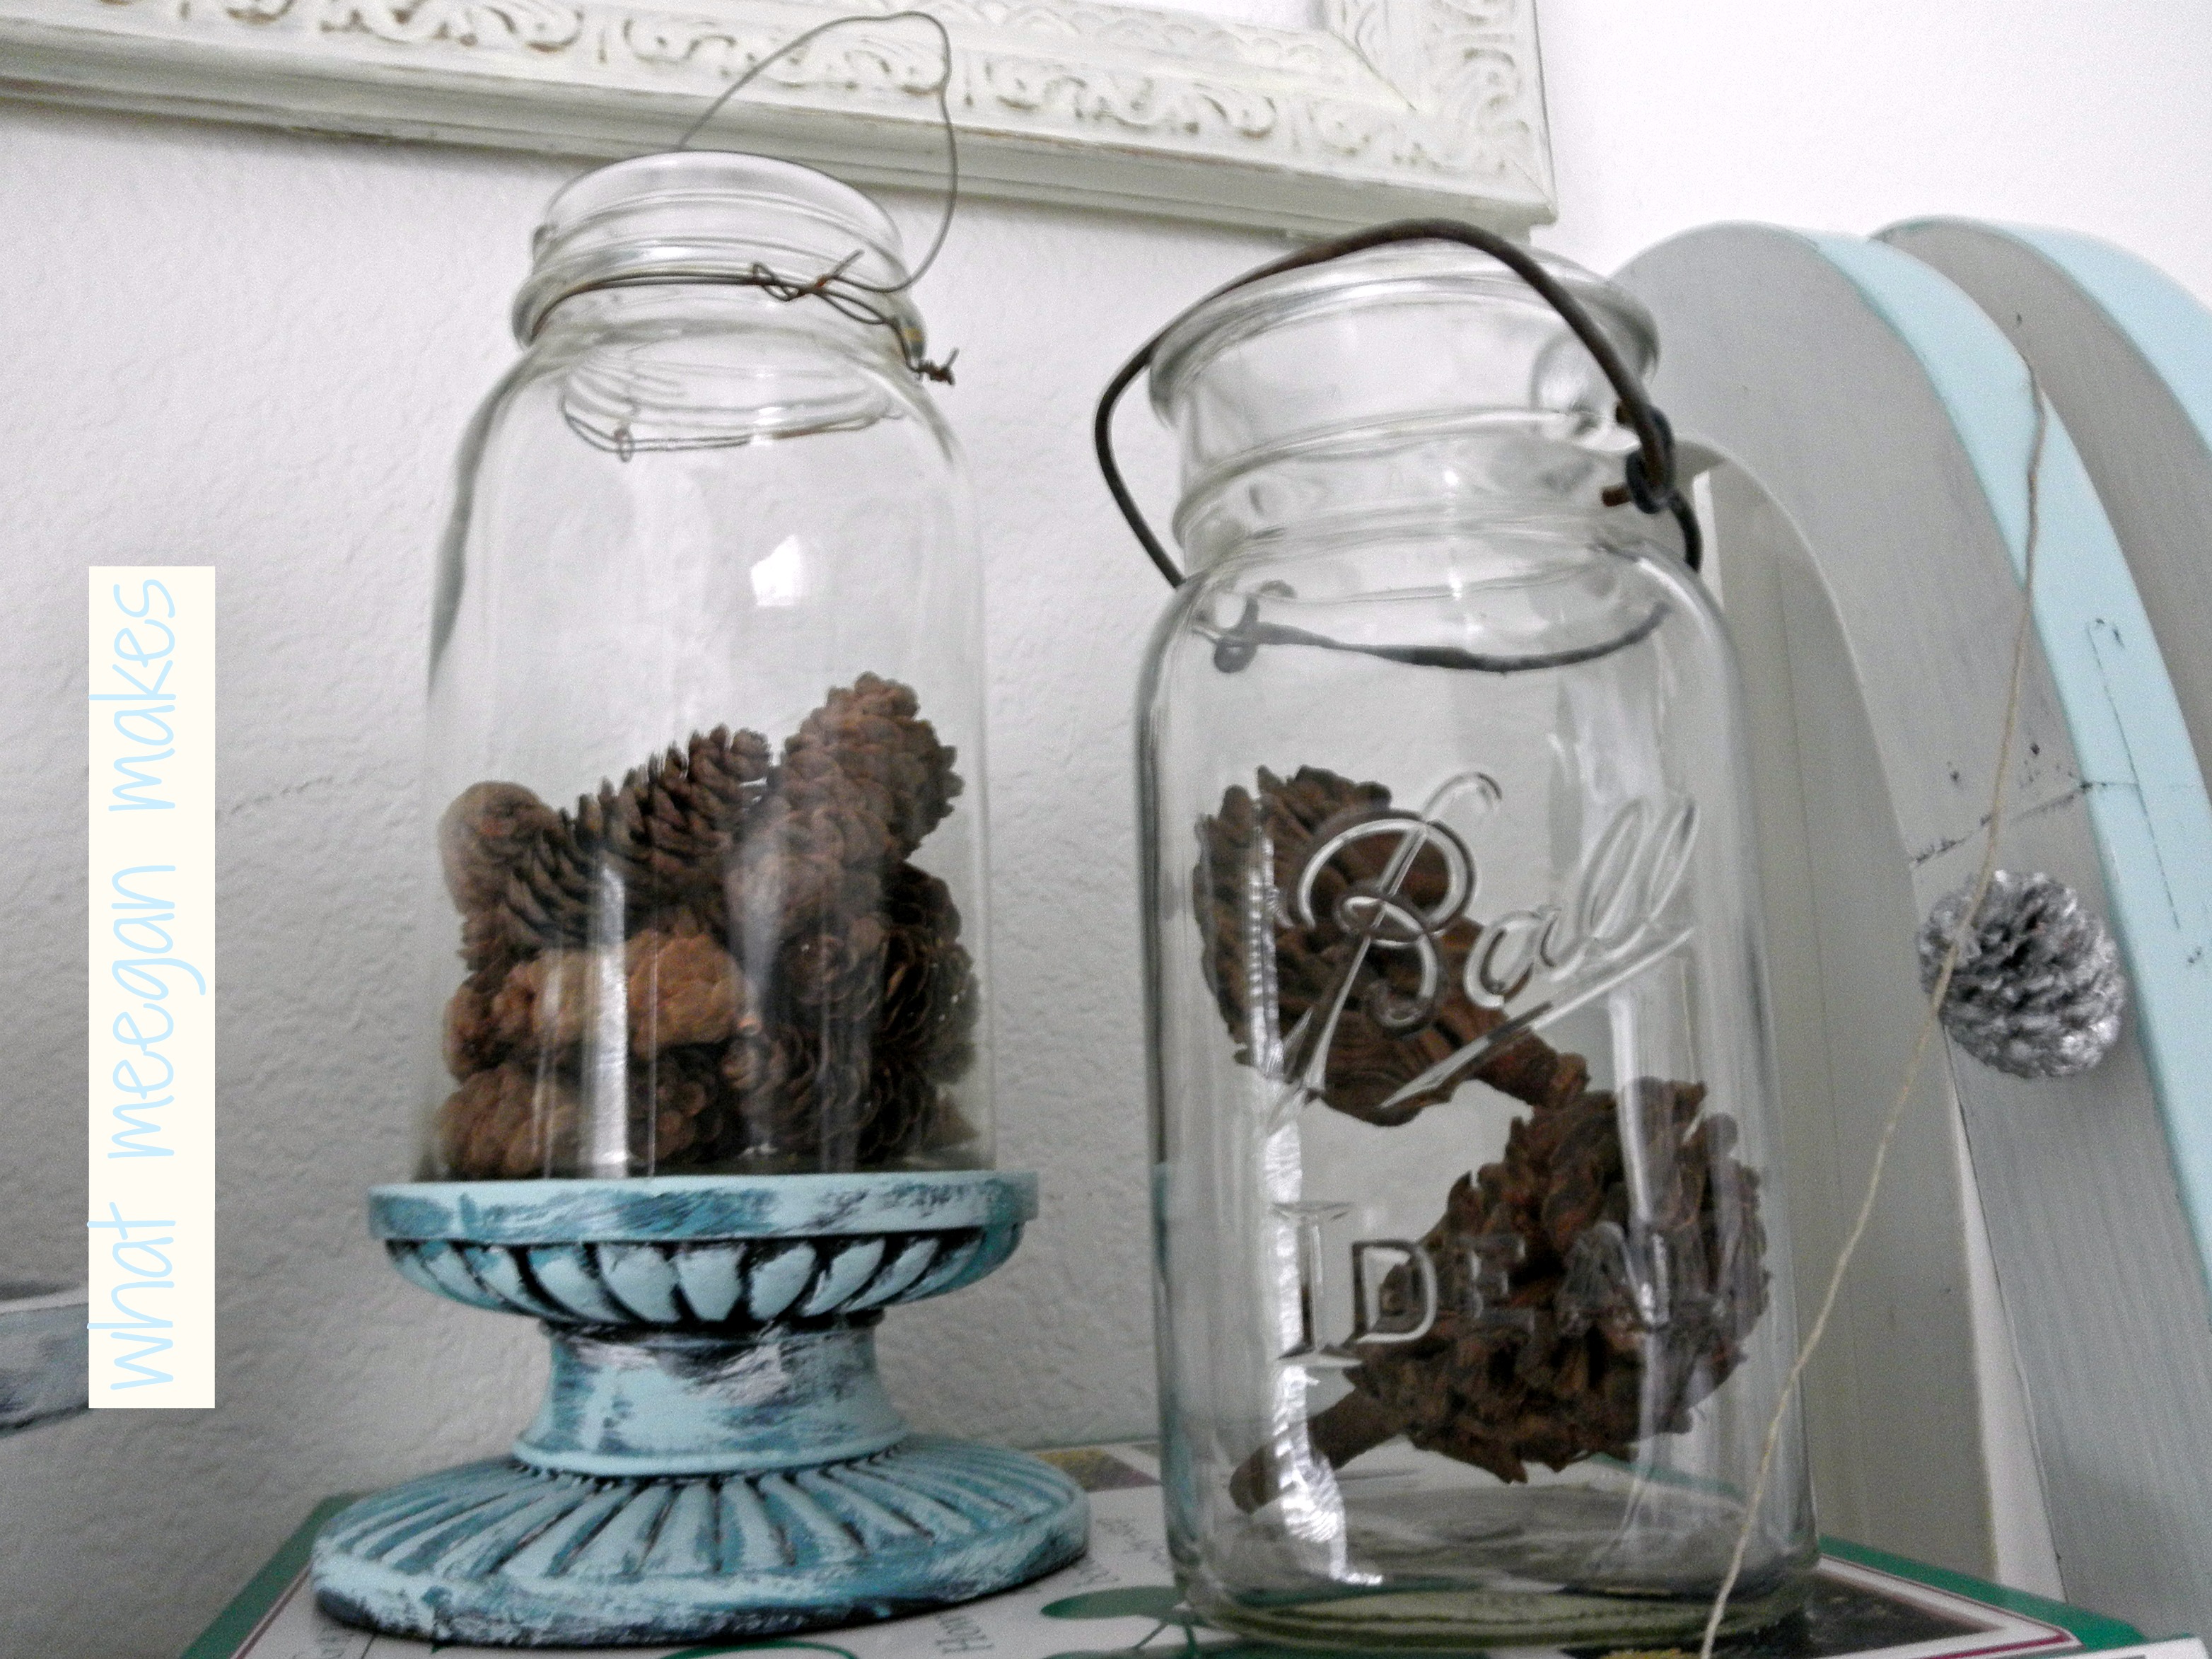
I filled these jars with pine cones and magnolia pods.  Raising one of them with a candle holder gives the feel of an apothecary jar.  Easy!!

My Winter Book Shelves

Pin It

I am loving the whole picture here.  The girl portrait, the coffee filter garland, the pine cone garland, the framed wreath, and of course a few shells scattered in-between it all, makes me smile.

What is inspiring you for winter and the new year??  Leave a comment and let me know-I love to hear what inspires others!!

Let’s Stay Connected:

Pinterest Facebook Hometalk Google + Stumble Upon Bloglovin’ LinkedIn twitter

Thanks for stopping by today!  Make it a terrific Thursday!!

My Winter Book Shelvesthis post is being shared with parties on my blog roll

Moving Into My New Cottage In The Desert

May 21, 2019 By Meegan 3 Comments

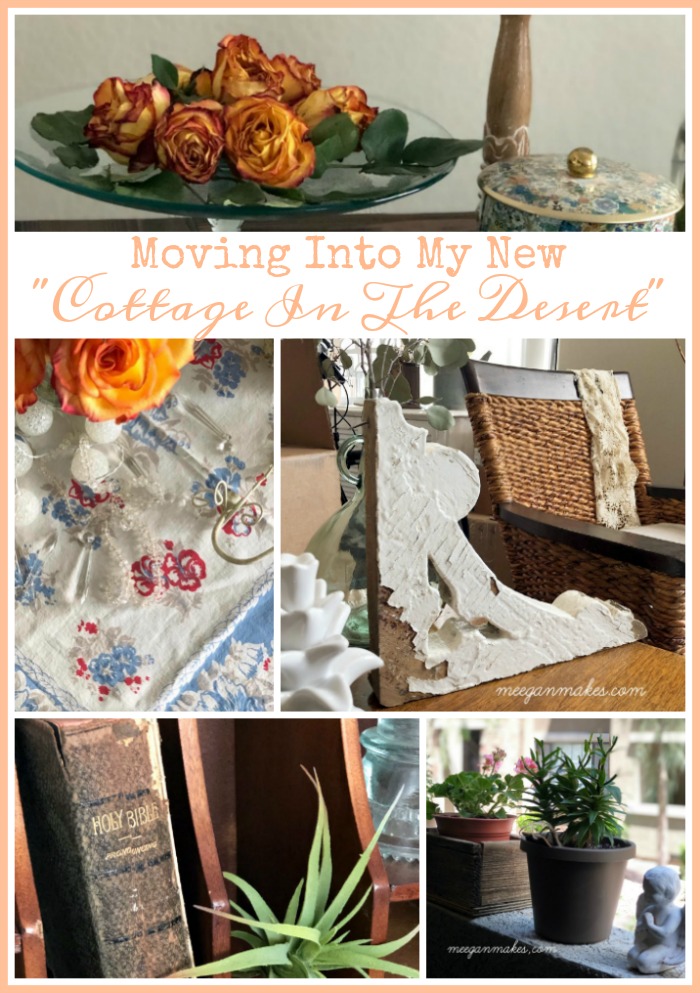
Hi everyone! I have neglected to tell you about Moving Into My New “Cottage In The Desert” apartment. I have been documenting the process, and gradually sharing it on my Instagram account, but haven’t been sharing it here on my blog.

Maybe not the best picture quality, but you can see my excitement! Wow, I have so much more space! It felt like a mansion in comparison. *This has been updated 2025.

Continue Reading

« Previous Page
Next Page »

Recent Posts

  • How to Make Bread and Butter Pickled Onions
  • Best Rattan Bedroom Choices
  • Ten Summer Beach Essentials
  • Thrifted Basket for Entertaining
  • DIY Patriotic Mantel

Purchase Beautiful Home Accessories for any style

Thrifty Style Team 2nd Friday Monthly

International Blogger Club-The 3rd Monday of Each Month

Fashion Trends for Over Fifty

DIY Bicycle Rim Halloween Wreath

Create and Decorate Pumpkins With Sea Shells

Fall Tablescape in Lavender and White

Vintage Bicycle Rim Wreath for Fall

How To Make a Faux Pumpkin Centerpiece

Glittery Welcome Embroidery Hoop Wreath

70+ Crafts and Decorating Tips for Fall

Top Ten Tips and Tricks for creating a Cottage Style Home

Pineapple Pecan Coffee Cake with Caramel Glaze

Raspberry Cream Sandwich Cookies

Cream Cheese and Shrimp Cocktail Dip

PERMISSIONS

What Meegan Makes and all it’s content, pictures, ideas, etc. are original ideas and copyright protected.

Using content including but not limited to: designs, original ideas, photos, posts, etc. is prohibited.

Please ask permission before using any content from my blog for any reason and if there is any question.

Search

FEATURED ON SHABBILICIOUS FRIDAY MAGAZINE

FEATURED IN EVERYTHING HOME MAGAZINE

FEATURED ON HUFFINGTON POST

FEATURED ON HUFFINGTON POST

MY OWN RECIPE WAS FEATURED

FEATURED ON GOOD HOUSEKEEPING

Designer Insights from Terry’s Fabrics

Copyright © 2026 ·Beautiful Pro Theme · Genesis Framework by StudioPress · WordPress · Log in