I was out shopping today, looking at pillows, throws and floral arrangements. I love looking and thinking about different ways I could recreate what I have seen in stores and online.
I love the Boho look and homey vibes they give. So I bought some chunky lace and trim for starters. I could envision what I wanted and came up with a Thrifty Boho Style Pillow Tutorial, just for you.

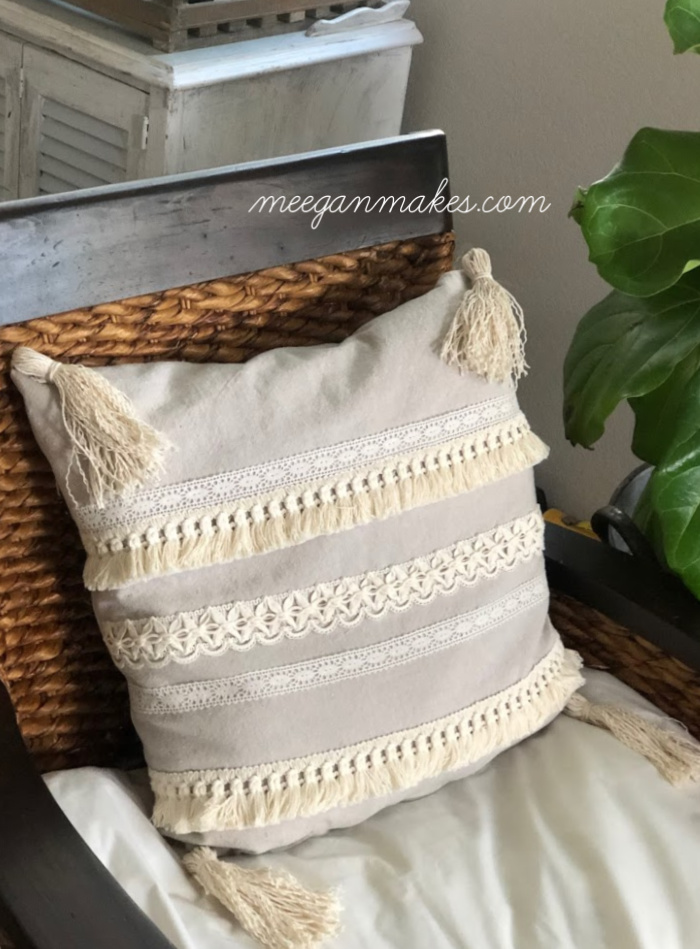
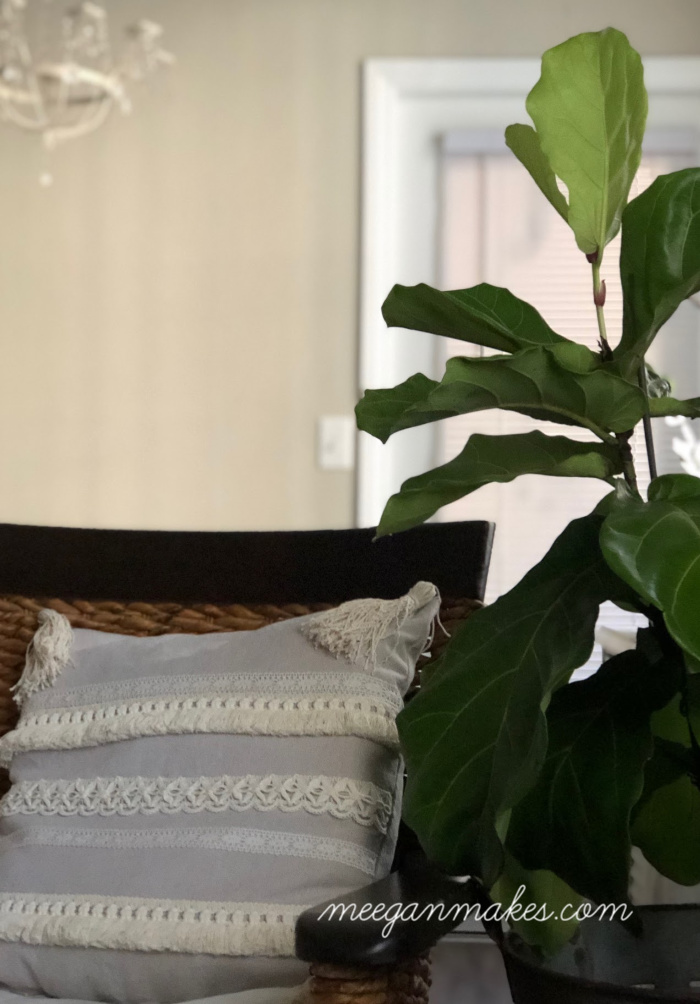
I love how my Boho Style Pillow came out. It’s the ambiance I am trying to create in our cottage apartment.
*Updated November 2025
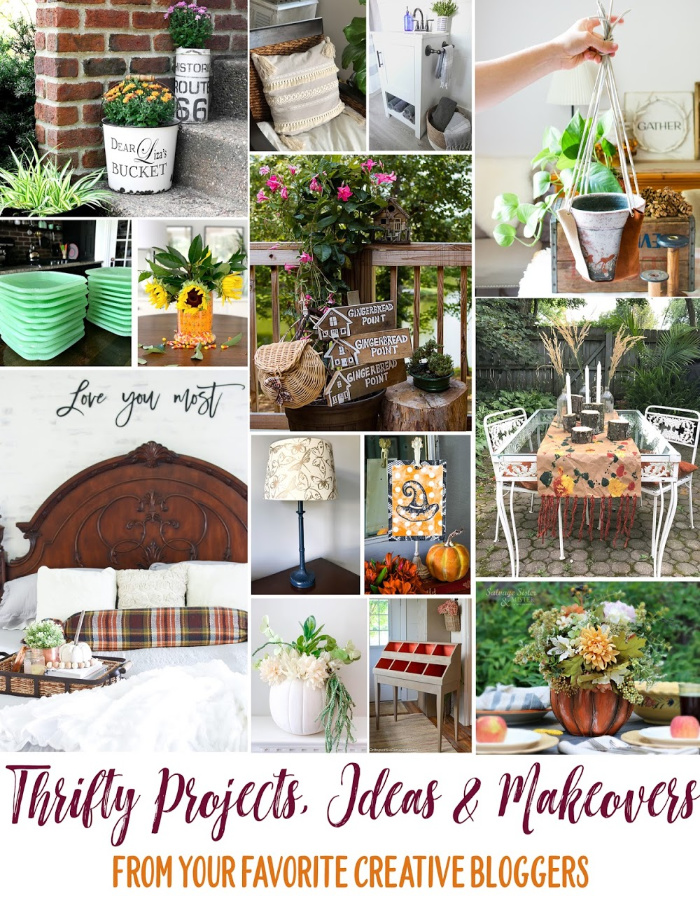
This post is in collaboration with the Thrifty Style Team. We are bloggers that share our thrifty ideas, crafts and DIY projects every 2nd Friday of each month. Below you will find all of our incredible projects for September.
![]()
Let’s begin the tutorial for my Boho Style Pillow.
I bought my chunky trims and lace at Hobby Lobby and used a worn drop cloth that used to be an ottoman slip cover that I made a few years ago.

You will need:
1 drop cloth-washed and dried (preferably in a dryer to prevent shrinkage later)
8 yards of lace and trim of your choice
1 15×15 pillow form OR batting
sewing machine (you could also hand stitch, hot glue or use fabric glue instead of sewing)

Cut your drop cloth to fit your 15×15 pillow form, allowing room for seam allowance of approximately 1 inch, on each side. This also allows for the “puffiness” of the pillow.
So your measurements would be 17×17 inches for a 15×15 pillow.

Lay out your trim and lace to the pattern you like best. You can lay them as close as far apart as you like. That is what is fun about this project. Give it your own personality.

Once you have a pattern that you are pleased with, attach them to the drop cloth with fabric glue. It’s super easy and quick. And the drying time is relatively fast.

I wanted to add a little extra to my own pillow with some homemade tassels. I have a tutorial for those here.
In the picture above, the tassel on the left is just how the string came right off of the spool.
The tassel on the right is after I frayed the string. Basically, I untwisted it, one strand at a time. I LOVE the look. And, to be honest-it took longer to fray all four tassels than it did to measure the fabric and trim and sewing the pillow. BUT, TOTALLY worth it. Once again. I love it.

Place right sides of the fabric together, sew them together, like I did with this pillow. Leaving the bottom open to insert your pillow form or batting.
Clip each corner (for crisp looking corners) and turn right side out.
You are doing great, so far!
For attaching the tassels, you have 3 options.
1-hot glue
2-fabric glue
3-sewing them by hand, from the inside of your pillow cover.
Which ever one is best for you, works.
Once the tassels are added you can sew up the bottom with either a hand stitch, fabric glue or sewing machine. Again, the choice is yours.
Creating your own Boho Style pillow could NOT be easier.
I am looking forward to making a lumbar shaped pillow with the same components to go with my square one. They won’t be matchy match but definitely the same Boho vibe.
Thanks for joining me and letting me share my Thrifty Boho Style Pillow Tutorial. I hope you make one soon and share it with me by tagging me on Instagram @meeganmakes

I can’t wait to see what you come up with!
Don’t forget to check out the amazing projects from my blogging friends on the Thrifty Style Team below.

-
- OPERATION HOME PURGE…SAVE MONEY BUYING & SELLING ON FACEBOOK by Redhead Can Decorate
- FUN HALLOWEEN CANDY CENTERPIECE DIY by Chatfield Court
- VINTAGE ENAMEL BUCKET by Bliss Ranch
- COZY FALL BEDROOM DECOR IDEAS by DIY Beautify
- UPCYCLED DETERGENT POD CONTAINER PUMPKIN CENTERPIECE by Salvage Sister and Mister
- THRIFTY BOHO STYLE PILLOW TUTORIAL by What Meegan Makes
- 5 WAYS TO UPGRADE A BATHROOM ON A BUDGET by The Creekline House
- DIY LAKE HOUSE DIRECTIONAL ROAD SIGN ON SCRAP CEDAR by Unskinny Boppy
- EASY DIY LEATHER PLANT HANGER by The How-To Home
- COUNTRY COTTAGE CUBBY MAKEOVER by Cottage at the Crossroads
- TURN A SUMMER WREATH INTO A FALL ARRANGEMENT by Duke Manor Farm
- VINTAGE HALLOWEEN PRINTABLES by I Should Be Mopping the Floor
- PAINTED PLASTIC JACK-O-LANTERN MAKEOVER by 2 Bees in a Pod
- EASY KRAFT PAPER AND PAINT TABLERUNNER by Jennifer Rizzo


Super cute project and much less expensive than the boho pillows I see at Pier One! Yikes. Pinned!
This is so smart, my friend! I’m gonna do some of these! Love the boho style pillow, yet still looks farmhouse!
Loving your boho pillow, Meegan! I’ve been looking for something like this for our RV but after seeing yours, I think I can make one. Thanks for sharing!
Very pretty, this boho pillow looks great. I love that it doesn’t require machine sewing (I am terrible at it). I need two new pillows, you have inspired me to be more creative.