What Meegan Makes

vintage style, cottage living, home cooking

  • Home
  • Contact for Collaborations
  • Privacy Policy and Disclosure
  • Furniture Makeovers
  • 10 DIY Seasonal Banners
  • 15 Creative Spring Crafts

Monday Blues-Wrapped and Stenciled Monograms

February 25, 2013 By Meegan 6 Comments

I have the Monday Blues!!  I have them every Monday… And today I want to share my fave blue in our home this week.  Wrapped and Stenciled Monograms.

Don’t you just love monograms??  They are everywhere right now-and there are so many varieties!  Today I will share 2 that we have in our home…

Monday Blues-Wrapped and Stenciled Monograms

You have probably seen a twine wrapped chipboard monogram.  They are so versatile.  They work with vintage, cottage, and eclectic decor.  I have used them and have seen several of them used at weddings as well.

For my blue “m” I started out with a styrofoam letter.  You can purchase them at any floral supply. You can also purchase any type of letter cut out for this idea and look.

Using my turquoise mist paint from Olympic, I painted my “m”.  Once it was dry, I used the same stencil that I used for my Stenciled, Refreshed Rug.  Easy!!

Monday Blues-Wrapped and Stenciled Monograms

The stencil for the “m” monogram was done in Antique White craft paint.  I like the stenciled corners as well, as an added touch.

The “R” is for Hubby’s name-rustic and tough.  He also lived in Texas for awhile, so this look is perfect for his monogram.

The “m” is more feminine and more like me.  And of course, it is blue…

Monday Blues-Wrapped and Stenciled Monograms

These wrapped and stenciled monograms have found a great home right next to my grandma’s vintage shelf.

Do you have monograms in your home?  There are so many ways you could incorporate them.  Let me know of your ideas and creative thoughts about monograms.  I would love to hear them!!

Join me next Monday for another Monday Blues!!

I hope we can stay connected:

Pinterest Facebook Hometalk Google + Stumble Upon Bloglovin’ twitter Instagram

Make it a Blue Monday!!

Monday Blues-Wrapped and stenciled monograms

Linked with: Its Overflowing I Should Be Mopping Cowgirl Up Coastal Charm Kammy’s Korner Elizabeth & Co Alderberry Hill Shaken Together Home Stories A2Z 504 Main Lil Luna Savvy Southern Style From My Front Porch LiveLaughRowe House of Hepworths Whipperberry DIY Showoff Happy Hour Projects Ginger Snap Crafts No Minimalist Here White Lights On Wednesday 52 Mantels {Primp} Made In A Day Craftionary At The Picket Fence French Country Cottage The Dedicated House Creations By Kara Redoux Debbie Doos The DIY Dreamer My Uncommon Slice of Suburbia The 36th Avenue Funky Junk Becoming Martha
My Paper Doily Chandelier

February 23, 2013 By Meegan 11 Comments

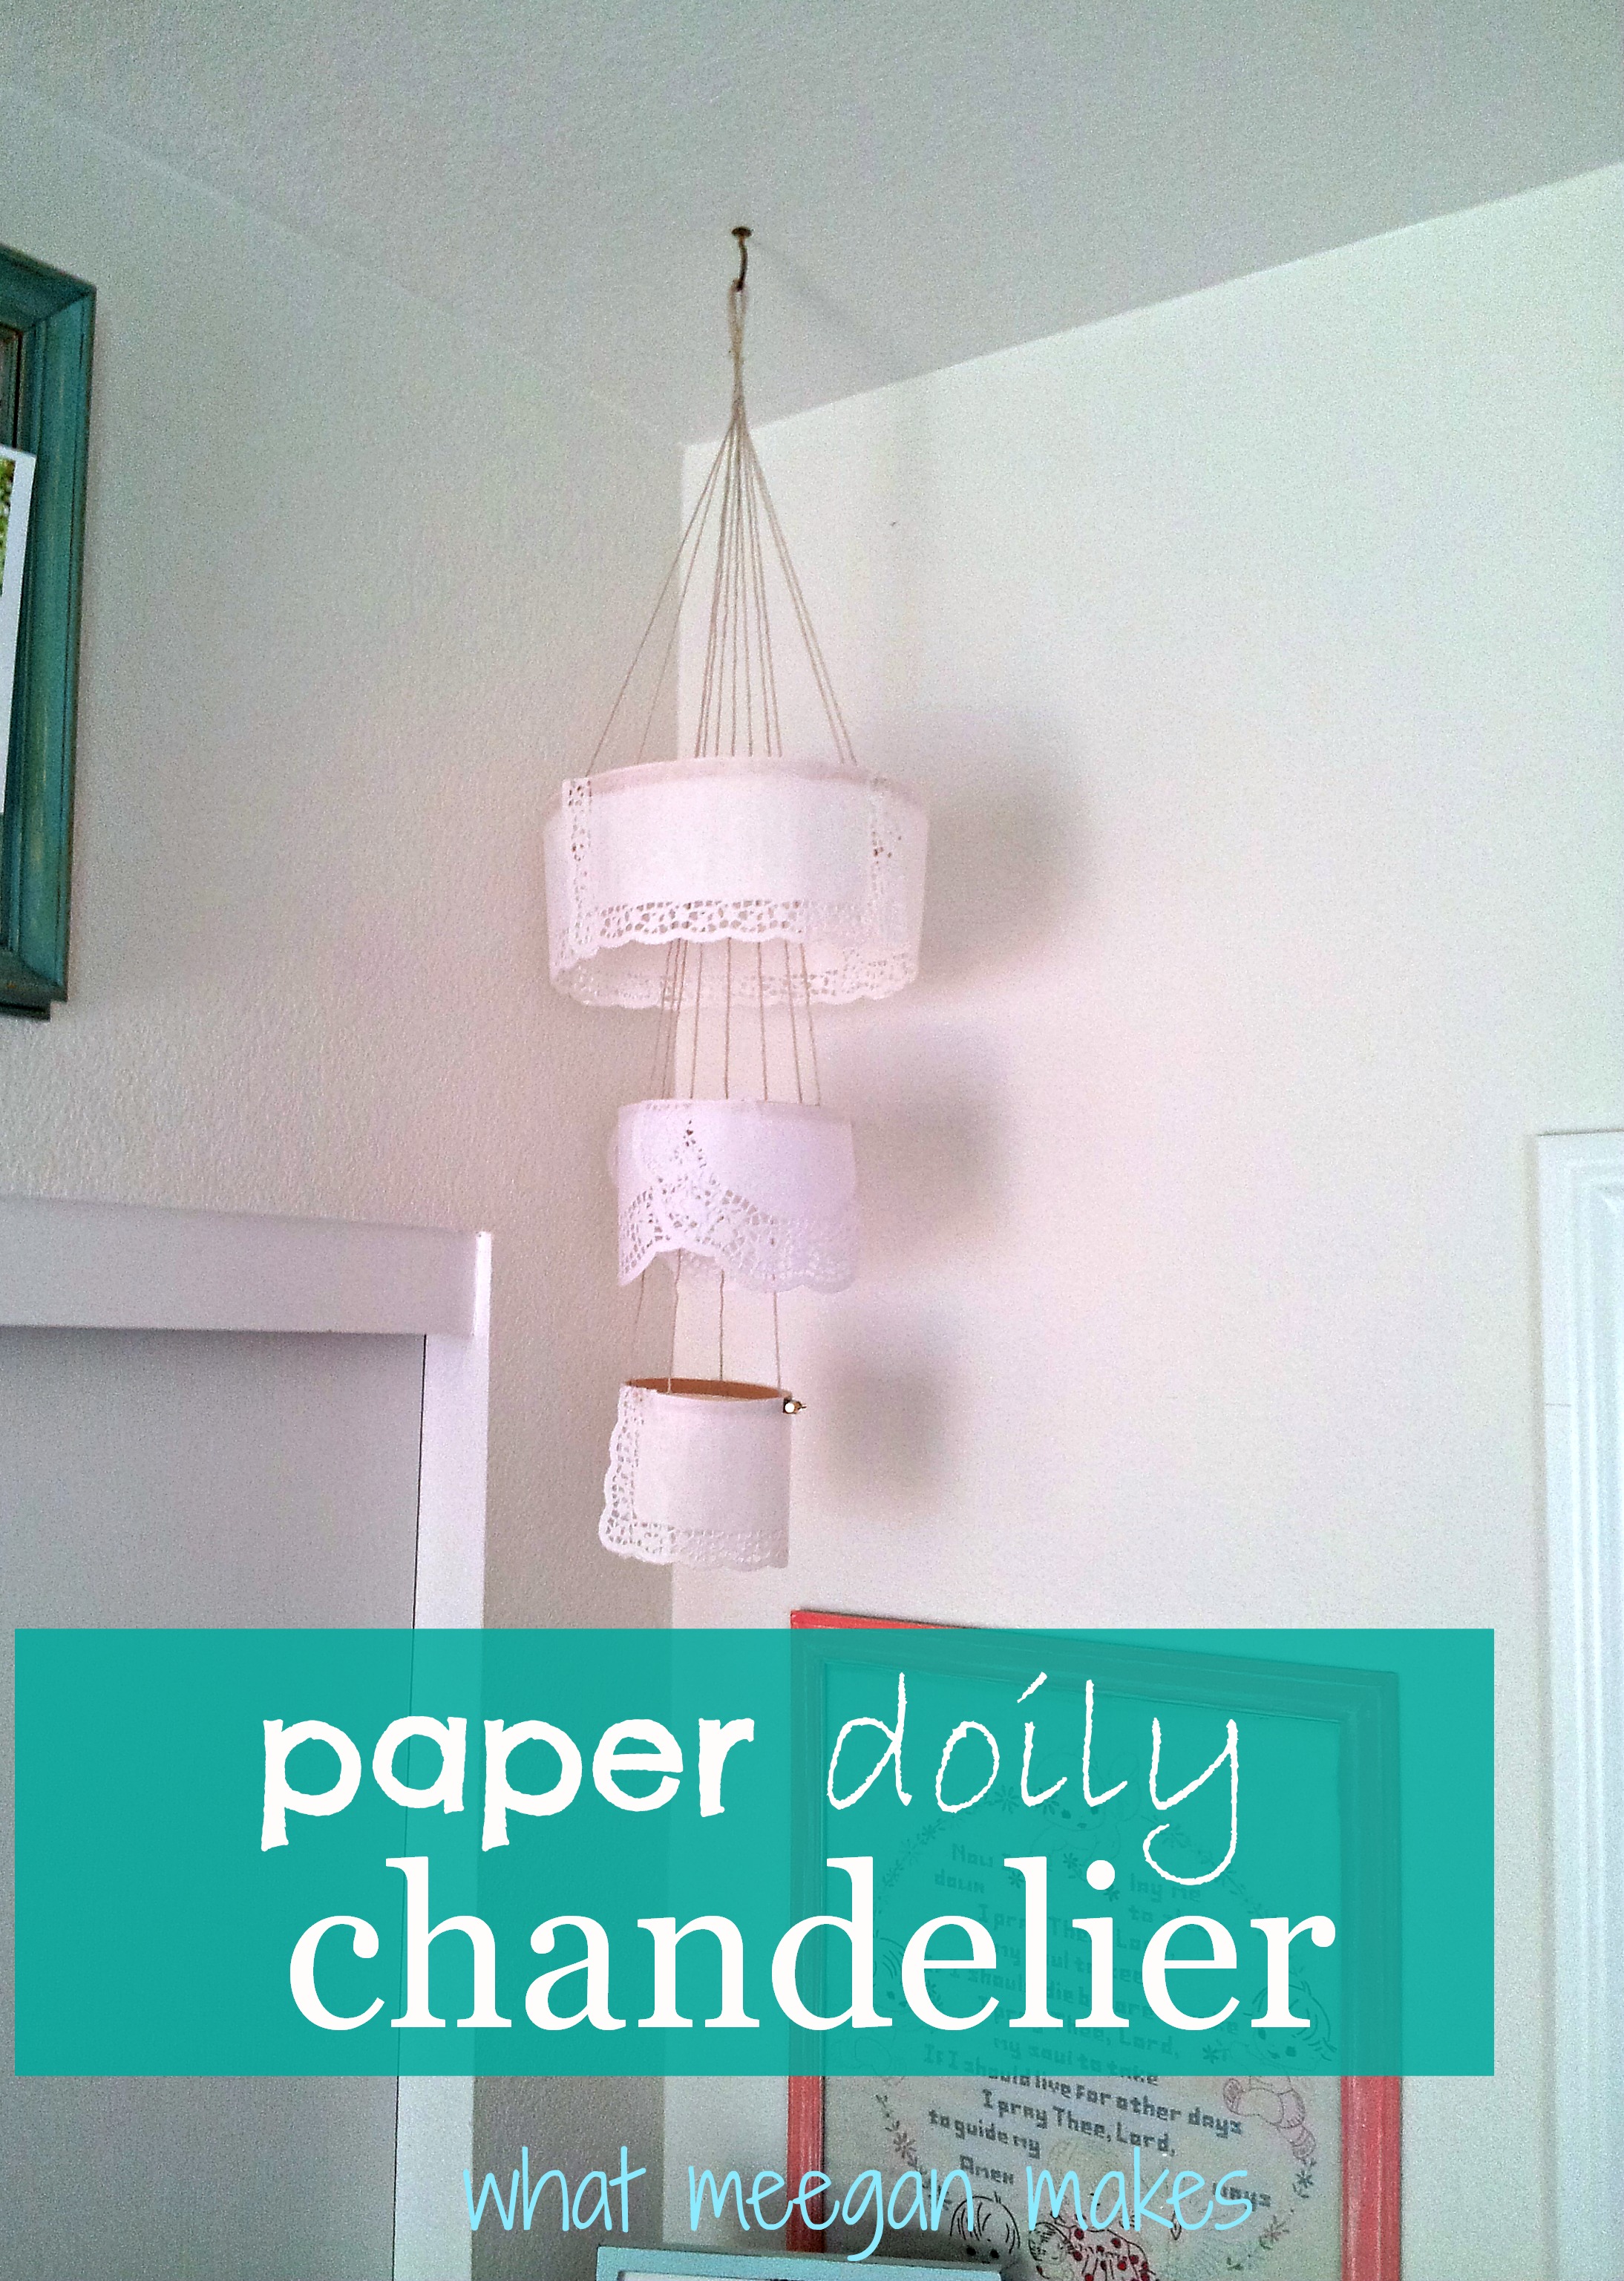
You all know how much I love chandys, right??  Well, since I love them so much I decided to make my paper doily chandelier.  Isn’t she a beauty??  She has found the perfect spot in our home office.

My Paper Doily Chandelier

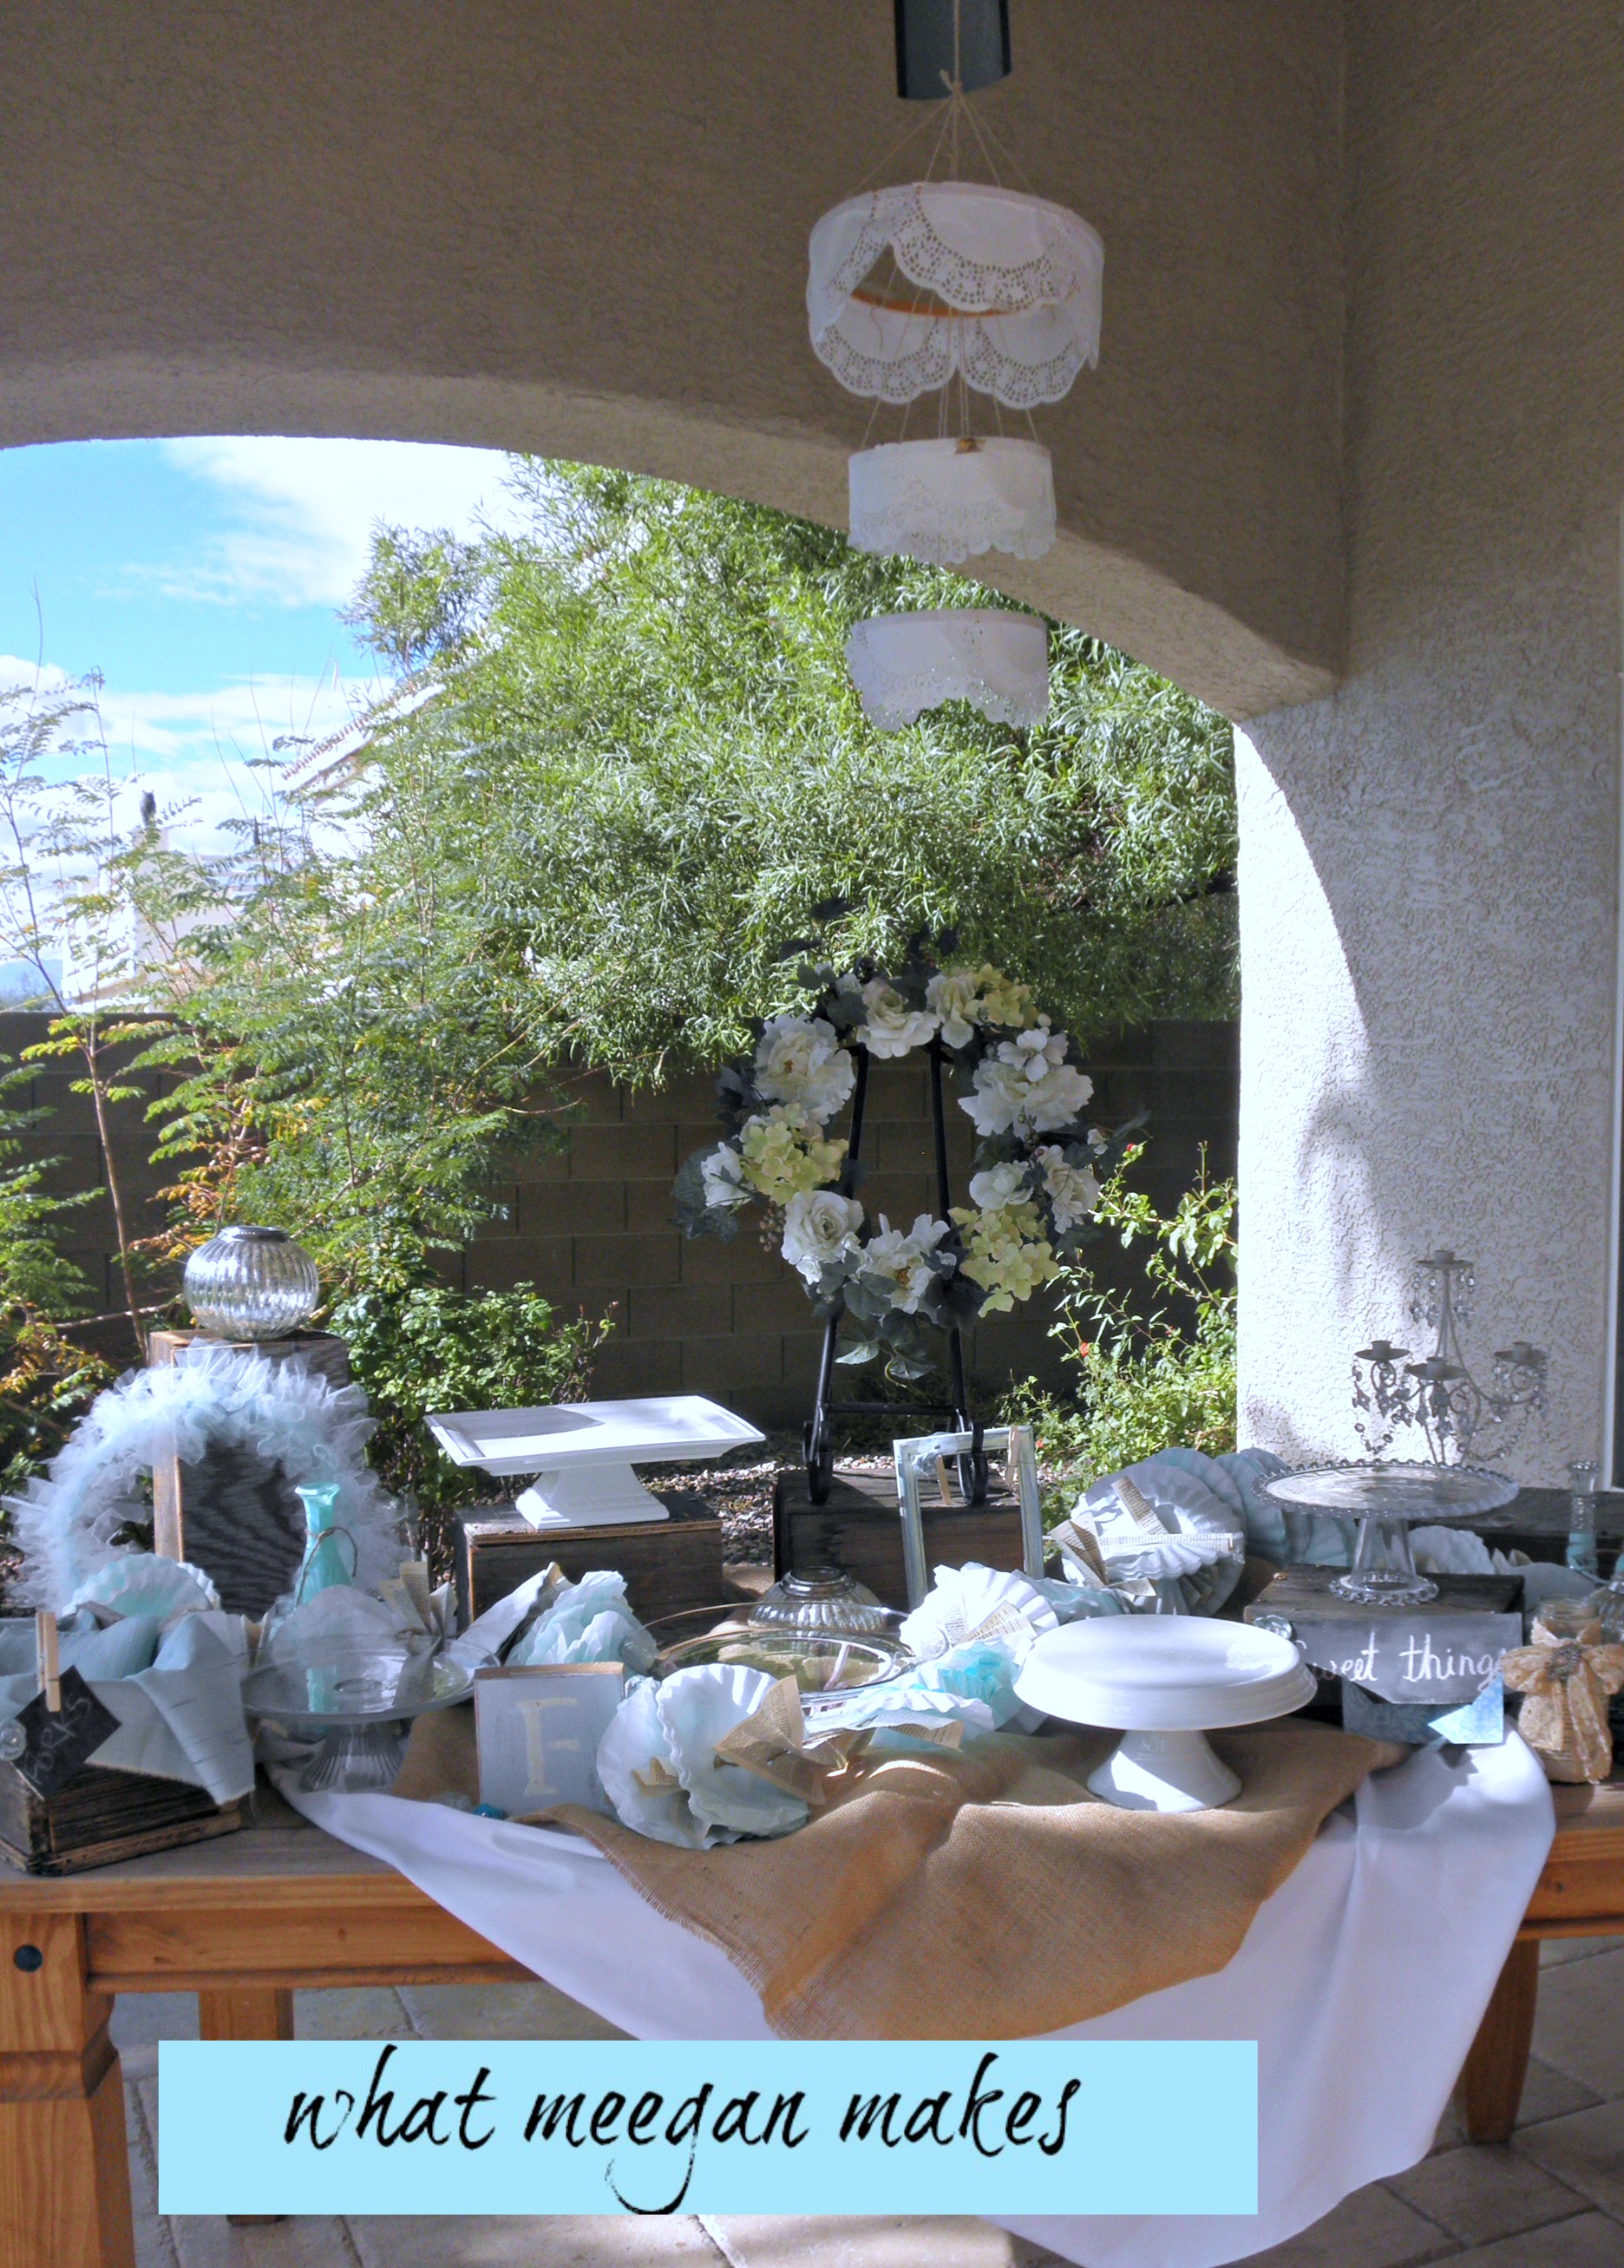
This first paper doily chandelier I made was for our son’s wedding open house:

My Paper Doily Chandelier

Doesn’t she add just the right touch??

Now on to the instructions:

My Paper Doily Chandelier

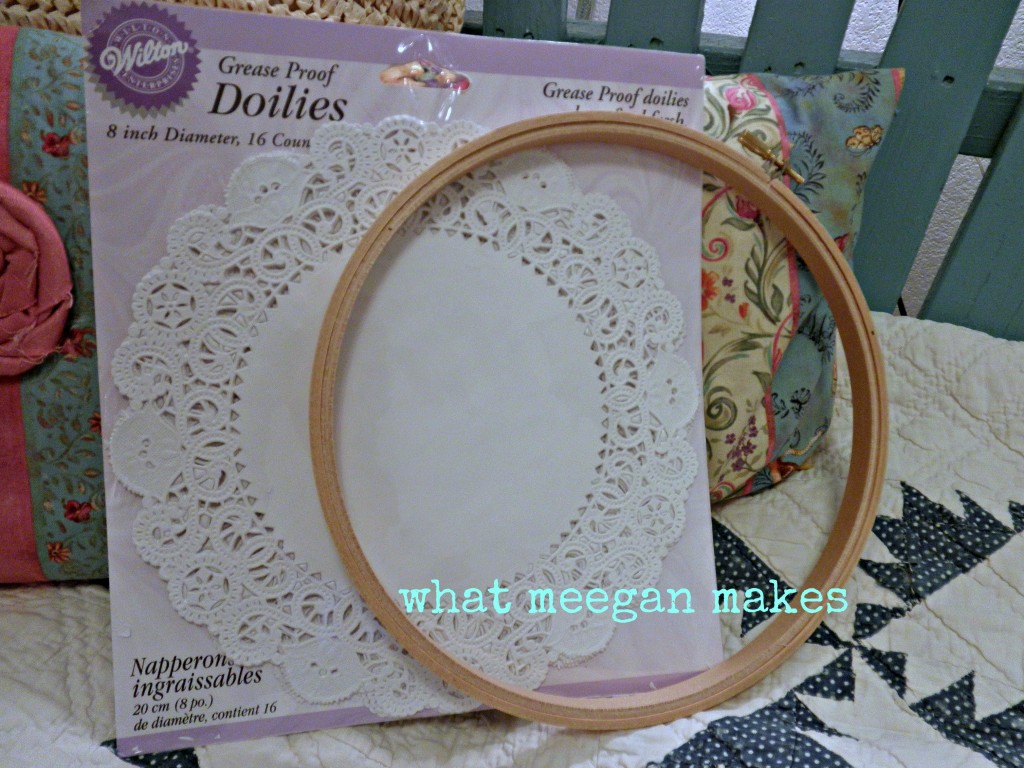
I started out with paper doilies that can be purchased at Michael’s, JoAnn’s, or even Dollar Tree.  I also used embroidery hoops that I bought at JoAnn’s using a coupon-yay!!

I chose to use 3 sizes of hoops.  12 inch, 5 inch, and 3 inch hoops.  Since the hoops come with 2, you can make 2 chandys for the price of one!!  Woo!!

My Paper Doily Chandelier

I cut each doily exactly in half.  Then I hot glued the half doily to each hoop.  I didn’t mind them overlapping a litle.  It just adds more texture and variety.

My Paper Doily Chandelier

When I had a clasp in the way, I cut the doily to fit around it.

My Paper Doily Chandelier

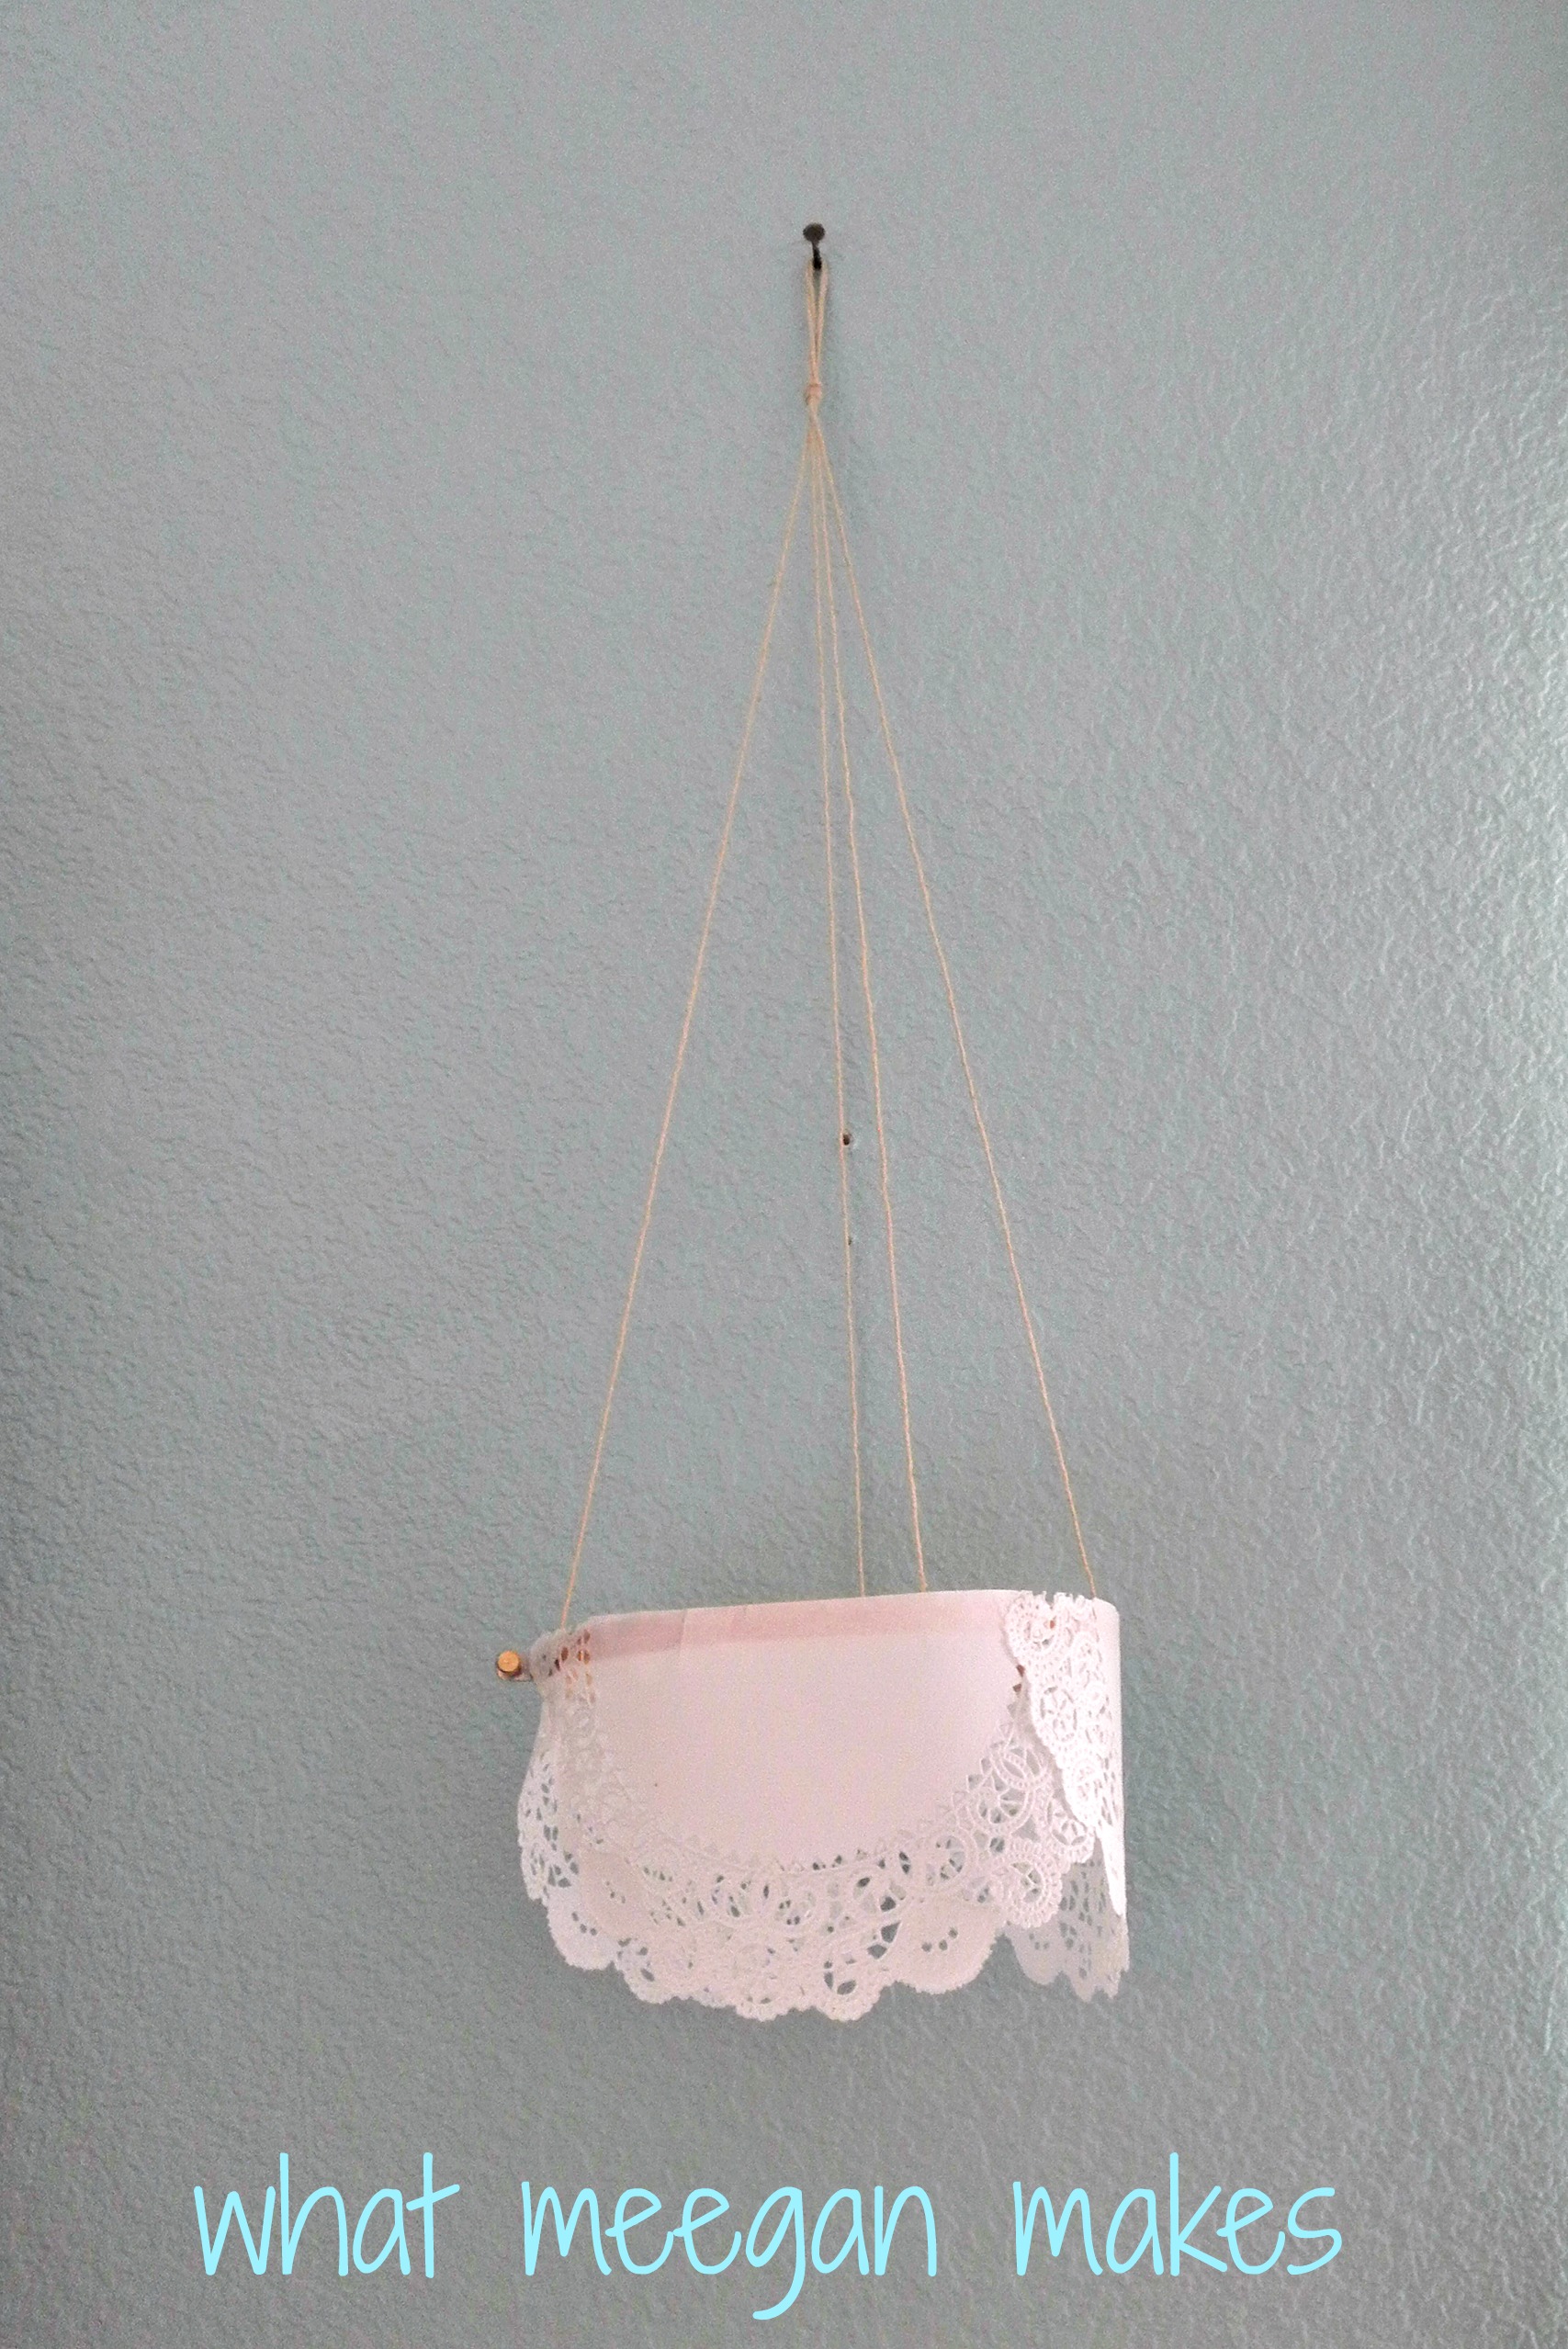
Now for the hardest part (not hard at all).  My first measurement of my string  was 35 inches for the largest hoop.   Then I added 7 inches for each hoop.  The allows each hoop to hang evenly spaced.  So the next one was 42 inches, and then the next one was 49.  I attached the string using hot glue.

My Paper Doily Chandelier

I hot glued one end of the string to the hoop, and then attached the other end of it exactly across, so the chandy would hang evenly.   I added 2 sets of string of the smae length to each hoop.

My Paper Doily Chandelier

 Once they were attached and even, I looped a knot at the top-again making sure it hung evenly.

Here is the first one I made.  She is looking pretty would’nt you say???

Now I am ready to add more:

My Paper Doily Chandelier

Instead of attaching them altogether, I hung one “inside” the other on my hook.  Starting with the largest one first then the mid-size, and ending with the smallest.

Just the right look for our “new” office and the perfect home for my paper doily chandelier.

My Paper Doily Chandelier

Didn’t my paper doily chandelier come out just amazing??  She makes me smile every time I look at her from our desk!

This is a super easy project, and would be a great addition for a craft room, laundry room, even for a baby or bridal shower.

Like I always say,”Gotta love me a chandy!”

Thanks for visiting me today!!  I love sharing what I do, and I love even more that you love it, too!!

Make it a stupenous Saturday!!

I hope we can stay connected:

Pinterest Facebook Hometalk Google + Stumble Upon Bloglovin’ twitter And now I am on Instagram!!


My Paper Doily Chandelier

Linked with: Its Overflowing I Should Be Mopping Cowgirl Up Coastal Charm Kammy’s Korner Elizabeth & Co Alderberry Hill Shaken Together Home Stories A2Z 504 Main Lil Luna Savvy Southern Style From My Front Porch LiveLaughRowe House of Hepworths Whipperberry DIY Showoff Happy Hour Projects Ginger Snap Crafts No Minimalist Here White Lights On Wednesday 52 Mantels {Primp} Made In A Day Craftionary At The Picket Fence French Country Cottage The Dedicated House Creations By Kara Redoux Debbie Doos The DIY Dreamer My Uncommon Slice of Suburbia The 36th Avenue Funky Junk Becoming Martha
My Framed Cardboard Chalkboard from a Cereal Box

February 13, 2013 By Meegan 23 Comments

I like simple crafts. And if they don’t cost a lot of money, even better.  My Framed Cardboard Chalkboard from a cereal box fits both of those.

My Framed Cardboard Chalkboard

I found this lovely frame at the thrift store for 75 cents.  She is an oval metal frame, and with the right paint and additions I can find a place for her in our home.

Continue Reading

Valentine Projects for $3 and under

February 9, 2013 By Meegan 7 Comments

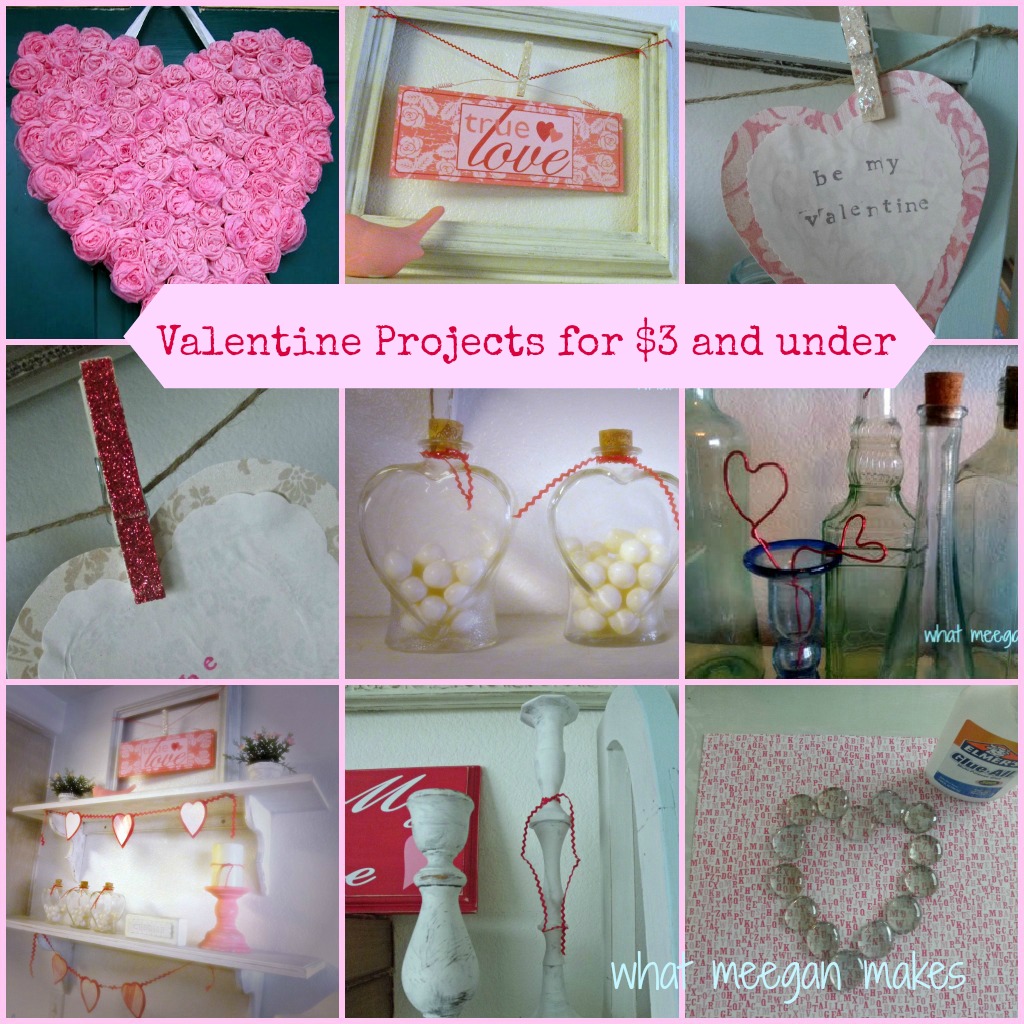
Valentine’s Day is coming and I am always looking for ways to cut costs.  That is why I came up with my Valentine Projects for $3 and under…

Valentine Projects for $3 and under

Pin It

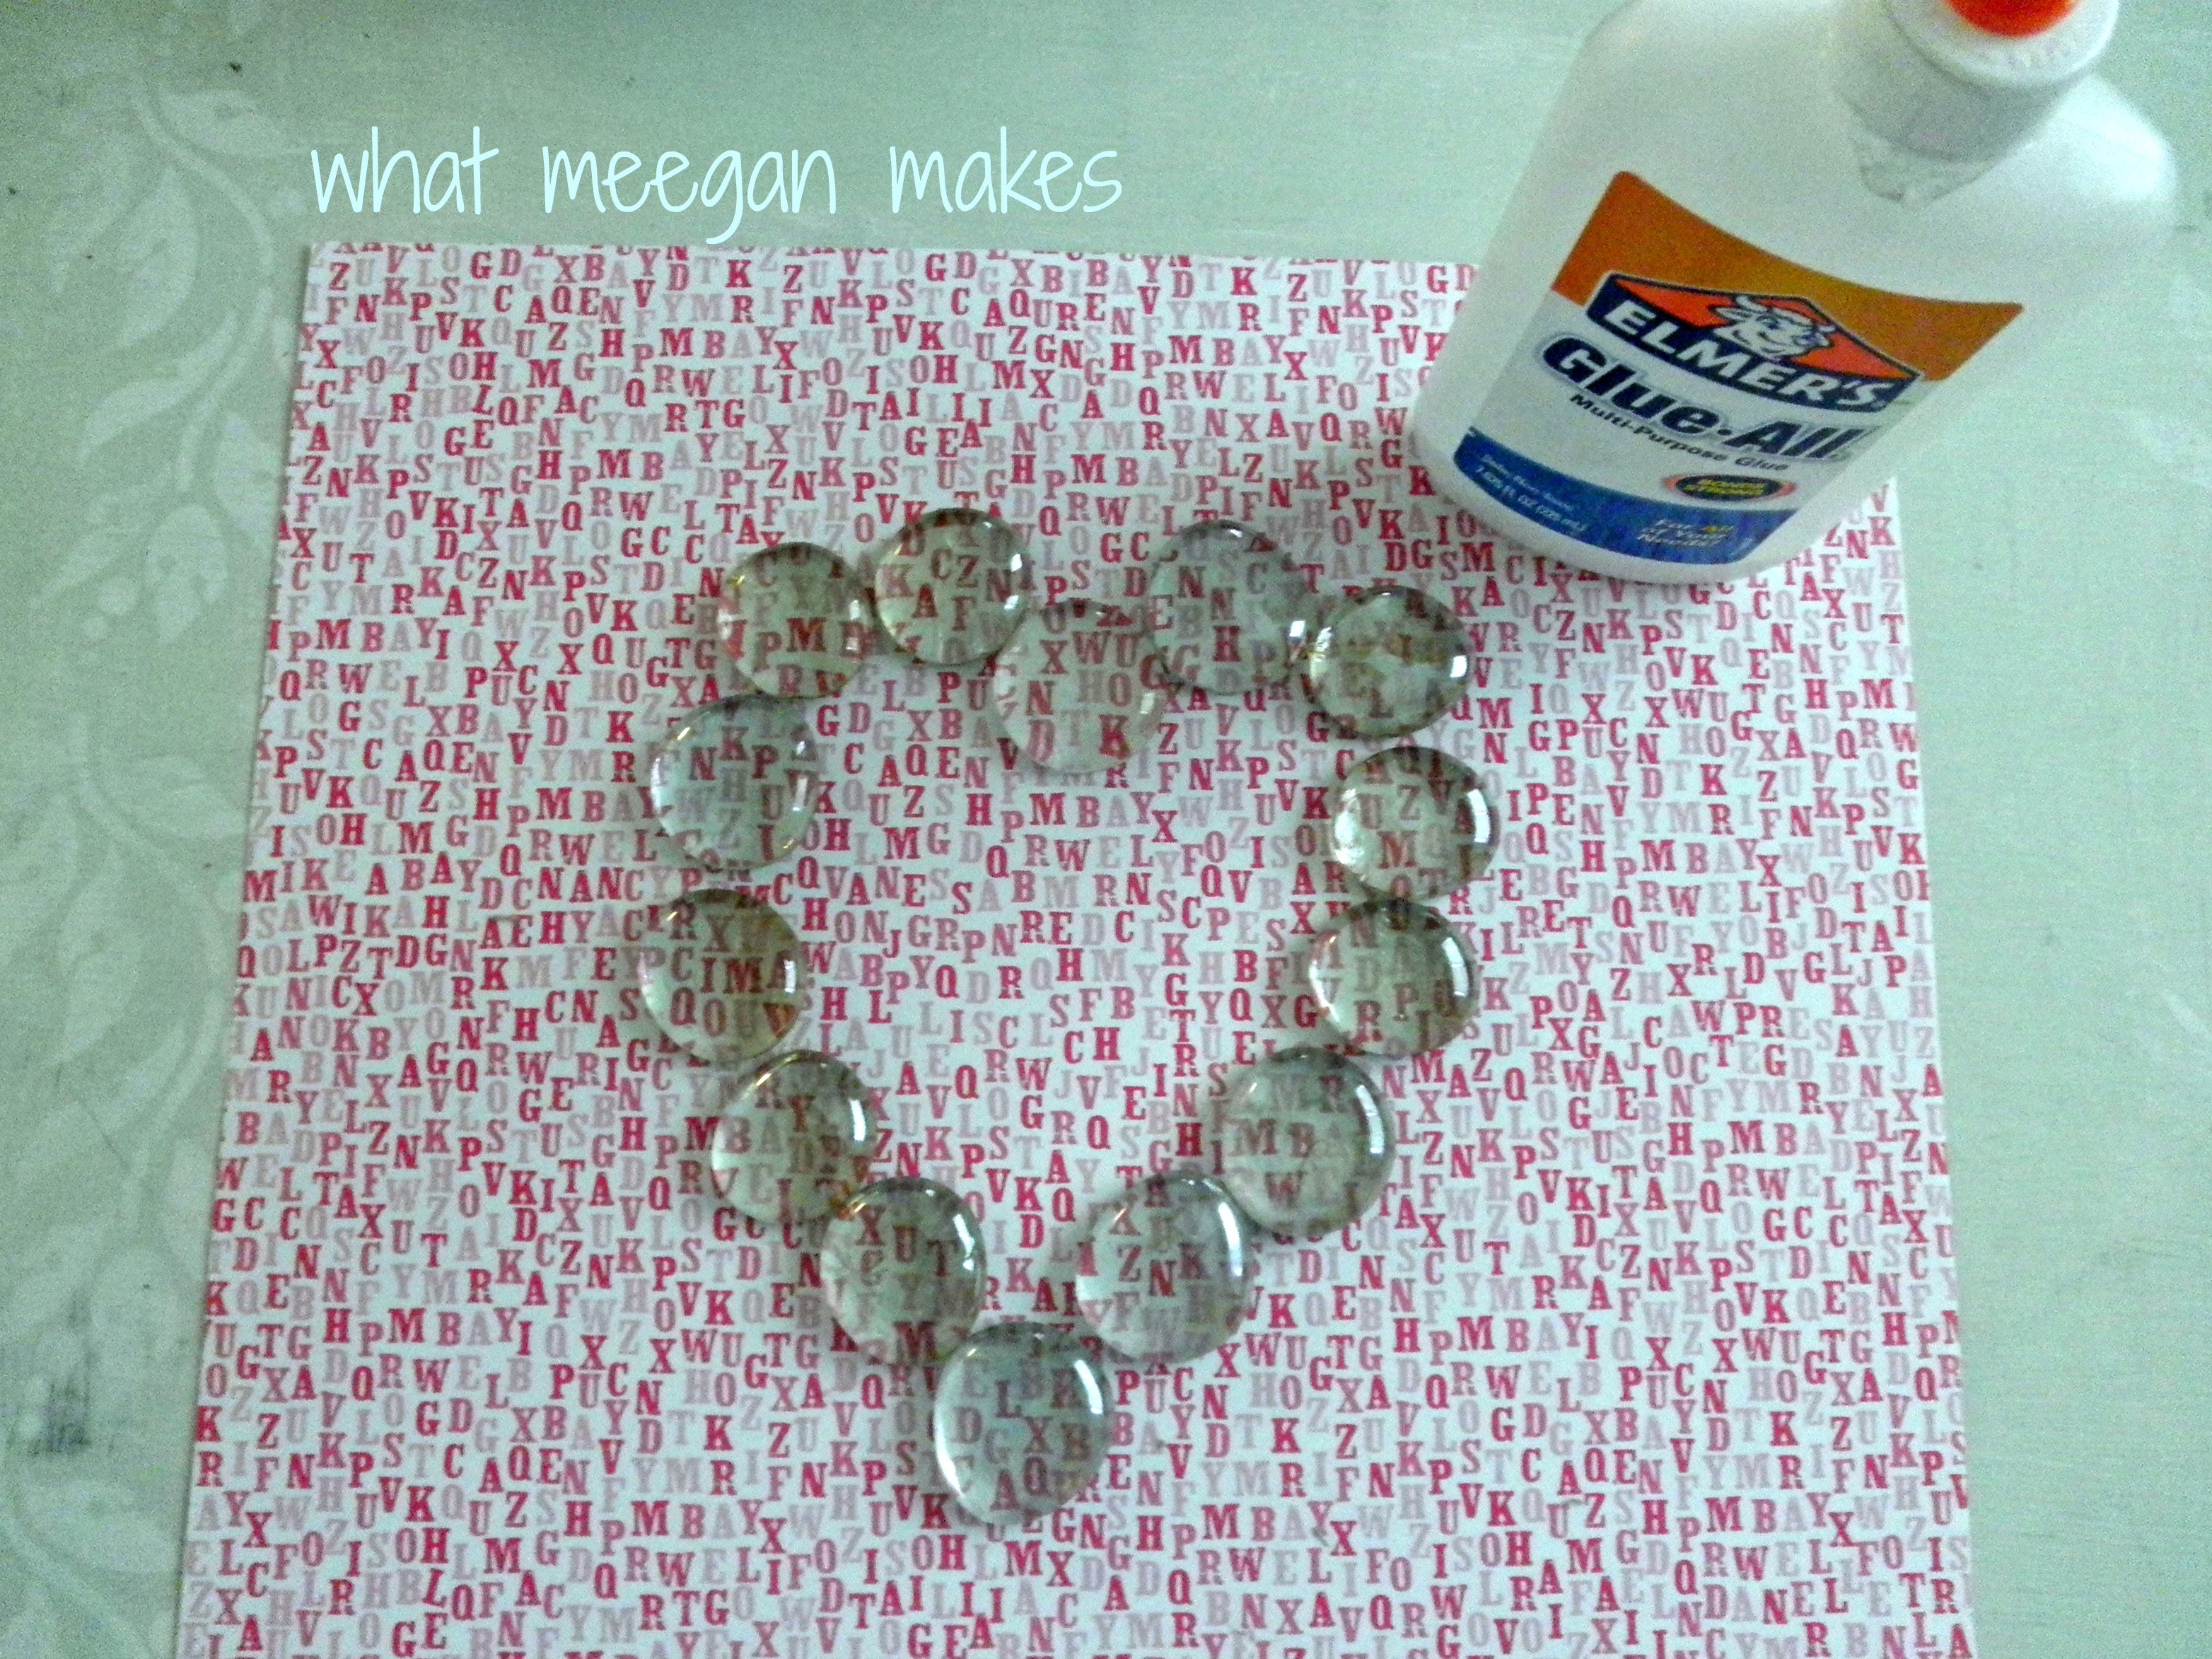
Valentine Projects for $3 and underMake a Valentine Marble Art piece.  The marbles are a $1 a bag at Dollar Tree.  You probably already have scrapbook paper and glue.  Frame it using a frame you already own.  So, there ya go. Cost $1

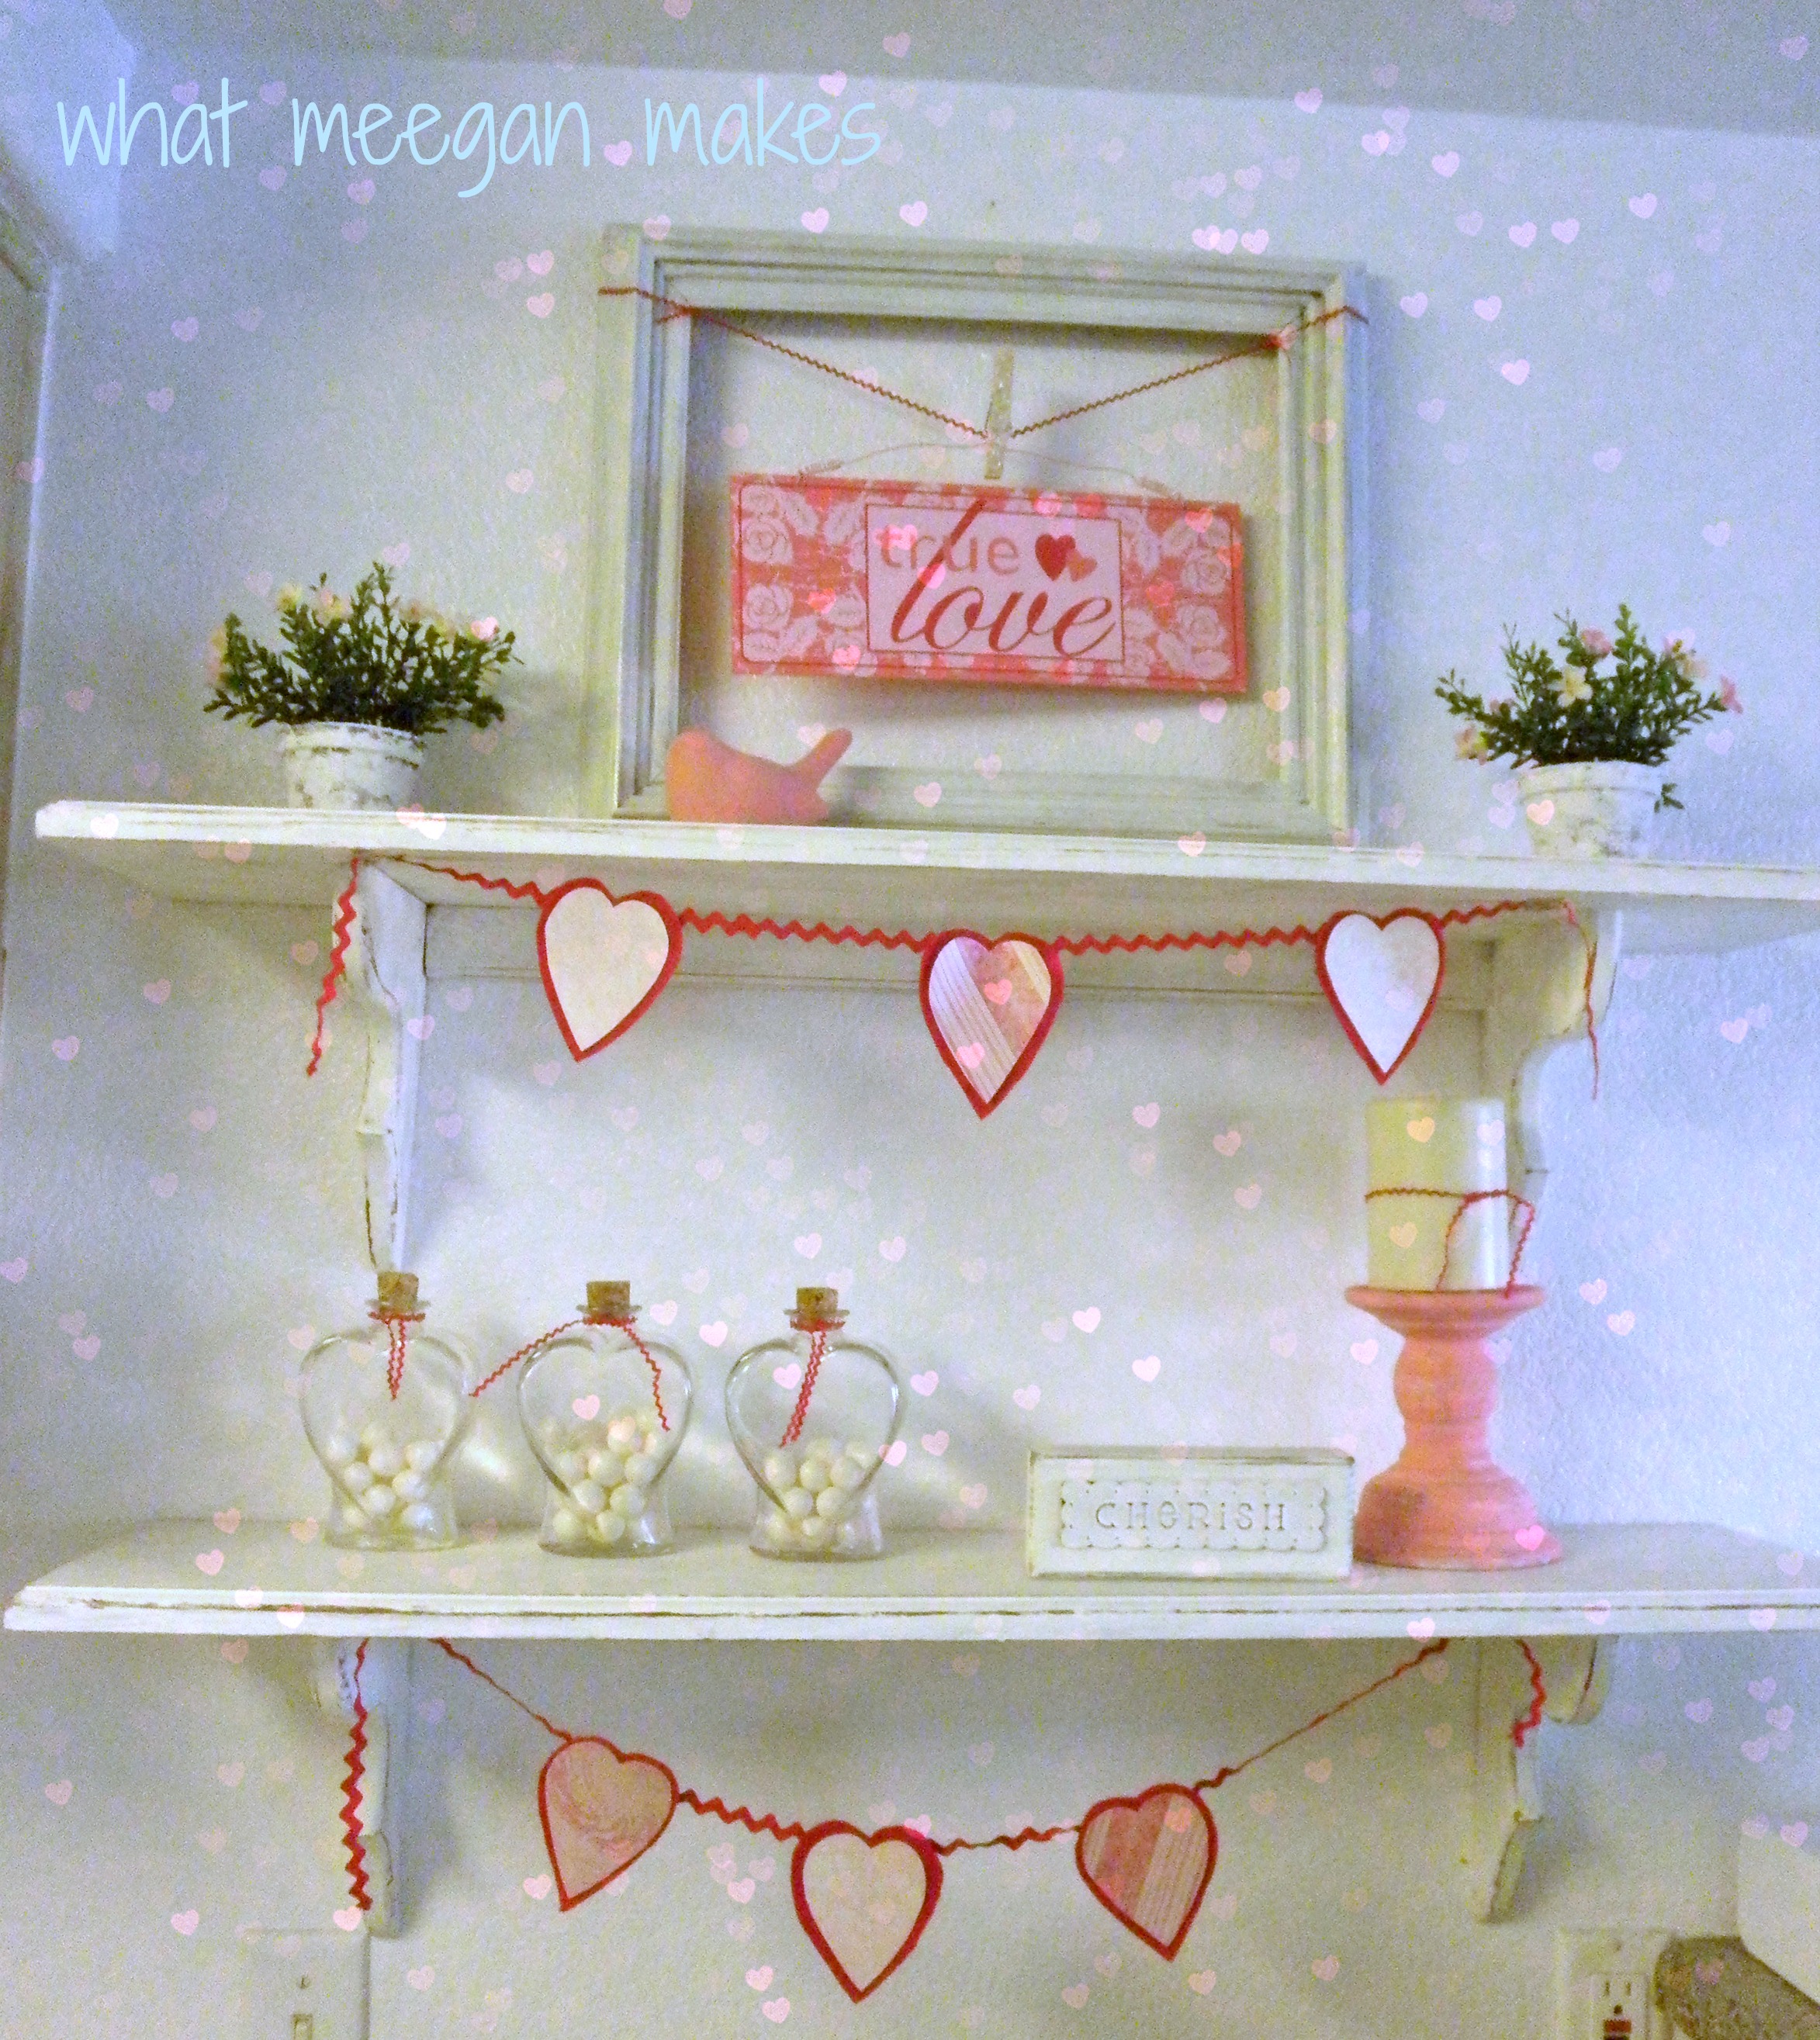
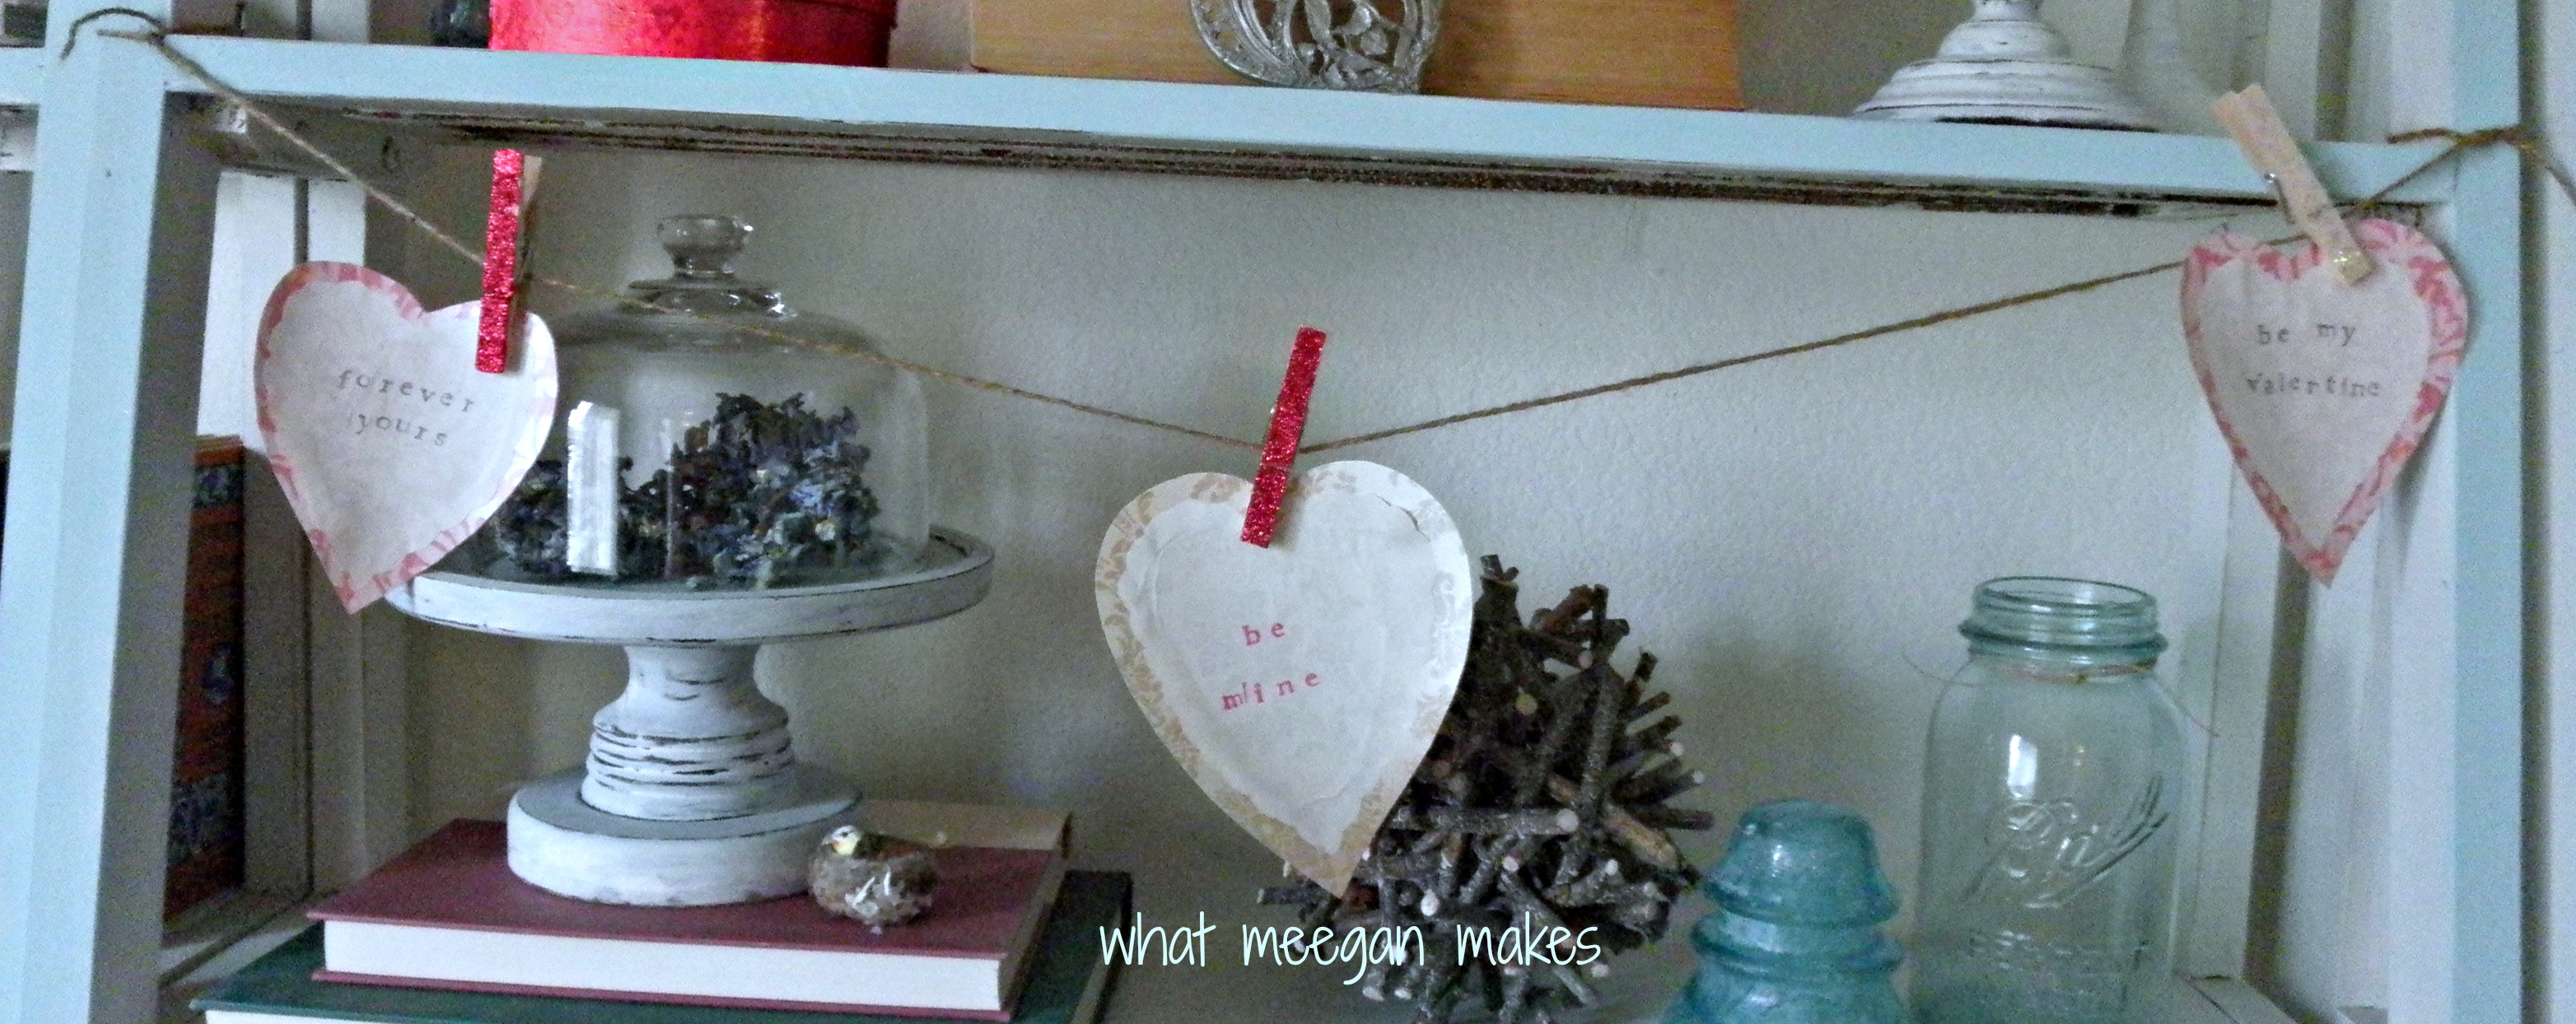
Valentine Projects for $3 and underDecorate your shelves or mantel with Valentine decor you already have.  Make a Valentine banner with ric rac and cardstock.  Super easy!!  Cost $.00

Valentine Projects for $3 and under

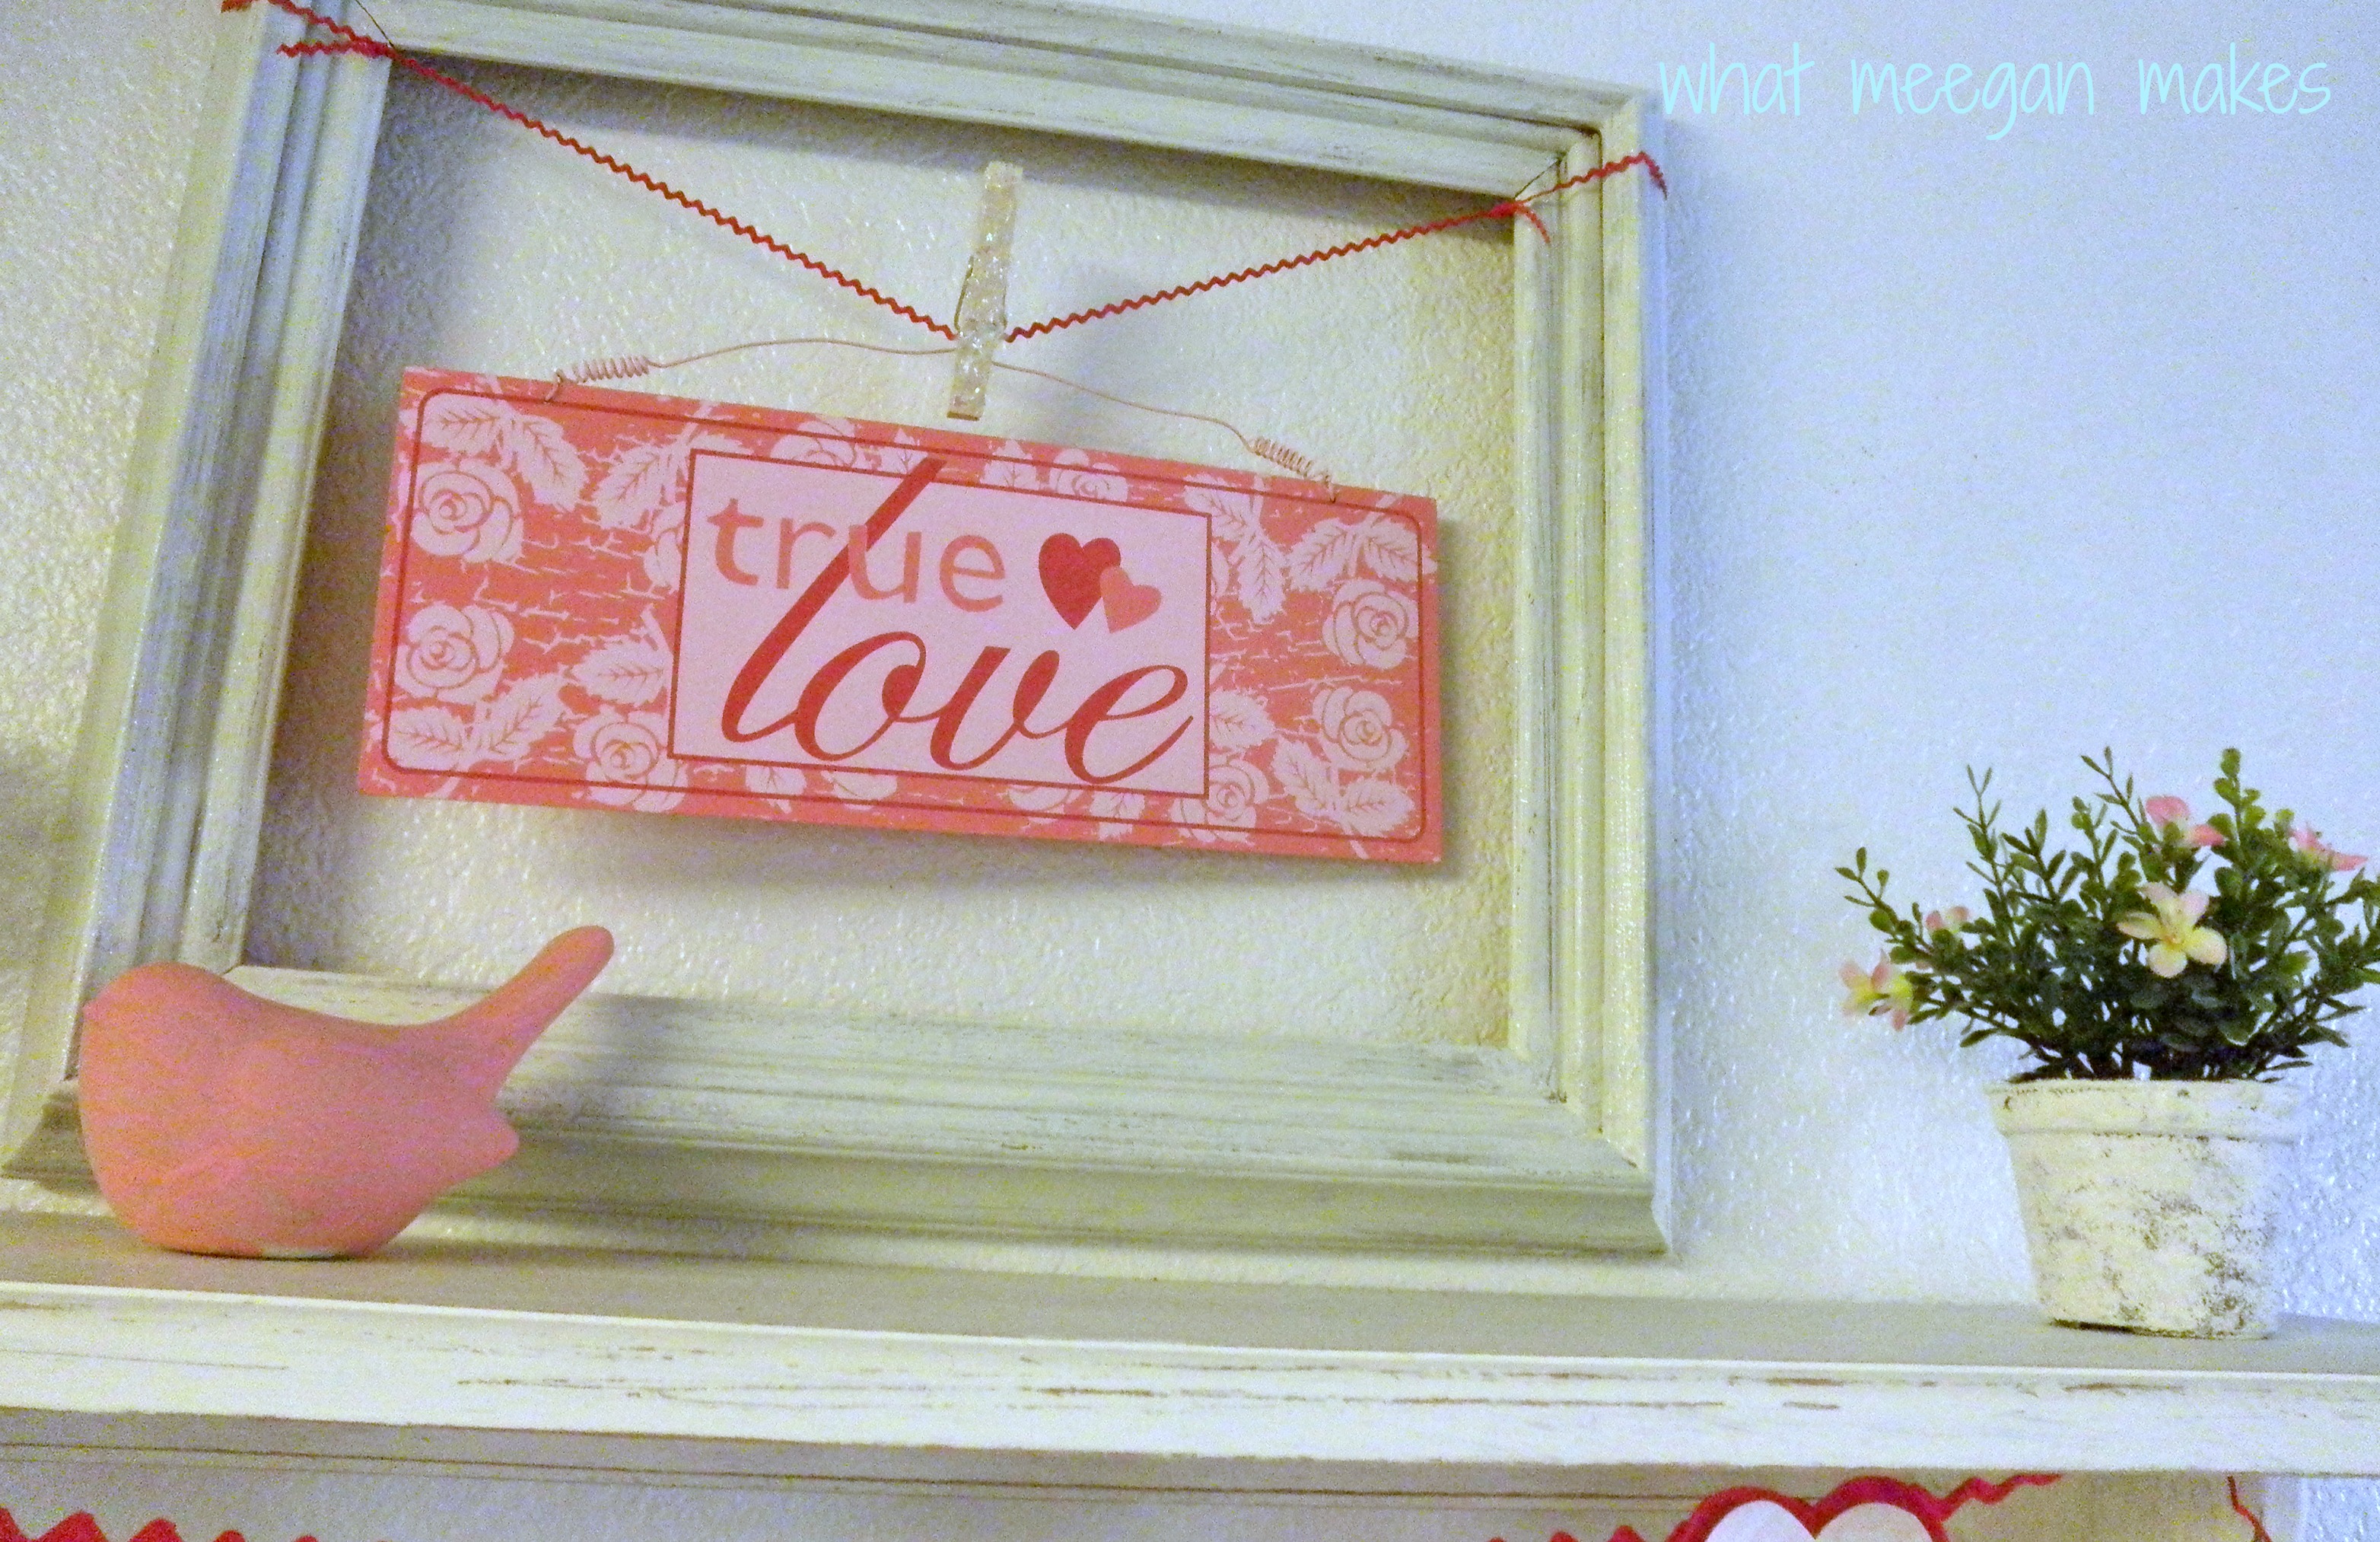
Use a frame you already have or buy one at a thrift store.  Paint it, add twine, ribbon, or ric rac.  Using a clothes pin, clip a Valentine sign to your frame!!  My cost $1.75.  The sign was a $1 and the frame was 75 cents.

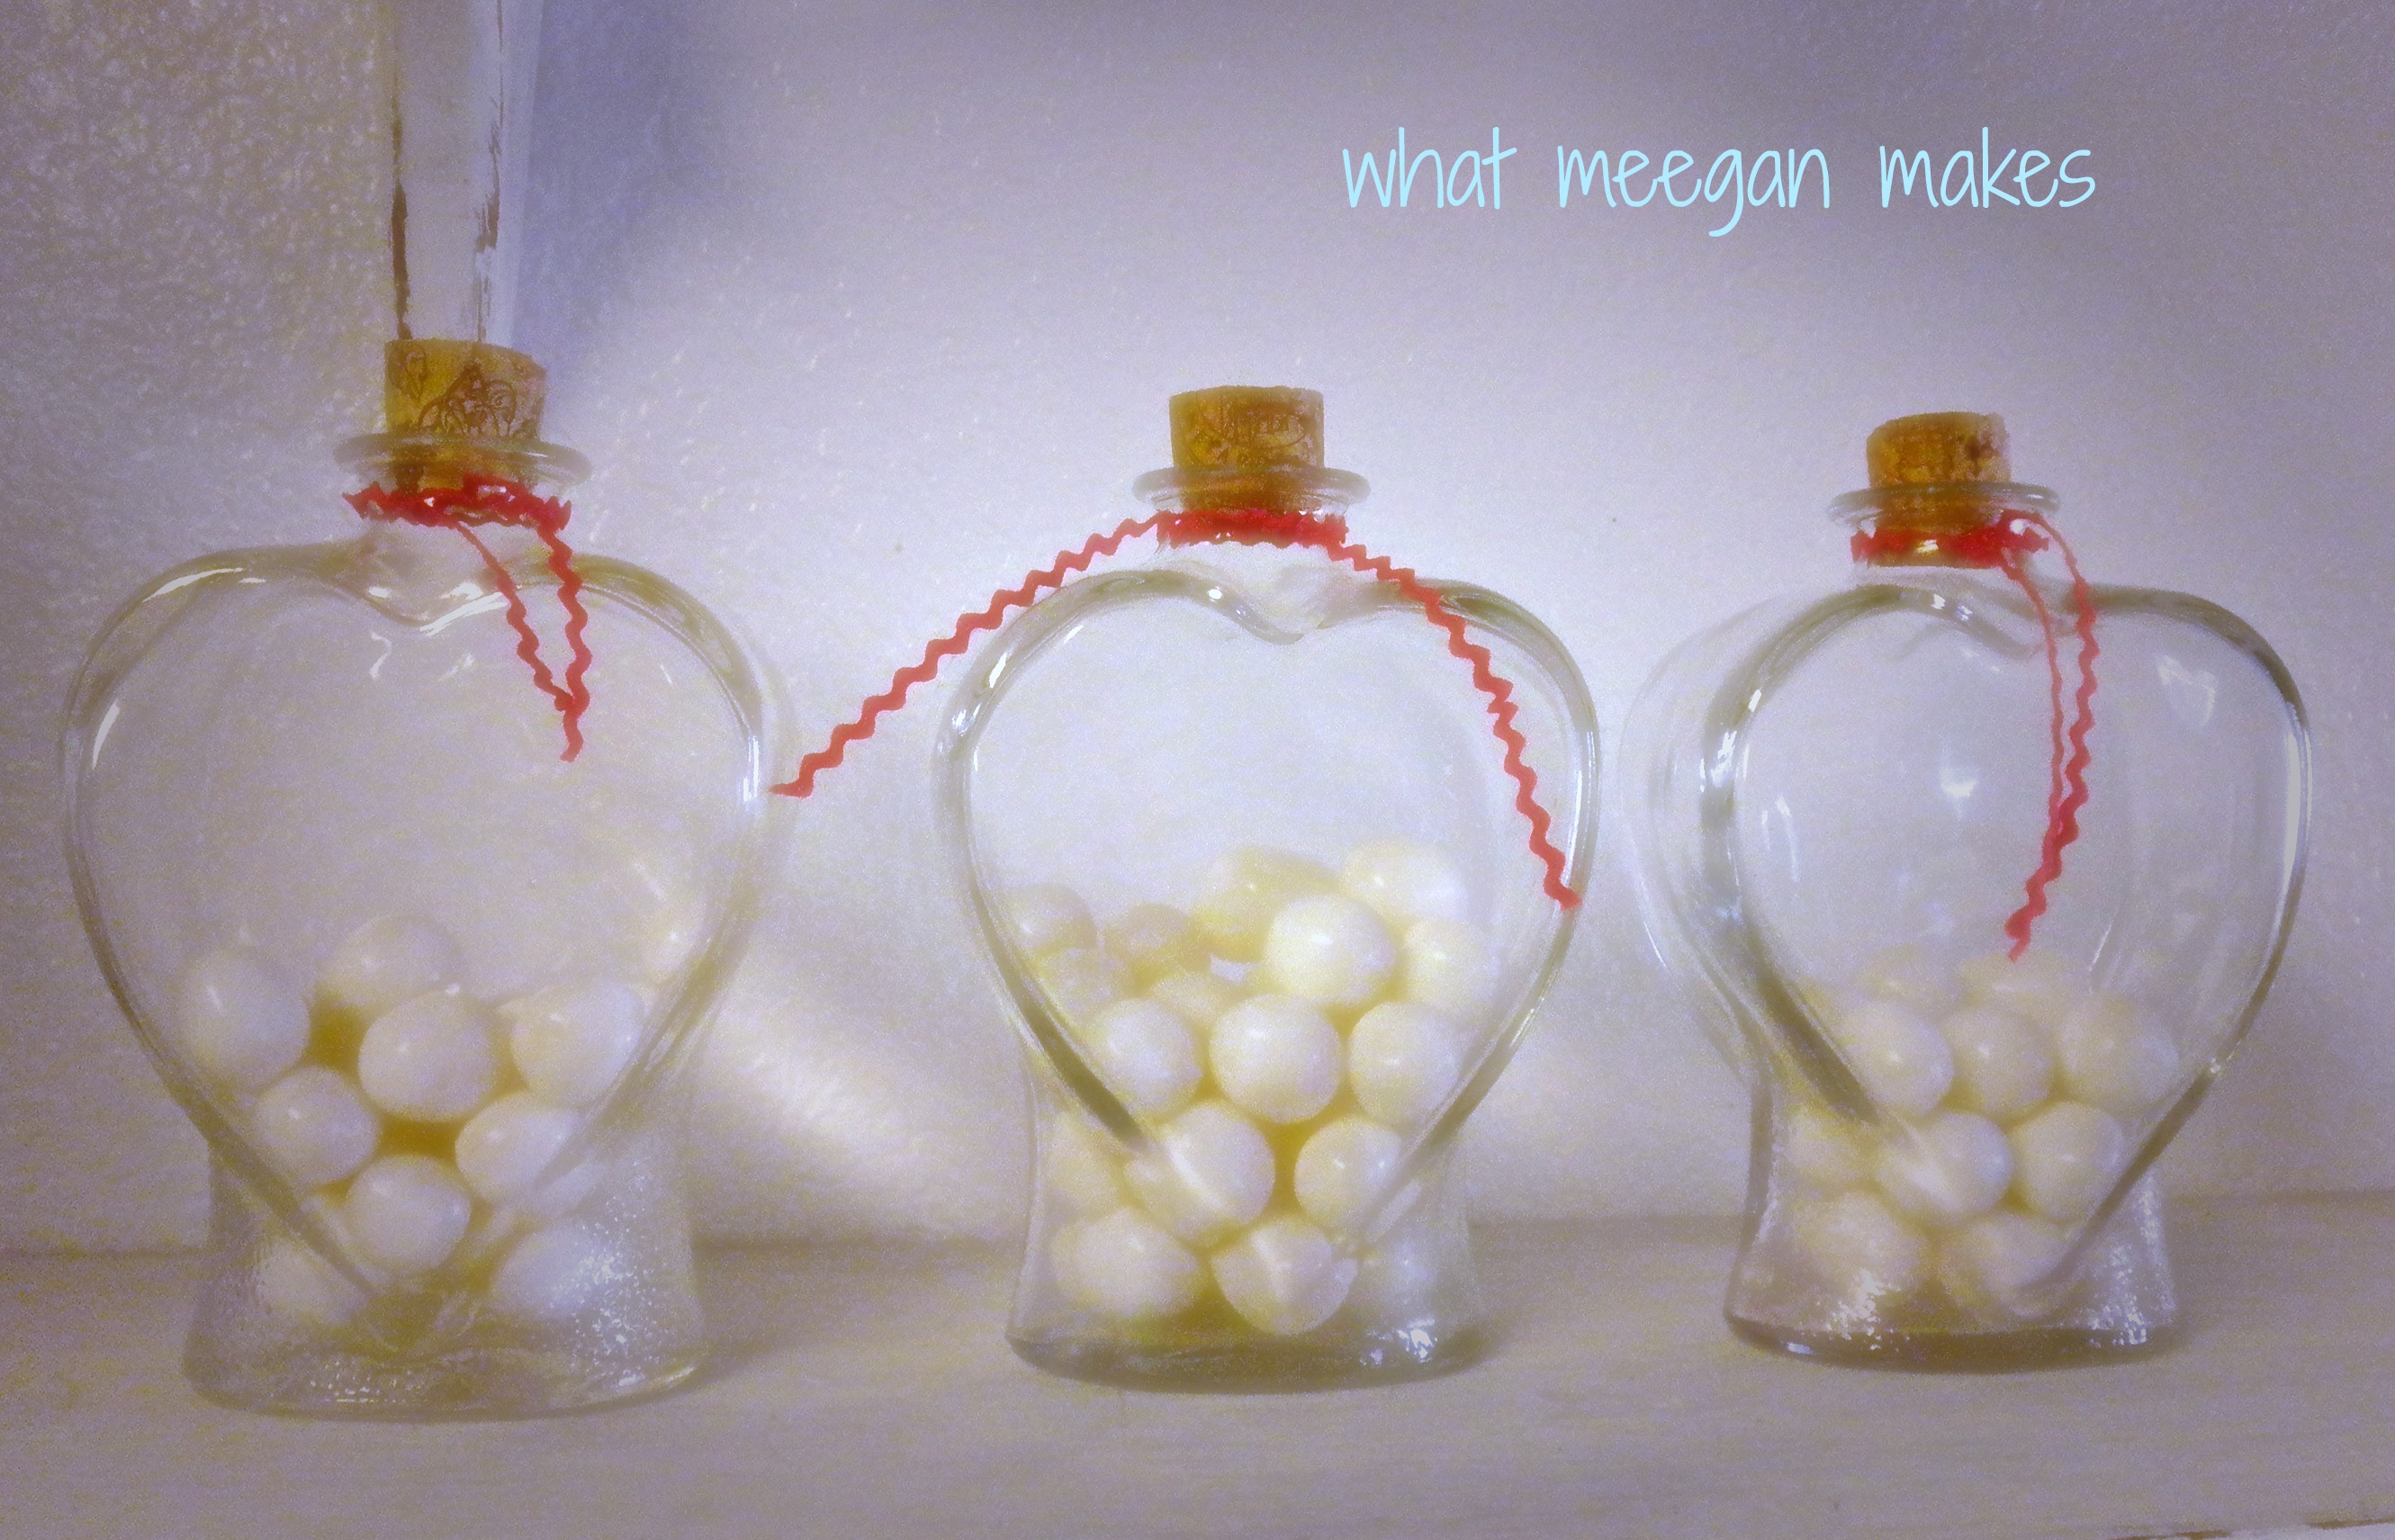
Valentine Projects for $3 and underFill some jars with candy to match your Valentine Decor.  They don’t have to be heart jars. Tie ribbon, twine, or ric rac for an added touch.  Cost $2 for candy.  I had the jars already.

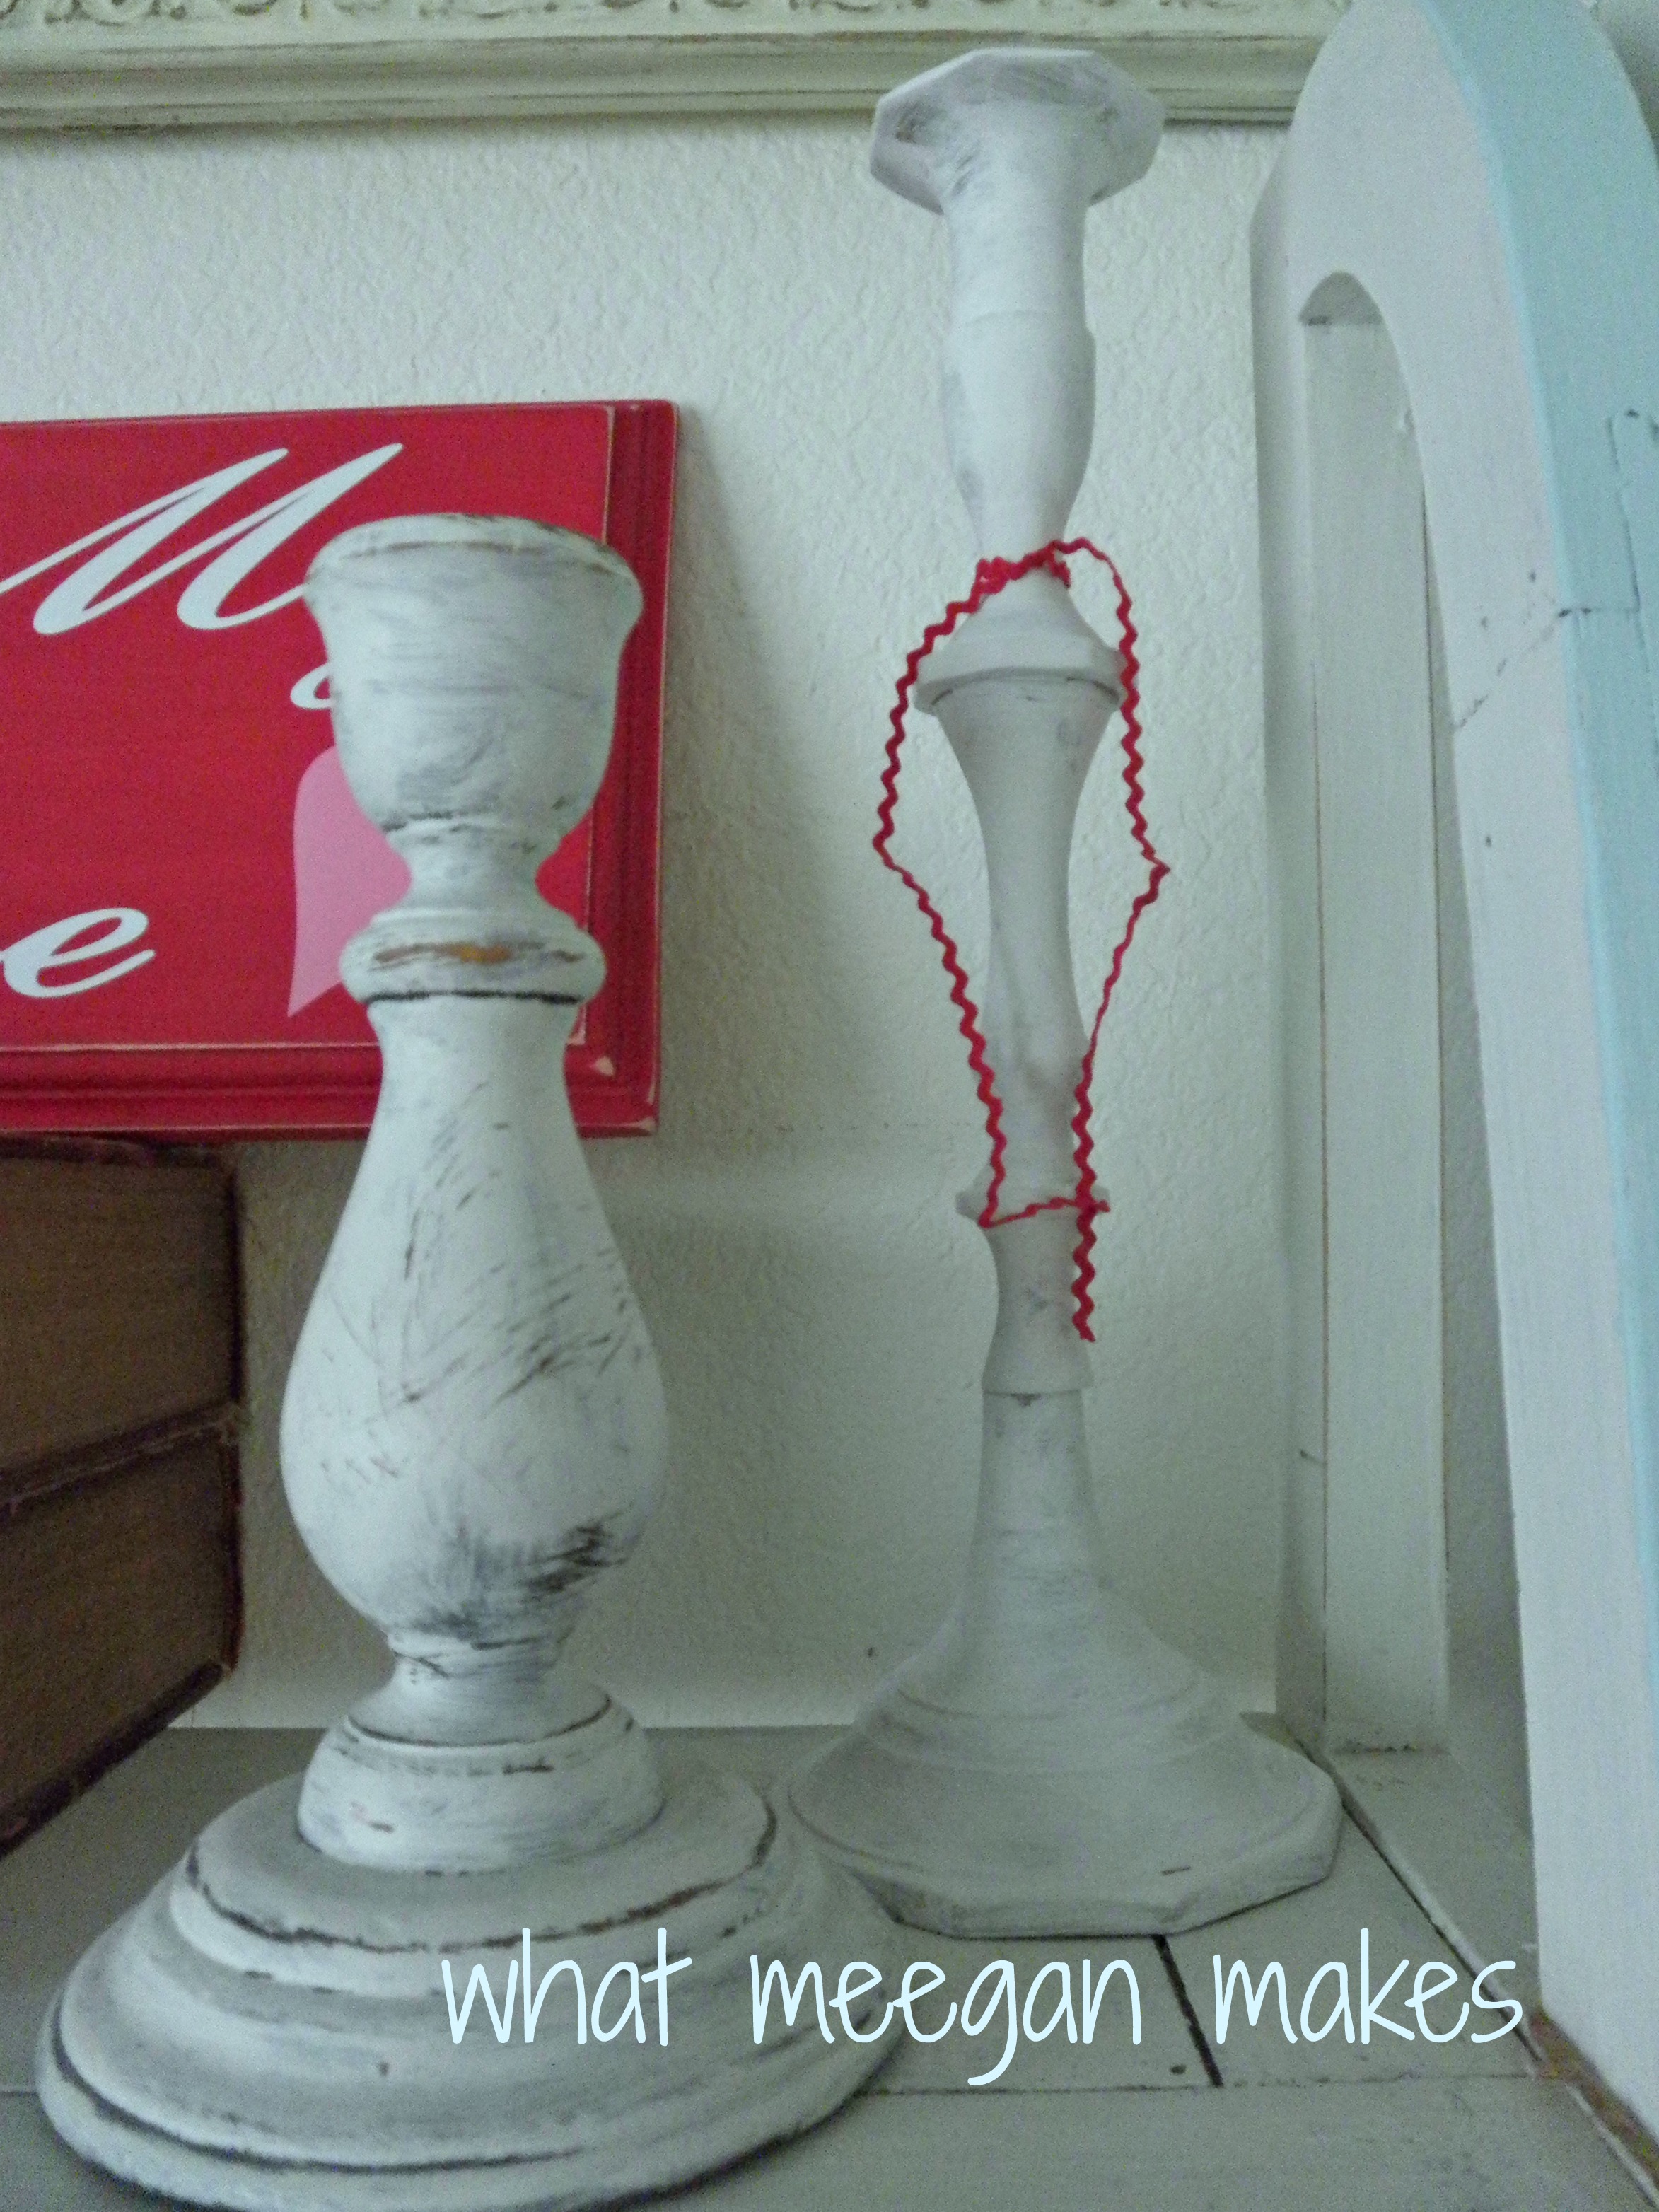
Valentine Projects $3 and underBuy some candlesticks, paint them your colors and tie them with some ric rac.  Cost $2.50.  I bought the candle sticks at the thriftstore.  I had the ric rac.  Easy Peasy!!

Valentine Projects for $3 and underDecorate some clothes pin with glue and glitter.  Super easy.  Cost $2.00 for glitter.

Valentine Projects for $3 and under

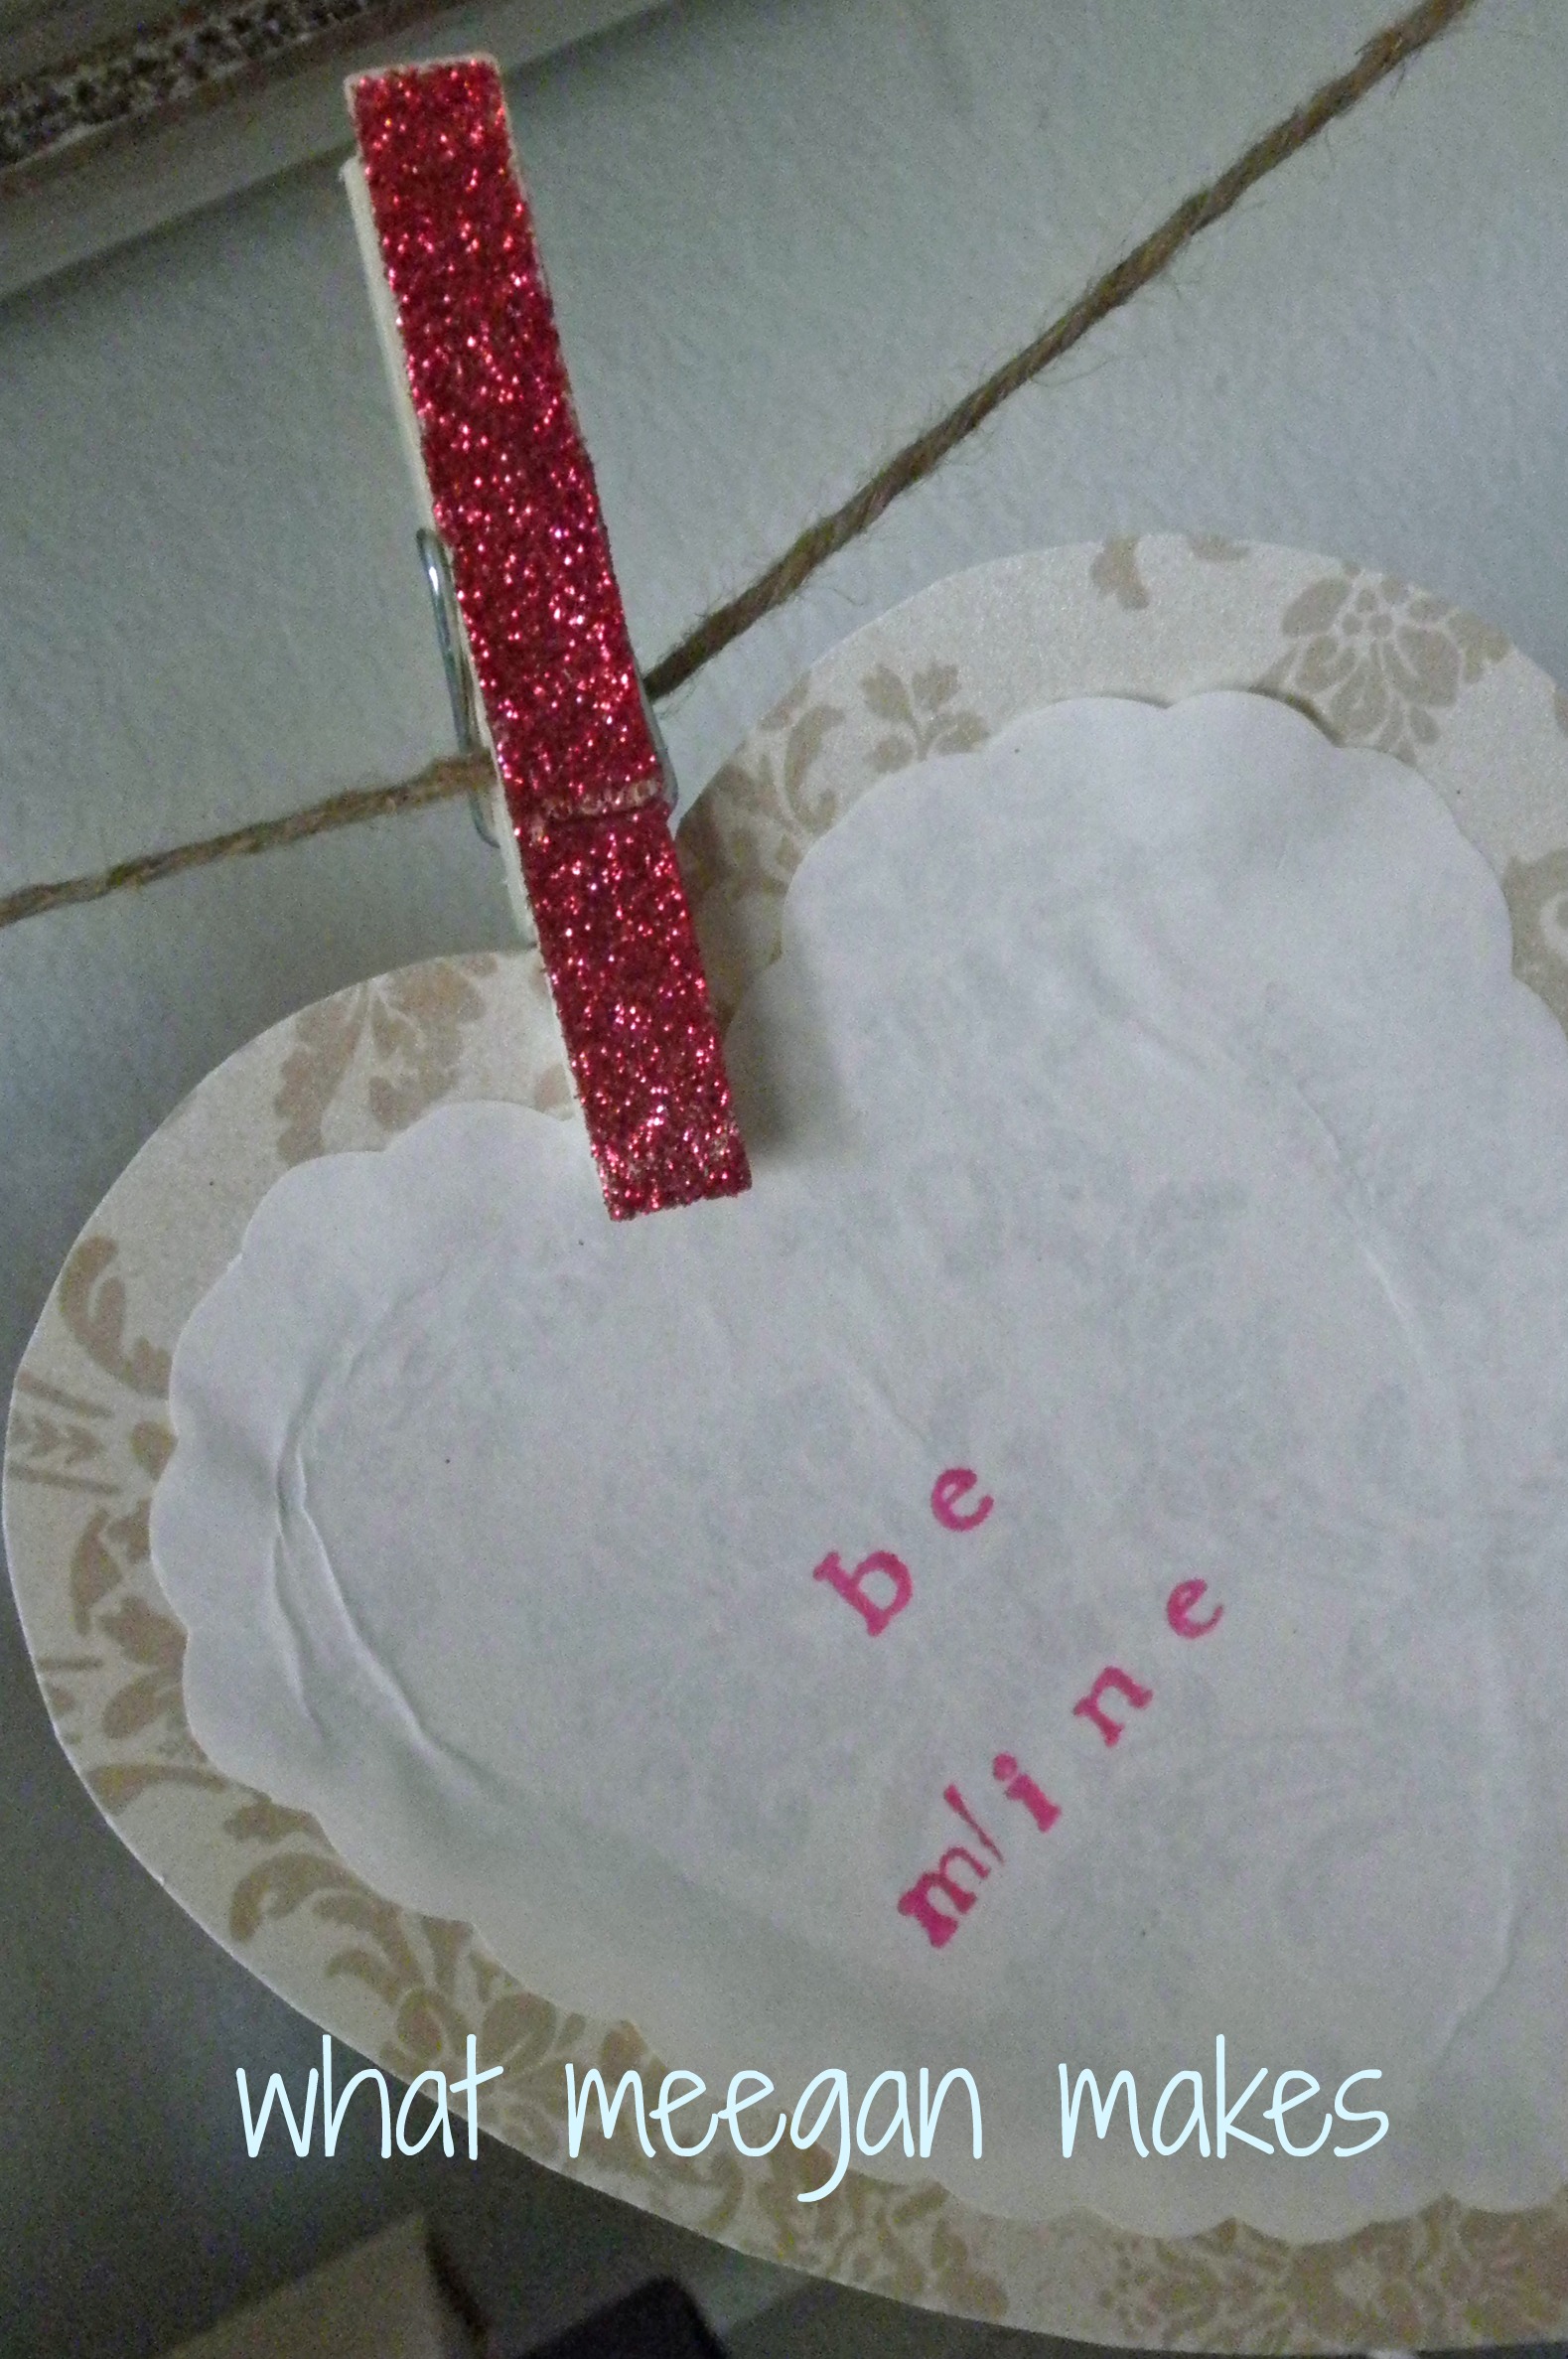
Cut out hearts from scrapbook paper.  They don’t have to be pink or red.  What ever you like.  Glue a white heart to your Valentine.  Using stamps write your message.  Cost $2.  $1 for stamps at Michaels Crafts.  $1 for scalloped scissors at Target Dollar Section.  Easy!!!

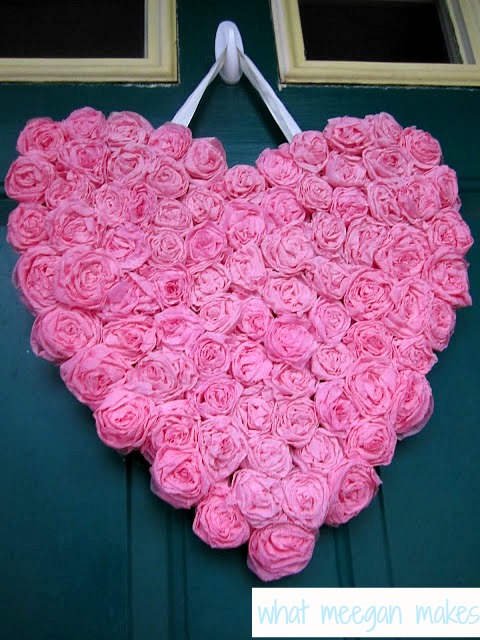
Valentine rojects for $3 and underMake a crepe paper rosette heart.  Backing is a cardboard piece from a cereal box, and the crepe paper was leftover from a party.  The ribbon was a remnent.  Cost $0.00

Valentine Projects for $3 and underUsing twine and your glittered clothes pins, make a banner to hang your homemade Valentines.  Cost $3.  $2 glitter. $1 scalloped scissors.

Valentine Projects for $3 and under

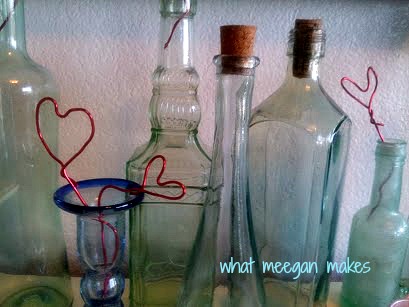
Using floral wire shape into Valentine hearts.   Use any color and as many as you want. Cost $1 at Dollar Tree.

There ya go!!  My ideas for Valentine’s projects $3 and under!!  I hope you have found some inspiration and ideas from visiting!!

Giveaway next week!!  I can hardly wait!!

Let’s keep connected:

Pinterest Facebook Hometalk Google + Stumble Upon Bloglovin’ twitter

And now I am on Instagram!!  woo woo!!

Make it a super day!!

Valentines Projects for $3 and under

 Linked with: Its Overflowing I Should Be Mopping Cowgirl Up Brassy Apple Coastal Charm Kammy’s Korner Elizabeth & Co Alderberry Hill Shaken Together Home Stories A2Z 504 Main Lil Luna Savvy Southern Style From My Front Porch All Stars Block PartyLiveLaughRowe House of Hepworths Freckled Laundry Whipperberry DIY Showoff Happy Hour Projects Ginger Snap Crafts No Minimalist Here White Lights On Wednesday 52 Mantels {Primp} Made In A Day Craftionary At The Picket Fence French Country Cottage The Dedicated House Creations By Kara Redoux Debbie Doos The DIY Dreamer My Uncommon Slice of Suburbia The 36th Avenue Funky Junk

« Previous Page
Next Page »

Recent Posts

  • Best Christmas Pillow Covers
  • Make Ahead Christmas Cookies
  • How to Make Bread and Butter Pickled Onions
  • Best Rattan Bedroom Choices
  • Ten Summer Beach Essentials

Purchase Beautiful Home Accessories for any style

Thrifty Style Team 2nd Friday Monthly

International Blogger Club-The 3rd Monday of Each Month

Fashion Trends for Over Fifty

DIY Bicycle Rim Halloween Wreath

Create and Decorate Pumpkins With Sea Shells

Fall Tablescape in Lavender and White

Vintage Bicycle Rim Wreath for Fall

How To Make a Faux Pumpkin Centerpiece

Glittery Welcome Embroidery Hoop Wreath

70+ Crafts and Decorating Tips for Fall

Top Ten Tips and Tricks for creating a Cottage Style Home

Pineapple Pecan Coffee Cake with Caramel Glaze

Raspberry Cream Sandwich Cookies

Cream Cheese and Shrimp Cocktail Dip

PERMISSIONS

What Meegan Makes and all it’s content, pictures, ideas, etc. are original ideas and copyright protected.

Using content including but not limited to: designs, original ideas, photos, posts, etc. is prohibited.

Please ask permission before using any content from my blog for any reason and if there is any question.

Search

FEATURED ON SHABBILICIOUS FRIDAY MAGAZINE

FEATURED IN EVERYTHING HOME MAGAZINE

FEATURED ON HUFFINGTON POST

FEATURED ON HUFFINGTON POST

MY OWN RECIPE WAS FEATURED

FEATURED ON GOOD HOUSEKEEPING

Designer Insights from Terry’s Fabrics

Copyright © 2026 ·Beautiful Pro Theme · Genesis Framework by StudioPress · WordPress · Log in