What Meegan Makes

vintage style, cottage living, home cooking

  • Home
  • Contact for Collaborations
  • Privacy Policy and Disclosure
  • Furniture Makeovers
  • 10 DIY Seasonal Banners
  • 15 Creative Spring Crafts

My Framed Cardboard Chalkboard from a Cereal Box

February 13, 2013 By Meegan 23 Comments

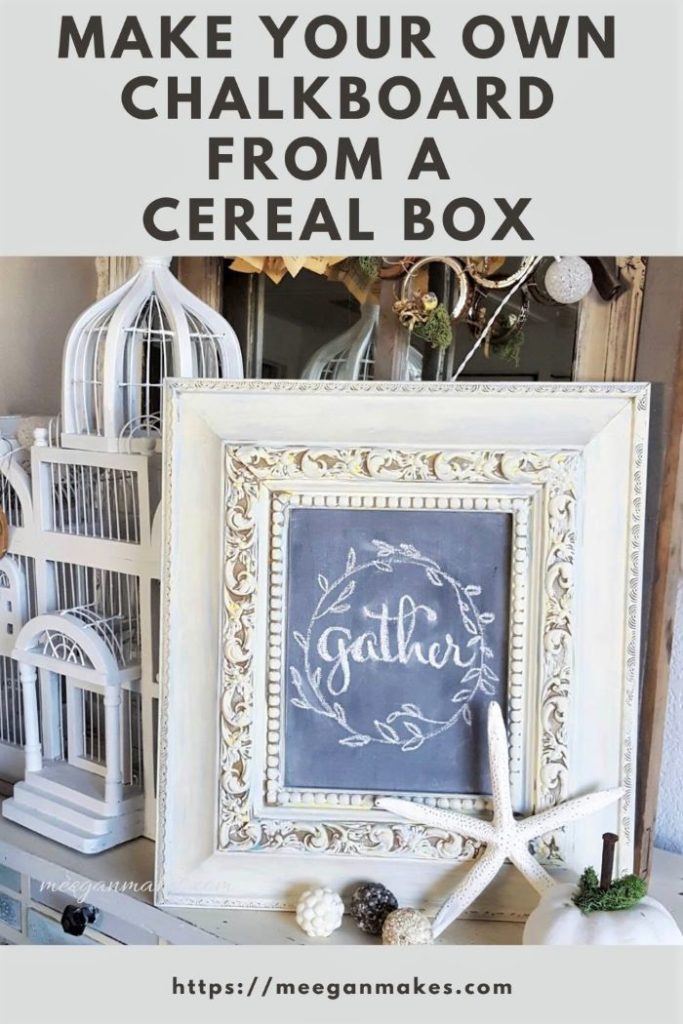
I like simple crafts. And if they don’t cost a lot of money, even better.  My Framed Cardboard Chalkboard from a cereal box fits both of those.

My Framed Cardboard Chalkboard

I found this lovely frame at the thrift store for 75 cents.  She is an oval metal frame, and with the right paint and additions I can find a place for her in our home.

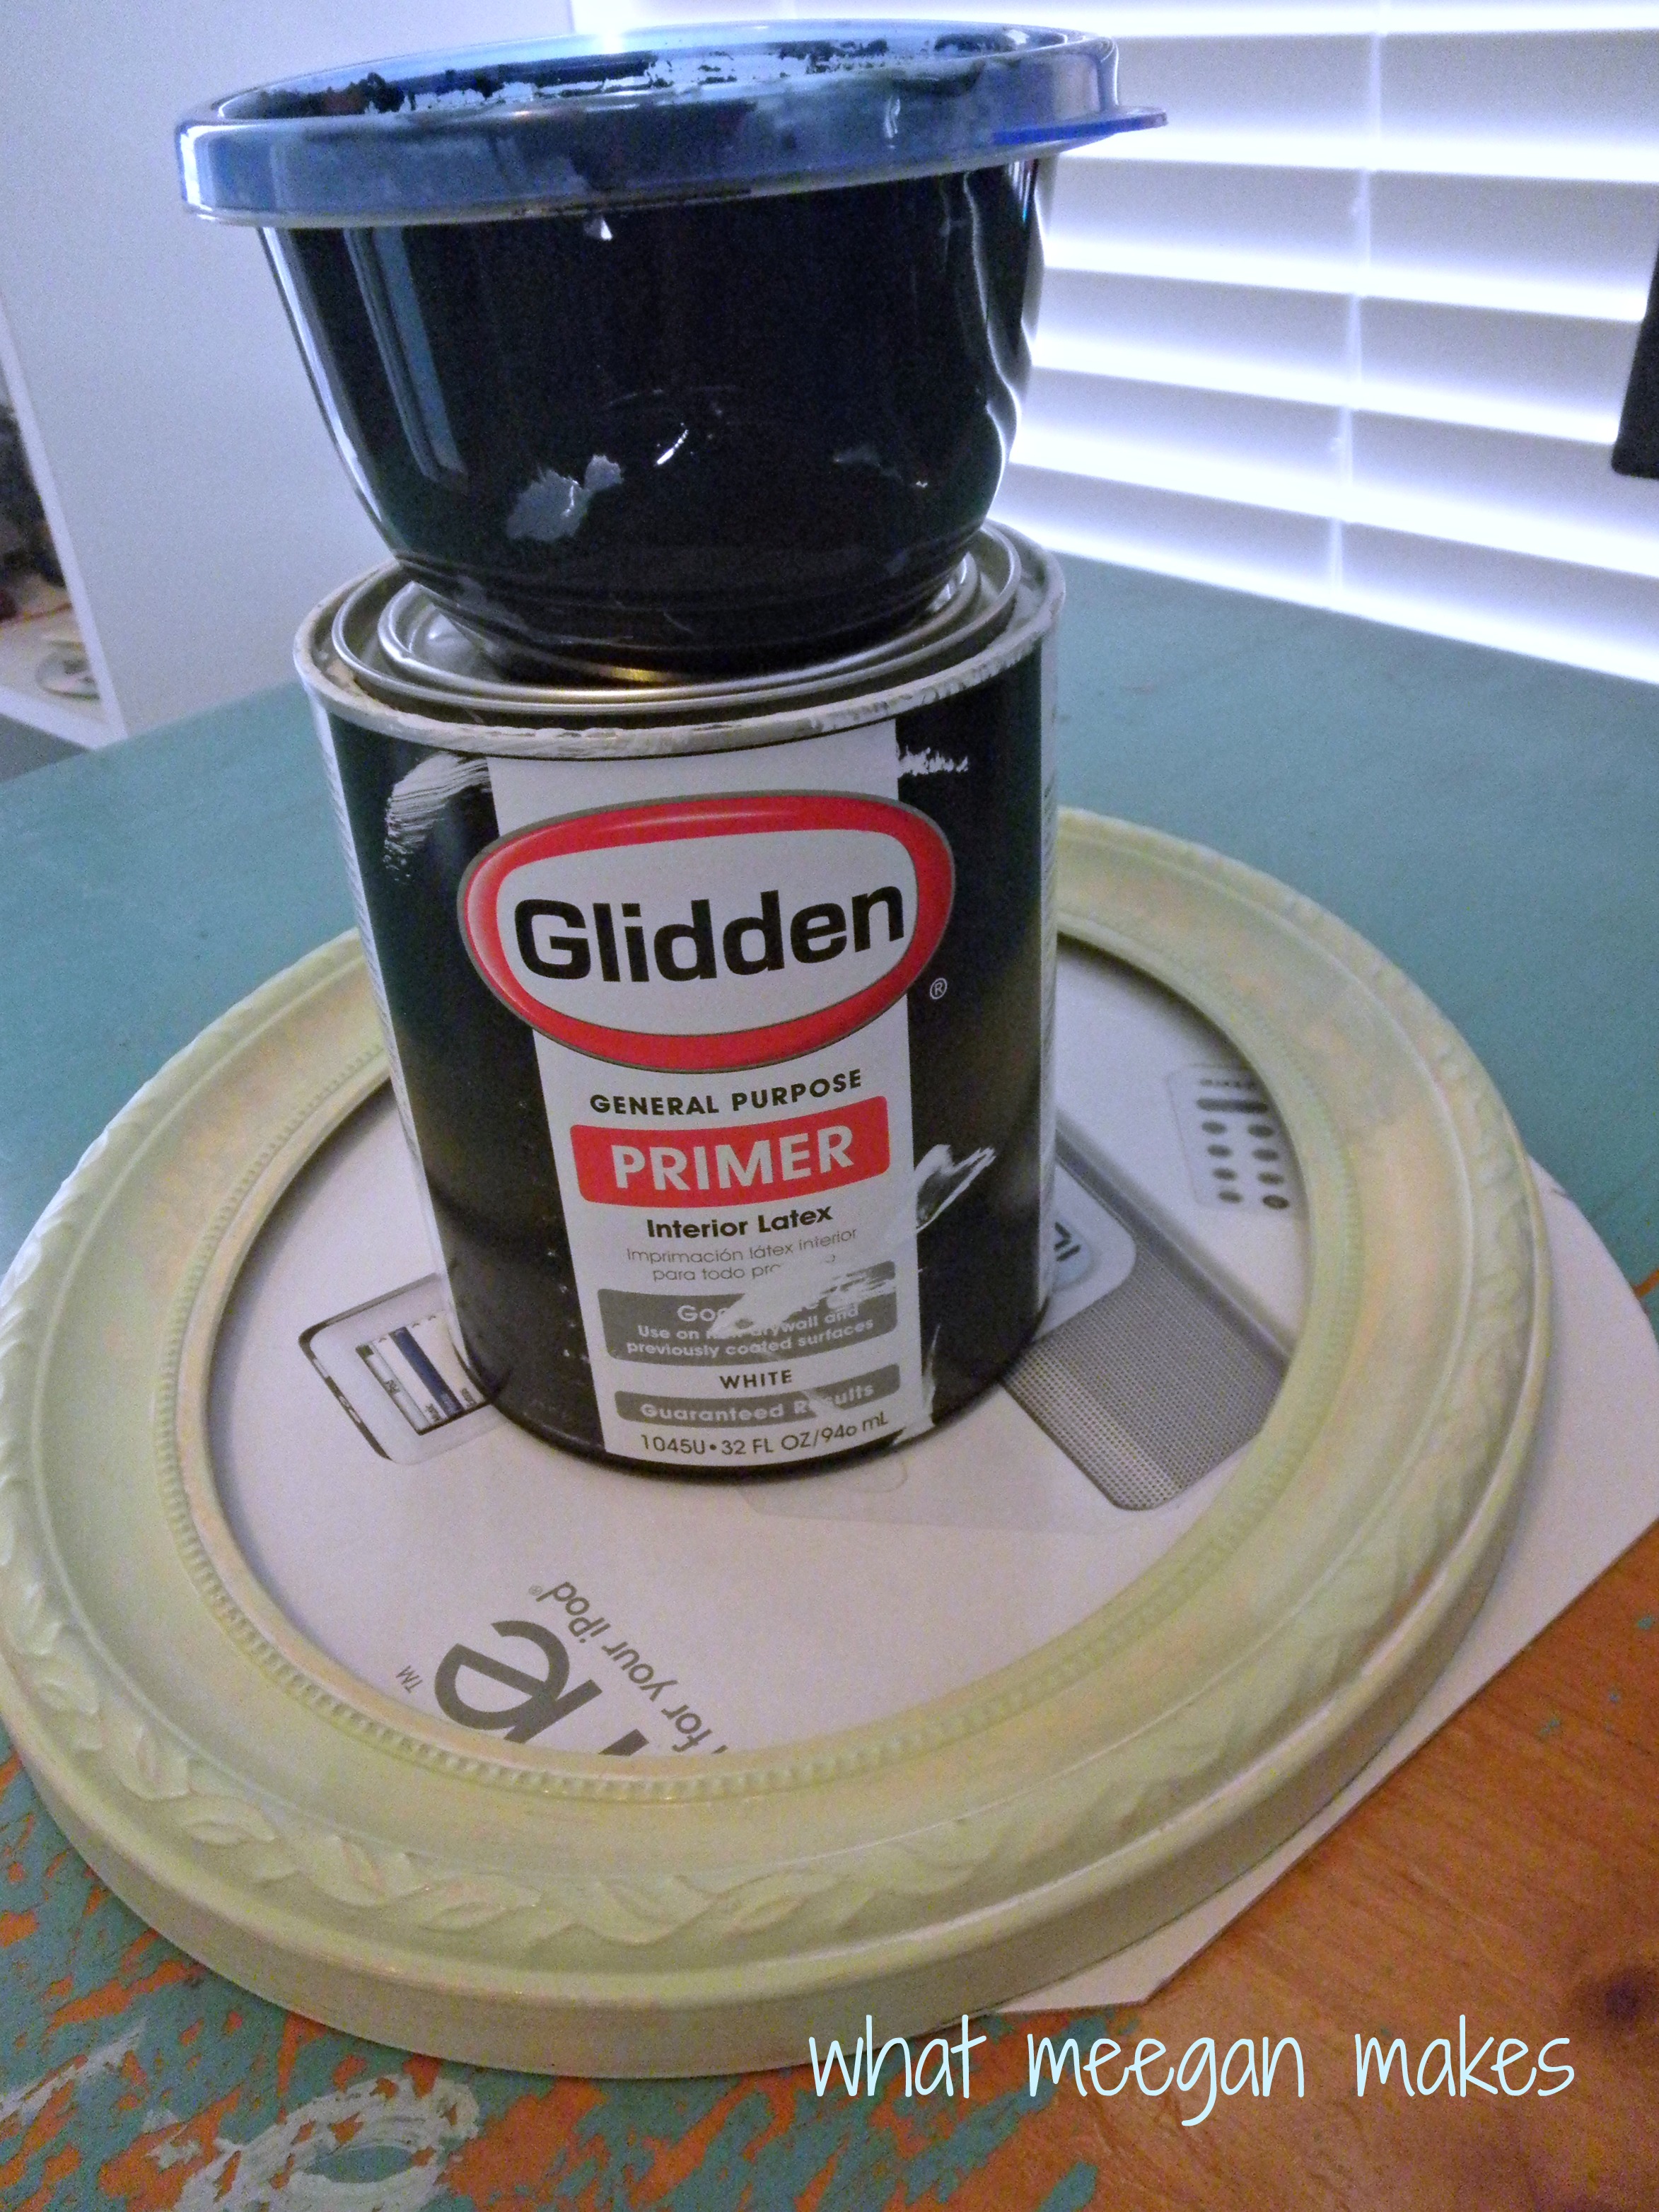
After I painted the frame Hint of Olive from Ace Hardware, I was ready to make a cardboard chalkboard.

 I found a piece of cardboard just the right size (for this particular craft, I used our iHome box).

I then needed to paint the cardboard with primer.  Once the primer was dry I painted over it with my homemade chalk paint.

My Framed Cardboard Chalkboard

After the chalk paint was dry, I cut the shape to fit snug in my frame.

Now it doesn’t slide, bend, or bow.  So excited to hang up my new beauty!!

OLYMPUS DIGITAL CAMERA

I added a twine loop to the back by hot gluing it.  So easy!  Doesn’t she look great on our pantry?

My Framed Cardboard Chalkboard

Who would have thought a 75 cent frame could look so good??  I just love my Framed Cardboard Chalkboard!!  Now you can make a cute and trendy chalkboard from cardboard!!

P.S.  Our kids love homemade biscuits and gravy.  It is a meal ask for every time we are all together.  I tell them, “You buy the ingredients and I will make it.”  They have the ingredients, and I make it. SO delish!


I made My Framed Cardboard Chalkboard with a different thrifted frame to update and add a new texture. It doesn’t even look like a cereal box anymore, does it?

   I hope you try making a Framed Cardboard Chalkboard soon.  So easy and you can use your own creativity.

More ideas you might enjoy…


From Spice Rack to Flower Basket


70+ Fall Crafts and Decorating Tips

Pineapple Pecan Coffee Cake with Caramel Glaze

Filed Under: crafting, refresh, thrifting Tagged With: crafting, crafts, DIY, Home decor, Thrifting, vintage

Comments

  1. Linda @ Itsy Bits And Pieces says

    February 13, 2013 at 7:33 PM

    This is such a fun idea on a budget…looks wonderful!

    Reply
    • Meegan says

      February 14, 2013 at 5:02 PM

      Thank you LInda. I love your comments!!

      Reply
  2. Sherry says

    February 13, 2013 at 11:44 PM

    This chalkboard project turned out fabulous! I never thought of using cardboard for the chalk board part before. You are so smart and thrifty! Oh yes, btw, I absolutely love biscuits and gravy. Mmmmm.

    Reply
    • Meegan says

      February 14, 2013 at 5:02 PM

      Why, thank you SO much Sherry! It was a fun project :)
      Make it a great day!

      Reply
  3. The Other Me says

    February 14, 2013 at 3:52 AM

    love the chalkboard next to the blue door. adorable saying too!

    Reply
    • Meegan says

      February 14, 2013 at 5:01 PM

      Thank you!! I truly appreciate it.
      Happy Valentine’s Day!!

      Reply
  4. Britni says

    February 14, 2013 at 7:23 AM

    That’s such a great idea to use cardboard! And now I want biscuits and gravy…

    Reply
    • Meegan says

      February 14, 2013 at 5:00 PM

      Thanks Britni,
      You are so sweet!!
      Thanks for stopping by!

      Reply
  5. Barbara says

    February 15, 2013 at 5:13 AM

    Very cute Meegan!

    Reply
  6. Jamie @ Scattered Thoughts of a Crafty Mom says

    February 15, 2013 at 5:13 AM

    So cute! That would look great on the pantry door in my kitchen!
    ~Jamie

    Reply
  7. kristi@ishouldbemoppingthefloor says

    February 15, 2013 at 5:00 PM

    Super, super cute, Meegan!! And now I’m craving biscuits & gravy!

    Reply
    • Meegan says

      February 20, 2013 at 6:03 AM

      Thanks so much Kristi! Love that you like it. We must meet for biscuits and gravy some time!!

      Reply
  8. The Rosegarden in Malevik says

    February 16, 2013 at 11:04 AM

    really cute…….. a god job :)
    and do not miss….

    SATURDAY SHOWOFF

    it is FUN :)
    WELCOME
    Håkan ( The Roseman)

    Reply
    • Meegan says

      February 20, 2013 at 6:00 AM

      Thanks so much! I love your blog and your taste!!

      Reply
  9. Steph @ Crafting in the Rain says

    February 16, 2013 at 9:05 PM

    The color’s perfect!

    Reply
    • Meegan says

      February 20, 2013 at 6:00 AM

      Thanks so much Steph!! It was fun!

      Reply
  10. Jen @ Four Marrs & One Venus says

    February 18, 2013 at 2:16 AM

    This is Super– Totally pinned this guy! What a great little project girl!

    Reply
    • Meegan says

      February 20, 2013 at 5:56 AM

      Tahnks Jen! Love your comments and thanks for the pin!!

      Reply
  11. Karen Whitney says

    February 18, 2013 at 4:36 PM

    Beauty is right! Who would have thought it was cardboard? Total genius :)

    Reply
    • Meegan says

      February 20, 2013 at 5:56 AM

      Thank you karen!! I hope you make one soon and share it with me.

      Reply
  12. Elizabeth Salmeron says

    August 14, 2013 at 4:57 AM

    Great job! Do you recommend using primer before chalkboard paint?

    Reply
  13. Stacey says

    January 18, 2016 at 9:36 AM

    You smart little thing! It looks great and is so much safer than the one I made over a piece of glass once. That one had me shaking in my boots until I finally did away with it.

    Reply

Trackbacks

  1. I’ve Got The Monday Blues — MeeganMakes says:
    February 18, 2013 at 5:07 PM

    […] she was dry, I sanded her edges for some aging.  It was a treat to use my Cardboard Chalkboard and my floating frames on the shelf.  I made the blue tulle wreath for our son’s wedding open […]

    Reply

Leave a Reply Cancel reply

Your email address will not be published. Required fields are marked *

This site uses Akismet to reduce spam. Learn how your comment data is processed.

Follow on Bloglovin

Recent Posts

  • How To Embellish Christmas Ornaments
  • Handmade Bead and Crystal Christmas Ornaments
  • How To Decorate Pumpkins with Vintage Doilies
  • Peppermint Snowball Cookies
  • Decorate an Olive Bucket for Fall

Purchase Beautiful Home Accessories for any style

Thrifty Style Team 2nd Friday Monthly

International Blogger Club-The 3rd Monday of Each Month

MY AFFILIATES

Fashion Trends for Over Fifty

DIY Bicycle Rim Halloween Wreath

Create and Decorate Pumpkins With Sea Shells

Fall Tablescape in Lavender and White

Vintage Bicycle Rim Wreath for Fall

How To Make a Faux Pumpkin Centerpiece

Glittery Welcome Embroidery Hoop Wreath

70+ Crafts and Decorating Tips for Fall

Top Ten Tips and Tricks for creating a Cottage Style Home

Pineapple Pecan Coffee Cake with Caramel Glaze

Raspberry Cream Sandwich Cookies

Cream Cheese and Shrimp Cocktail Dip

PERMISSIONS

What Meegan Makes and all it’s content, pictures, ideas, etc. are original ideas and copyright protected.

Using content including but not limited to: designs, original ideas, photos, posts, etc. is prohibited.

Please ask permission before using any content from my blog for any reason and if there is any question.

Search

FEATURED ON SHABBILICIOUS FRIDAY MAGAZINE

FEATURED IN EVERYTHING HOME MAGAZINE

FEATURED ON HUFFINGTON POST

FEATURED ON HUFFINGTON POST

MY OWN RECIPE WAS FEATURED

FEATURED ON GOOD HOUSEKEEPING

Designer Insights from Terry’s Fabrics

Copyright © 2023 ·Beautiful Pro Theme · Genesis Framework by StudioPress · WordPress · Log in