Today I have a fun and easy way to dress up any tablescape for any event. I am going to teach you How To Make A Woven Magazine Page Placemat. It’s your typical type of craft, but I know you are gonna LOVE it!
It’s also the 2nd Wednesday of the month, so it’s time for the Thrifty Style Team to share their incredible and thrifty decorating ideas. It is always a treat to see what everyone comes up with. I will have all the links to their projects listed below.
Now to get busy with the tutorial on How To Make A Woven Magazine Page Placemat…
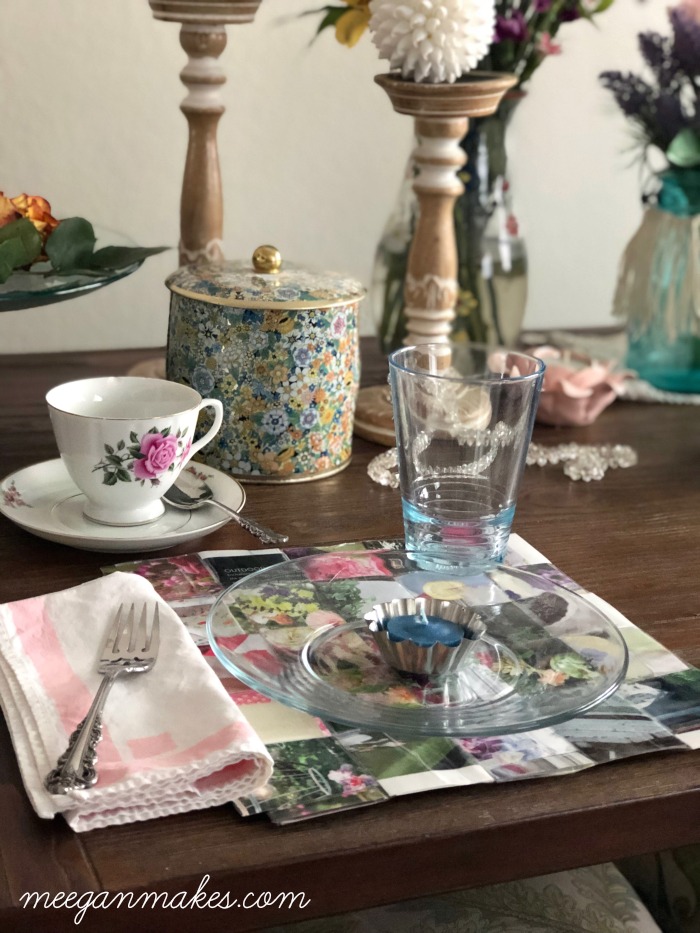
I know you can pretty much see anything you want online. But there is something about touching a piece of paper and having it tangible in your hands. My husband knows this about me and occasionally will come home with a pretty magazine for me to browse through.
I love the colors, style and inspiration that I can get from thumbing through a book or magazine, don’t you?
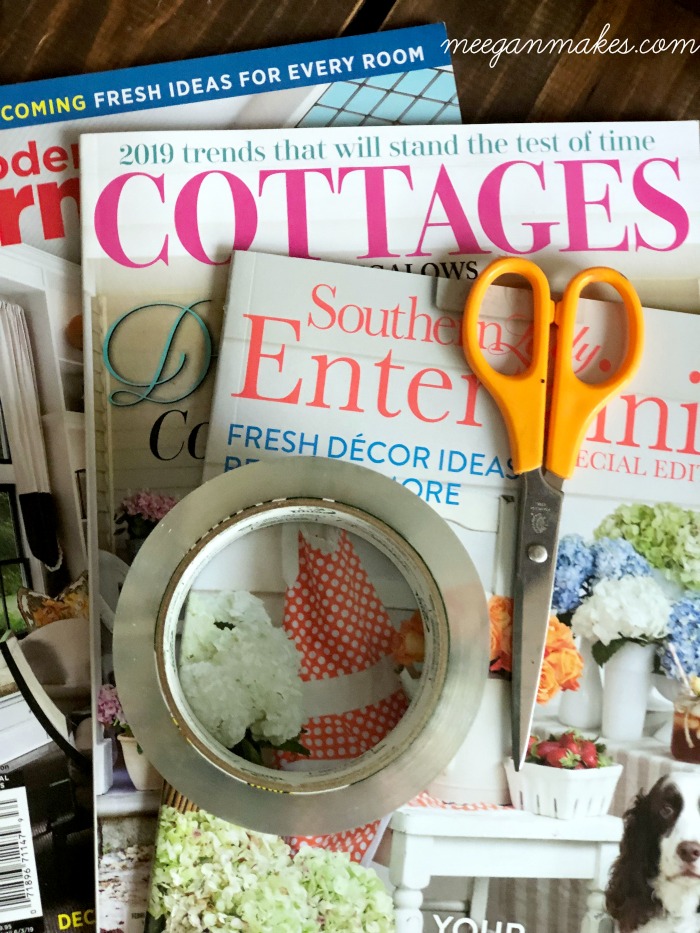
Once I am done with my magazines, sometimes it is hard to get rid of them, isn’t it?
With some pretty or inspiring magazine pages, packing tape (Which I still have plenty of from our move) and a pair of scissors, you can create a magazine page placemats. These beautiful placemats will last for your continued enjoyment. PLUS! Each one is unique and one of a kind.
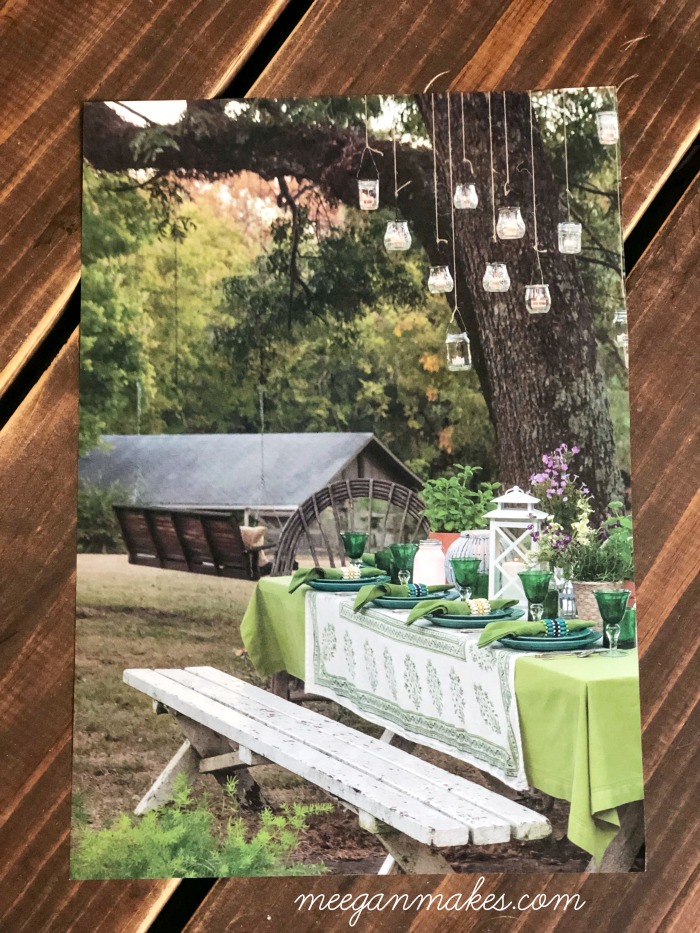
*When making your Magazine Page Placemats, please keep in mind that each magazine has different measurements than another. This can make a difference when you are weaving your placemat.
I start out my tearing or cutting out my favorite magazine pages. I like colorful, and beautiful scenes and vignettes for my own taste. You can choose food, outdoors scenes, floral, patios, kitchens, whatever YOU like.
For two place mats I needed 20 magazine pages. TEN strips for each placemat.
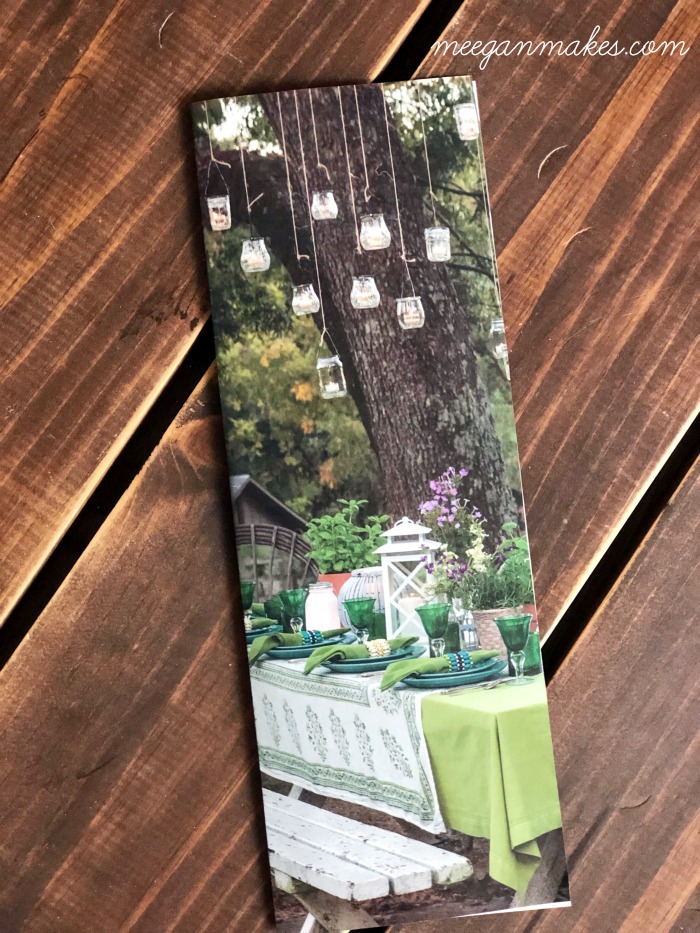
One page at a time, fold your magazine page in half, lengthwise.

Continue folding your page into quarters, as pictured above and below…
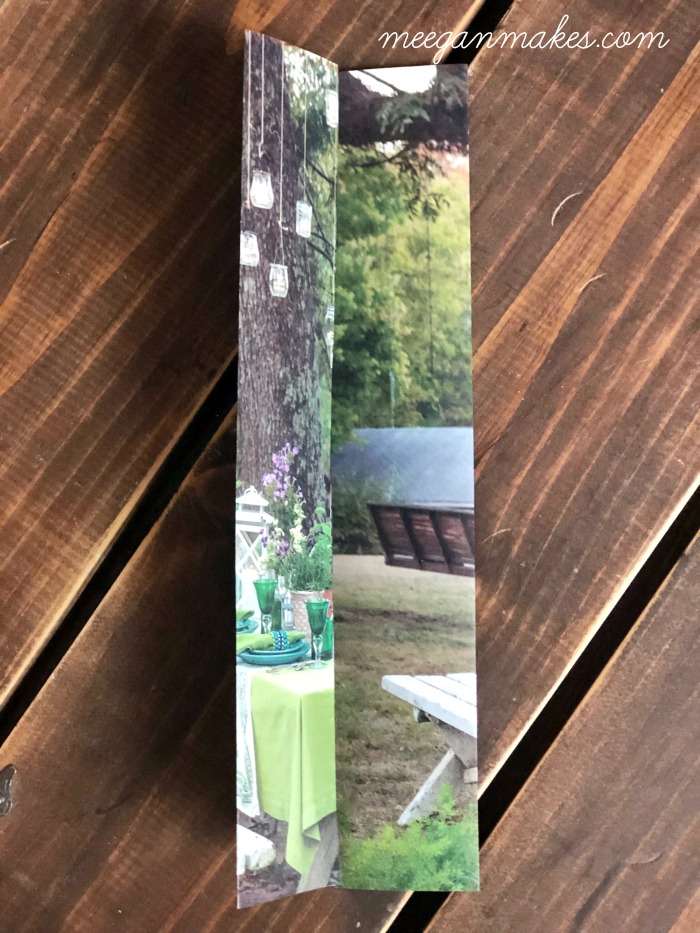
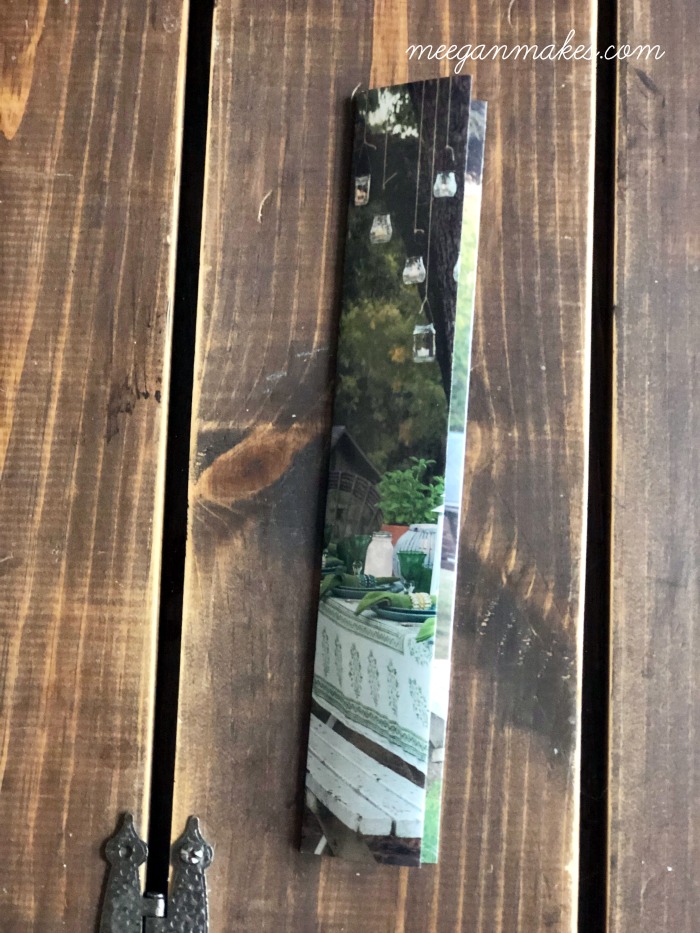
This is the size strip (pictured above) that you will need to begin “weaving” your placemat.
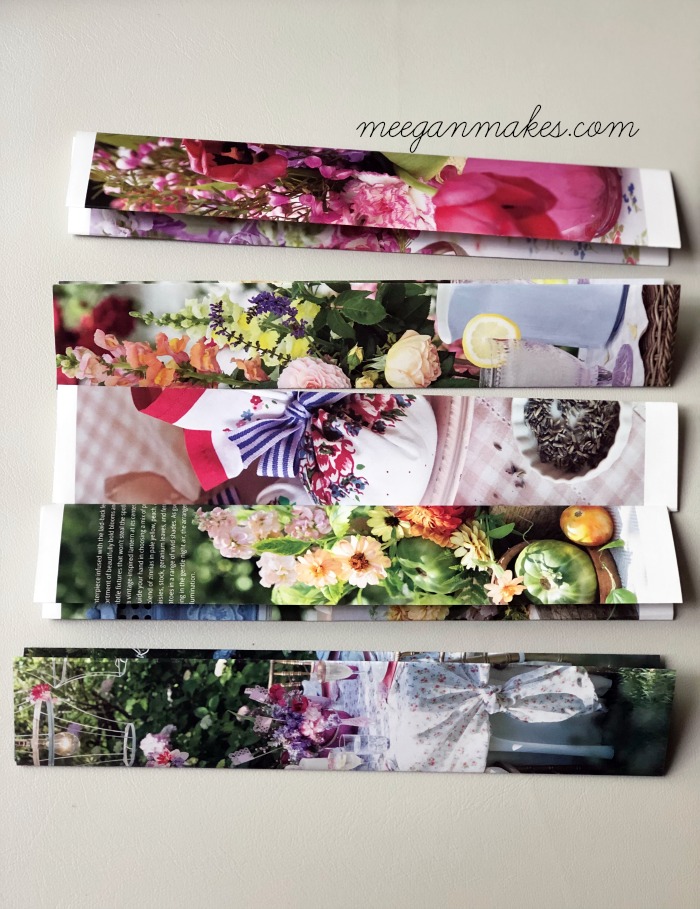
Lay five of your favorite magazine strips in a stacked row.
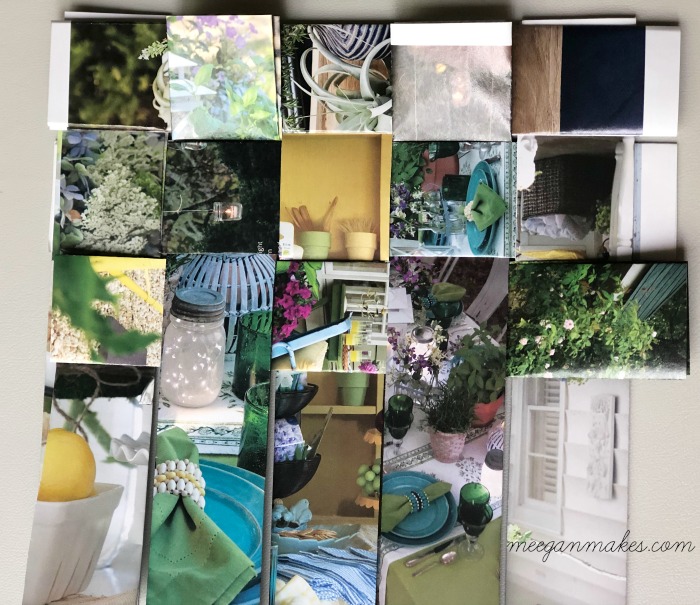
One at a time, begin weaving the other five strips in and out, in opposite layers. Continue weaving up and down through your first five strips. Like pictured above.
The trick is to keep the strips straight, even and tight together. Don’t leave gaps or space between the woven strips. You want the weaving to be as close to a whole piece as possible. It takes some effort, so be patient.
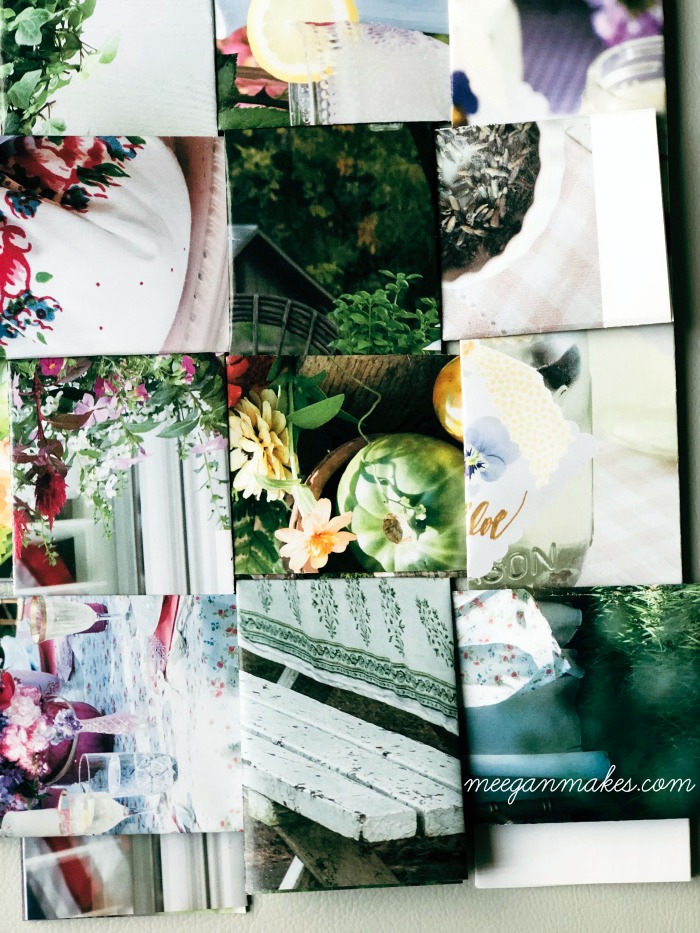
You will have a tiny bit of the strips hanging over. That’s okay. You can trim them off later.
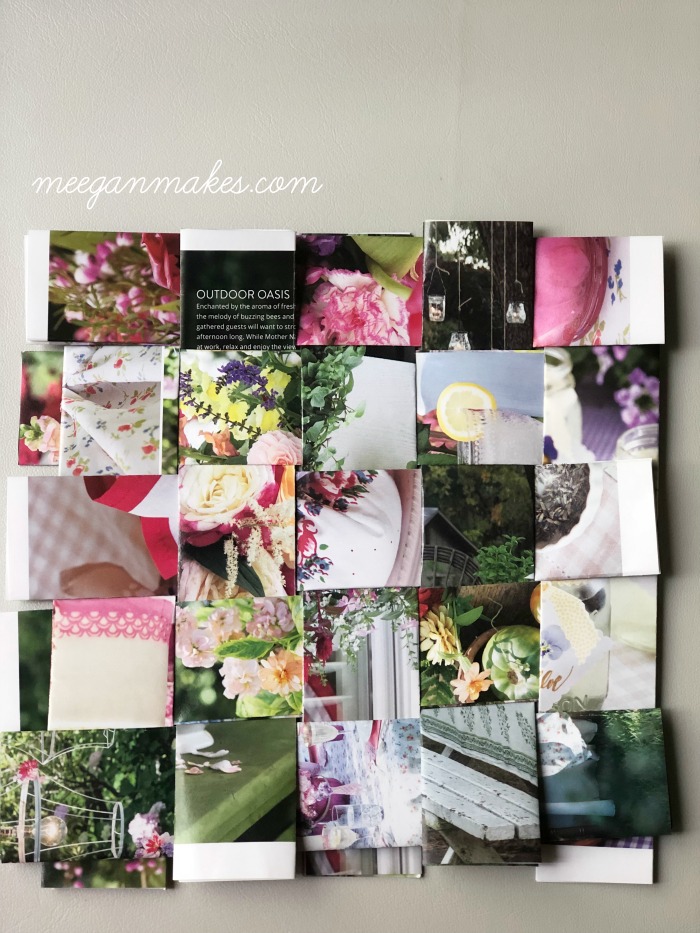
Your finished weaving should look similar to the picture above.
At this point, cut the extra ends off to make them even. You should have a square shaped weaving.
Now, it’s time to cover your placemat with the packing tape. This will keep your placemat secure and (almost) waterproof.
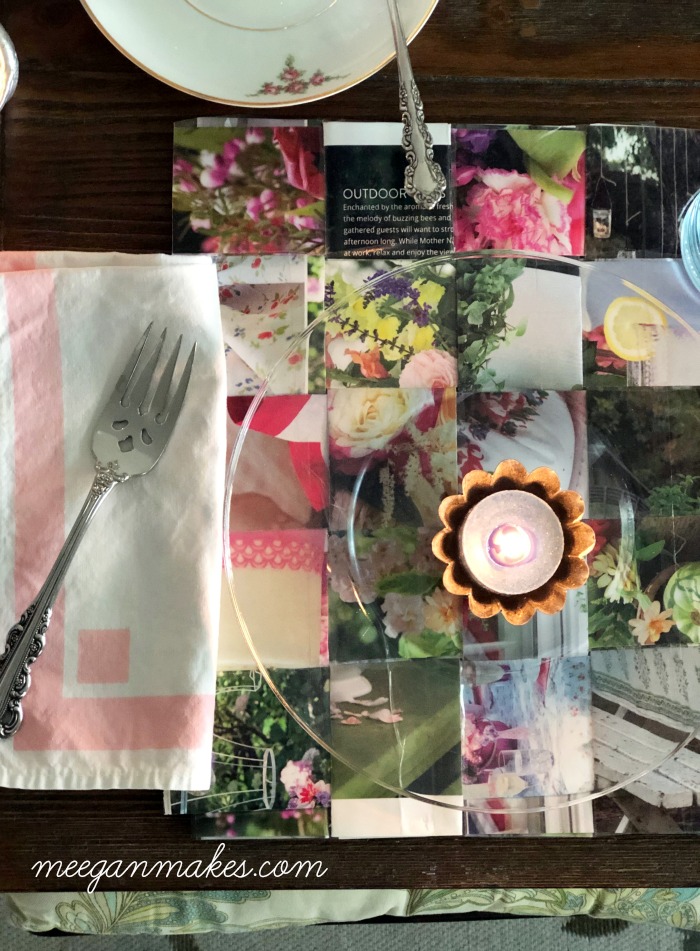
Carefully lay the tape onto the magazine “placemat”. There MAY be some wrinkles in the tape. And, unfortunately, if there are-there is no going back. Pulling the tape back will tear your pages. (Trust me, I found out the hard way) Just continue on. Rub the wrinkles out with your finger, scissors handle or butter knife.
It isn’t the end of the world. And really, NO ONE will know but you. I promise.
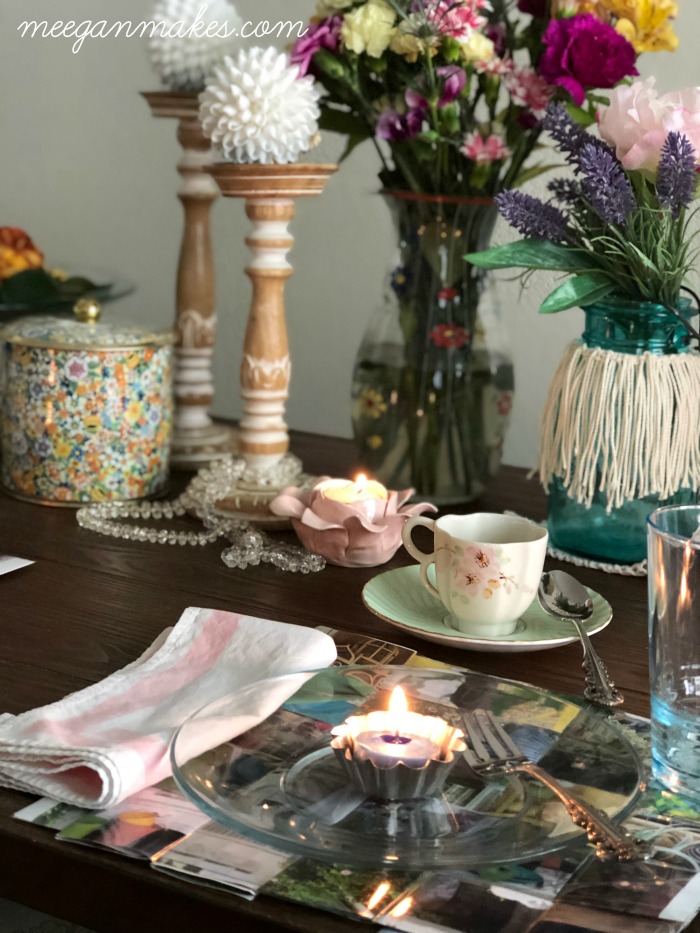
Cover both sides of your placemat with the packing tape. And you are finished!
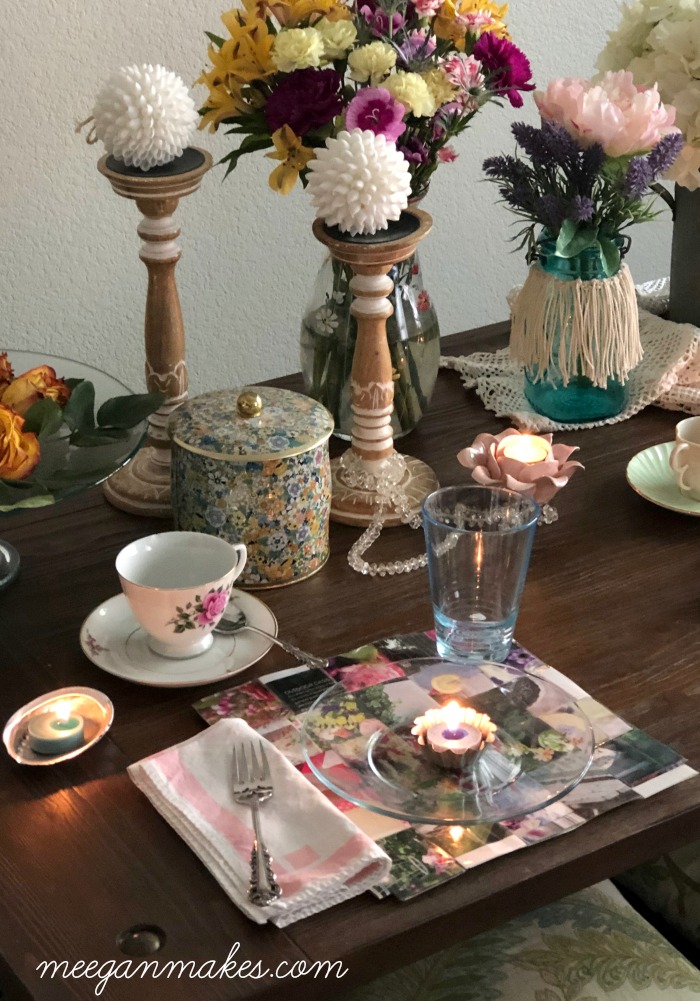
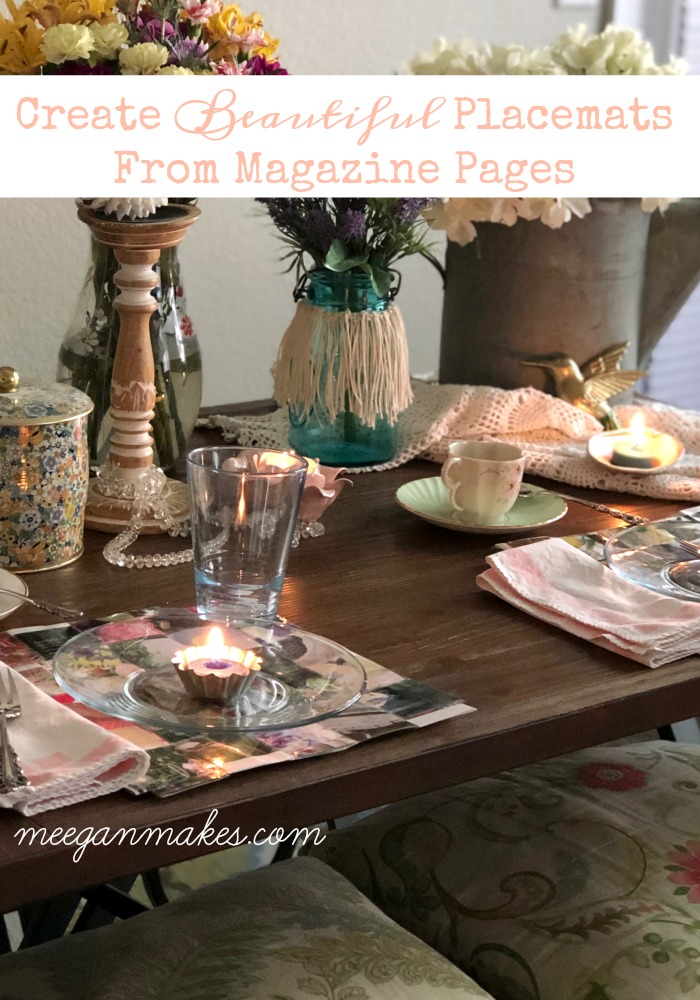
I just love this creative idea. Now, I can save and share my magazine pages with family, friends, visitors and at Holiday themed parties! Wouldn’t these be lovely at a wedding shower, tea party, Fourth of July, Christmas or Summer gathering? The ideas and creativity never end with these DIY Woven Magazine Page Placemats.
As promised, my creative blogging friends are sharing their own thrifty ideas today, too.
I know you will be inspired as you click through their blog posts…
Thanks for joining me today.


Thrifty Yellow and Pink Spring Porch by Redhead Can Decorate
Rustic Shiplap-Inspired Wall Art by The Creek Line House
Ideas on How to Update a 15 Year Old Bathroom Vanity by Duke Manor Farm
Make an Auricula Theatre – Thrifty Style by Heart and Vine
Window Seat Refresh by DIY Beautify
Green Painted Outdoor Table by Cottage at the Crossroads
Patio Decorating Ideas on a Budget by I Should Be Mopping the Floor
Vintage Box Makeover by Bliss Ranch
Easy DIY Nightstand From a Thrift Store Stool by Chatfield Court
Decorating with Thrifted Silver by 2 Bees in a Pod
DIY Grain Sack Striped Farmhouse Tote by The How-To Home
Thrifted Picnic Basket Makeover by Salvage Sister & Mister
DIY Magazine Page Place Mats by What Meegan Makes
100 Year Old Barnwood Shelves by The DIY Village




I have place mats not woven together made from Christmas cards. The kids used to love them playing i-spy. I used clear contac paper on those, do you think that would work instead of the packing tape? Pinned.
Meegan, what a clever idea and great way to showcase all your favorite magazine images!
I love this idea and I have tons of magazines to put to use. I could see this as a great girls night in project or something to make with the kids.
Meegan! This is BEAUTIFUL! What a clever and creative idea! Thank you so much for sharing with us! It’s always fun linking up with you and the other ladies from the Thrifty Style Team!
What in the world? This is so creative! These would be amazing conversation starters around a dinner table!
What a clever way to make your own personalized placemats Meegan. I am stealing this idea!
Super clever , Meegan!!!
Meegan, what a super creative idea. Now i Know what to do with old magazines. I love the idea of keeping them themed.could make for good table convo.
I love this idea, Meegan! So interesting and very creative!