What Meegan Makes

vintage style, cottage living, home cooking

  • Home
  • Contact for Collaborations
  • Privacy Policy and Disclosure
  • Furniture Makeovers
  • 10 DIY Seasonal Banners
  • 15 Creative Spring Crafts

How To Make Cardboard Chalkboard Signs

November 13, 2012 By Meegan 16 Comments

We are gearing up for our son and new daughter-in-law’s Open House this coming weekend!  More fun times that is for sure. On my list is:  How To Make Cardboard Chalkboard Signs.

For the Open House we are have 4 kinds of pizza (made in a wood fire pizza oven in a back yard!) and 6 kinds of homemade cakes, so each one needs a label.

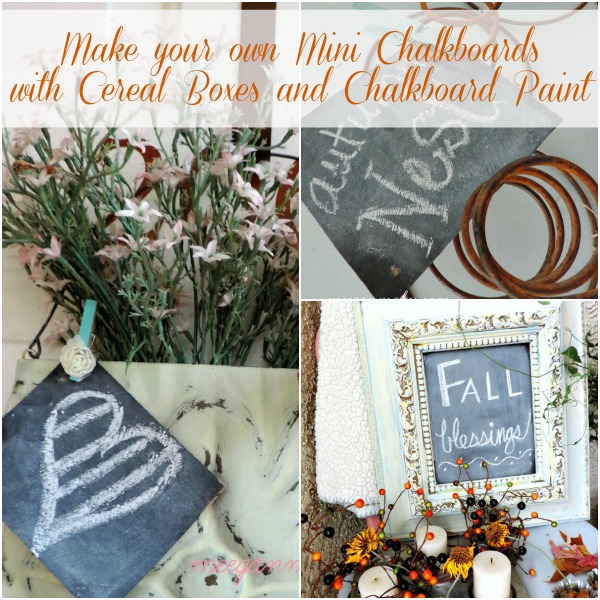
For our son’s wedding, I made chalkboard signs for the food, and I promised you a tutorial for it.  They are so easy and they turn out great.

Make Your Own Min Chalkboards with Cereal Boxes and Chalkboard Paint

Learning How To Make Cardboard Chalkboard Signs starts off by making my own chalkboard paint.
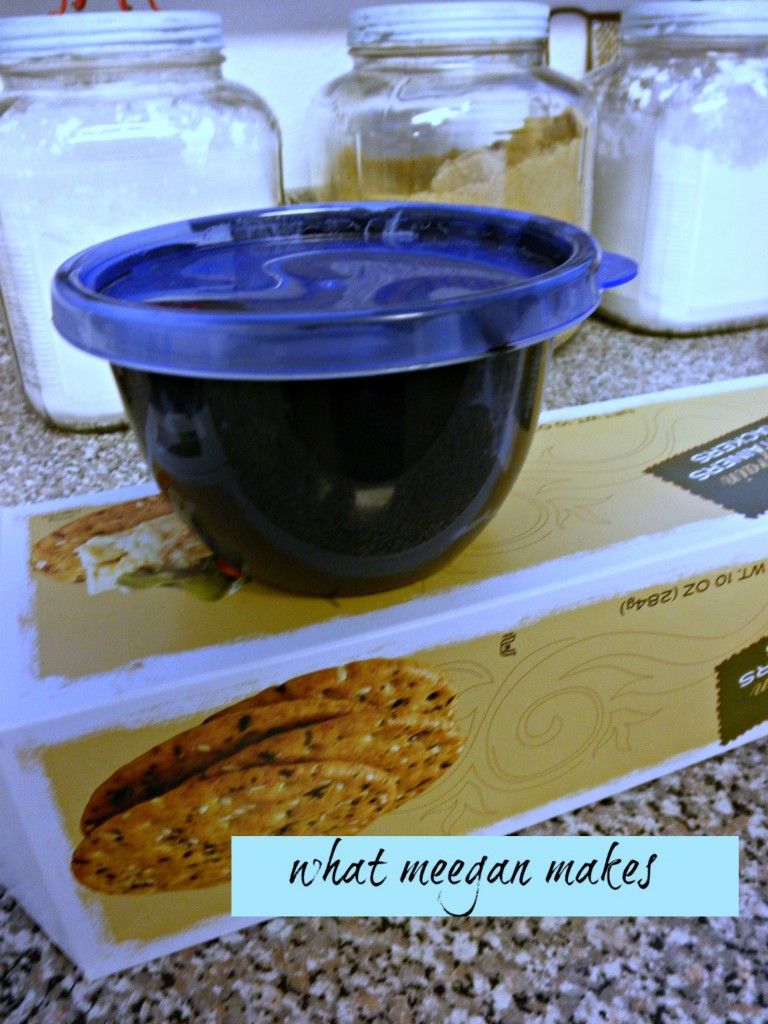
Make your Own Chalkboard Paint

I mixed:

1/2 cup black craft paint

2 tsp non-sanded grout

2 Tbl water

I mixed until it was smooth.

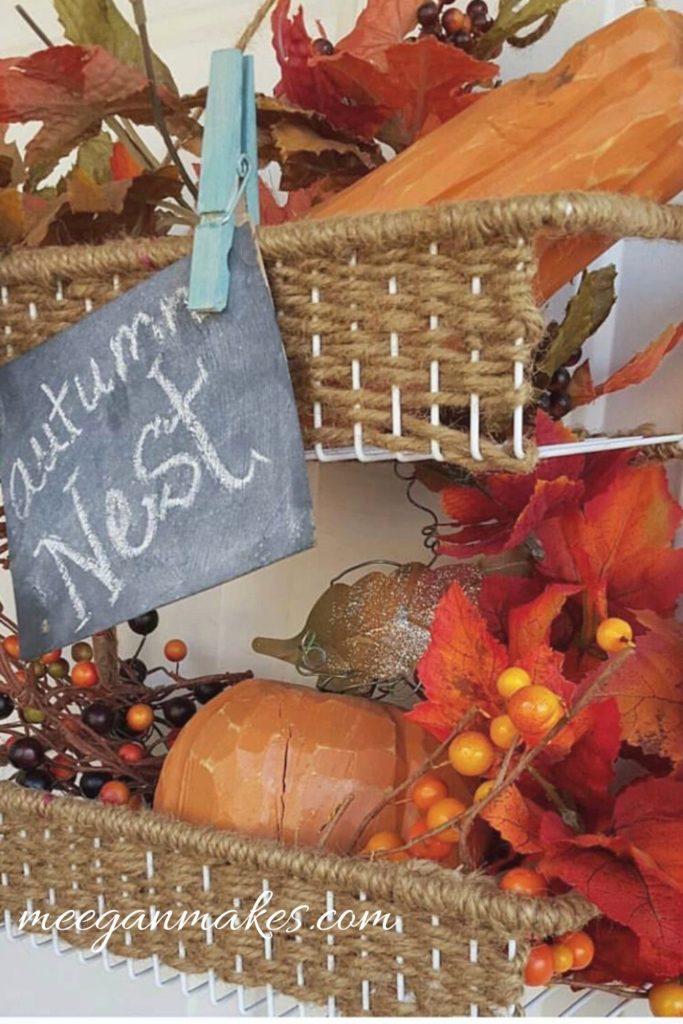
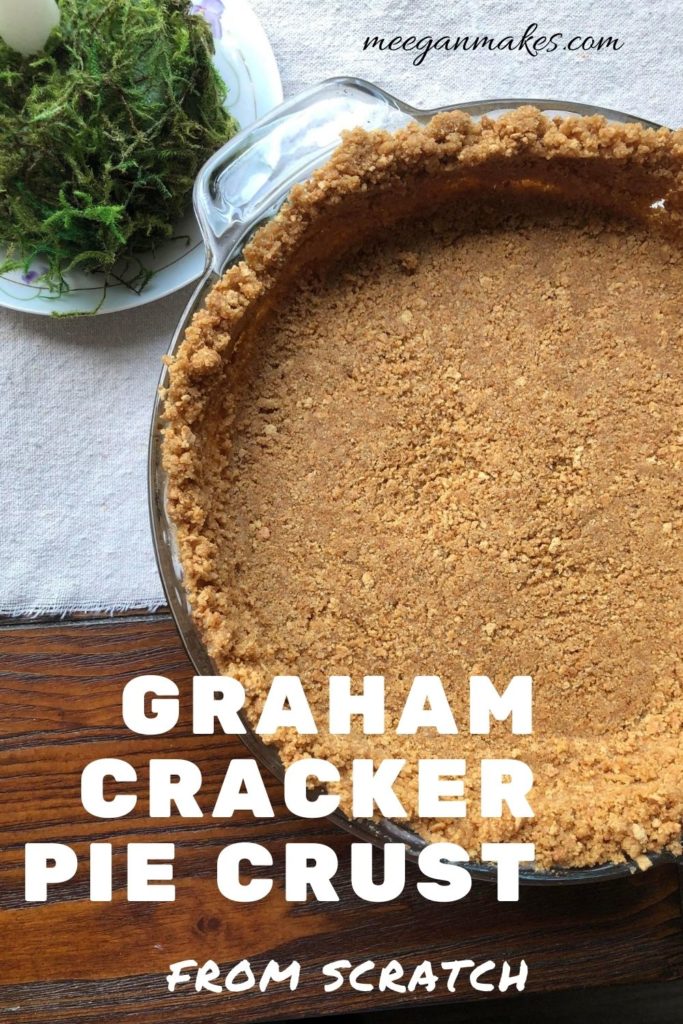
For my “chalkboard”, I used a cracker box, but you can also use a cereal box, or even a shoe box.

Make Your Own Chalkboards from Cardboard

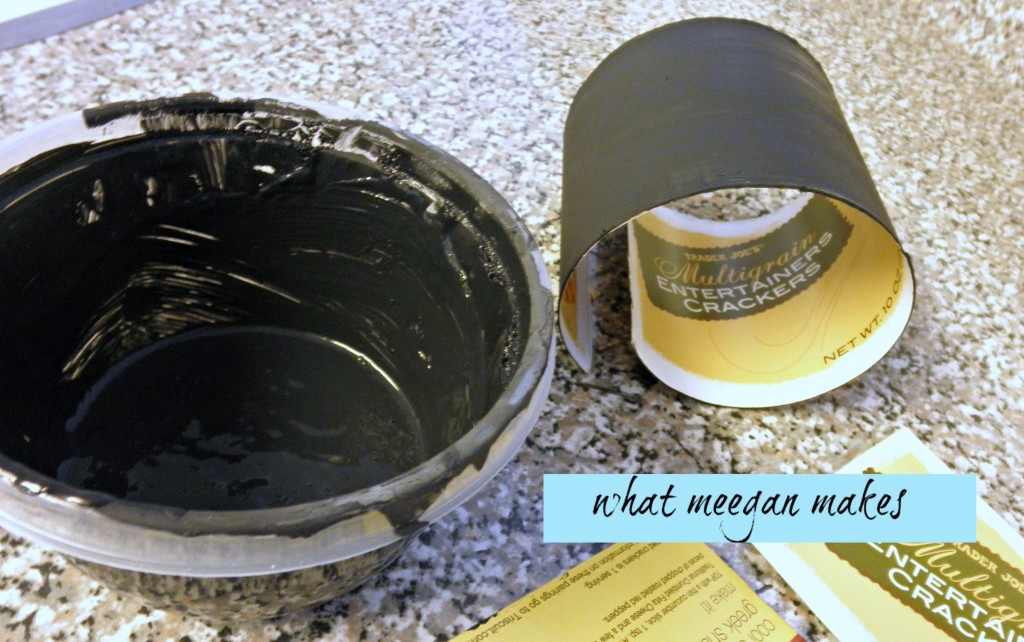
 I painted on the back side of the box. As you can see, the labeled side doesn’t absorb the paint as easily.

How To Make Cardboard Chalkboards

As the paint dries the cardboard does begin to curl.  I let it dry about 3 minutes, then I laid my heavy scissors on the “sign” for about about 5 minutes and then my signs stayed laid completely flat.

Easy To Make Chalk Boards Using Cardboard

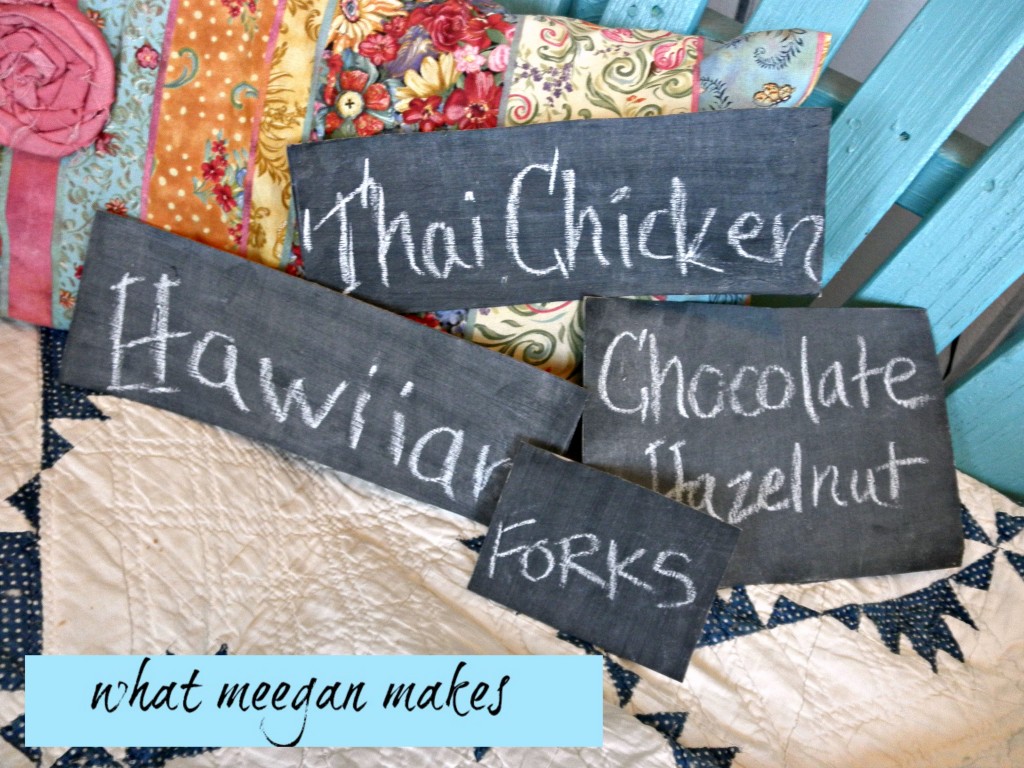
Let your new chalkboard dry for at least 12 hours.  Then use the side of your chalk to cover the “board” .  When you are done covering it-wipe it clean with a paper towel.  Your “chalkboard” is now ready for writing.  (I also painted the back with plain black paint to hide the label)

To make a “stand” for my chalkboards, I folded a piece of cardstock in half and used a template as my pattern.

Here is my stand ready for my chalkboard.  Yay! OH!!  These would be great for your Thanksgiving dinner and any Holiday parties you might be throwing, too.

Here are a few other ways I have used my cardboard chalkboard signs:
Spice Rack Turned Flower Basket
Porch-Fall-Decormeeganmakes.com_
Valentine FlowerPocket
Isn’t it so easy?  I am excited to use my Cardboard Chalkboard Signs for the Open House. I also can’t wait to share with you all the décor will will be doing.
Thanks for joining me as I shared How To Make Cardboard Chalkboard Signs. I can’t wait to see what YOU come up with.
Make it a lovely day.

Meegan

More ideas from my blog that you might enjoy…

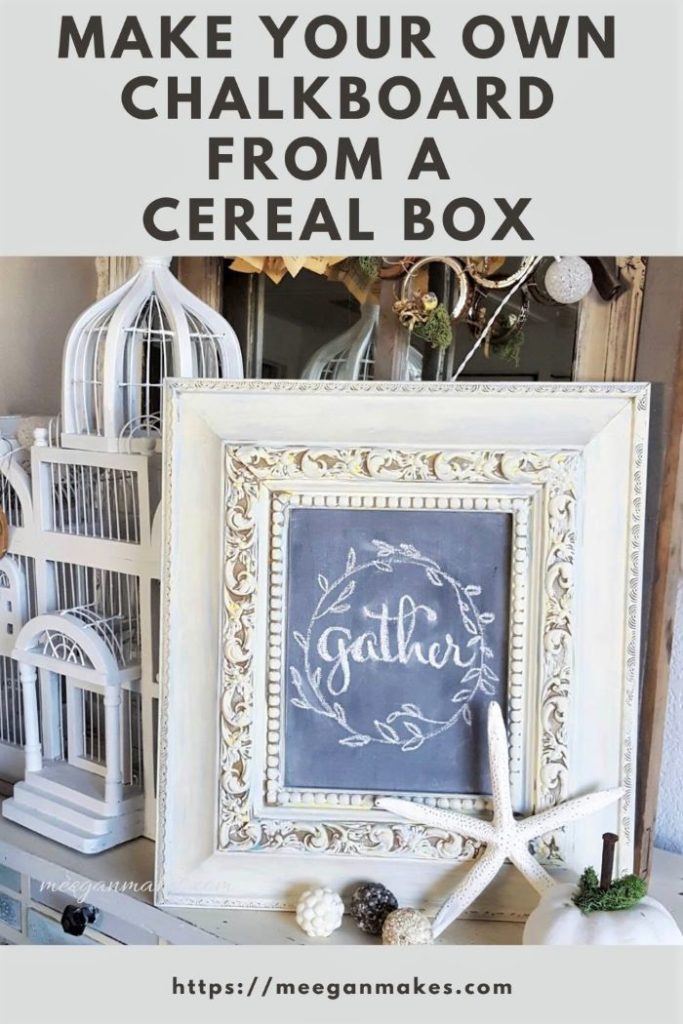
Framed Cereal Box Chalkboard Craft

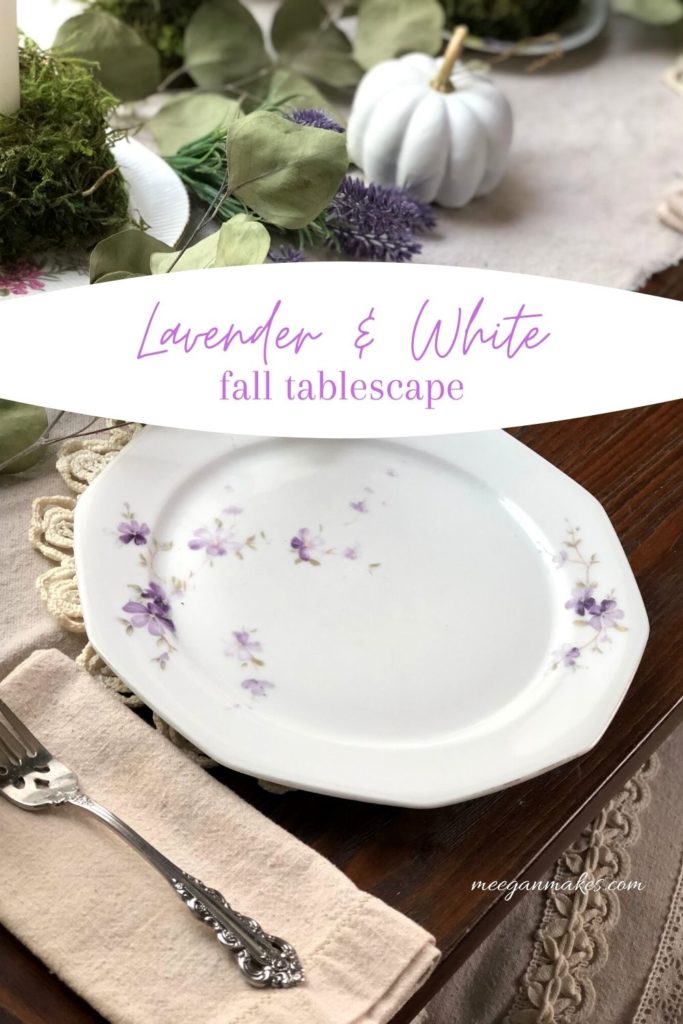
Lavender and White Fall Tablescape

Graham Cracker Crust from Scratch

Filed Under: crafting, DIY Tagged With: Cardboard Chalkboard Signs, crafting, crafts, DIY

Comments

  1. Robin says

    November 13, 2012 at 3:04 PM

    So cute! I am a new follower of yours. I have some chalkboard spray paint and haven’t quite decided how to use it. This is very clever.

    Reply
    • Meegan says

      November 22, 2012 at 8:43 PM

      Robin,
      Thanks for being a new follower!! I LOVE that you will be here often. Thanks for your sweet comments!!

      Reply
  2. Joel Jones says

    November 13, 2012 at 6:50 PM

    Didn’t know you could make your own caulk board paint. O.K.
    Also, I love making your own stands. We can use that idea in the store all the time.
    CREATIVE!!!!
    Love!!!

    Reply
    • Meegan says

      November 22, 2012 at 8:43 PM

      SUPER easy-they are perfect for you!! Let me know if you make some :)
      Loves!

      Reply
  3. Holly Lefevre says

    November 14, 2012 at 4:48 AM

    How darn cute are those and those holders…genius!

    Reply
    • Meegan says

      November 22, 2012 at 8:44 PM

      Thanks Holly! I always love your comments!! I am glad you stopped by! Come back again soon.
      Loves!

      Reply
  4. Jessi @ Practically Functional says

    November 14, 2012 at 10:35 PM

    Great idea for the food! I made two little tiny chalkboards to use as props for our anniversary photos the same way and they turned out great.

    Thanks for sharing at The Fun In Functional!

    Reply
  5. Susan says

    November 18, 2012 at 11:13 AM

    Isn’t it amazing what can be done with cereal boxes! ;>) I’m love, love, loving the stands… would you be willing to share the template?

    Reply
    • Meegan says

      November 22, 2012 at 8:46 PM

      Thanks so much Susan. You are too kind. You bet, I am willing to share the template. This coming week I will post it.
      Thanks for stopping by!!

      Reply
  6. jenniferppriest says

    November 2, 2015 at 8:42 AM

    So cute! Love this idea – way more affordable than using wood.

    Reply
  7. Deb says

    January 30, 2016 at 3:27 AM

    Hi Meegan, Love this idea. Is this the same receipe for chalk paint that you are using on furniture? If so, what kind of grout are you using- the epoxy?
    Thanks, Deb

    [WORDPRESS HASHCASH] The poster sent us ‘0 which is not a hashcash value.

    Reply
    • Meegan says

      January 30, 2016 at 9:55 AM

      Hi Deb, Thanks for asking. I am using a non-sanded grout. Without any color added. Then I can use it for any projects and any colors.
      I hope you visit again often.
      Have a great day.

      Reply

Trackbacks

  1. Wedding Open House Tour — MeeganMakes says:
    November 20, 2012 at 11:41 PM

    […] Candy Bar”.  I shared the dresser with you yesterday.  The frames, book page banner,  and the cardboard chalk board were from our home.  This dresser made me […]

    Reply
  2. My Christmas Coffee Table Love — MeeganMakes says:
    November 29, 2012 at 8:36 AM

    […]  I added some jars filled with candy for our visitors.  They are labeled with my chalkboards. […]

    Reply
  3. Twelve Under $3 Christmas Decorating Ideas — MeeganMakes says:
    December 8, 2012 at 3:34 PM

    […] are such a fun trend right now-so make these super easy ones.  Using clothes pins you can put them anywhere, even on your […]

    Reply
  4. My Framed Cardboard Chalkboard — MeeganMakes says:
    February 13, 2013 at 5:54 PM

    […] After I painted the frame Hint of Olive from Ace Hardware, I was ready to make a cardboard chalkboard.  I found a piece of cardboard just the right size (I used our iHome box).  I then needed to paint the cardboard with primer.  Once the primer was dry I painted over it with my homemade chalk paint. […]

    Reply

Leave a Reply Cancel reply

Your email address will not be published. Required fields are marked *

This site uses Akismet to reduce spam. Learn how your comment data is processed.

Follow on Bloglovin

Recent Posts

  • How To Embellish Christmas Ornaments
  • Handmade Bead and Crystal Christmas Ornaments
  • How To Decorate Pumpkins with Vintage Doilies
  • Peppermint Snowball Cookies
  • Decorate an Olive Bucket for Fall

Purchase Beautiful Home Accessories for any style

Thrifty Style Team 2nd Friday Monthly

International Blogger Club-The 3rd Monday of Each Month

MY AFFILIATES

Fashion Trends for Over Fifty

DIY Bicycle Rim Halloween Wreath

Create and Decorate Pumpkins With Sea Shells

Fall Tablescape in Lavender and White

Vintage Bicycle Rim Wreath for Fall

How To Make a Faux Pumpkin Centerpiece

Glittery Welcome Embroidery Hoop Wreath

70+ Crafts and Decorating Tips for Fall

Top Ten Tips and Tricks for creating a Cottage Style Home

Pineapple Pecan Coffee Cake with Caramel Glaze

Raspberry Cream Sandwich Cookies

Cream Cheese and Shrimp Cocktail Dip

PERMISSIONS

What Meegan Makes and all it’s content, pictures, ideas, etc. are original ideas and copyright protected.

Using content including but not limited to: designs, original ideas, photos, posts, etc. is prohibited.

Please ask permission before using any content from my blog for any reason and if there is any question.

Search

FEATURED ON SHABBILICIOUS FRIDAY MAGAZINE

FEATURED IN EVERYTHING HOME MAGAZINE

FEATURED ON HUFFINGTON POST

FEATURED ON HUFFINGTON POST

MY OWN RECIPE WAS FEATURED

FEATURED ON GOOD HOUSEKEEPING

Designer Insights from Terry’s Fabrics

Copyright © 2023 ·Beautiful Pro Theme · Genesis Framework by StudioPress · WordPress · Log in