I have been working a a project for our son’s wedding for about 5 weeks. It involves coffee filters, water, and food coloring. It is so simple and easy. I thought you might like to see the process for your own use. Learn How To Dye Coffee Filters With Food Coloring …
*This post was updated October 2025.
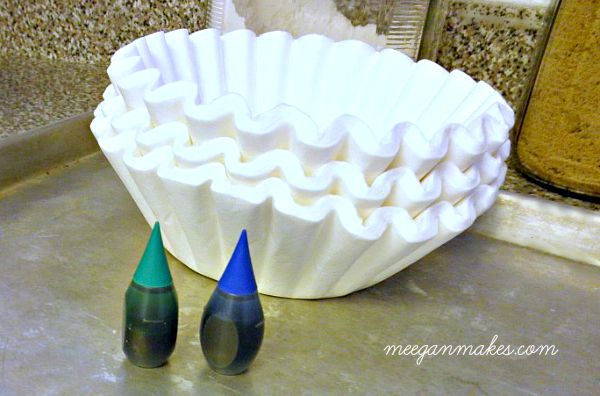
Step One: You will need coffee filters (approximately how many you will need for your project), a large bowl, water, cookie sheets and/or wax paper and food coloring.

Step Two: Add the desired about of food coloring to your water. The less water you start with the darker your filters will be. Stir the coloring and water together. Using 2 or 3 filters, test the color to see if it is the color you want.

Step Three: Using just 2 or 3 filters test the color to see if it is the color you want. If they are too dark, add more water. Too light, add more food coloring.

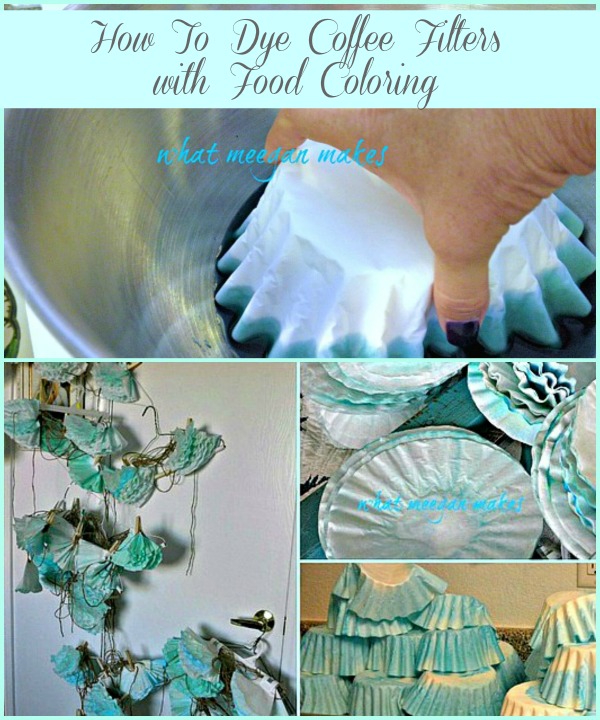
Step Four: Dip each filter in just about an inch in the water. The coloring will “bleed” up the filter from there. If they are heavy duty filters like from Smart and Final, you can “color” about 7 filters at a time. If they are cheaper filters like from The Dollar Tree, you can do about 10 at a time.

Step Five: Set your “colored” filters on a cookie sheet and/or wax paper. I placed mine on a cookie sheet so I could put them somewhere else, other than the kitchen. You can see that the blue “bled” higher in these. Sometimes that happens. Just know that it WILL happen.
It will take 21-26 hours for your filters to dry, if they are heavy duty. The lighter ones take about 12-15 hours to dry.
Here are just a few I have done. This give you a good idea of how they will turn out when they are dry.
So now you know How To Dye Coffee Filters With Food Coloring. I hope you will give it a try. The only thing that limits you is your own creativity. Mix up some colors and have a good time creating something beautiful for your home, Thanksgiving, or Christmas! I can’t wait to hear what you come up with.
Here is one small way we applied the coffee filters in a garland for a false ceiling.

Each of the strands of jute and coffee filters was attached to a wire and strings of white lights. It was very impressive and unique.
I’m excited to hear about how you would use dyed coffee filters.
Make it a wonderful day.

More ideas from my blog…
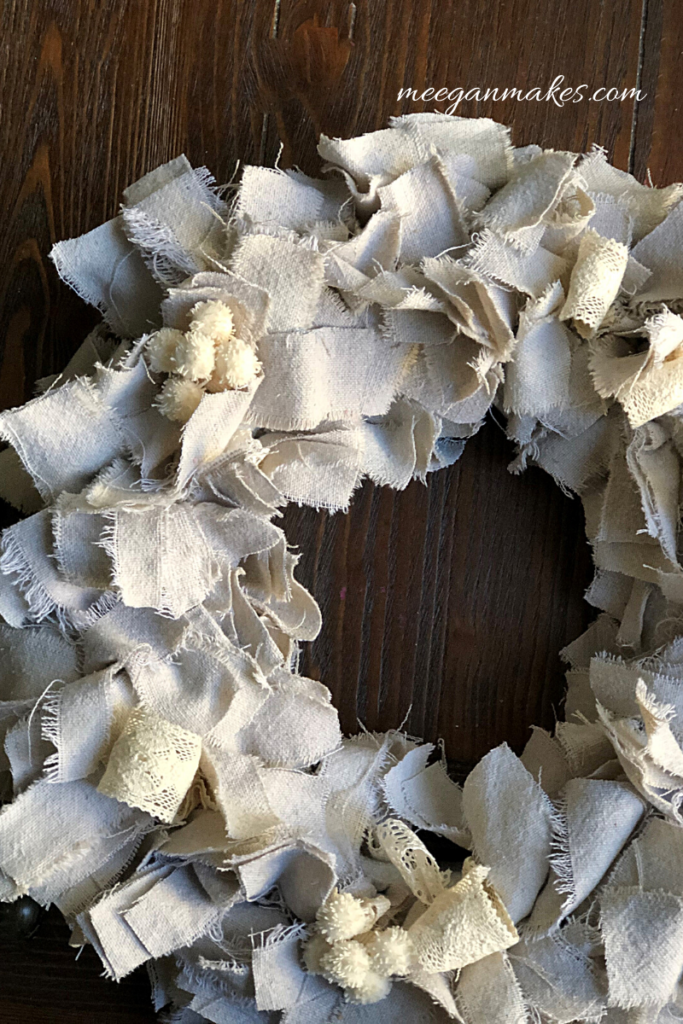
Make a boho drop cloth rag wreath
DIY Burlap Lamp Shade and Lamp Makeover


Great tip! The result is so romantic!
Thanks Tina!!! You are so sweet!!
Absolutely STUNNING!!!
Thanks so much for sharing this at The DIY Dreamer.. From Dream To Reality!
I can’t wait to see what you link up this evening!
OH WOW!! Thanks so MUCH Christine!! I am honored and so excited!! YOU ROCK!
Such a great tutorial, thanks.
Thanks Kristi!! I love your compliments!
CONGRATS!!!! You have been featured at The DIY Dreamer.. From Dream To Reality! Come on over and grab your featured button, you deserve it!
https://thediydreamer.com/2012/10/from-dream-to-reality-linky-party-39/
They are so pretty and ruffly! How are you going to use them for the wedding? I made a coffee filter wreath and it took forever. But I think it’s pretty darn cute!
I can’t wait to share a post about the coffee filters!! It is going to look amazing!! The wreaths DO take forever!! Pretty fun, though :)
Great tip! Thanks for sharing. I love creating with coffee filters, now I can make any color that I want!
Hi Meegan, I’m visiting from our Haven at Home tour. I still keep calling it that! I just love all the ideas you picked out and I need to try one of these wreaths. Thanks for the inspiration today. I can’t wait to read more!
Kim
Hi Meegan I just noticed your blog on line . What an idea about what to do with the coffee filters ! Who knew ! Your ideas are fantastic ! Thank you ! Waiting to see what your next idea will bring !
Thanks so much Kathy! I hope you visit here often!! xoxoxo
That blue is really pretty and would make a gorgeous wreath. Thanks for sharing at Throwback Thursday.
xoxo
Denyse
Thank you Denyse! They are so easy and fun to use.
Put them in the dryer – all dry in 15 min.
Do they keep the folds? That is what I like about drying them on the cookie sheets. Thanks for the tip Tami.