What Meegan Makes

vintage style, cottage living, home cooking

  • Home
  • Contact
  • Privacy Policy and Disclosure
  • Furniture Makeovers
  • 10 DIY Seasonal Banners
  • 15 Creative Spring Crafts

Decoupaged Christmas Gift Bag for Outdoor Christmas Decor

November 24, 2019 By Meegan 5 Comments

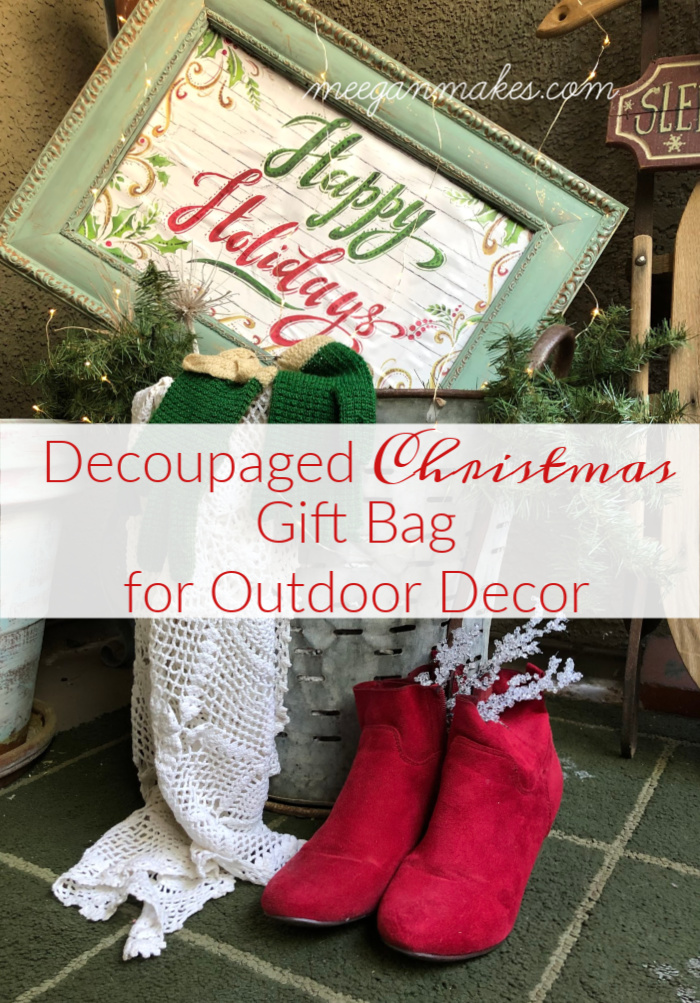
It’s week 4 of the Deck The Home Challenge! Since this week’s theme is: Outdoor Christmas Decor, I am going to show you how to make a Decoupaged Christmas Gift Bag for Outdoor Christmas Decor.

You will be amazed at ALL of the fabulous projects and ideas from 20+ talented bloggers.

At the end of this post there will be a link that leads to all 20+ posts. But for now let me show you how I made my DIY Outdoor Decor idea.

You can make this within an hour and a half and make it as in-expensive as you want.

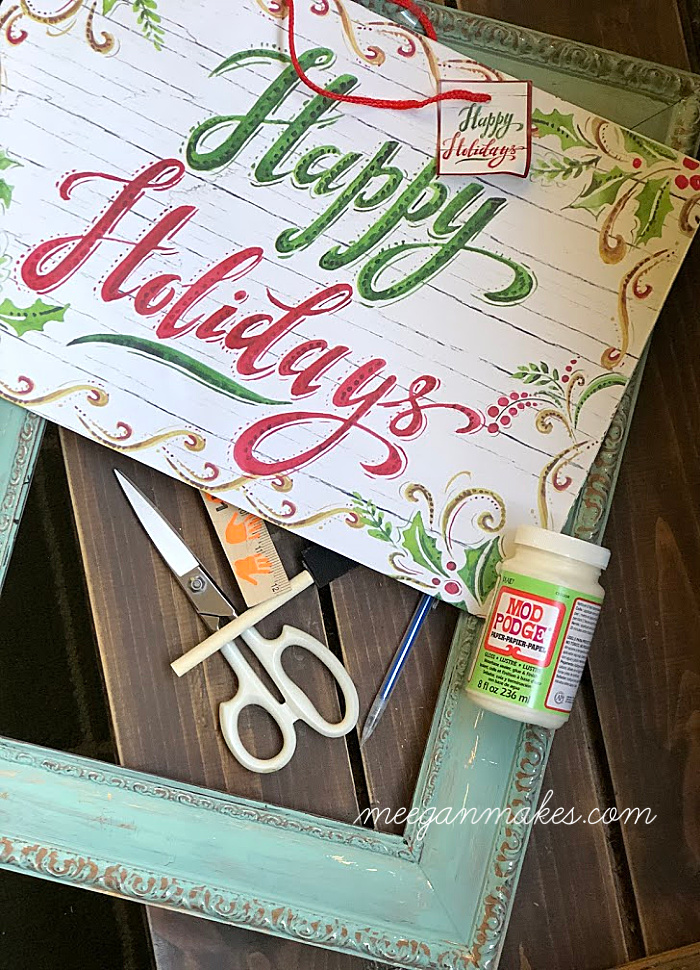
Supplies you will need to make your own Decoupaged Christmas Gift Bag for Outdoor Christmas Decor:

1-Large Christmas Gift Bag

1- Large empty frame, without glass (I bought mine at a thrift store and painted it before I started this project)

1-Poster size Foam Board

1 sharp knife

Bottle of Gloss/Water proof Mod Podge

1-Foam Sponge Brush

ruler

pencil

scissors

Using a ruler measure the INSIDE of the frame. For instance my frame inside measurements were 18×12 inches.

With the same measurements of the frame-cut out the area of the gift bag that you would like to frame.

Cut the foam board (with a sharp knife) with these same measurements.

With a sponge brush, cover the foam board with the Gloss and waterproof Mod Podge.

Carefully place the cut gift bag onto the foam board. It will stick almost immediately, so make sure your placement is correct.

There may be wrinkles, but just smooth them out with the flat edge of the ruler.

With the sponge brush, add a layer of the Mod Podge all over the gift bag. This will protect it from moisture.

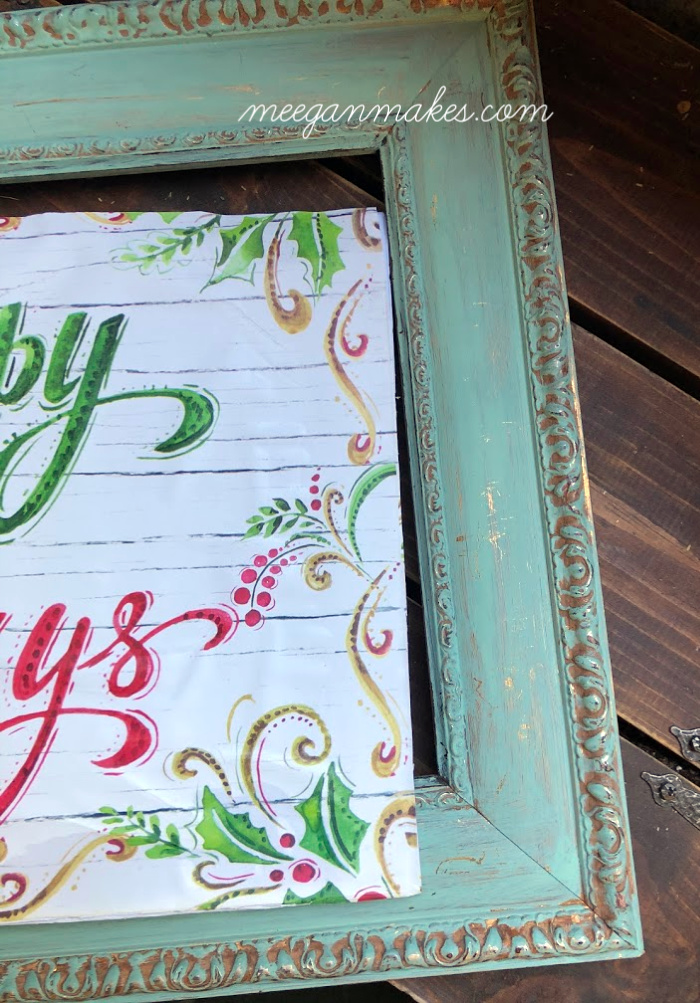
Once everything is completely DRY, it’s time to place the foam board into the frame. It will fit snug and that’s what you want. If it isn’t secure enough for you, you can tack it in with small nails. Super easy and simple solution.

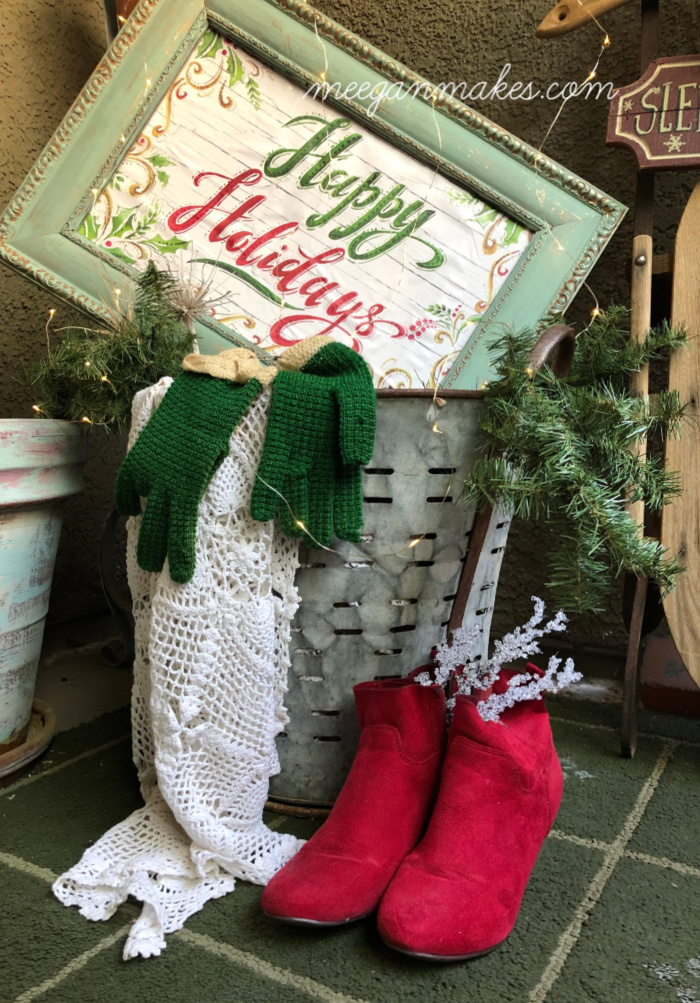
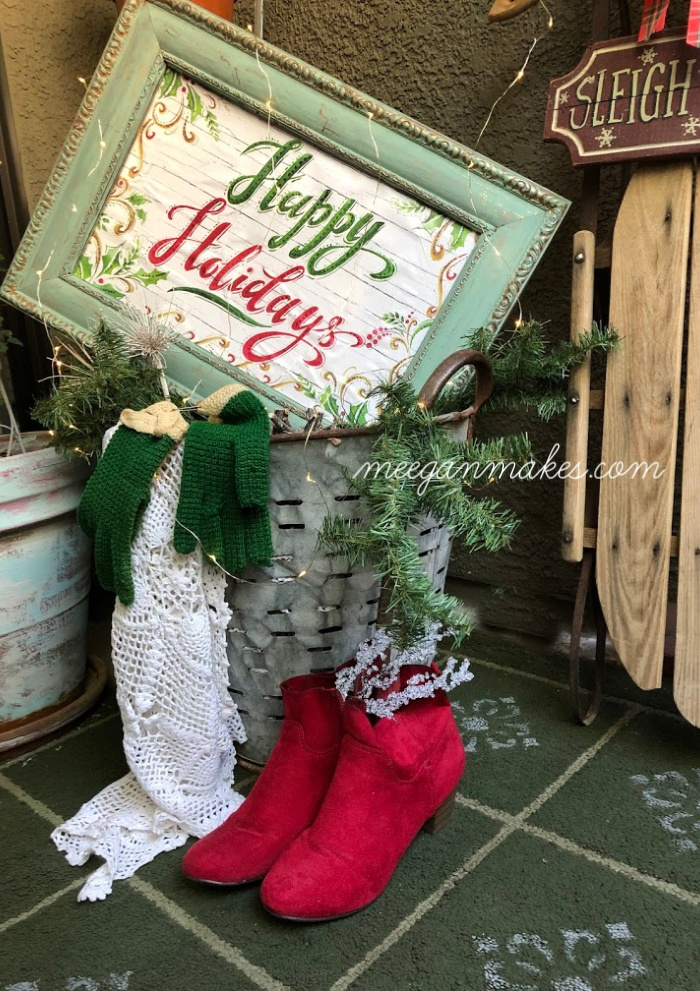
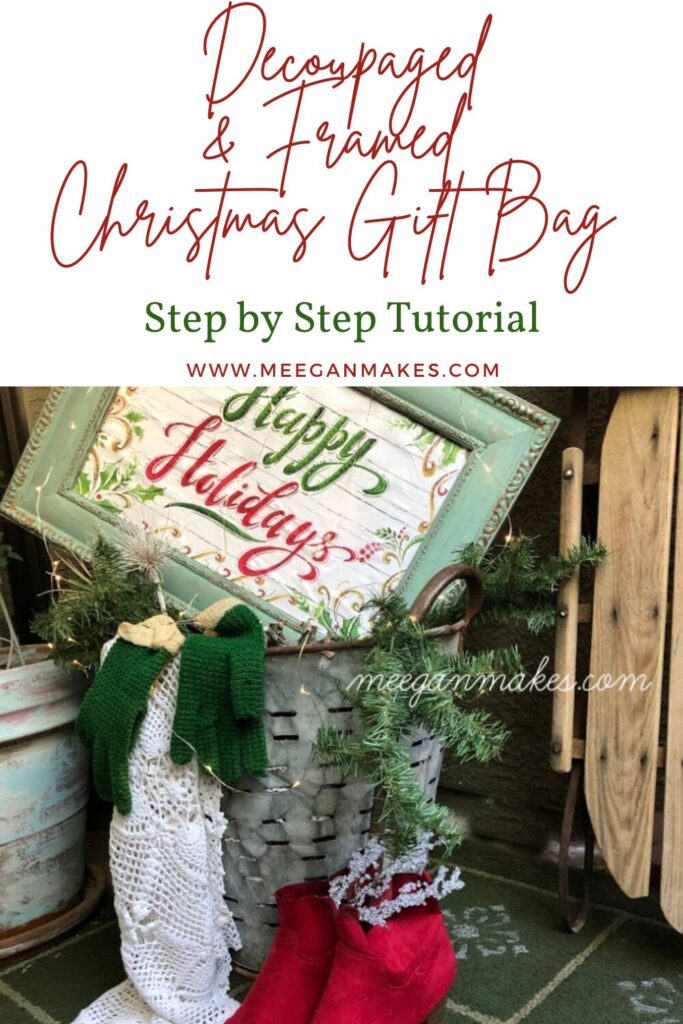
At this point you are ready to decorate your porch, yard, balcony or deck with your newly made Gift Bag Christmas sign. You can hand it on a wall, lean it against a window or set it on a chair or in an olive bucket, like I did.

Mine is on my cottage apartment back porch. It makes me so happy when I look and spot my gift bag sign as part of my porch decor.

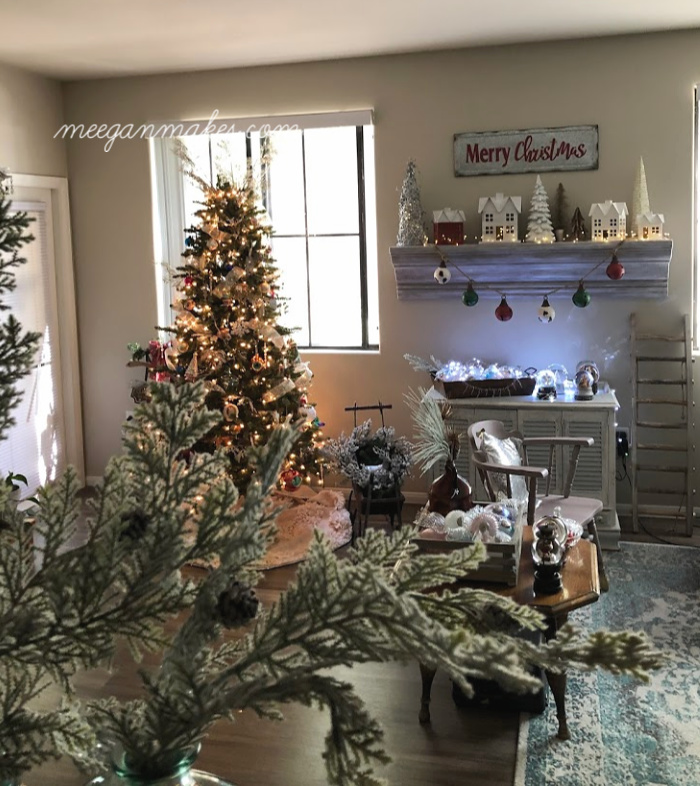
And of course, you can use it indoors, as well. You can add glitter to your frame or picture, give as a gift or enjoy it year after year. You can also make one for every season or holiday. The choice is yours. There are no limits!

I hope you have enjoyed this tutorial and ALL the many ideas you will find from my blogging friends.

Make it a lovely day and stay warm.

See More Holiday Outdoor Decor Projects

DIY Wood Christmas Sign

Christmas Home Tour and New Family Traditions

DIY Vintage Bicycle Rim Christmas Wreath

Filed Under: At Home DIY, Christmas, crafting, DIY, Holidays Tagged With: blog tour, Christmas, crafting, DIY, Home decor, Winter

Comments

  1. Christine says

    November 27, 2019 at 7:39 AM

    Oh Meegan!! I love your outdoor Christmas decorations!! Everything looks so perfect together!!

    Reply
  2. Bliss says

    December 2, 2019 at 9:11 AM

    Cute and pinned!

    Reply
  3. Michelle James says

    December 8, 2019 at 5:20 PM

    This is just gorgeous Meegan! I love how you displayed it too!

    Reply

Trackbacks

  1. 30 Fabulous DIY Holiday Home Decor Projects - Zucchini Sisters says:
    December 9, 2019 at 10:26 AM

    […] of Red Cottage Chronicles. Decoupaged Christmas Gift Bag for Outdoor Christmas Decor from Meegan of Meegan Makes. Don’t Be a Cotton Headed Ninny Muggins DIY Porch Sign from Sheri of Hazel + Gold Designs. Our […]

    Reply
  2. "Deck the Halls!" It's Round-Up Time! · design inside the box says:
    December 17, 2019 at 9:11 AM

    […] […]

    Reply

Leave a Reply Cancel reply

Your email address will not be published. Required fields are marked *

This site uses Akismet to reduce spam. Learn how your comment data is processed.

Follow on Bloglovin

Recent Posts

  • How To Embellish Christmas Ornaments
  • Handmade Bead and Crystal Christmas Ornaments
  • How To Decorate Pumpkins with Vintage Doilies
  • Peppermint Snowball Cookies
  • Decorate an Olive Bucket for Fall

Purchase Beautiful Home Accessories for any style

Thrifty Style Team 2nd Friday Monthly

International Blogger Club-The 3rd Monday of Each Month

MY AFFILIATES

Fashion Trends for Over Fifty

DIY Bicycle Rim Halloween Wreath

Create and Decorate Pumpkins With Sea Shells

Fall Tablescape in Lavender and White

Vintage Bicycle Rim Wreath for Fall

How To Make a Faux Pumpkin Centerpiece

Glittery Welcome Embroidery Hoop Wreath

70+ Crafts and Decorating Tips for Fall

Top Ten Tips and Tricks for creating a Cottage Style Home

Pineapple Pecan Coffee Cake with Caramel Glaze

Raspberry Cream Sandwich Cookies

Cream Cheese and Shrimp Cocktail Dip

PERMISSIONS

What Meegan Makes and all it’s content, pictures, ideas, etc. are original ideas and copyright protected.

Using content including but not limited to: designs, original ideas, photos, posts, etc. is prohibited.

Please ask permission before using any content from my blog for any reason and if there is any question.

Search

FEATURED ON SHABBILICIOUS FRIDAY MAGAZINE

FEATURED IN EVERYTHING HOME MAGAZINE

FEATURED ON HUFFINGTON POST

FEATURED ON HUFFINGTON POST

MY OWN RECIPE WAS FEATURED

FEATURED ON GOOD HOUSEKEEPING

Designer Insights from Terry’s Fabrics

Copyright © 2022 ·Beautiful Pro Theme · Genesis Framework by StudioPress · WordPress · Log in