I am finally getting a little rest after the wedding this past weekend when our son married the love of his life. It was a beautiful and happy occasion.
As the groom’s parents it was up to us to provide and host the Groom’s Dinner. These are just a few pictures from the dinner.

*I do need to preface this post with the fact that I did NOT have a good camera at the time of this dinner. As you can already tell. It is embarrassing to say the least. But, hopefully you can get your creative juices flowing for YOUR own ideas.*
This post was updated November 2025.
The wedding colors were light aqua, ivory, white and black. I incorporated all of the colors for the dinner as well. I used ivory chair covers with white chair ties. I opted to tie them in a knot on the side rather than a bow in the back. Real silverware adds to the formality of the occasion, rather than plastic.

I used white round floor length tablecloths with a large lack silky overlay. Then on top of that I place a bluish/aqua 28 in. fabric square, and on top of that a few dictionary pages laying in a pile. I found these perfect napkins to place on the plate. Don’t you just love the mercury glass centerpieces?? They each had lit tea lights during the dinner.

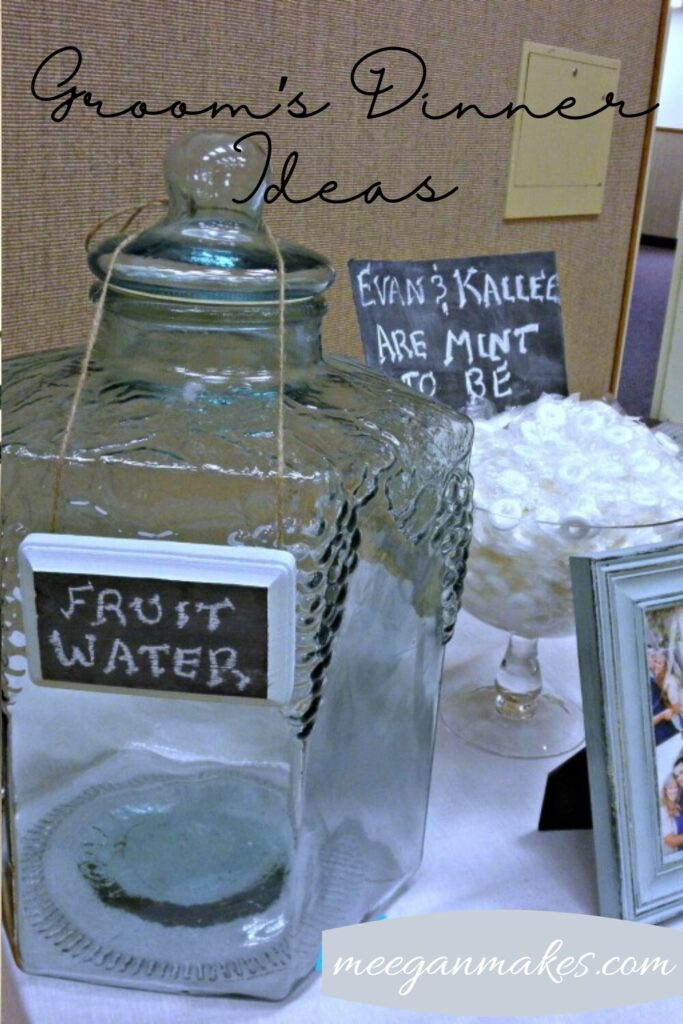
This is the drink table. There are 2 types of jugs and labeled them with homemade chalkboards (Tutorial for that later). We served flavored water. The fruit water had strawberries, lemons, and limes. The mint water was fresh mint leaves and water. Easy simple and pretty. There was also a vessel with mints and added the chalkboard sign. Cute!

A view of the whole drink table.

The was the buffet table. (I was almost finished decorating it) I made doily banners with twine. I also used the white and black table cloths as I did with the guests tables. As you can see, I used more chalkboards to label our food.

This is a closer view. I added the barn wood boxes similar to what was used for this wedding and for our son’s reception. I added the blu-ish fabric, so the bread would stay clean. I loved using the dictionary pages so much, I made a runner for the buffet table as well.

This was my favorite part of the whole room. My friend Ashley is so very talented and painted the banners for me. I used more dictionary page banners to fill in-between. I also made book page banners (You can find a tutorial for that here), tissue paper puffs, and added some coffee filter banners to bring color to the vignette.

For the center, I added a simple book page banner with their names stenciled on each page. Simple and yet, so effective. BOY! I sure wish these pictures were more clear! UGH!

This is the Bride and Groom table. All in black with a candelabra. The little tags were added to their champagne glasses. One says “I do” and the other says, “Me, too”. I just used some leftover tags for that, and $1 stamps from Michael’s. Easy!
In the background you can see some small chairs Since we have SO many small children in our family. I covered a long table with the same banner paper, added 4 boxes of crayons and the kids we so happy to have their own special place to sit!

To add to the flow of using the chalkboards I made the “Mrs. and Mr.” signs for their chairs. I would TOTALLY make these differently now!

This was our son’s view for the evening. I was pleased with the overall look. We had the lights dimmed with the tea lights lit, it was very nice.
I hope you had fun seeing what I have been up to. It has been fun to share it with you. Next weekend we are hosting an open house here for the newlyweds. So more creativity and more pictures!

More ideas from What Meegan Makes…
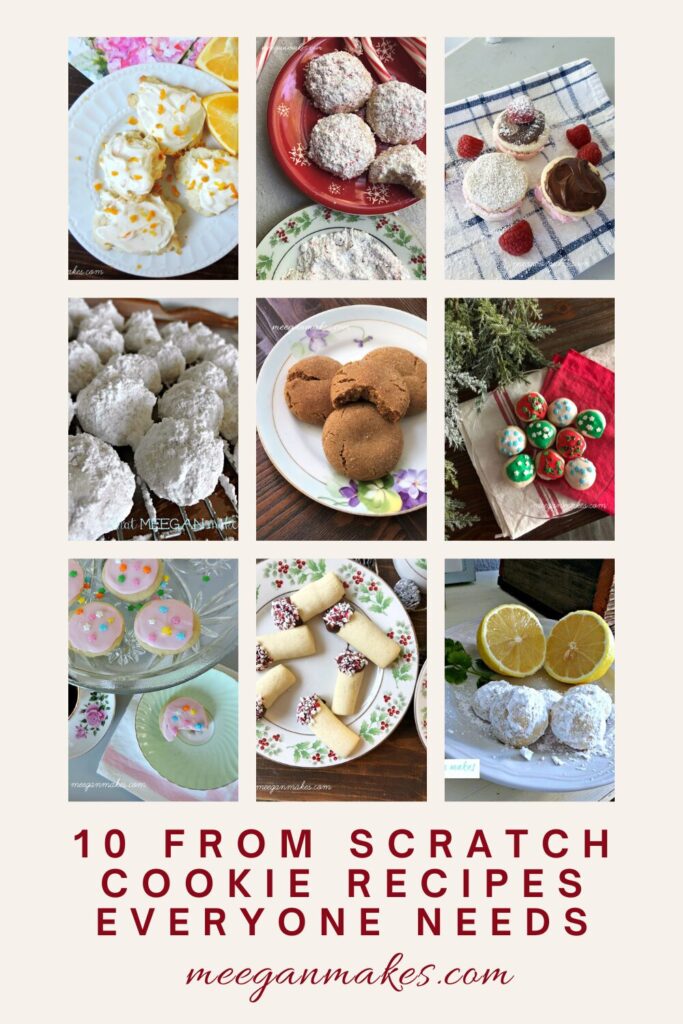
10 From Scratch Cookie Recipes
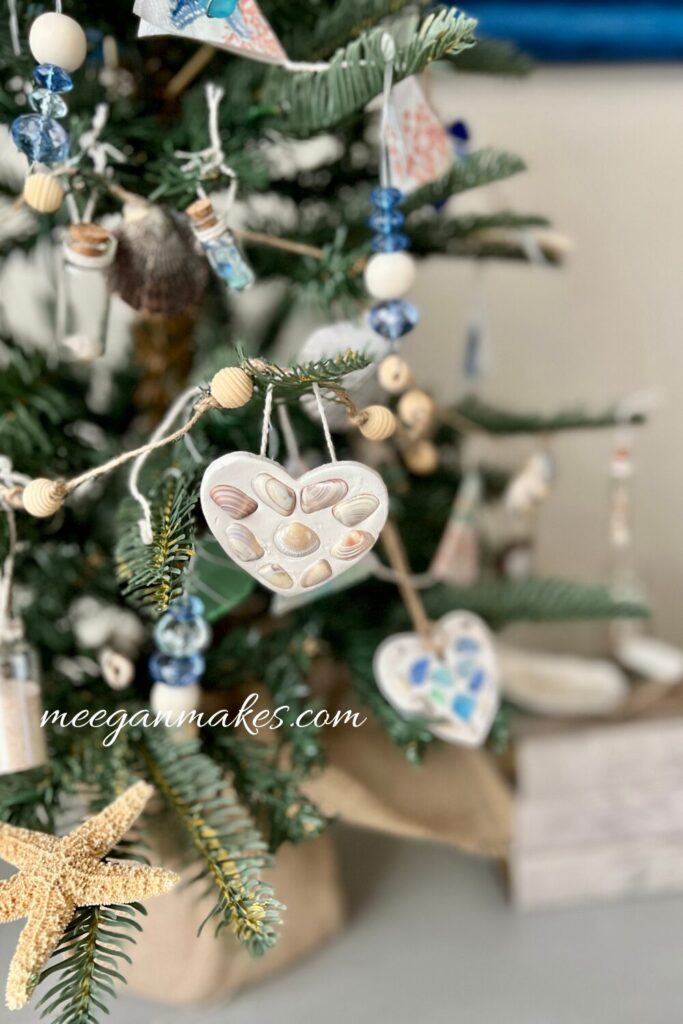
Air Dry Clay SeaShell and Seaglass Ornament Tutorial


very sweet!! Love the dictionary pages added!
Thanks Janel!! I LOVED using the dictionary pages!! So fun!!
So much planning and organizing. Great job! My favorite part was the banners, also. They came out fantastic, beautiful, and so creative. Glad you have pictures. Unless someone has been involved with an event like this, they have no idea how much it takes to make it happen. And, then, it takes no time at all to take it down.
Thanks for all of your sweet compliments!! We couldn’t have done it without you either! It was a really great day!!
It looks lovely, Meegan. Congratulations on the wedding and a job well done. Now I have one question: what is a groom’s dinner (was it the rehearsal dinner usually hosted by the groom’s parents the night before the wedding)? It’s a tradition I’m not familiar with here in Canada.
Thanks Heather!! I appreciate your sweet compliments! I love your blog and your ideas! Thanks for stopping by!! I will email you about your question :)
Just beautiful! I love the soft colors and again all the personal touches! Aren’t weddings such fun! Huge congratulations to the bride and groom!
It all looks wonderful! I love the candle centerpieces, very stylish. :-) Thanks for sharing at The Fun In Functional!
Meegan everything looks fabulous. I know you put a lot of work into it!
Thanks Pamela!! It was fun!! I appreciate you coming by!!
Everything looks GREAT! I love the chalkboard labels…so cute! XO, Aimee
Thanks Aimee! It was a lot of fun to pull it all together!! I LOVE your compliments!!
So many special details. I bet you had fun planning! I love the “mint to be together.” Congrats on a wonderful event in your lives!