It is really nice to have you here today. With all the Fall decorating going on, I thought you might like a fresh dessert idea, too. This Easy Orange Cake Recipe From Scratch is from my dear neighbor, Lois.
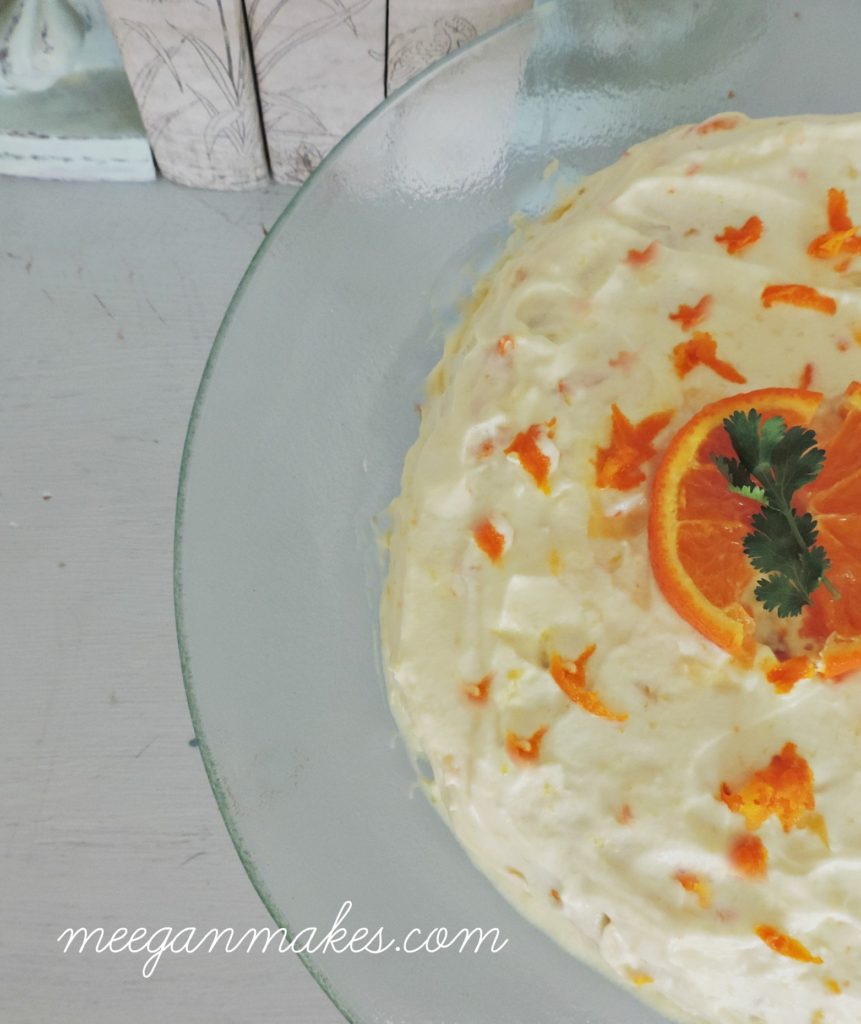
Lois taught high school “Homemaking Class” in the 60s and 70s. We were invited to her home to dine with her. Of course, the meal was delicious and balanced. The final course was her Easy Orange Cake Recipe From Scratch.