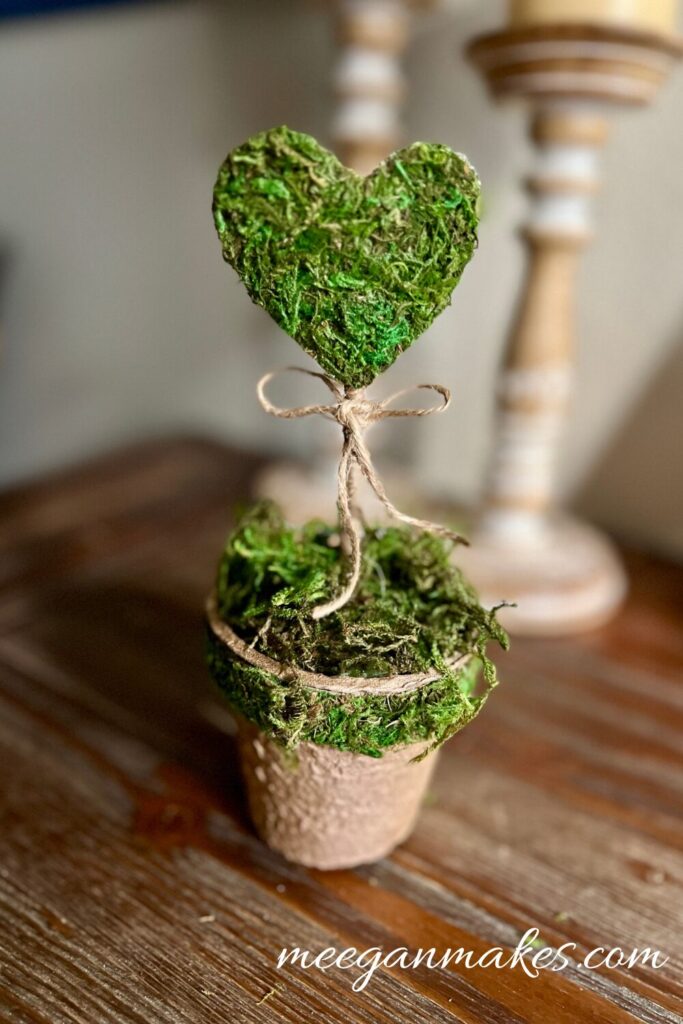
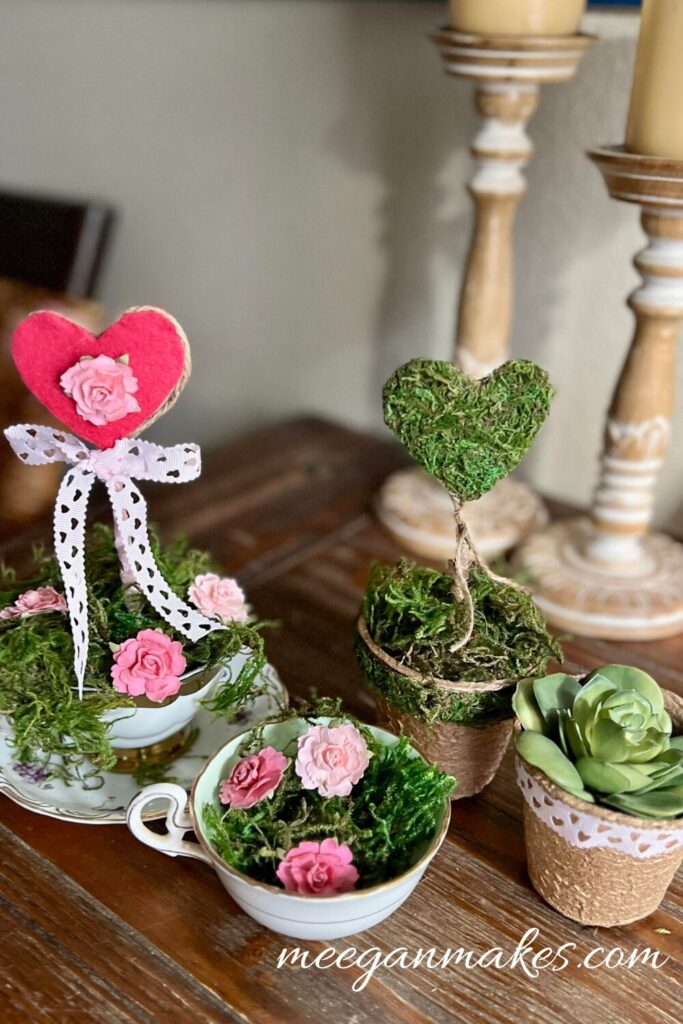
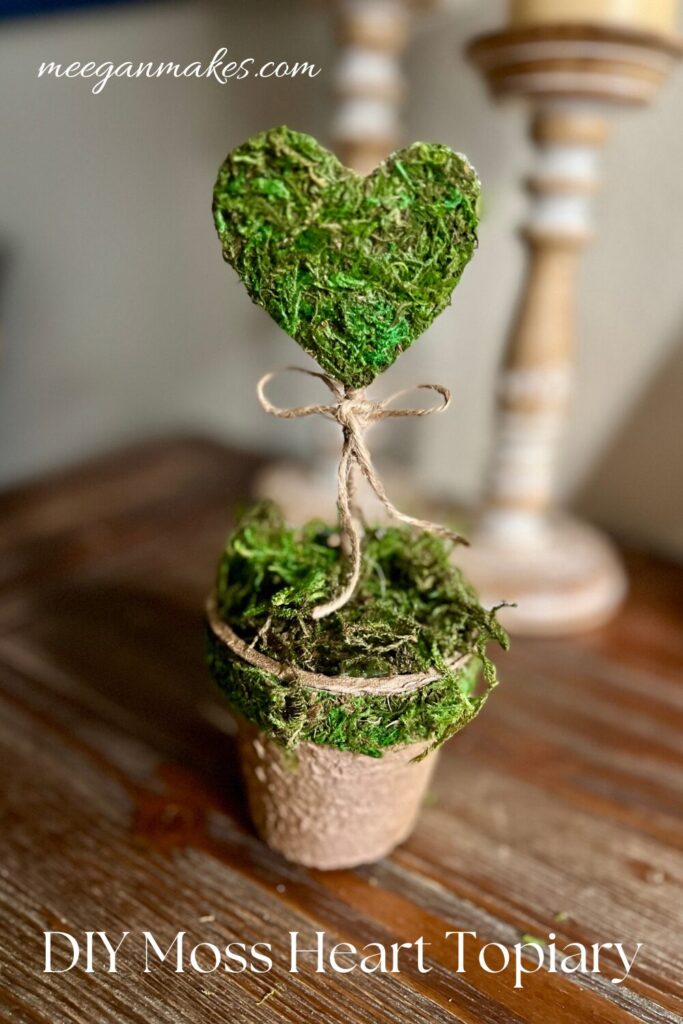
With a few craft components, you can create, design and add personality to any bridal/baby shower, Valentine event, or tea party by learning How To Make a Moss Heart Topiary.
Adding your own sentimental embellishments can make each topiary special for YOUR occasion.
Heart Topiary List:
Cardboard (I used a piece from a delivery box)
The instructions for a Moss Heart Topiary Tutorial are below:
You will need a peat pot, sheet moss, heart cookie cutter, cardboard, reindeer moss, skewer, scissors, hot glue gun, hot glue stick, twine and paper wrapped wire.
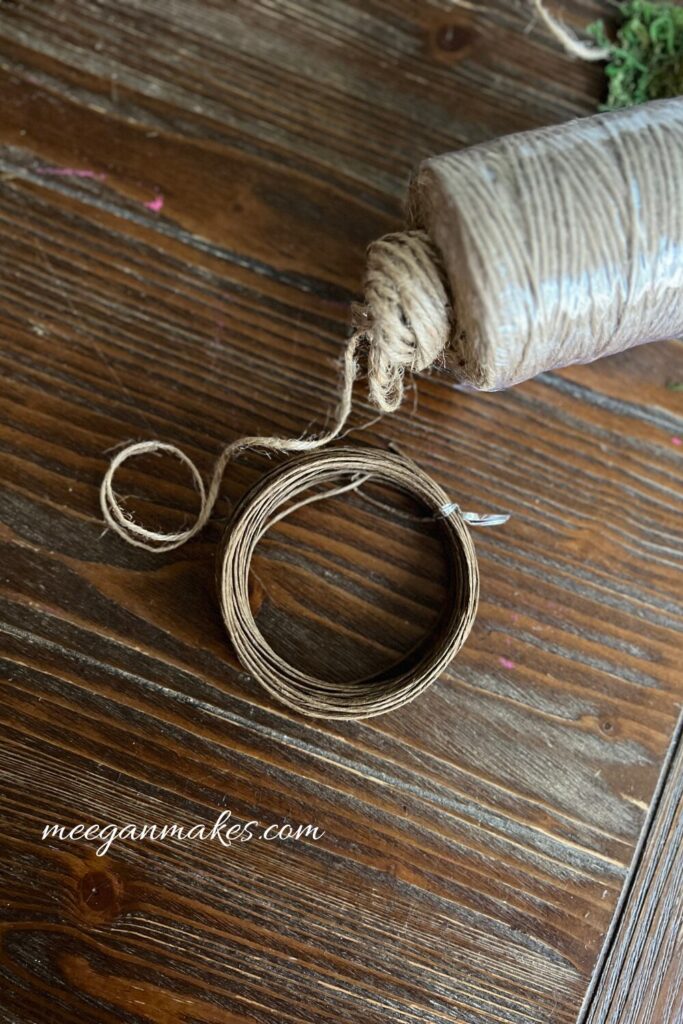
Pictured above are the twine/jute and the paper wrapped wire. The wire is in a roll here, but often times it comes as stick-like.
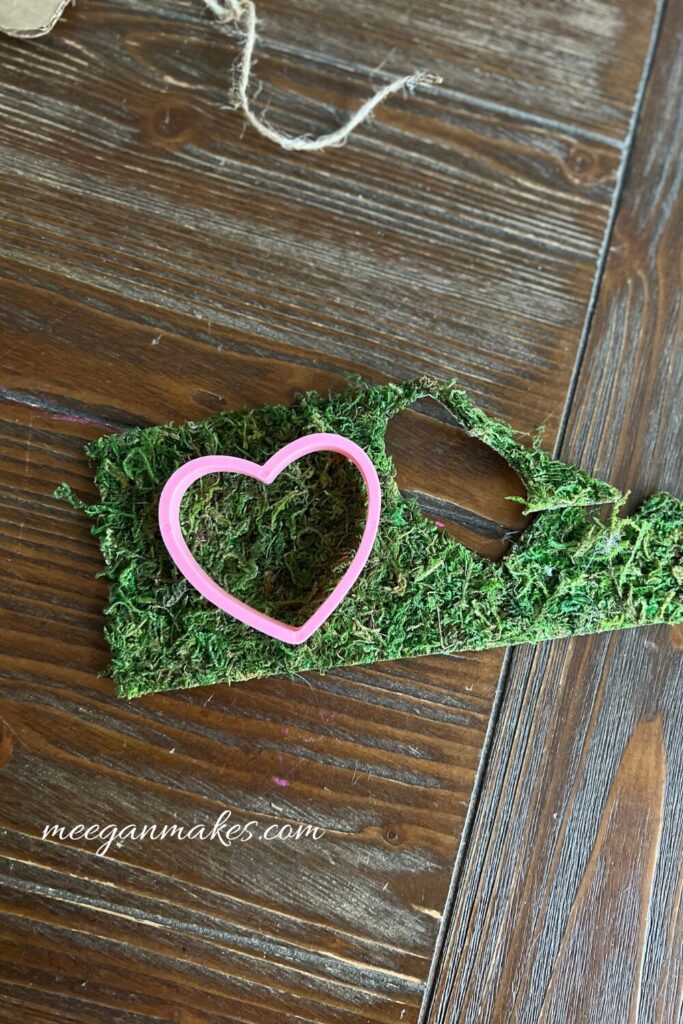
On the back side of the sheet moss-trace TWO hearts. Cut each one out.
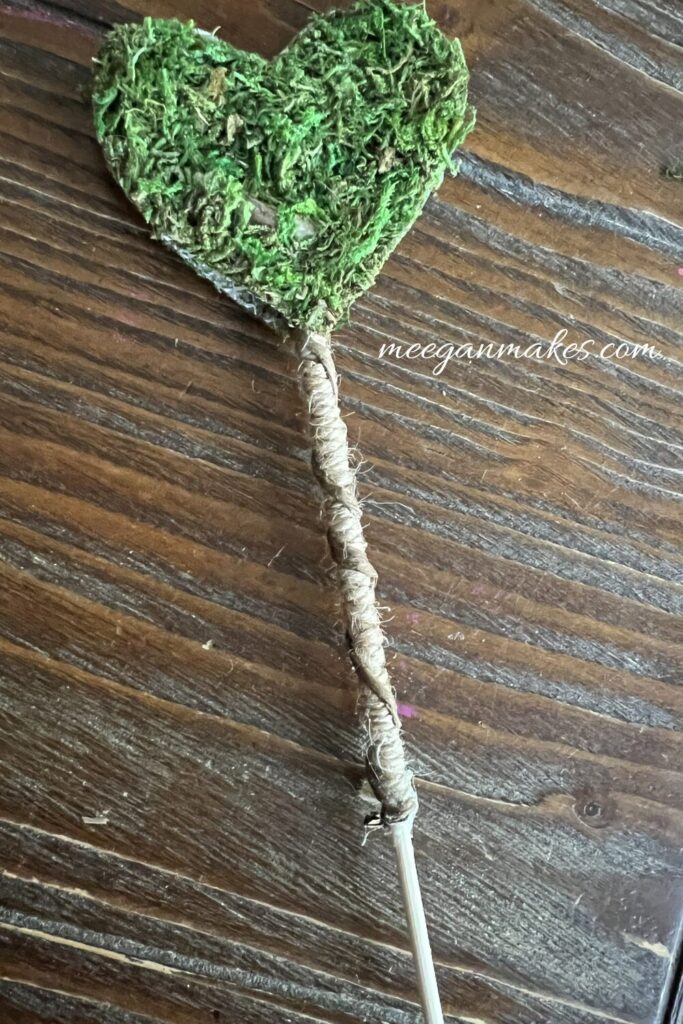
Cut a 12-14 inch skewer in half, making a 6-7 inch skewer-since this is a small topiary.
Wrap the twine around the skewer tightly and gluing occasionally, to reduce slippage. Leave 1 1/2 to 2 inches at the bottom of the skewer, so you are able to stick it into the styrofoam.
With hot glue, adhere the TWO moss hearts together ONTO the skewer with the backs facing each other.
Using scissors, cut a 1/2 inch strip x 12 inches long of sheet moss to wrap around the top of the peat pot. Hot glue the strip around the peat pot.
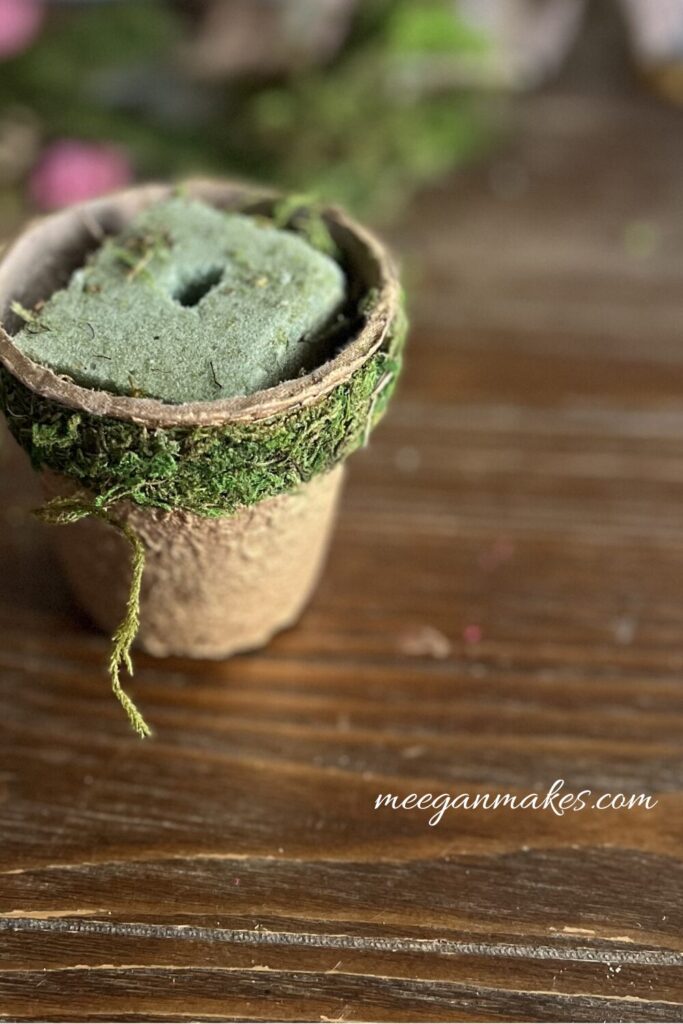
Using hot glue, adhere the strip of moss around the peat pot.
Cut a piece of styrofoam to fit snug in the peat pot.
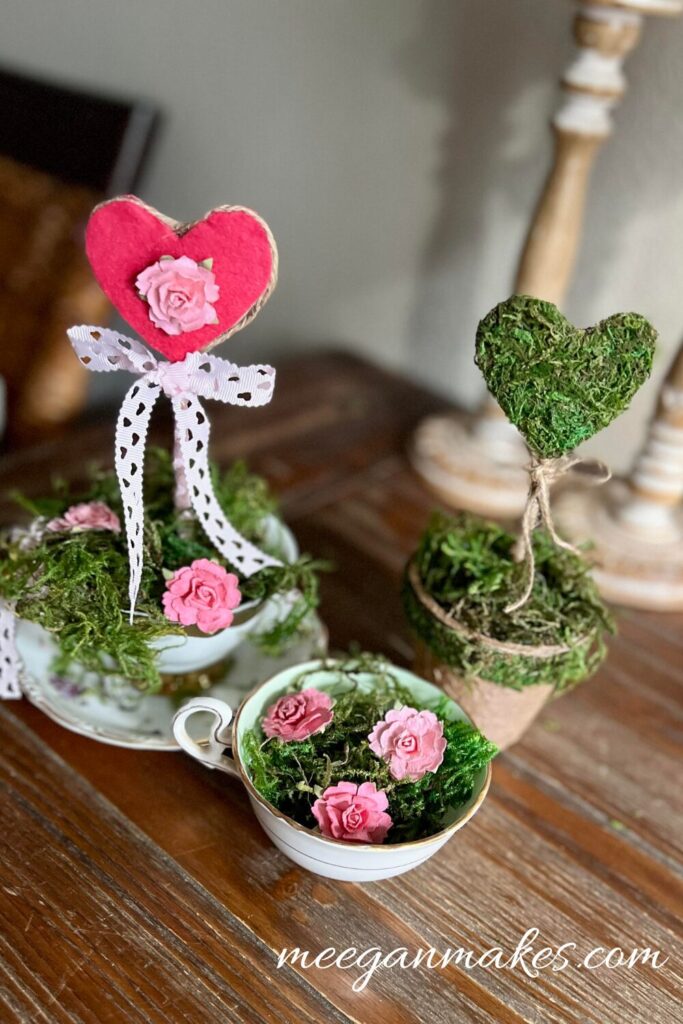
After placing the skewer into the styrofoam, spread reindeer moss around to cover the styrofoam. Use as much or as little as you want.
Yay! You are done. For added weight (so the topiary won’t tip over) you can add rocks, marbles or anything else you have around home to hold it down.

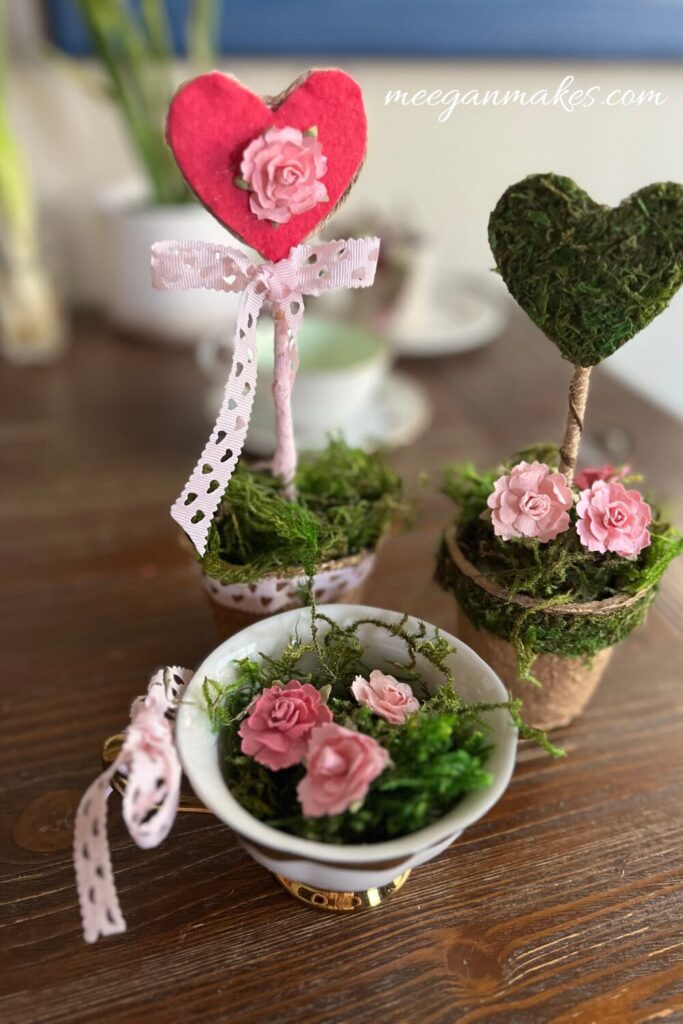
You can also add a small bow of twine at the point of the heart.
You can watch the full tutorial on facebook, here.
I hope you enjoyed this tutorial and use it for your next party or event. I can’t wait to hear what you come up with.
It’s always fun to have you stop by.
Make it a wonderful day!

More ideas for you to enjoy…
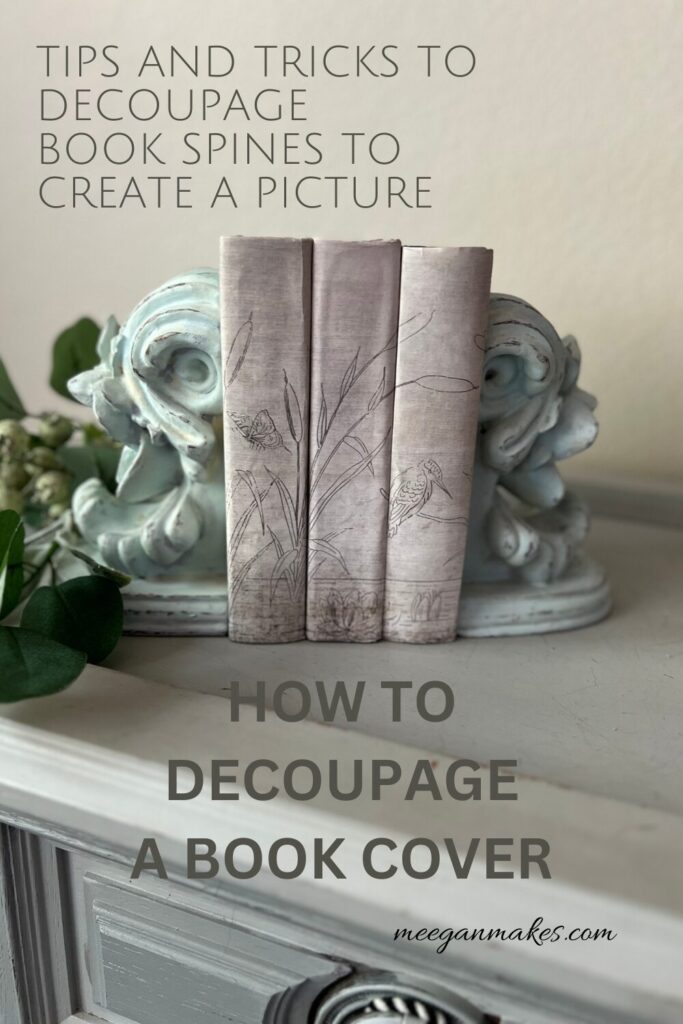
How to decoupage a book cover to create a picture.

Handmade Bead and Crystal Ornaments


Leave a Reply